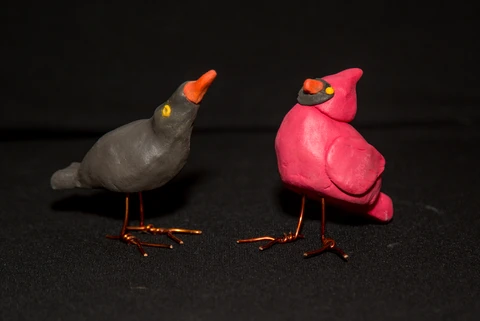
Create these one of a kind feathered friends by using Color Plus air dry clay. No need for a kiln as they dry to an extremely durable finish. No paint is needed as the clay is colored!
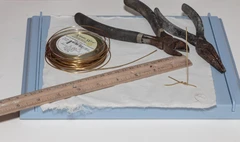
Materials needed:
Color Plus air dry clay in red, yellow and black for both the black and red bird
Cotton sheeting, cut into 8” x 8” squares
A small cup of water
Wooden skewer or needle tool
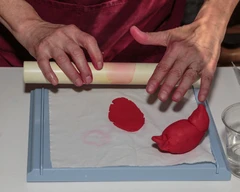
ACTÍVA Product’s Clay Roller kit
Drill and 1/8” drill bit
18 gauge craft wire
Wire cutters
Needle nose pliers
Hammer and anvil
Emory board
Two part epoxy glue
Clear acrylic spray to seal
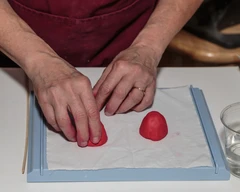
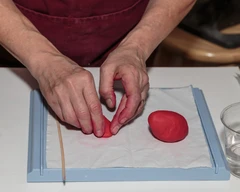
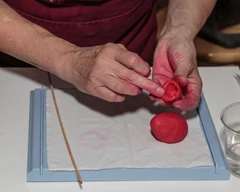
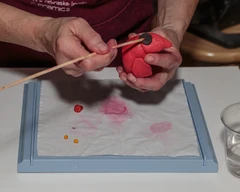
1. To make the red bird, pinch off two pieces of red clay the size of a walnut. Make sure to use a designated cotton sheet so that the clay won’t stain your work area. Use the pinch pot method, by rolling the clay into a ball and then begin pressing your right thumb into one side of the clay and begin turning the ball while pinching with your fingers.
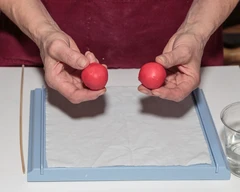
Cup the ball in the left hand and begin pinching the side of the bowl with your fingers on the right hand with your thumb in the middle. Rotate the ball and pinch and turn. Do this with both balls of clay making the pinch pots the same size with the same size opening. Try to make the walls of the pinch pot with an uniform thickness of about 3/8” thick.
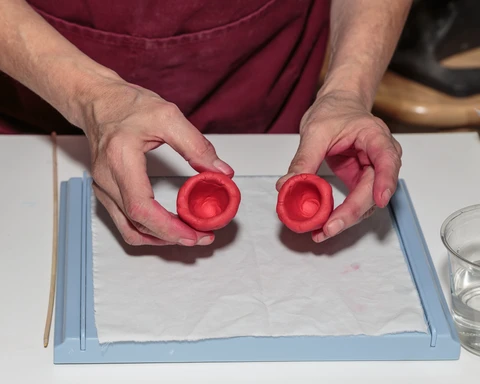
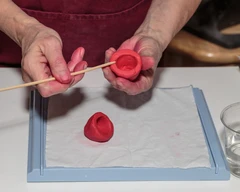
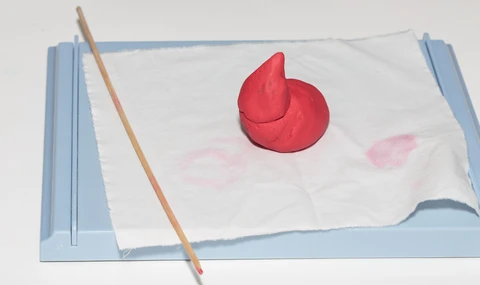
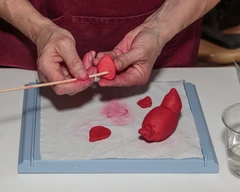
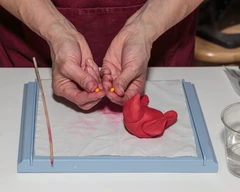
2. Tap the mouth of each of the pot lightly on the table to get a flat surface to join the two pinch pots together. Take your wooden skewer and scratch or score the openings of both pots and lightly wet the opening to adhere the two pots together.
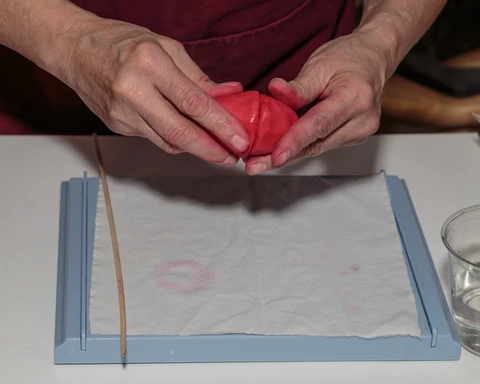
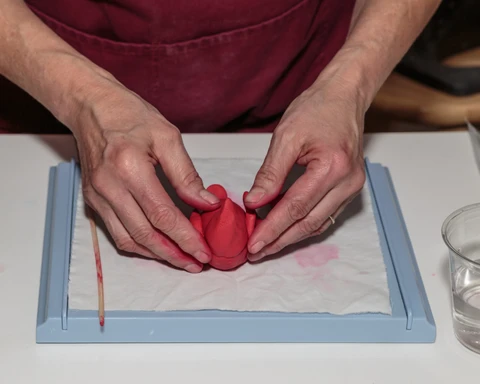
With your finger, lightly blend the seam together, making sure the pots are well joined. Your piece should be air tight, allowing more ease in shaping your bird. Shape your bird in your hands by lightly patting and tapping the bottom on the table.
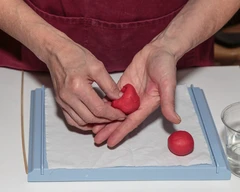
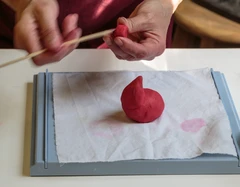
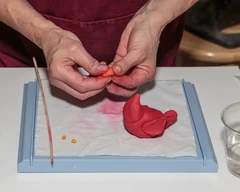
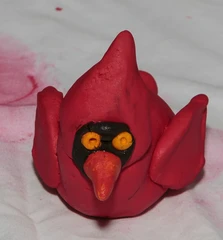
3. To make the head for your bird, make a small pinch pot and attach this to the body of the bird by scoring both the head and the area it will be placed on. Use a little water to act as “slip” to adhere the two pieces together. I squeezed the top of the head to make it look like a cardinal.
4. Make a small square of clay the size of a “caramel candy”. Scratch or score both the tail and the bird’s body and lightly wet the spot where you would like the tail to be. Apply the tail and press firmly to make sure it has adhered.
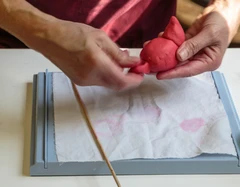
5. To make the wings roll out a thin slab of clay 3/8” thick with your roller kit. Cut out two tear drop shaped forms. Score these two pieces and score the sides of the bird. Use a little water to act as “slip” to adhere the two pieces together. Place the wings on the bird. Take wooden skewer and draw feathers on birds to make it more realistic.
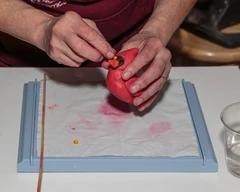
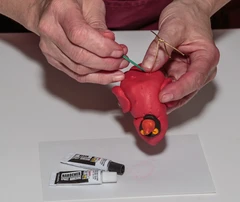
6. Wash hands and tools when changing color of clay. Take a pinch of black clay and roll into a small ball. Flatten this with your fingers to the right size. Score and slip both pieces to adhere it to the bird’s face.
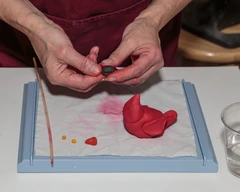
7. Wash hands and tools when changing colors of clay. Pinch off two tiny balls of yellow clay and set aside. Make the beak of the bird by taking equal amounts of red and yellow clay and blending them until it is orange in color. Make a small beak and adhere it to the bird’s face by scoring and lightly wetting.
8. Wash your hands again. Take the flat end of the skewer and press into the bird’s eye. Push the tiny ball of yellow clay into this socket to create the eye of the bird.
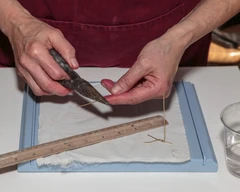
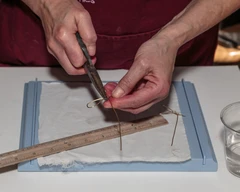
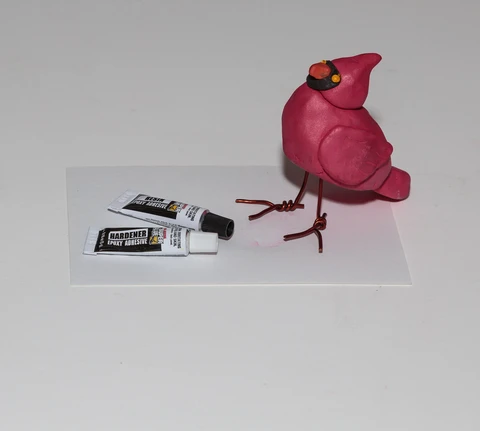
10. To make wire legs, cut off 2 pieces 7” length of 18 gauge craft wire. With needle nose pliers bend one end of the wire 2” and loop back. Grasping these crossed wires with needle nose pliers, begin wrapping the longest wire three times tightly around the shorter wire leaving the short end out by about ¾”. This is the back part of the bird’s claw.
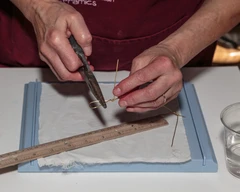
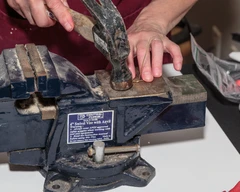
Take a hammer and hammer the crossed wire to flatten and strengthen the bird’s legs.
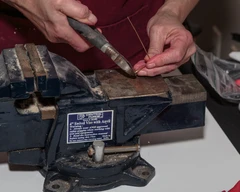
Take wire cutters and clip off the loop, leaving two claws in place. Take an emery board and file if wire end is sharp.
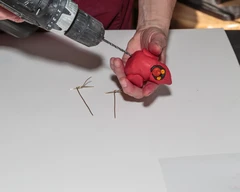
Drill two holes in the bottom of your bird with a 1/8” drill bit. Cut your wire legs to the desired lengths by sticking them in the drilled holes and measuring them. Use two part epoxy to glue, wire legs into your bird. Prop the bird upside down in a mug to let the epoxy cure. You might put a drop of epoxy on the wire feet for better stability.
To make the black bird, follow the same instructions as for the cardinal, however, note in the photo the change of color of clay and shape of body and head.
Artwork created by Karen Lowrey : Photography by Don Auderer
