Summary:
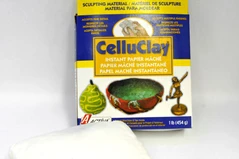
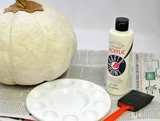
It’s not too early to be dreaming about your very own pumpkin patch! With ACTIVA CelluClay Instant Papier Mache you can create a pumpkin that is sturdy and decorative!
Materials needed:
- 10” balloons ( get extra in case one pops)
- 1 lbs of CelluClay
- Plastic gloves
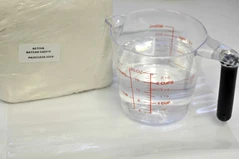
- Measuring cup
- Hot water
- Gallon plastic bag
- Four thick rubber bands
- Twine
- Palette knife
- Long, narrow paper bag
- 60” of 20 gauge copper wire
- Wire cutters
- Ruler
- Xacto knife
- Brown corrugated cardboard
- Scissors
- Plain paper for pattern
- Glue
- Paint brush
- Acrylic paint in white, orange spice, pure pumpkin, earth brown and a gold metallic
- Clear acrylic spray to seal
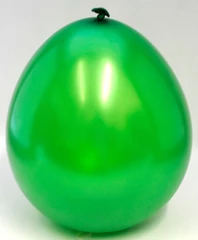
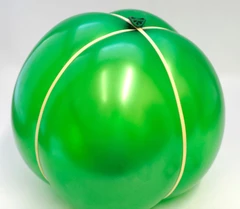
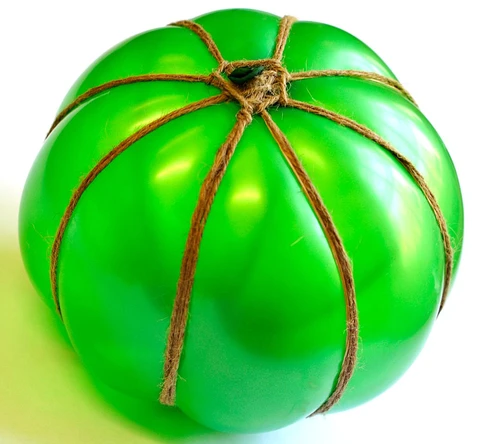
Step 1:
Blow a 10” balloon up to about 5” across. Tie off the end. Wrap the four rubber bands around the balloon until you have 8 even sections. You might need a few extra rubber bands on top of the others to make the rubber bands not slip off the balloon. As an extra help, tied twine as tight as I could around the tie off part of the balloon and reinforced the grooves where the rubber bands were. I wove the twine around each section of the balloon to hold the rubber bands and twine on the balloon tightly.
Step 2:
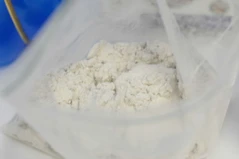
To mix the CelluClay, break off half of the 1 lb block and put it in a gallon plastic bag. Add 16 ounces of hot water to the CelluClay in the plastic bag. Begin to knead the CelluClay until it is smooth.
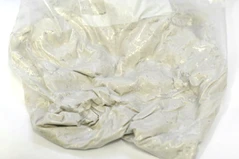
With plastic gloves on, pinch a ball of CelluClay and begin flattening this with your hands to a ¼ “ thick pancake. Pat this onto the balloon shape. Continue covering the balloon until you run out of the first batch of CelluClay. Now it is time to make the rest of the CelluClay mixture. If you have to stop, make sure the CelluClay is closed tightly and stored in the refrigerator. As you shape the CelluClay, burnish it smoothly with a palette knife. Try to keep the CelluClay as thin as possible to aid in the drying process. If you see a spot that is too thin, you will need to fill it in. Try to keep the grooves of the pumpkin in place by running the palette knife down each groove. Leave the tied end of the balloon showing as later you will remove the balloon from the cavity of the pumpkin. Set your pumpkin aside to dry in a warm place, preferably on a rack. This may take several days depending on how thick the CelluClay is.
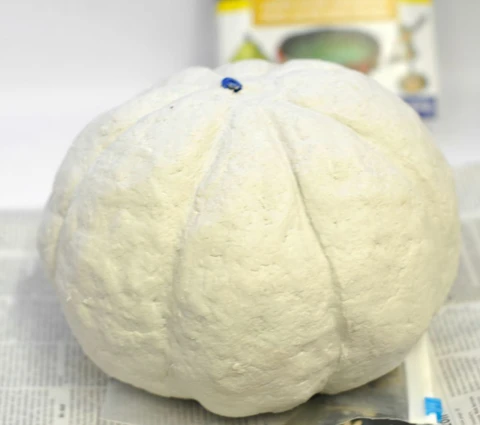
Step 3:
To begin creating the stem while your pumpkin is drying. Cut a piece of 20 gauge copper wire 10” long. Place this inside of the long, narrow brown paper bag. Begin to twist the paper bag to make the stem of the pumpkin.
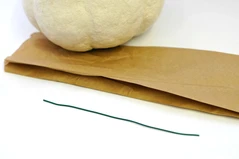
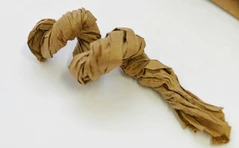
Step 4:
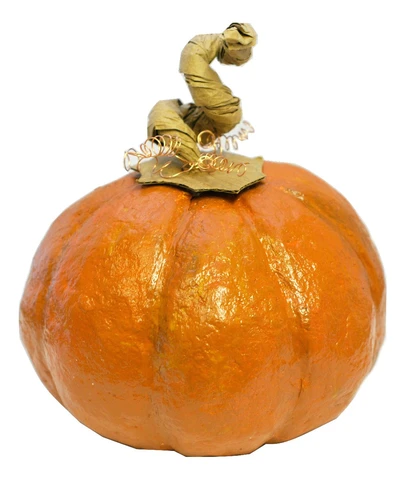
When your pumpkin is dry, you can sand it to get a smoother appearance. Next, take an exacto blade and cut a small hole around the tie off part of the balloon. You should be able to pull the balloon out at this point. Check to see it there are any cracks or holes. If you need to patch something, simply, rub a small bit of CelluClay on the crack and let it dry. Paint your pumpkin all over with white acrylic paint to seal it. Let dry. Paint the pumpkin with orange spice and then blend the brown into the orange spice and paint in the grooves of the pumpkin to make it more realistic. Highlight the pumpkin with a dry brush or slightly watered down of pure pumpkin acrylic paint. Finally, dry brush with gold metallic paint. Let dry.
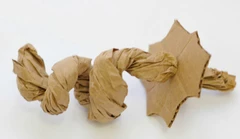
Step 5:
To finish making the stem of the pumpkin, place a sheet of white paper onto the top of the pumpkin. Make a pattern by drawing with a pencil, making sure to take the grooves of the pumpkin into consideration. Cut this out and then trace this on a piece of brown cardboard. Cut this out. Make a small hole in the cardboard and thread the twisted bag into the hole. This should fit in tightly. Cut 2 24” pieces of 20 gauge copper wire. Fold in half and twist each piece onto the stem of the pumpkin. Use a dowel or end of a paint brush to coil this wire around. Now you can glue the stem onto the pumpkin. Spray with clear acrylic spray to seal your artwork! You can welcome the fall season with your beautiful pumpkin!!
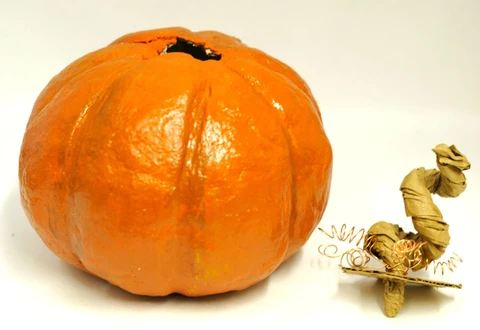
Artwork created by Karen Lowrey