
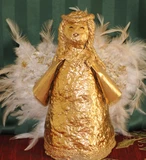
How sweet to have an angel watching over you and your Christmas tree! This is sure to be a holiday favorite for years to come!
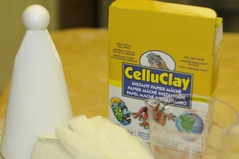
CelluClay
Measuring cup
Gallon plastic bag
Warm water
Wax paper
Rolling pin
Plastic gloves
Lace trim, glitter, gold tissue paper and white feathers to decorate angel
Rubber bands
Sheet of poster board
Scissors
Ruler
1 ½” Smoothfoam ball
Stapler
Permanent marker
Craft glue
String cotton mop from the dollar store ($1)
Mod Podge
Brush
Gold metallic spray paint
Instructions:
Fold a sheet of poster board in half lengthwise. Fold in half again widthwise.
With folded area on left and bottom, measure 3 ½” from folded tip. Draw an arch. Measure 7” up. Draw an arch.
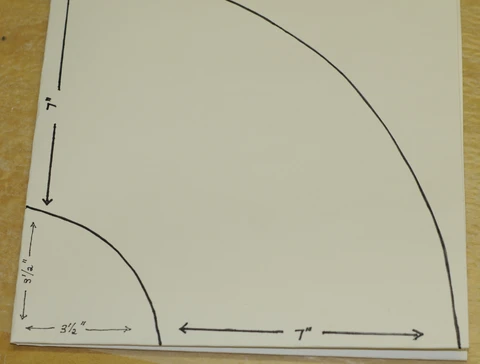
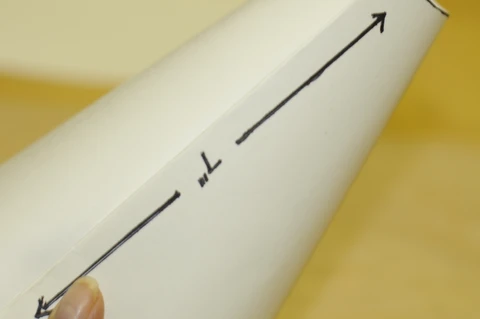
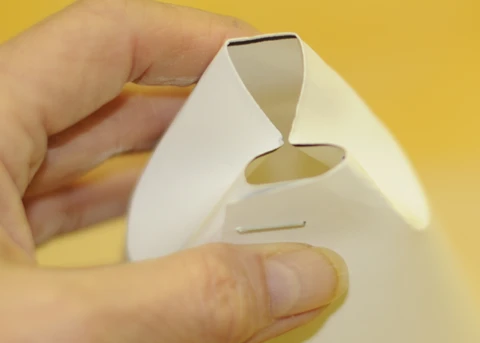
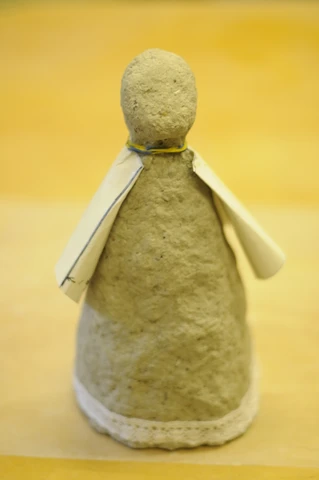
Open poster board up and cut off half of poster board to save for later. With scissors cut the arched form out of both pieces of folded poster board. Open up and cut apart. Take this arch form and overlap the edges to make a cone form. Overlap 1” at the top and 3” at the bottom.
With a stapler, staple the top and bottom. Place one staple in the middle area. Narrow the neck by making 2 small pleats on each side of the neck.
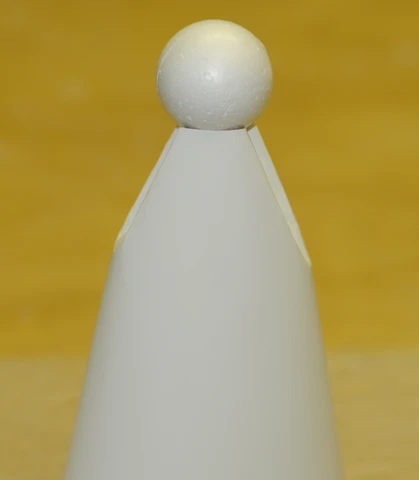
Using craft glue, glue the 1 ½” Smoothfoam ball on the top of the cone. Push wadded newspaper up into the cone to give more stability.
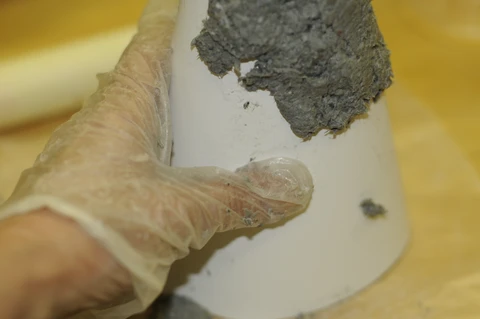
Now you are ready to mix up your CelluClay. Break off half of the CelluClay and place it in the gallon bag.
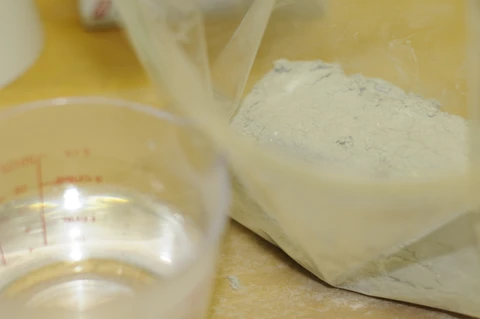
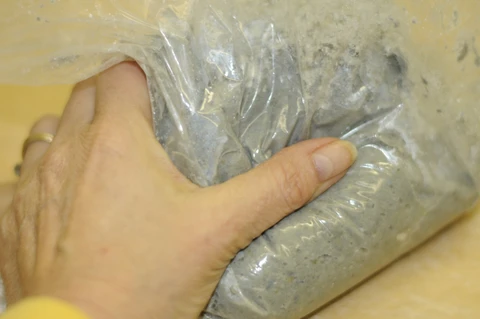
Pour 16 ounces of warm water into the bag and seal it and begin mixing with your hands. Keep kneading the CelluClay until there are no lumps.
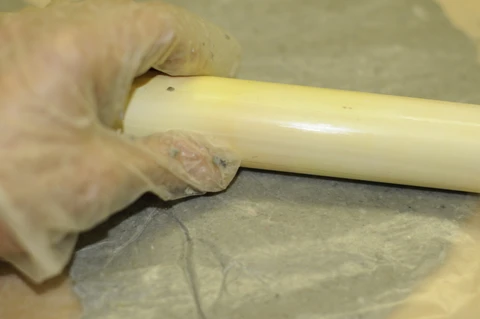
With plastic gloves on, roll the CelluClay into thin sheets by using a rolling pin and wax paper on top. Begin layering these onto the cone form making sure the layers are fairly thin.
Cover the ball and begin forming this to resemble a head. I pressed in a piece of lace around the bottom to add interest and texture. Let this dry. You might want to put your angel in an oven on a cookie sheet at 170 degrees Fahrenheit to quicken drying time.
Next, cut out the pattern for the angel’s sleeves. Use the extra arch form previously cut and measure down 1 ½“ and mark this new arch. Measure 3” down from this mark and make another arch. Cut this pattern out.
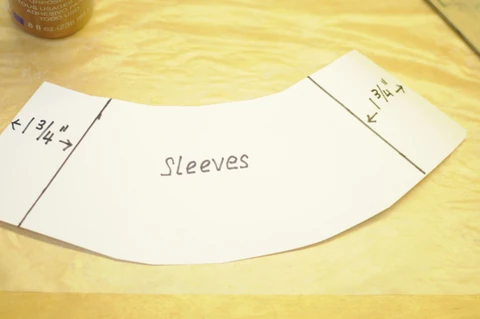
Mark 1 3/4'” from both ends and draw a line. This is where you will begin rolling the sleeve on both ends forward. Glue down on both ends
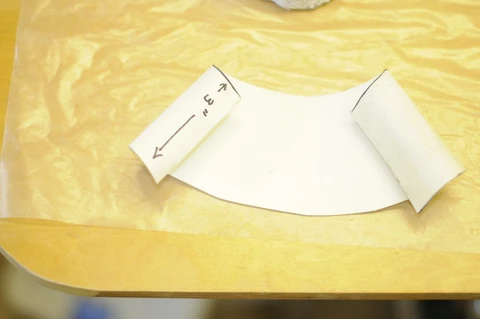
Wrap the sleeve pattern with the narrower arch and curled sides under around the neck of the angel. Glue with craft glue and temporarily hold in place with a rubber band.
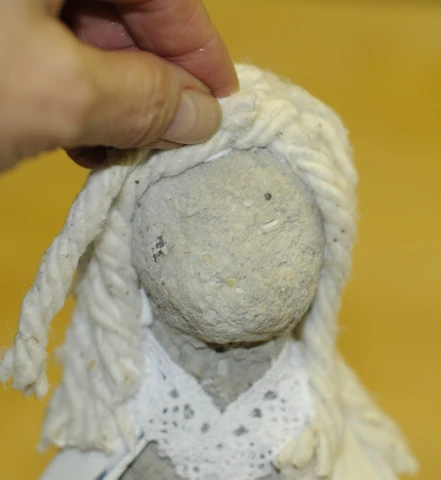
Glue a piece of lace around the neckline. (optional) Let glue dry completely. Wad up tissue and push up into the sleeves to make the arms look more realistic and to hold their shape. To make the hair, cut strands of the cotton mop head and glue to the top of the head.
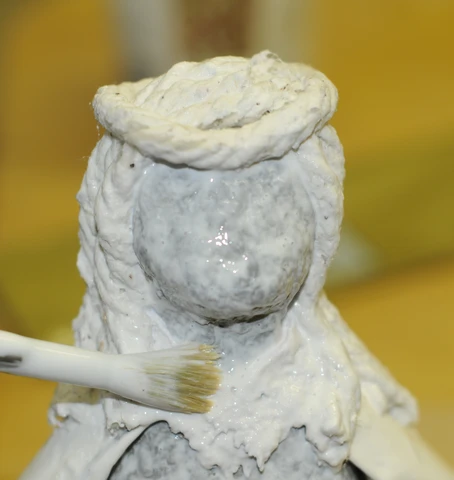
Let glue dry. Brush Mod Podge over the complete angel to seal and stiffen.
Set this aside to dry. To make the wings cut two large matching hearts out of the left over poster board. These wings are 7” across and 5” long.
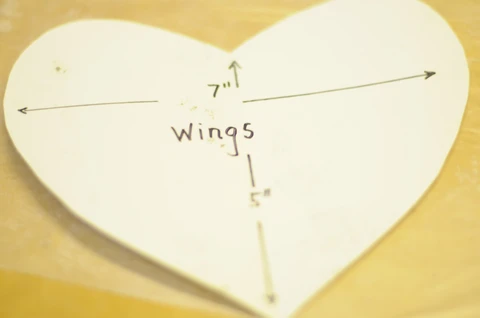
Glue the two hearts together for stiffer wings. Brush Mod Podge onto the front of the wings and begin layering ripped up pieces of gold tissue paper.
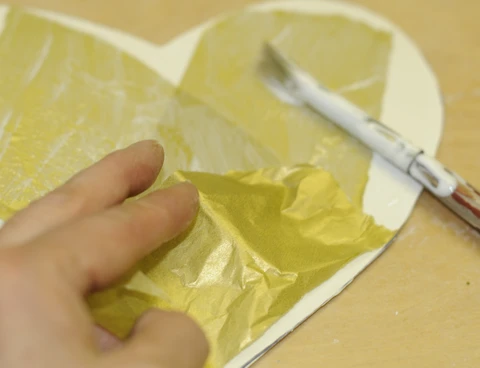
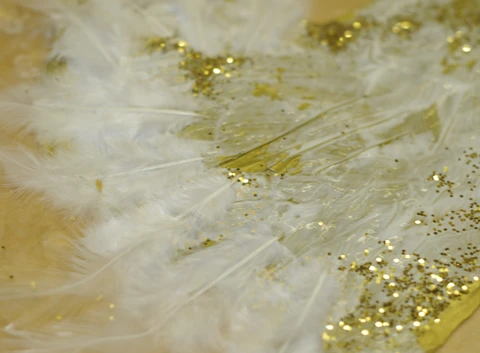
Brush Mod Podge over each layer. Around the edge of the wings, begin adding small white feathers. I used gold glitter to add interest.
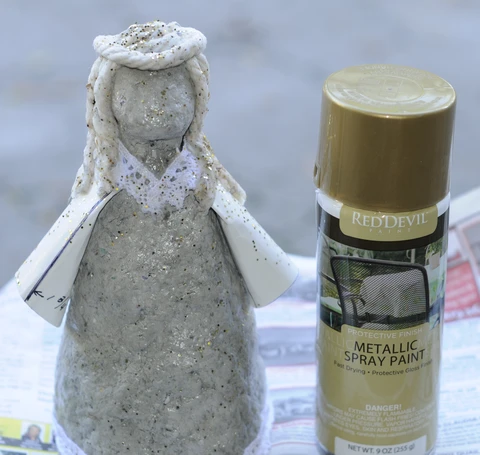
Once this is dry, flip the wings over and do the same to the back of the wings. Spray the angel with a coat of gold metallic spray paint.
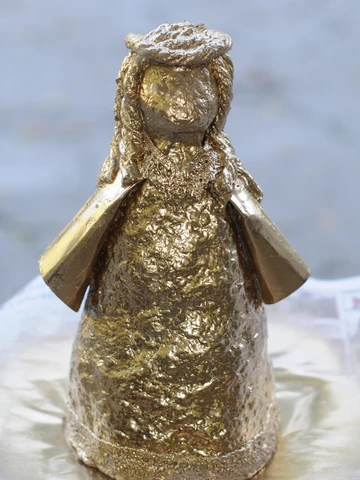
Glue the wings to the back of the angel. With a permanent marker, draw small eyes and a round mouth singing carols. (optional)

Your beautiful angel can watch over your family and tree and help usher in the holidays!!
Design and photography by Karen Lowrey