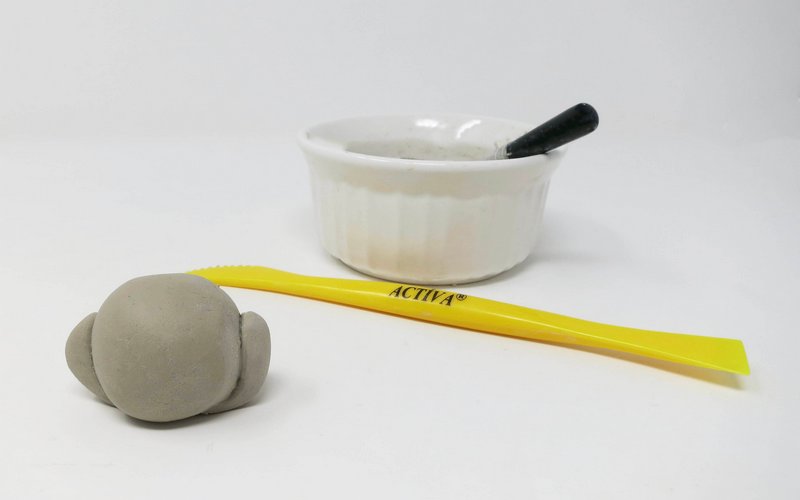
Materials Needed:
- Activ-Clay White Air Dry Clay
- Activ-Tools Clay Set
- Clay Rolling Kit
- Circle Shape Cutter
- Plastic Wrap
- Clay Slip
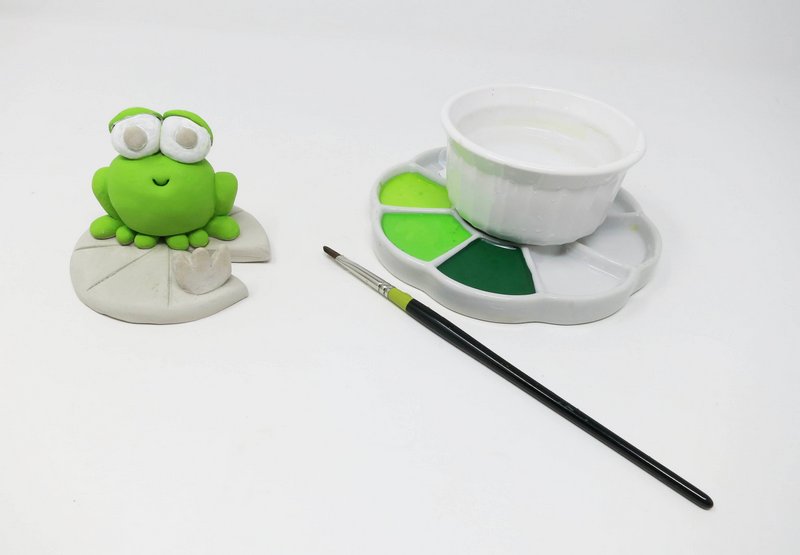
- Water Bowl
- Paint
- Paint Brush
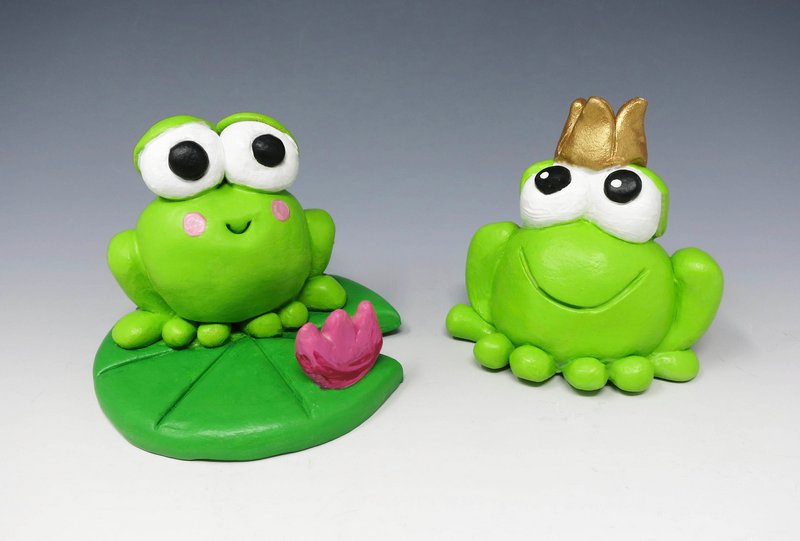
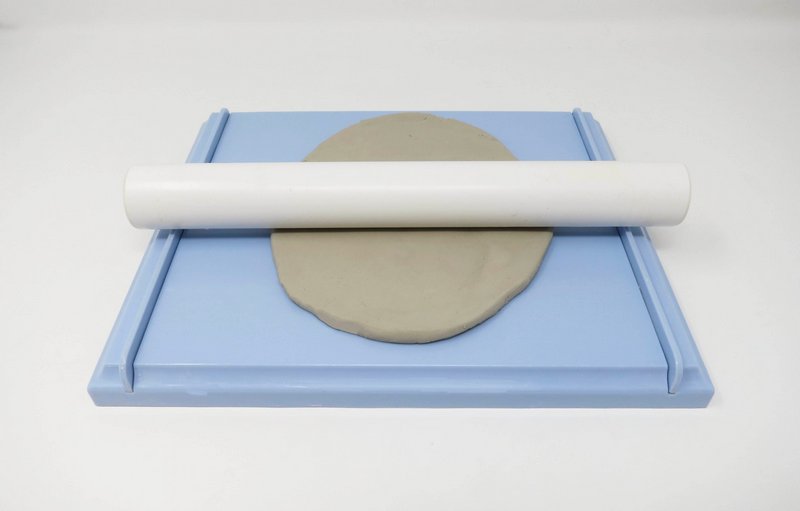
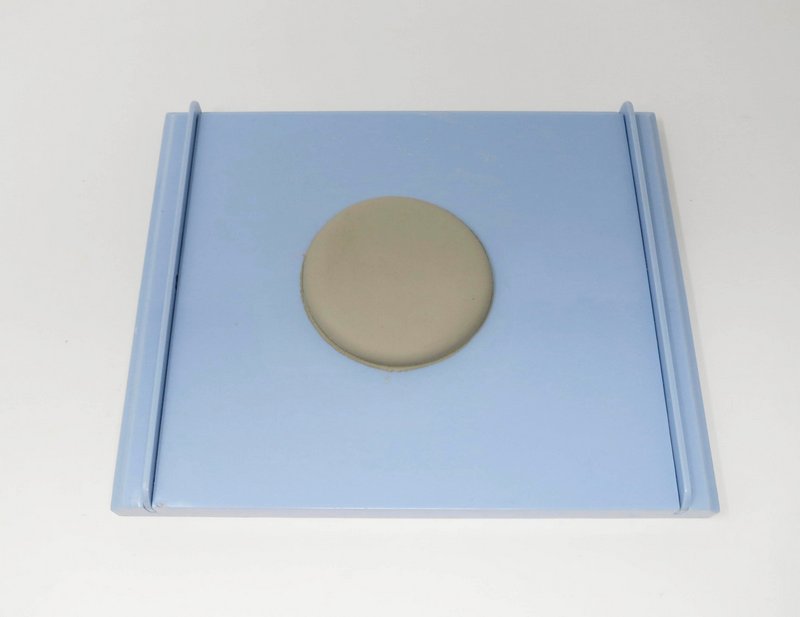
Step 1
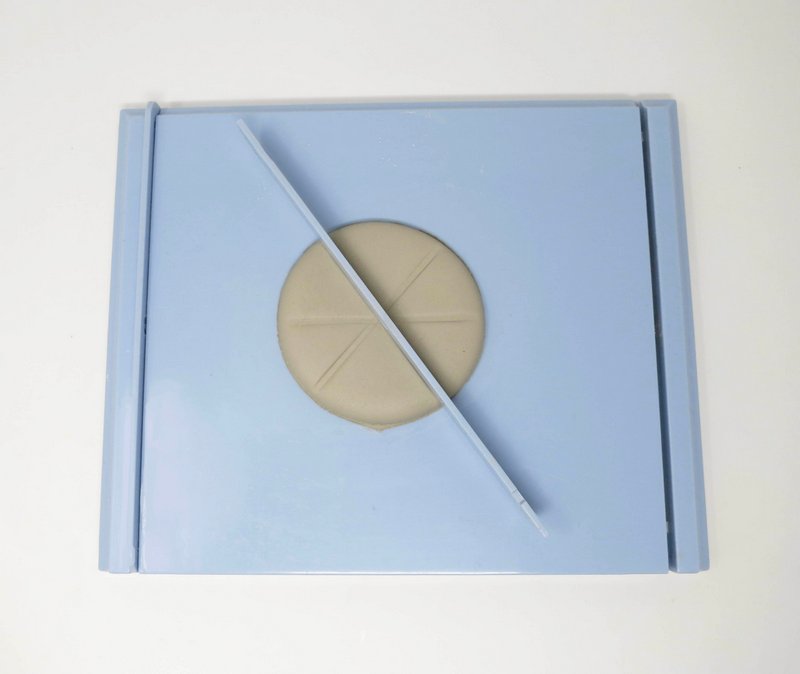
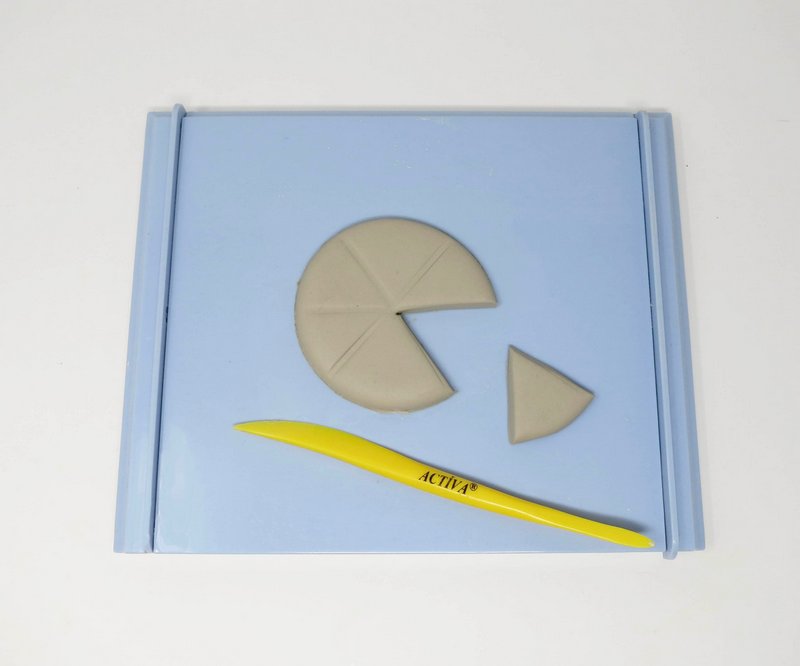
Lilly Pad
Roll a 1/4” slab of clay.
Cover the slab with plastic wrap. Firmly press down the circle shape cutter into the clay.
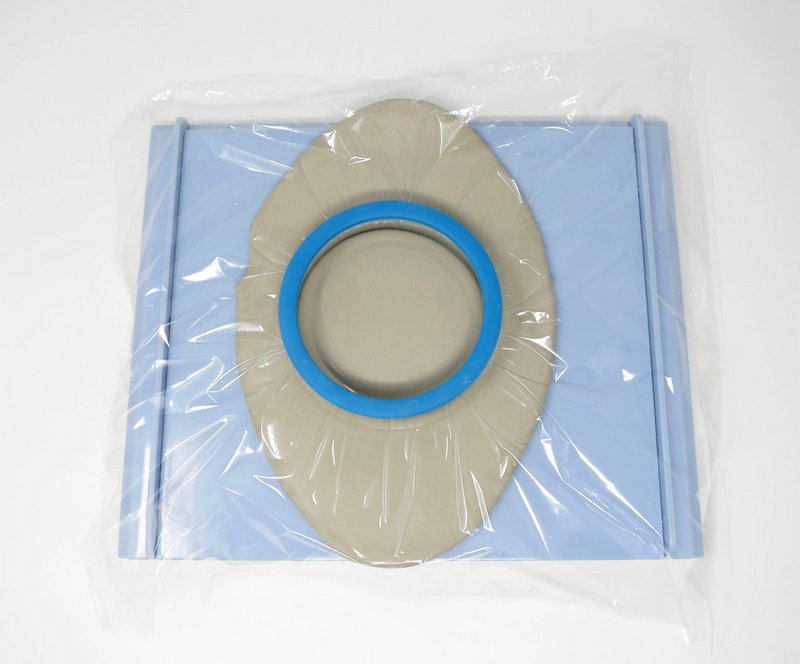
Remove the excess clay.
Slightly indent a straight edge into the top of the clay circle. Divide the clay circle into 6 parts.
Cut away and remove one of the 6 pieces.
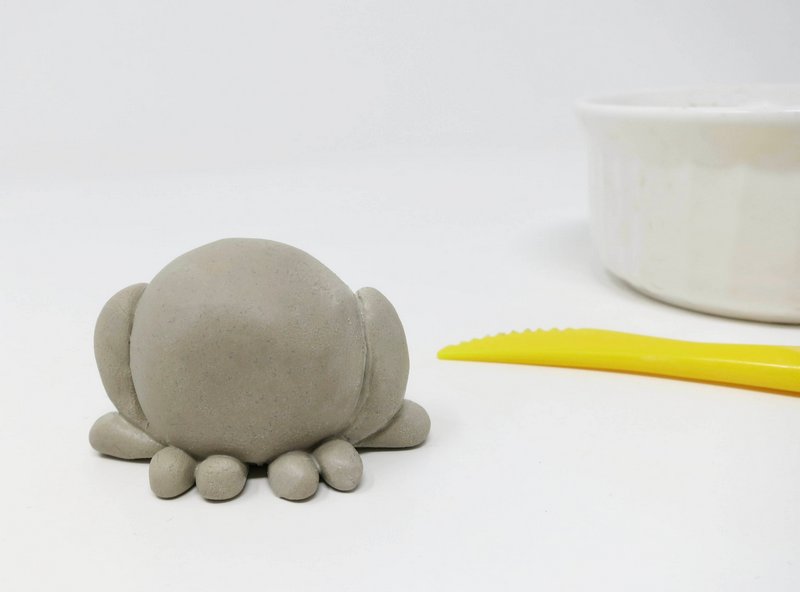
Step 2
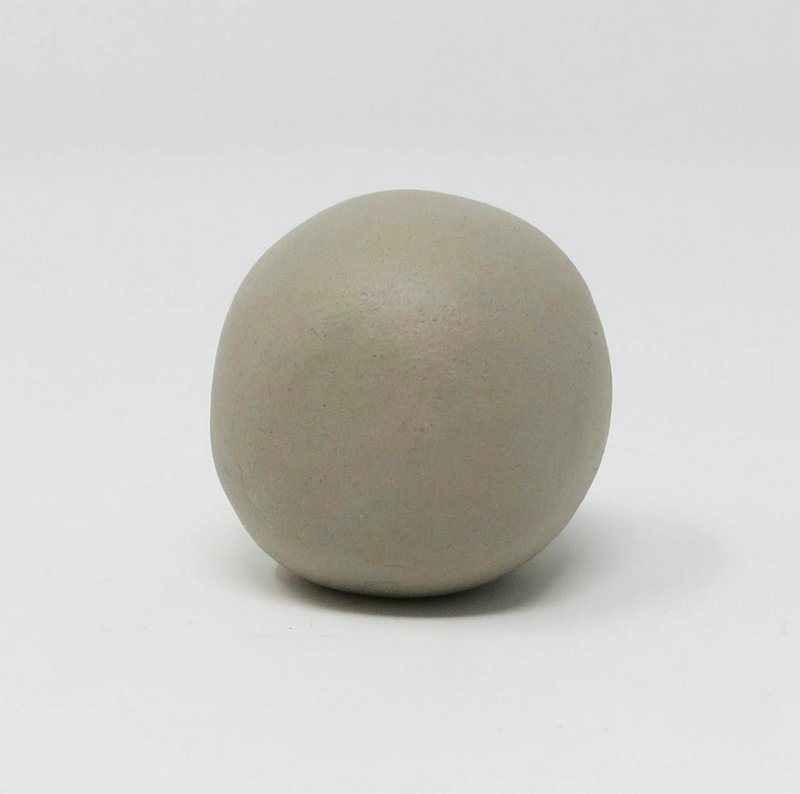
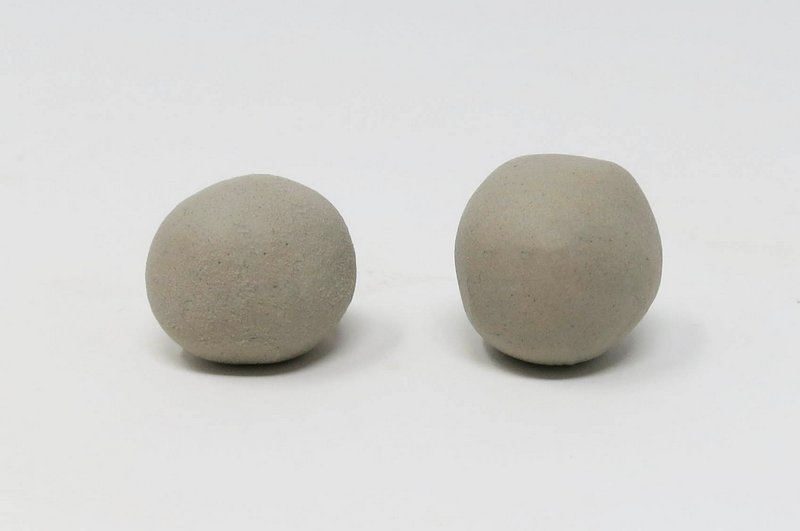
Body
Roll a sphere of clay for the frog’s body.
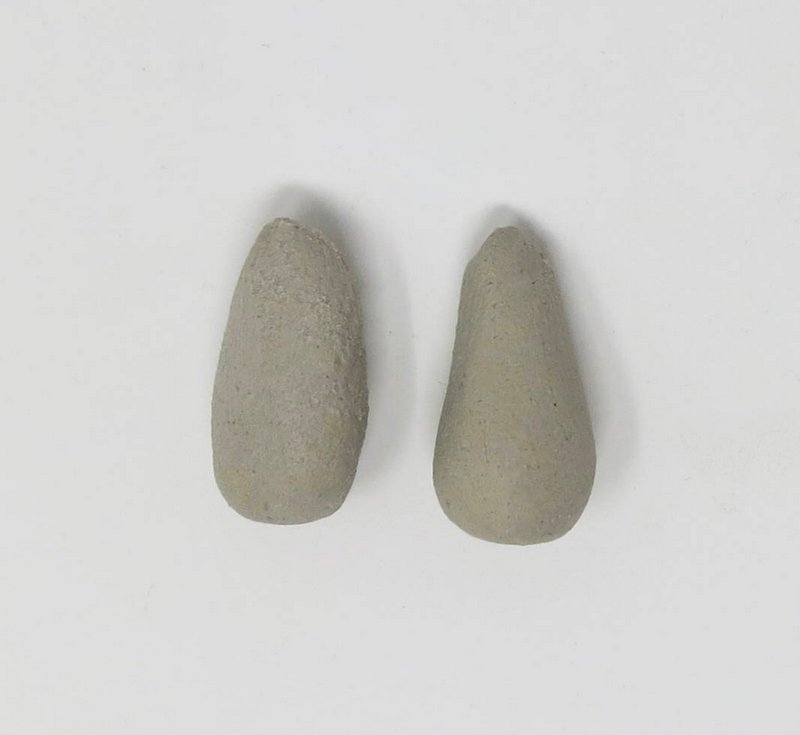
Step 3
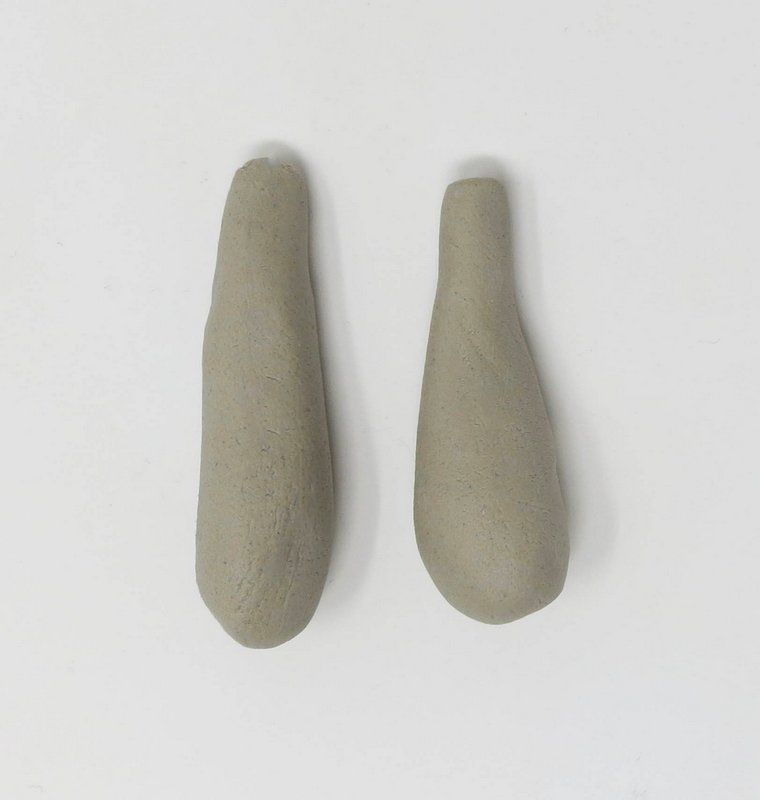
Legs
Roll 2 long cones out of clay
Score and slip them onto the sides of the clay sphere.
LEARN
*Scoring is scratching the edges of clay before joining them together.
*Slip is liquid clay used to join pieces of clay together like glue.
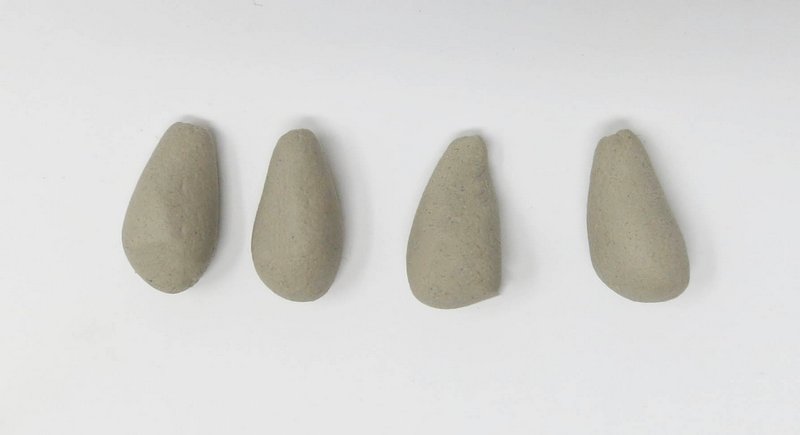
Step 4
Feet
Roll 2 small cones out of clay.
Attach them onto the bottom of each leg and smooth them onto the body form.

Roll 4 more small cones out of clay. Attach them to the front of the frog’s body and smooth them onto the form.
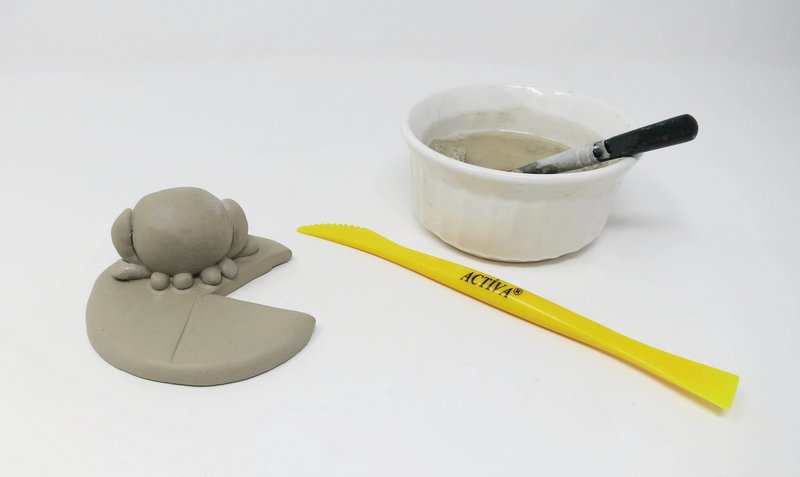
Step 5
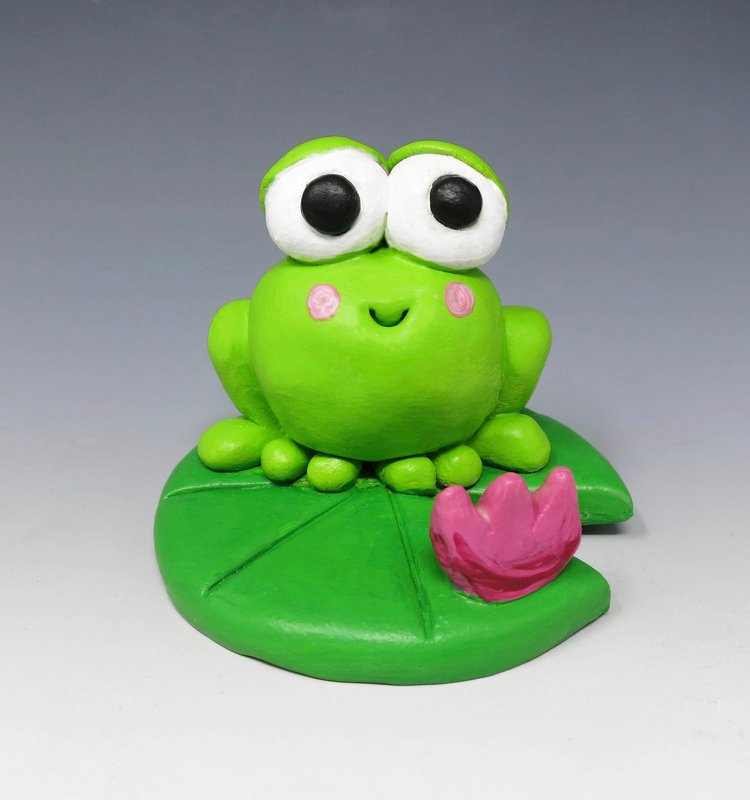
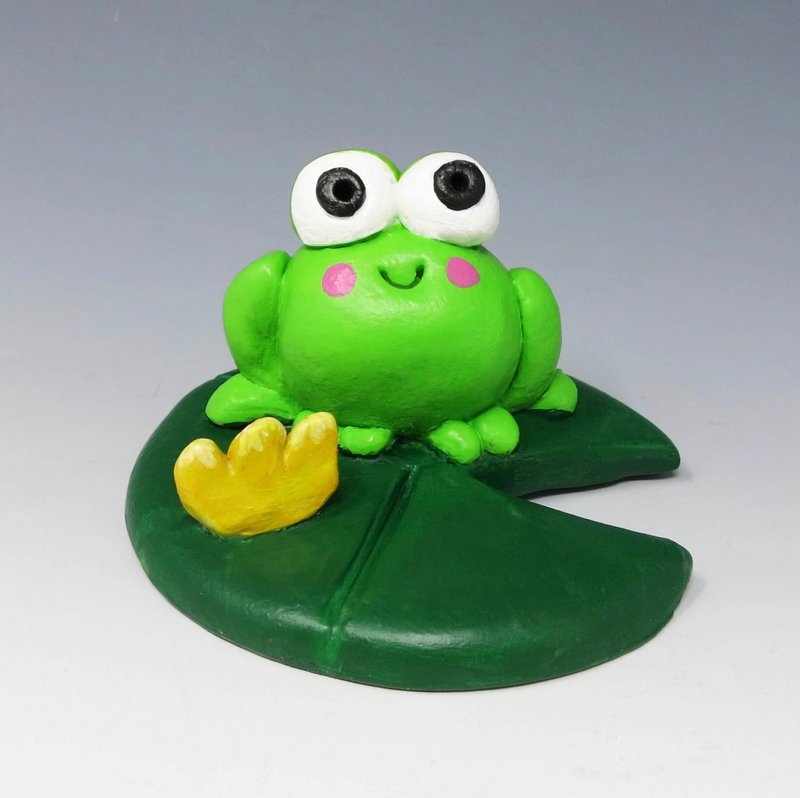
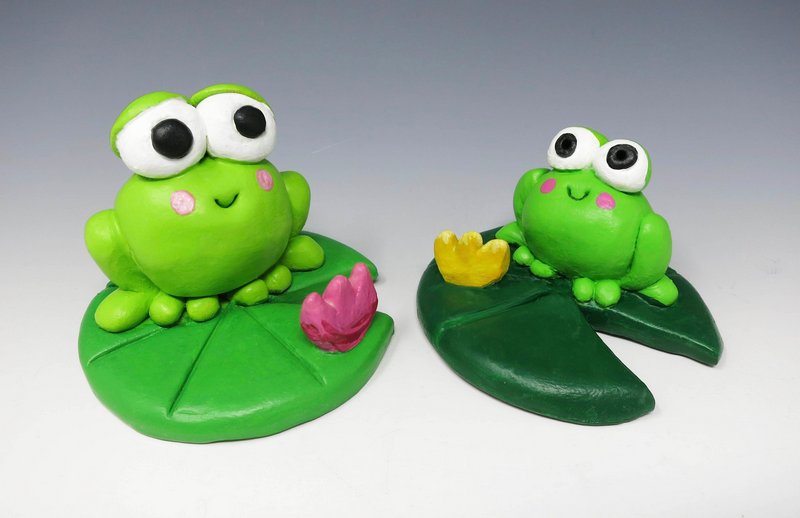
Base
Attach the frog’s body to the Lilly pad base.
Step 6
Eyes
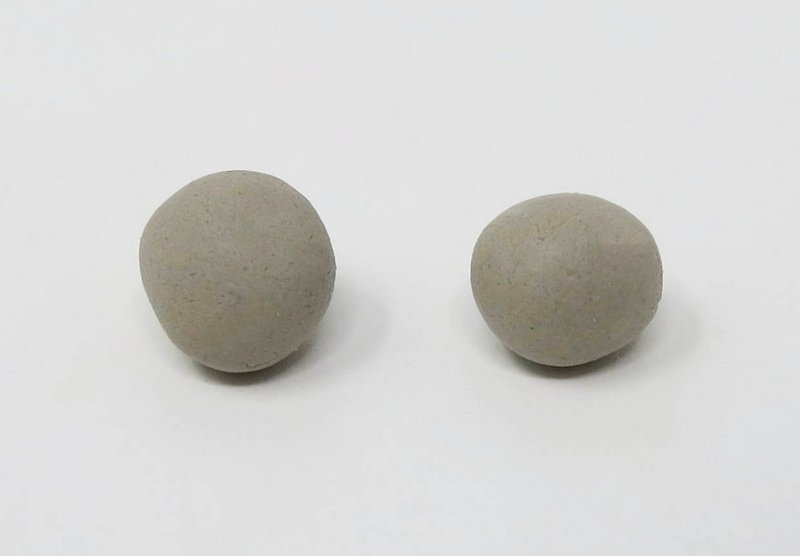
Roll 2 small spheres out of clay and attach them to the top of the frog’s body.
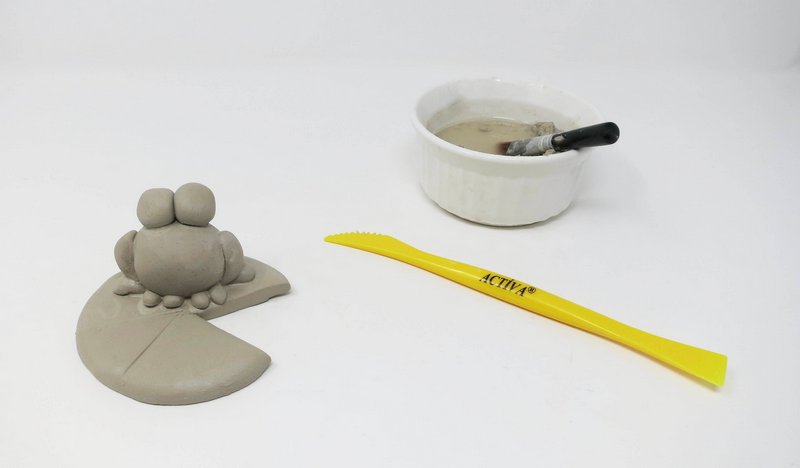
Roll 2 tiny spheres out of clay and attach them inside the larger sphere shaped eyes.

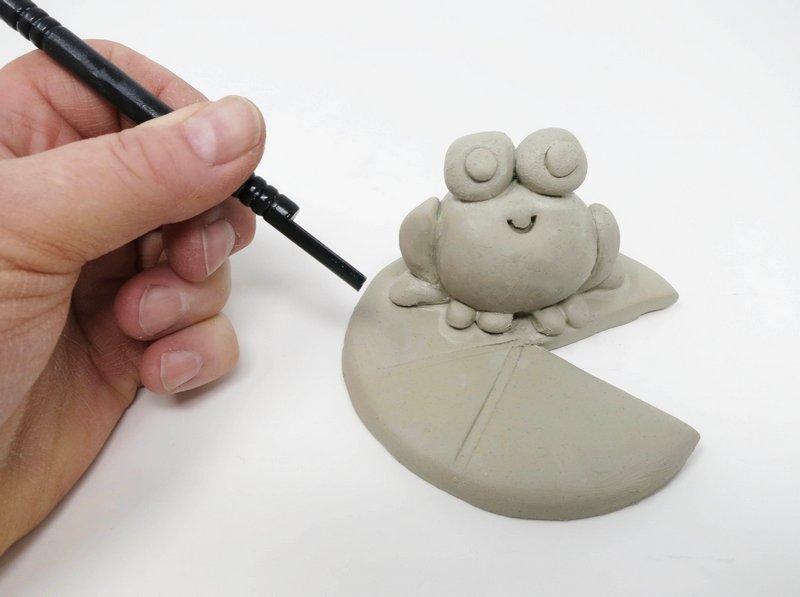
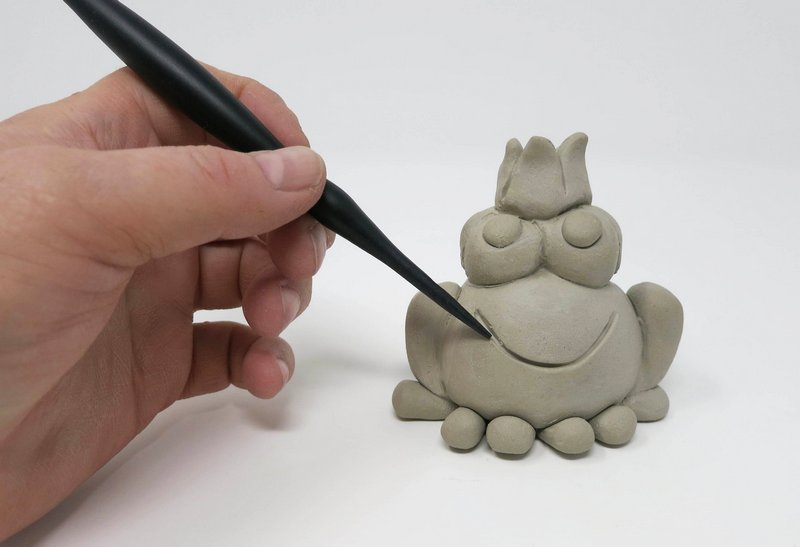
Step 7
Mouth
Draw, indent or add on a mouth.
Step 8
Dry
Allow the clay to dry for 24 hours.
Step 8
Dry
Allow the clay to dry for 24 hours.