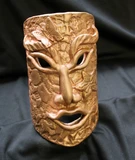
Mask Mania!

Masks have been around for thousands of years and they are used for many purposes. Now you can create your own mask using PLUS air dry clay!
Materials needed:
ACTÍVA Products
PLUS air dry clay
Roller kit
Wooden skewer for cutting clay
Texture for clay such as pre-made clay stamps, rubber stamps, buttons, lace or anything that can be pressed into the clay.
Piece of canvas or cloth to roll mask on
Old magazine, masking tape and wadded up newsprint to make mask form or use 4” PVC pipe cut in half lengthwise 10” long.
Plastic bag to cover mask form.
Wire cut off to slice clay (use a piece of fishing line or jewelry wire)
Small cup of water with small brush
Acrylic paint
INSTRUCTIONS:
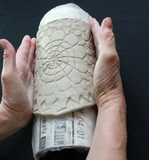
1. Use 4” diameter PVC pipe cut in half lengthwise or make mask form by curving magazine into a semi-circle and taping it. Push wadded newspaper into the back to make a more stable mold form. Place this in a plastic bag so that clay will not stick to mask form. Set aside to use later.
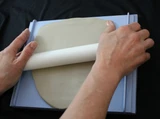
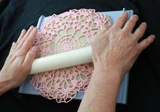
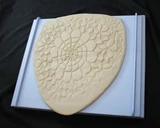
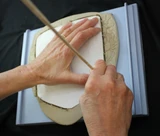
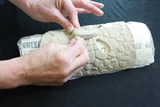
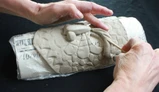
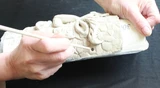
2. Cut a slab off block of clay and place on canvas and use rolling kit. Use the ¼” slats with the kit to roll out clay. If kit is not available use wooden paint sticks and a rolling pin. Make sure to always use the slats with the rolling pin. Press lace or texture into clay by rolling the pin over the clay still using the slats. Do this before cutting out the shape. Cut out the desired shape with skewer and place on mask form.

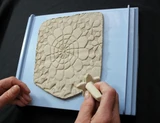
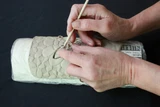
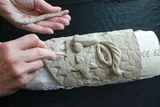
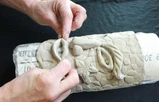
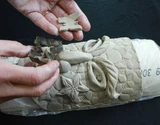
3. Cut out eyeholes and mouth if desired. Add other features by rolling clay into a snake and scratching lines on both pieces to be joined. Make a slip to adhere pieces by adding a small amount of water to clay and brushing this on both pieces to be joined. Gently press the pieces together to make sure they are stuck together. Use a straw to punch holes on sides to hang the mask with a wire.
4. Allow the mask to dry slowly overnight with a plastic bag placed loosely on top of it. The more complicated and thick the mask is the slower you should allow it to dry to prevent cracks and warping. Once dry, it is time to paint!