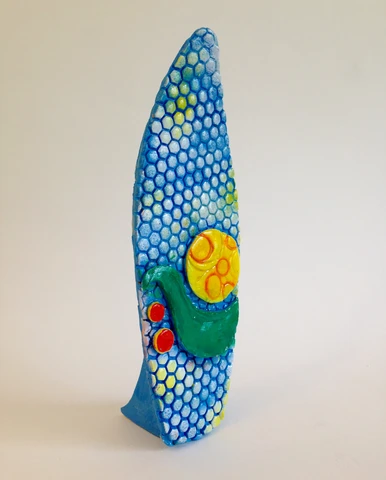
Surf’s up - time to hang ten, dude! A surfboard is an iconic
symbol of summer fun at the beach. If you aren’t lucky enough
to be one of the Hollywood celebrities who get their own surfboard
trophies from the annual Teen Choice Awards, you can have a blast
making your own miniature surfboard trophy with ACTIVA Air-Dry Clay.
Stand your surfboard up on your desk or bookshelf so you’ll feel like you’re
riding those waves all year long…and no wipe-outs!
Supplies:
• ACTIVA Plus Air-Dry Clay
• Non-stick work mat
• Wood skewer, palette knife, water mister bottle
• Rolling pin
• Texture/pattern tools (rubber stamps, silicon honeycomb hot pad)
• Acrylic paints
• Gloss sealer medium
• Paint brush, cosmetic sponge
• E-6000 (heavy-duty craft glue)
• Cardboard, pencil, scissors, fine-grit sanding block
• Baby wipes, plastic bag
Instructions:
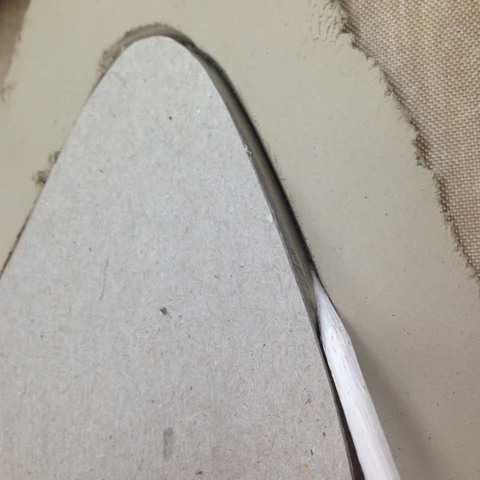
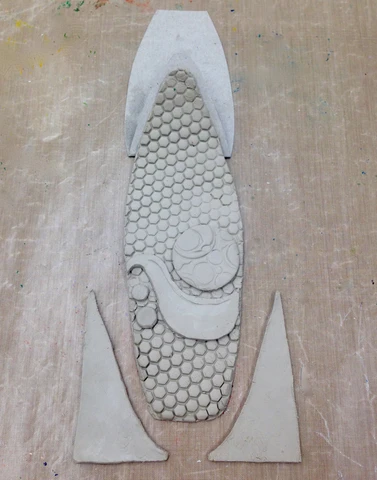
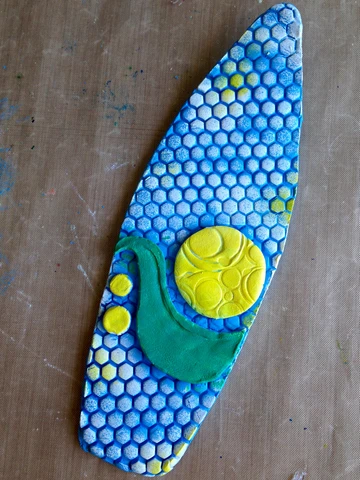
1. Draw or trace a surfboard shape (approx. 10” tall) on cardboard and cut out.
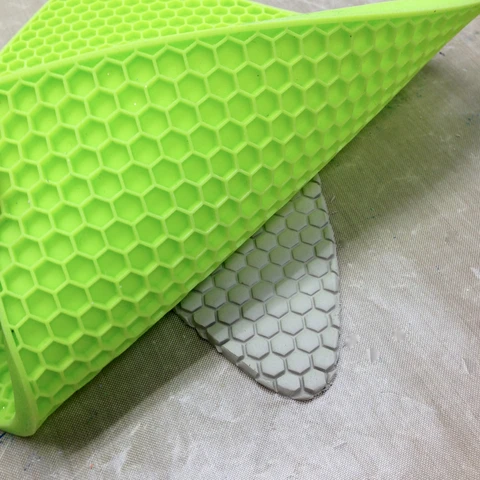
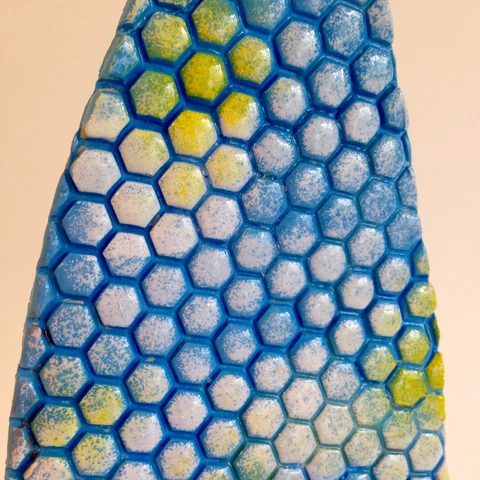
4. Press an all-over pattern into the surfboard with a silicone honeycomb hot pad or a damp rubber stamp.
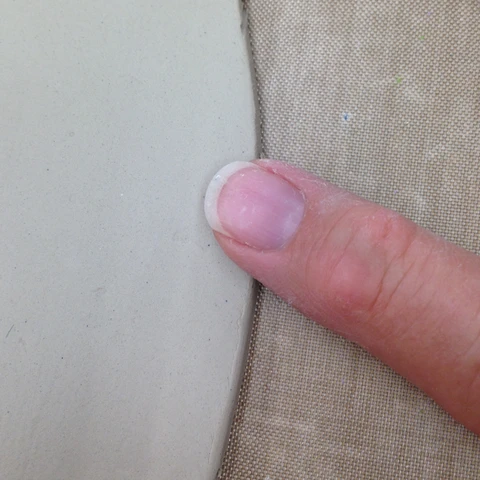
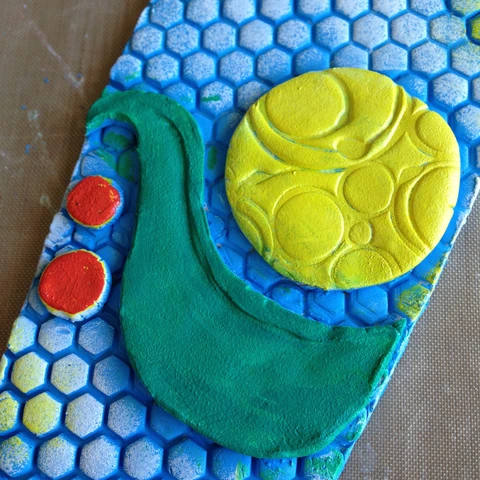
6. Dampen the back sides of each accent and gently press them into position on the surfboard.
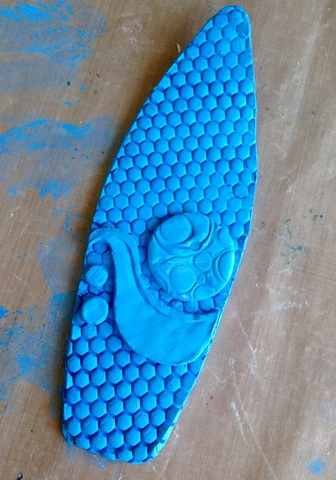
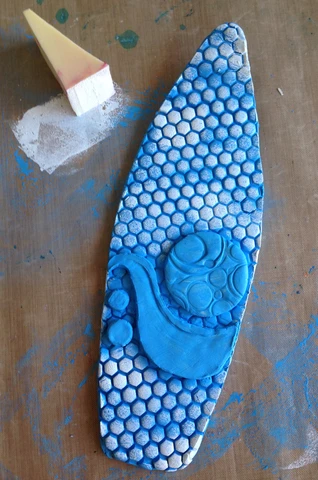
8. Paint all three pieces with a base coat of blue and let dry. Tap some random white clouds into the blue with a cosmetic sponge (blot off excess paint first).
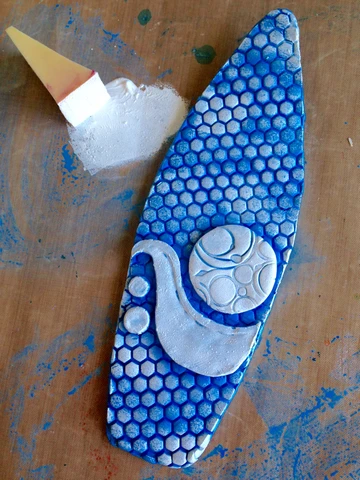
desired colors like yellow, teal and orange. Keep baby wipes handy to quickly
wipe away any paint that “goes outside the lines.” Tap a little extra yellow into
the background of the surfboard to give it an airbrush effect.
the top and sides; let dry.
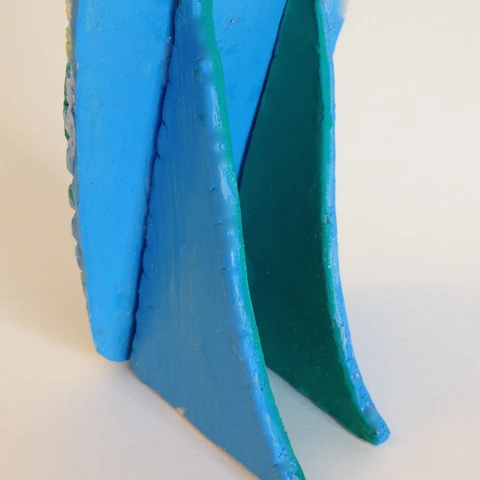
11. Gently sand the tall edges of each fin as needed to sit flush against the
back of the surfboard, then glue in place. Hold for a few minutes with your
hands until glue sets. Lay the surfboard down on a surface with the curved
end hanging off, so the surfboard is completely flat while the glue dries for a few hours.