Would you like to display your personal or business cards in a creative way? Follow these easy steps and create your own calling card display! Don’t worry if you don’t have access to a kiln, you can always use Plus Clay air dry clay to do this same project.
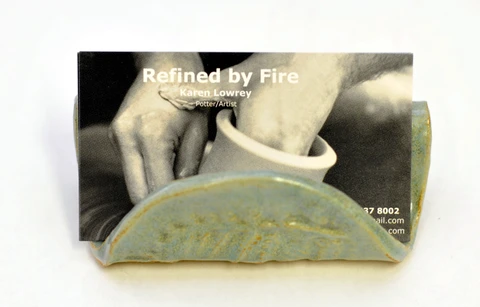
Materials needed:
½ lb of Blackjack Clay
Doily, buttons or stamps to push into clay
ACTÍVA Product’s Clay Roller kit
Cotton sheeting cut into a 8” x 8” square
A Small cup of water
Wooden skewer
Oval pattern cut out of cardstock or fun foam 4 ¼” wide and 5 ½” long
Access to a kiln
Stoneware glaze
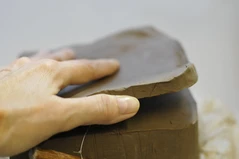
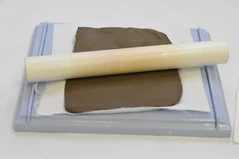
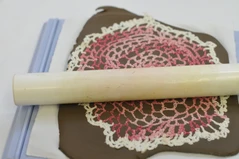
Place the doily on top of the clay and use the rolling pin to press the texture in. Make sure to keep the rolling pin on the side slats to ensure even thickness. Make your oval pattern out of card stock or fun foam by cutting it out 4 ¼” wide and 5 1/2” long. Using a wooden skewer begin cutting the pattern out of the clay.
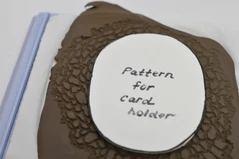
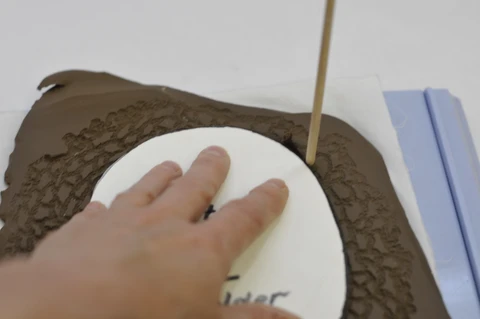
Dip your finger into the water and begin smoothing the rough edges of the clay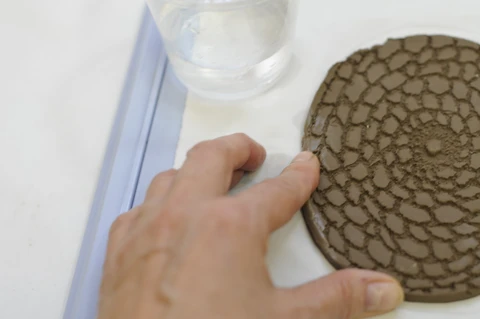
Now carefully flip the clay oval over making sure not to stretch or distort the piece. Begin to stamp buttons or handmade stamps into a 1 ½” section on one end of the oval. Use cornstarch to prevent the stamps or buttons from sticking to the clay.
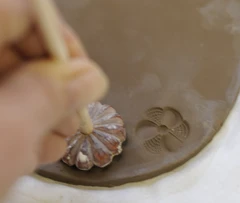
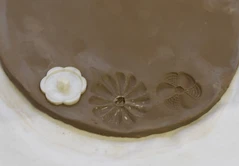
Flip the clay oval over again and turn the stamped area up. You should accordion the clay so that it can stand on its own. When you are finished, the card holder should be in a slightly “w” shape. Place a handful of calling cards in to make sure that will stand up and fit properly
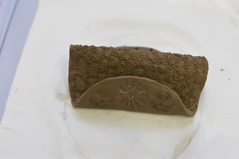
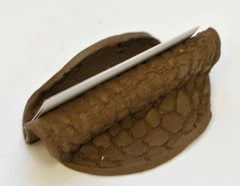
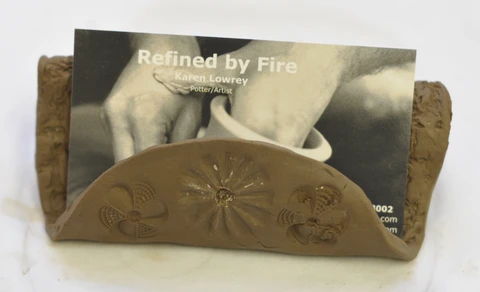
Remove your cards, and let dry completely. Bisque fire your card holder to 1800 degrees Fahrenheit and then let cool. Brush on stoneware glaze, making sure no glaze is on the bottom of the piece. If so, wipe it off with a wet sponge. Glaze fire to suggested manufacturers cone. Most stoneware is fired to a cone 5 or 6. If you don’t have access to a kiln, you might consider making this project in Plus Clay air dry clay. The instructions are the same except you would allow it to air dry and then brush on acrylic paints. A final coat of clear acrylic spray will seal your card holder. The possibilities are endless when you begin playing in the mud!
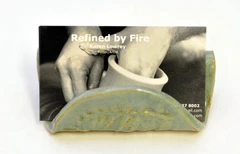
Artwork and photography by Karen Lowrey


 />
/>
 />
/>