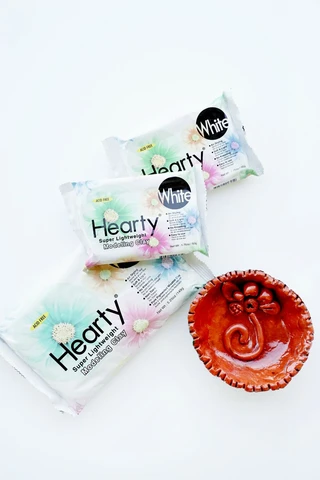
Mexican Inspired Pottery with Hearty Clay
Materials:
Rolling pin
Plastic knife
Circle template
Plastic wrap
Paper bowl
Cool temp glue
Wooden beads
Terra cotta colored acrylic paint
Turquoise colored acrylic paint
Clear acrylic brush on varnish
Brown colored acrylic paint
Clear gloss acrylic spray
Instructions:
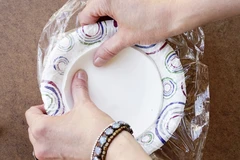
Roll the clay out onto plastic wrap (or I’ve used wax paper) so it’s approximately 6” round and 1/8 to ¼” thick.
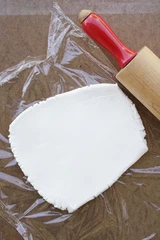
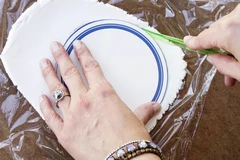
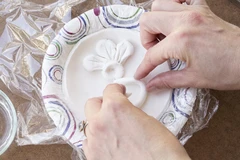
Cut into a circle shape. Wet your finger with water and rub over the edge to smooth out.
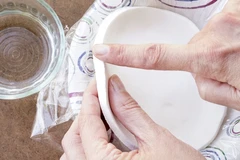
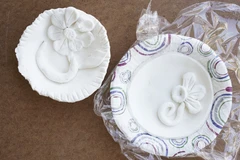
Lay into a bowl and leave to dry. After a half day or so, flip the bowl over so the back can dry out as well. The bowl should be pretty firm before pulling it from the bowl mold.
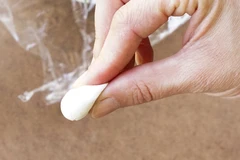
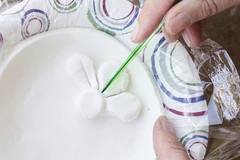
With the extra clay, roll out coils and petals and press into the center of the bowl to create a surface decoration. It helps to add a dab of water to the back of each piece before pressing it into place.
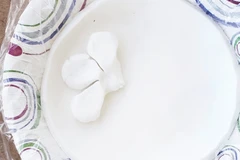
You can use tools to add texture to the bowl and decorative pieces. A plastic butter knife works great!
Once the bowl is dry, glue three wood pieces for the feet.
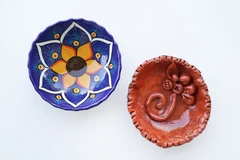
Paint the entire bowl with terracotta paint.
Optionally, you can sponge on turquoise paint around the outside.

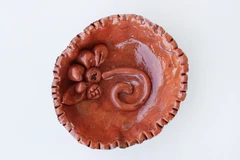
Make an antiquing varnish by placing 2 tablespoons of brush on varnish with a dash of brown paint. Brush over the bowl. This will highlight the texture.
You can leave as is or give it one more quote of spray varnish to make it extra shiny!
Extra supply sources:
Folk Art paint in terra cotta, brown and turquoise colors from Plaid
Clear gloss acrylic spray from Krylon