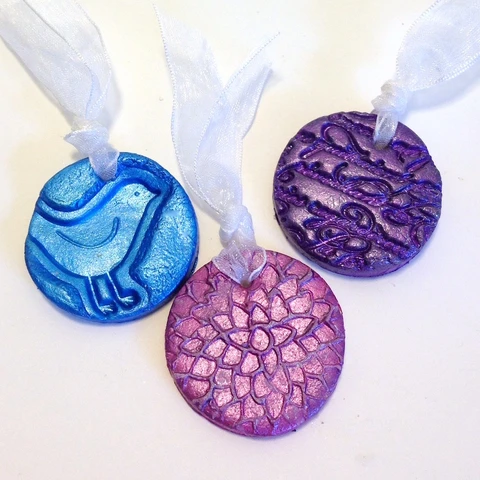
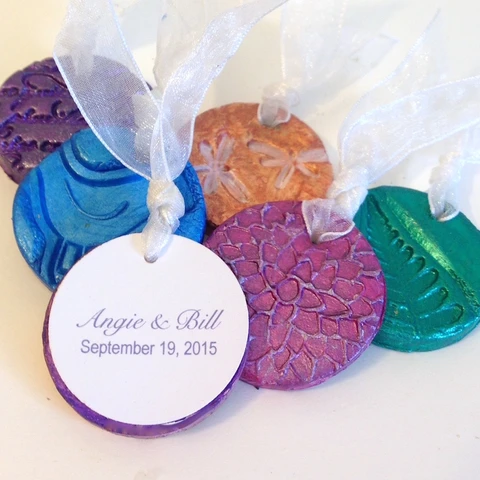
Create unique, handmade favors for your wedding guests that are quick and easy to make, yet truly worth keeping – hand-stamped clay medallions painted in colors to match your location or wedding theme. Each medallion is not only pretty, but versatile, too. You can add it to a beaded cord to wear as a pendant, dangle it from the bottom of a sun catcher, or even turn it into a magnet. Use several different stamp images and colors for variety. Whether you place one medallion at each table setting or display them all together in a bowl, your guests will have fun choosing and swapping their favorite images and colors. You can use any acrylic paint, but I especially love using iridescent paints for that extra shimmer.
Supplies
-
- Color Plus Clay – white
- 5” round metal cookie cutter
- Non-stick work mat
- Rubber stamps
- Stamp ink (optional)
- Wood skewer
- EarthSafe Finishes Iridescent Paints by Ann Butler
- White paint marker
- Cardstock
- 5” round paper punch, 1/16” mini hole punch
- Sheer ribbon, large beading needle
1. Press out some clay to about ¼” thick, using the heel of your hand (or a non-stick rolling pin) on top of a non-stick mat. Press a rubber stamp firmly into the clay to create a blind embossed image. If you want to tint the recessed areas of the image, ink up the stamp first.
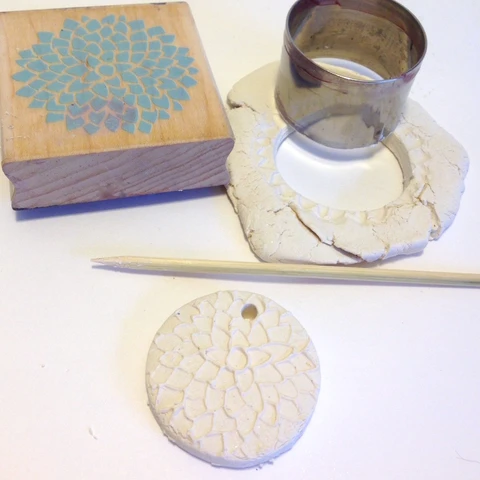
2. Cut out medallions from the embossed clay with a cookie cutter. Use a wood skewer to poke a hole near the top of each medallion. Smooth out the back and edges as needed and set aside to dry for 24 hours.
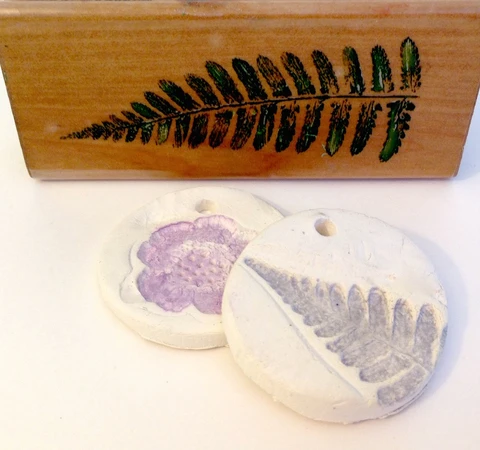
- Paint each medallion (front, edge, back) 2 coats, making sure to brush away and blend in any excess paint that might pool up in the recessed areas. Once dry, try highlighting either the raised or recessed areas with a white paint marker.
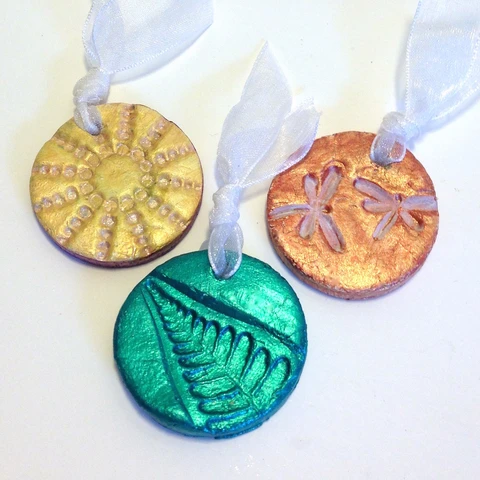
- Print the couple’s name and wedding date several times on a sheet of cardstock and punch into circle tags. Punch holes in each circle tag to match the holes in the medallions.
5. Thread some ribbon through a tag and a medallion (back to back) with the needle, tie an overhand knot and trim the ribbon ends.


 />
/>
 />
/>