Materials Needed:
- Blackjack Low Fire Clay™ Natural Kiln Earthenware
- Activa-Tools
- Brush
- Water bowl
- Glaze
Step 1
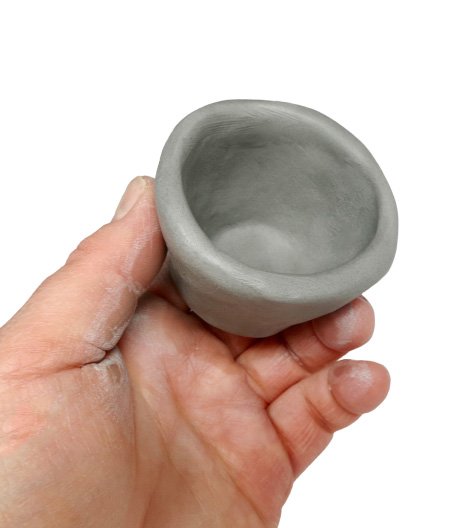
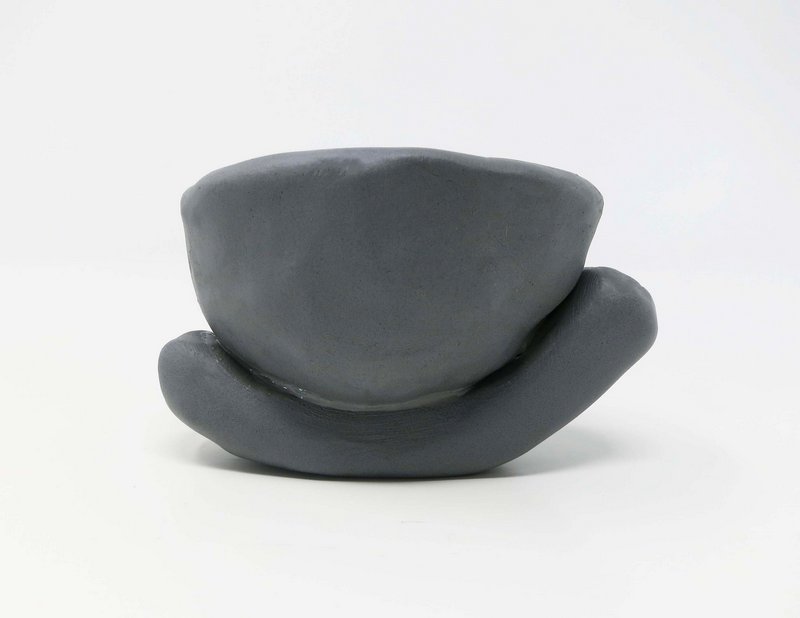
Pinch Pots
Form a pinch pot.
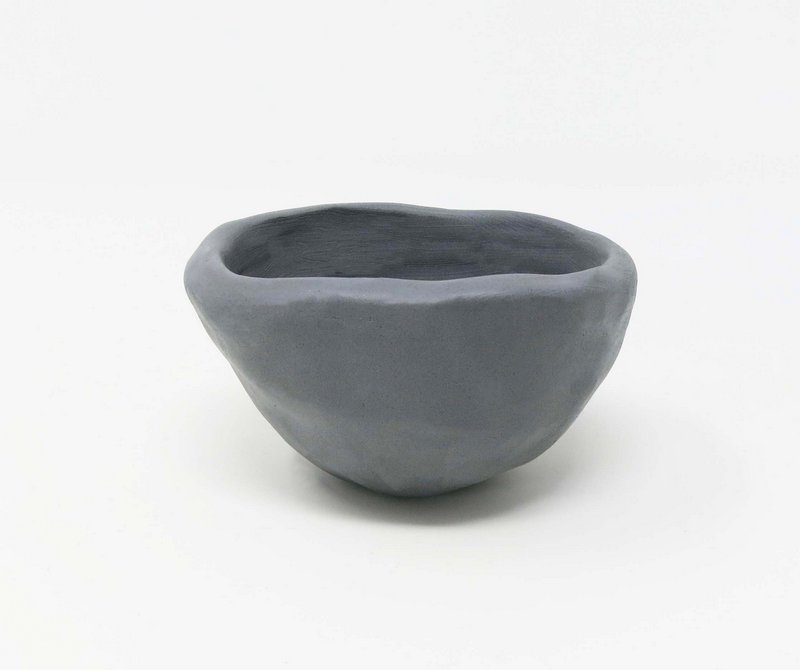
How to make a pinch pot:
1. Push thumb into the center of the clay sphere.
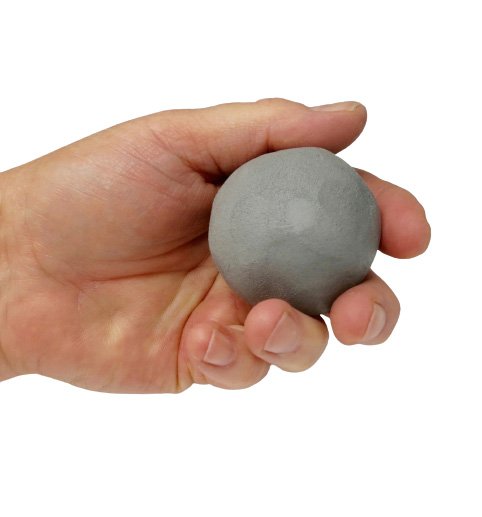
2. Push thumb into the center of the clay sphere.
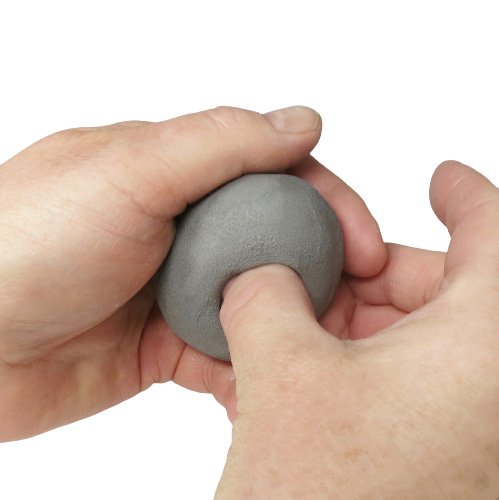
3. Pinch the clay with thumb and forefinger starting at the bottom and turning as you go.
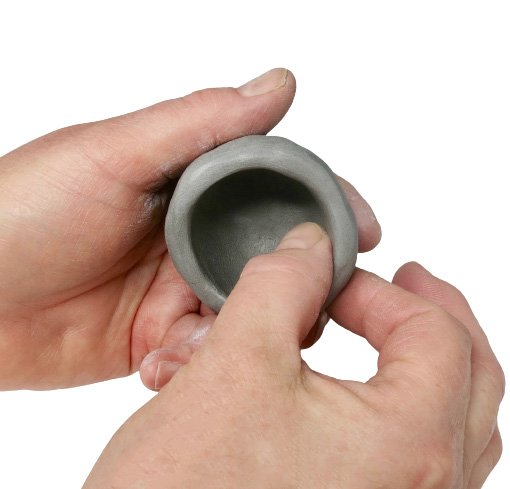
4. Stop pinching when the pot is wide enough.
Step 2
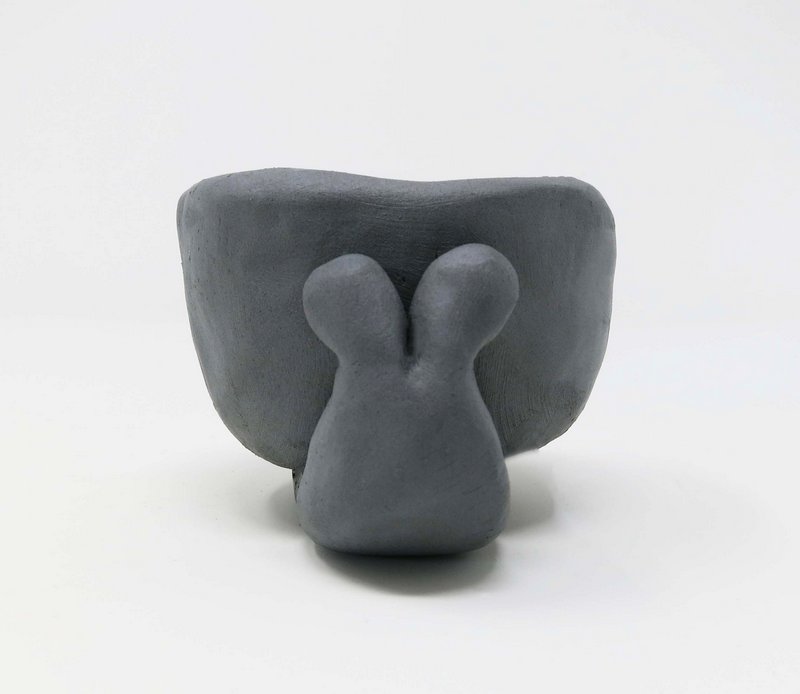
Muscular Foot
Score the rim of each pinch pot.
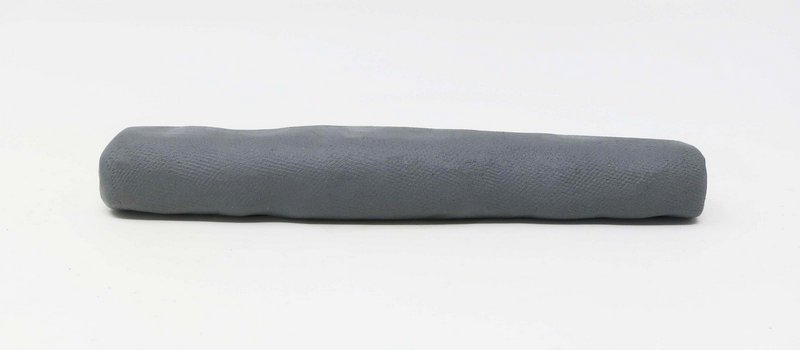
Roll a thick cylinder of clay.
Place the cylinder under the pinch pot. Bend one end up for the snail’s head and cut of the excess clay.
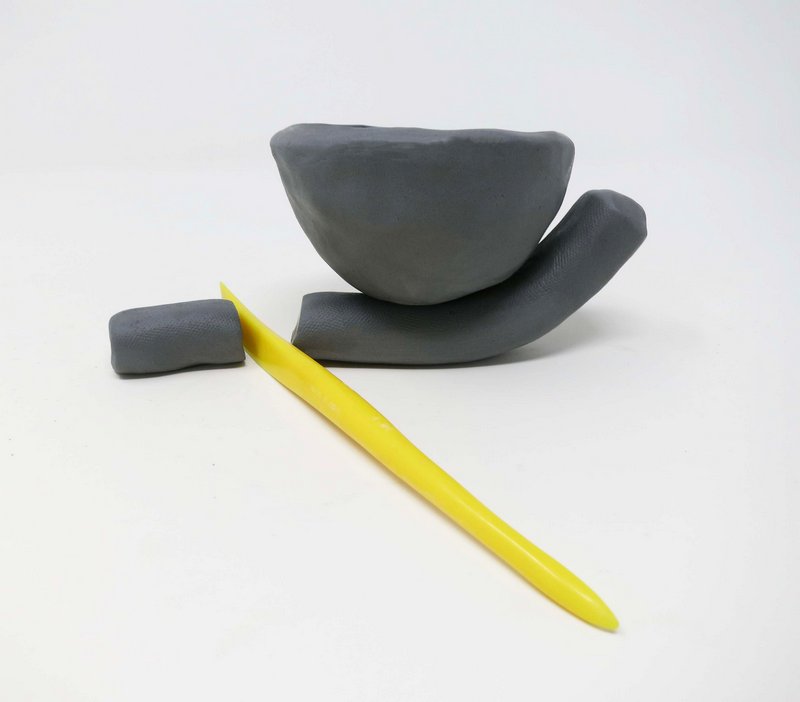
Score and slip the two pieces together.
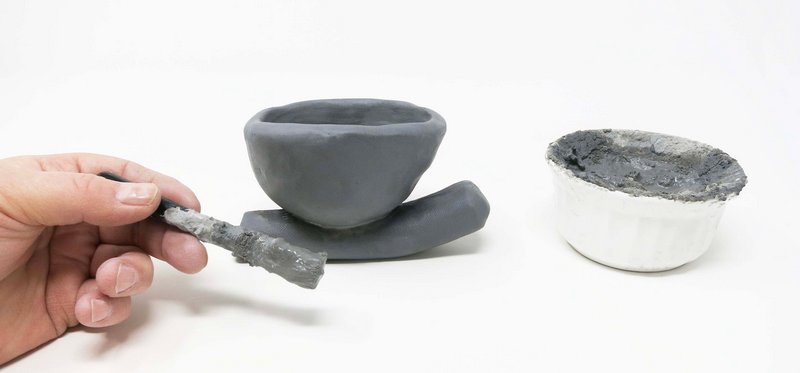
*NOTE: *Scoring is scratching the edges of clay pieces before joining them together.
Slip is liquid clay used to join pieces of clay together like glue.
Round off the edges of the cylinder using wet fingertips. One end for the snail’s head and the other for the foot.
Step 3
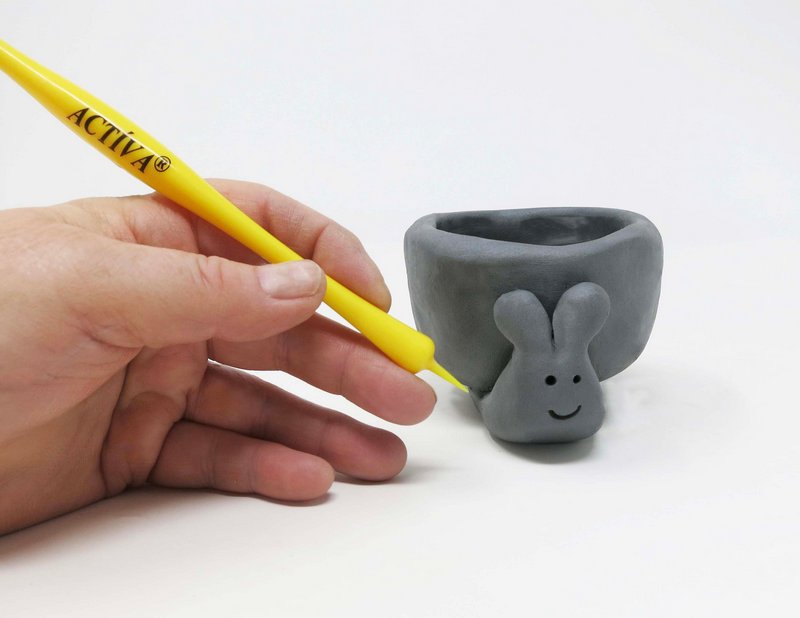
Stalks
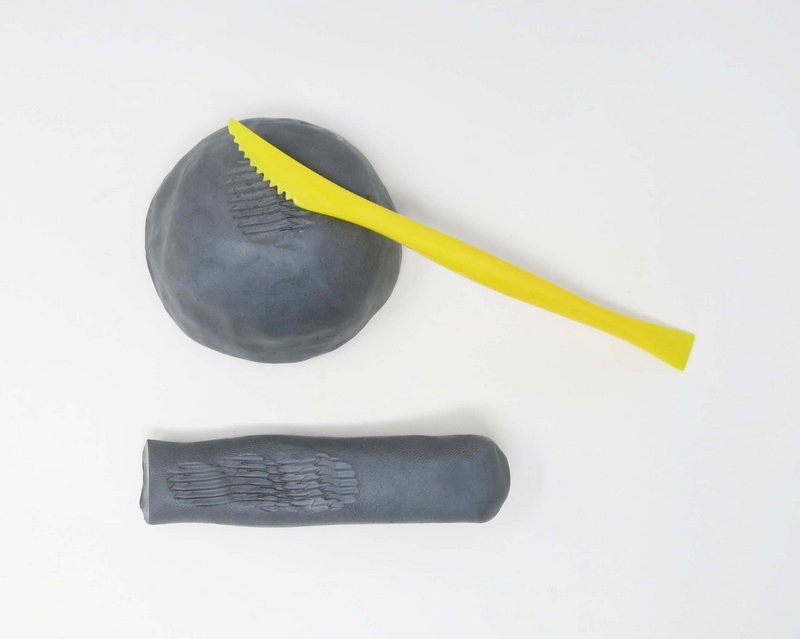
Slice the top of the cylinder used for the head part way down the middle and round the two ends to form the snail’s stalks.
Step 4
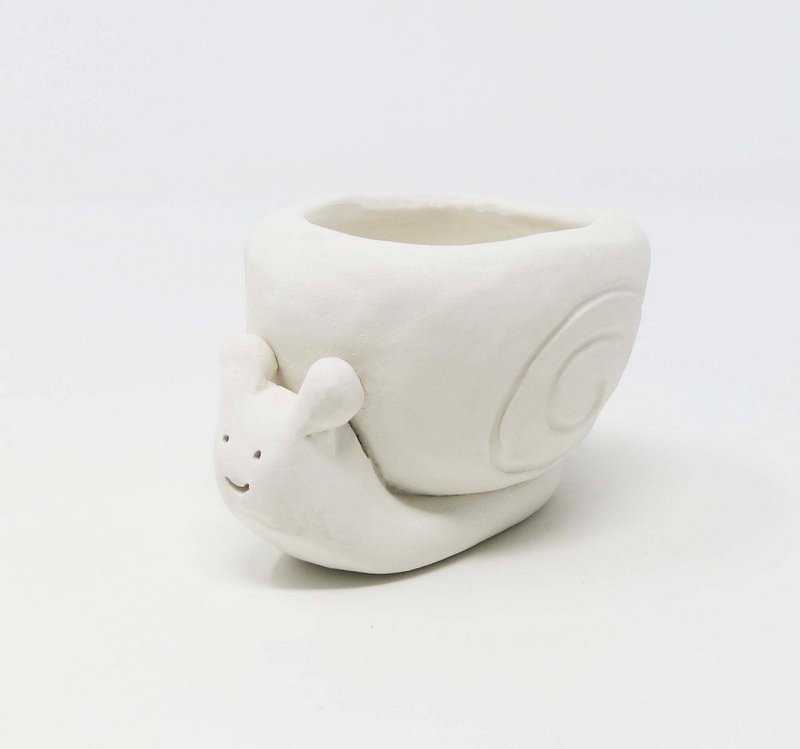
Face
Draw on a face using the pointed tool.
*Eyes can be drawn on the snail’s stalks or down more on the head.

Step 5
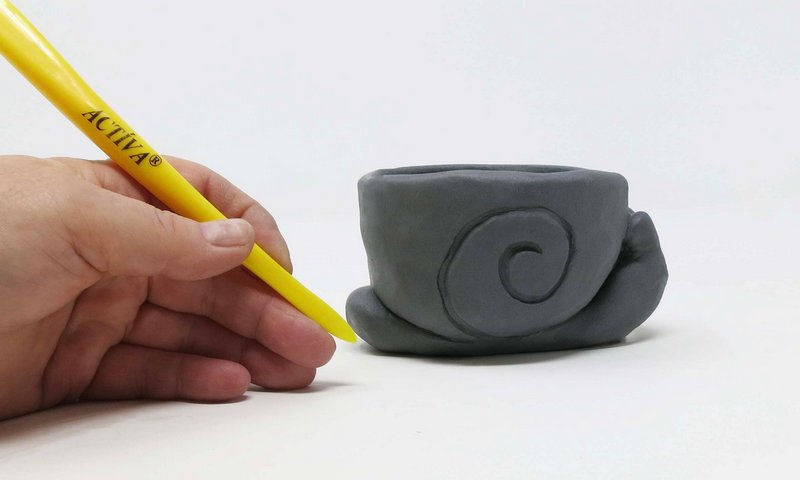
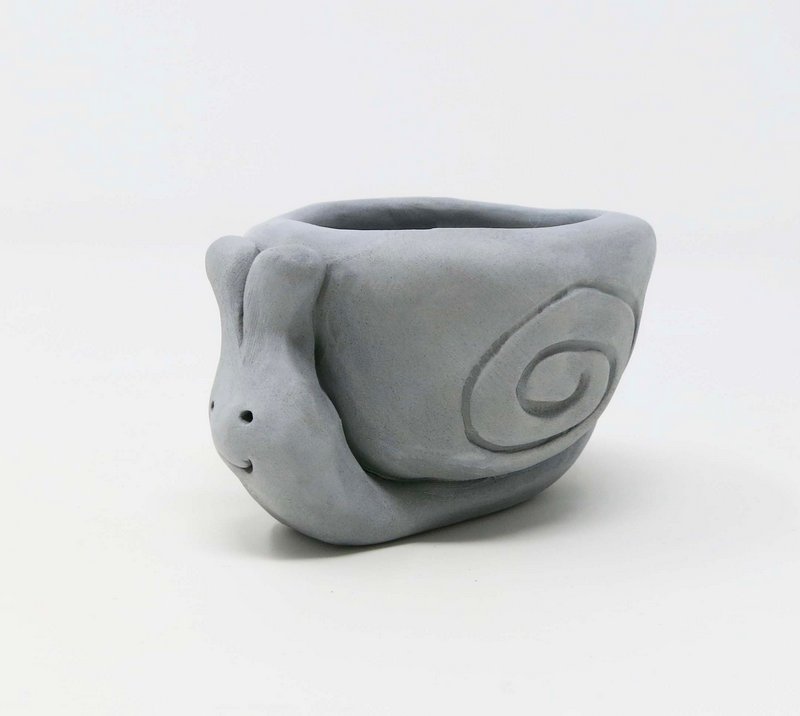
Shell
Carve a spiral line into the sides of the pinch pot.
Step 6
Dry
Allow clay to fully dry. Drying time will vary depending on temperature and humidity.
The clay will get lighter in color as it dries.
Step 7
Bisque Fire
Fire clay in kiln to cone 04. The clay will fire to a bright white.
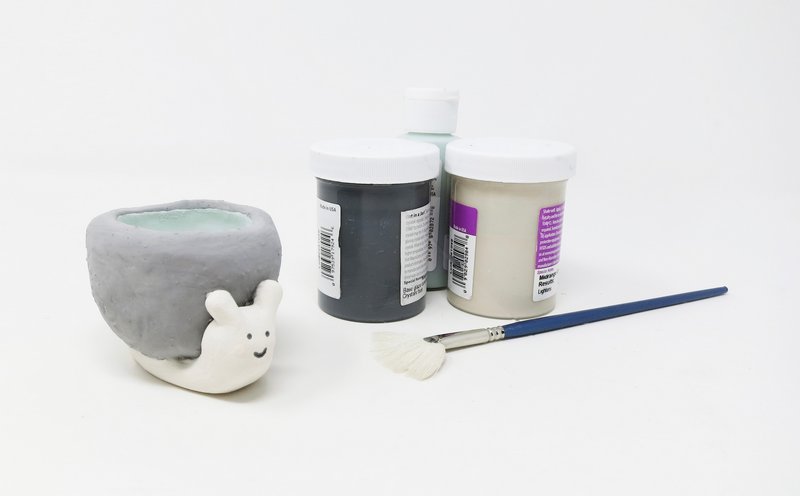
Step 8
Glaze
Apply glaze according to manufacturer’s directions.
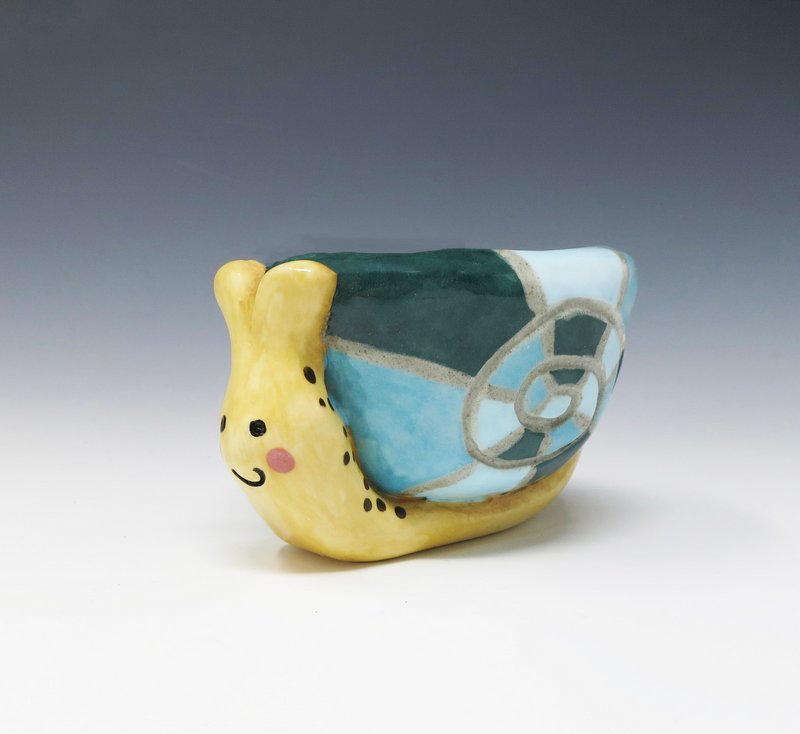
Step 9
Glaze Fire
Fire the glazed piece in the kiln. Follow manufacturer’s firing guidelines.
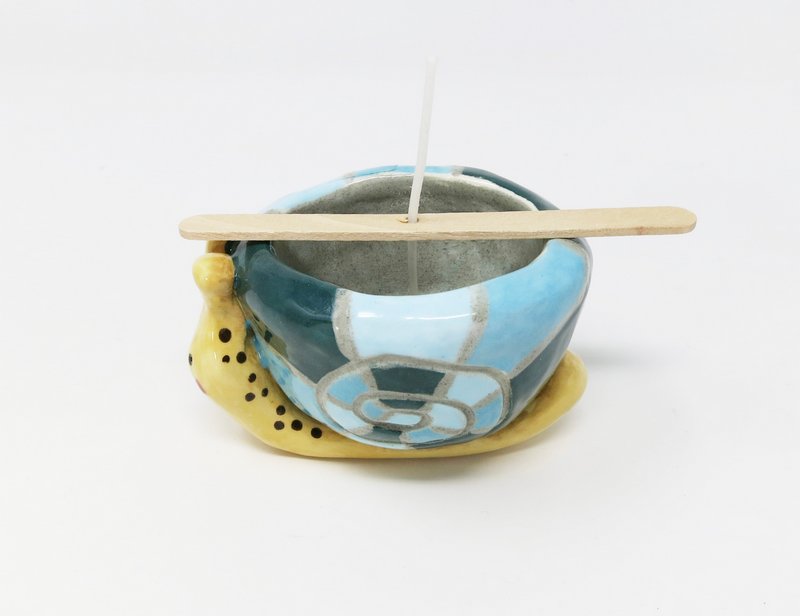
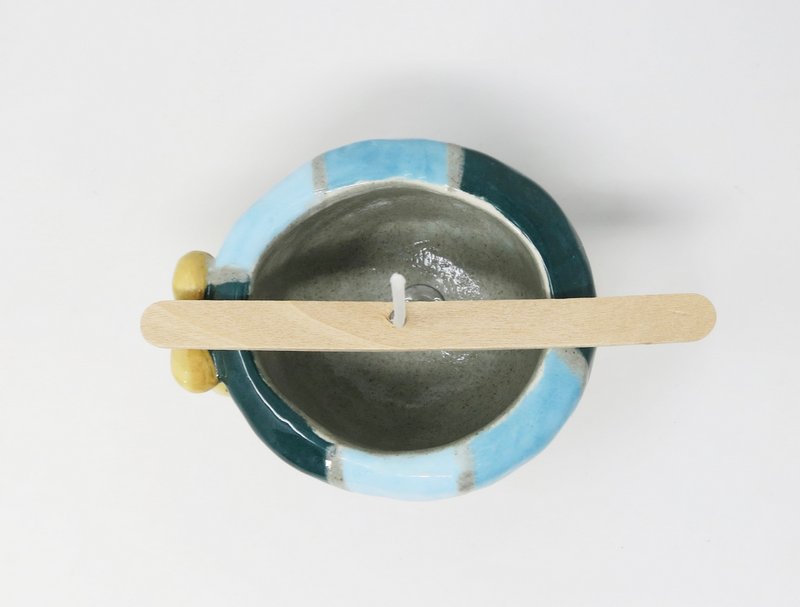
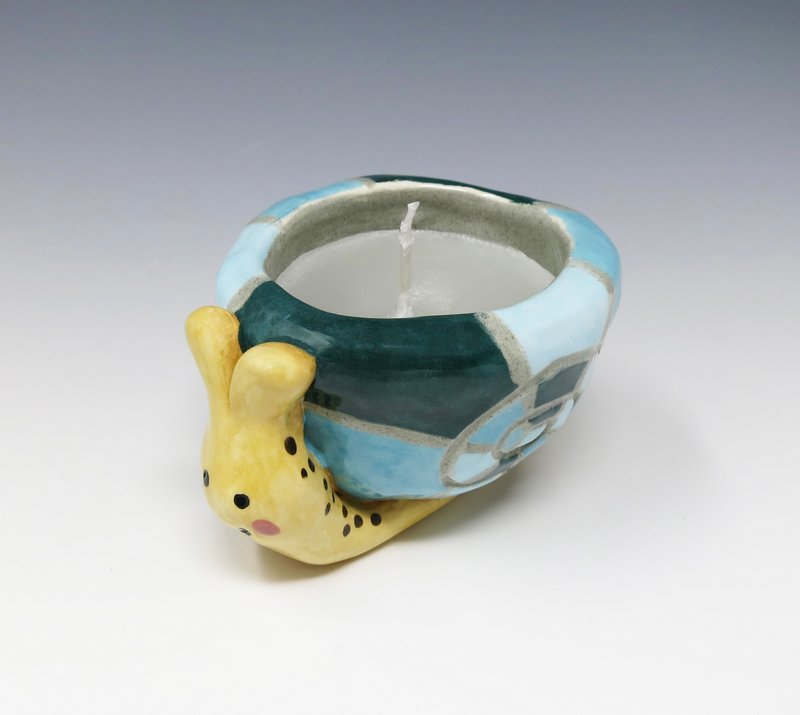
OPTIONAL
Melted paraffin wax and a wick can be added to turn the snail pot into a candle.