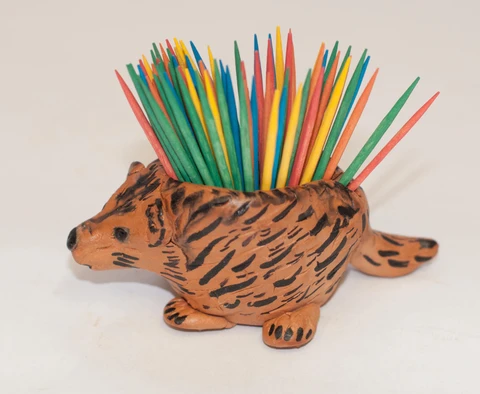
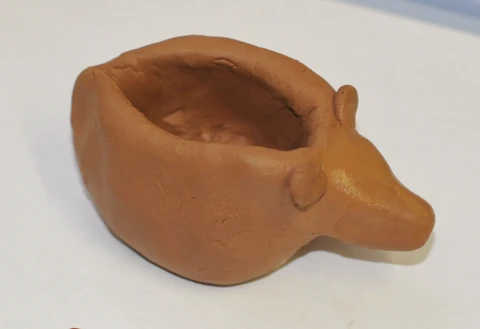
A fun art project for educators to introduce the porcupine to students while still having a functional purpose! This cute little Porcupine would also look good taking center stage on a table at a party.
Materials needed:
Plus Air Dry Clay in Terra cotta
Clean work-space with paper or cotton sheeting
Small cup of water
Toothpick
Mini Popsicle stick (dollar store)
Mini cupcake paper
Black permanent marker
Clear acrylic sealer
Educators can use this project in the classroom by showing pictures of porcupines to students describing every aspect that makes these mammals so unique.
Instructions:
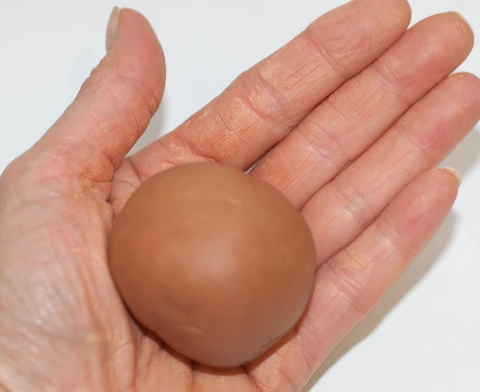
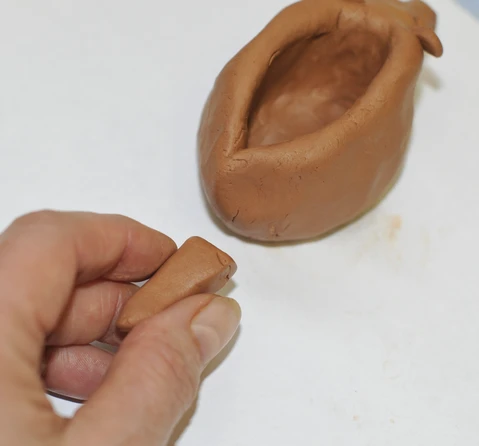
To make this porcupine, begin by pulling off a piece of clay the size of a large walnut.
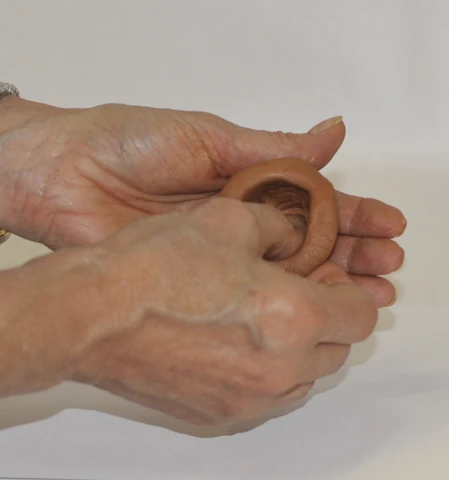
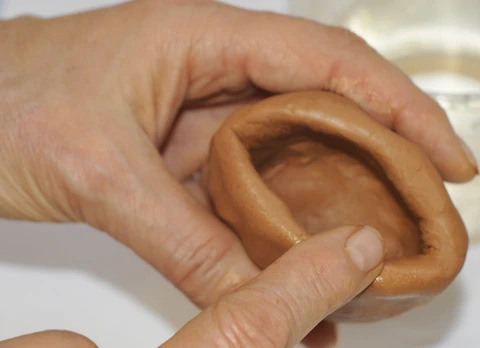
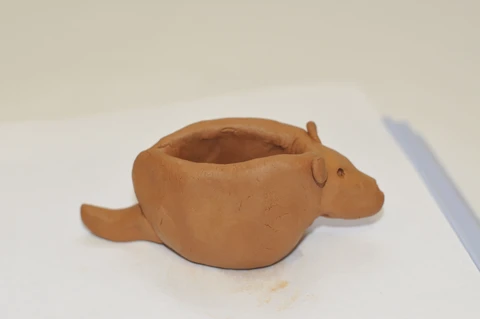
Begin making a pinch pot by sticking your thumb into the ball of clay. Pinch the clay with your fingers on the outside of the pot and pinch and turn. Try to keep the mouth of the pot no more than 1 ½” wide. The pinched pot should be at least 1” deep so the toothpicks will stand up. Press the sides of the pot toward each other to create an oval shape for the body. Moisten your finger and smooth out any cracks that may appear.
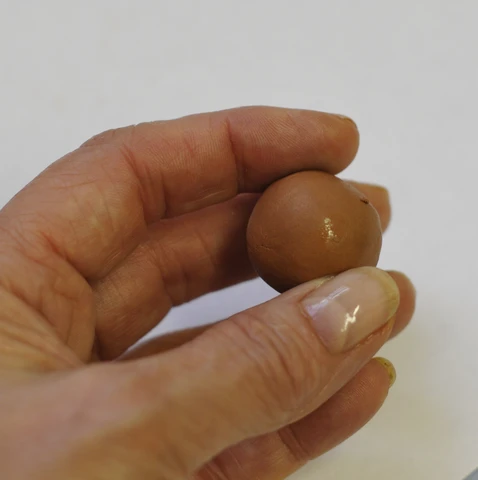
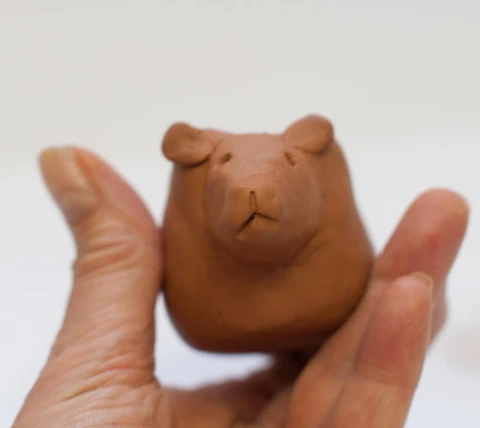
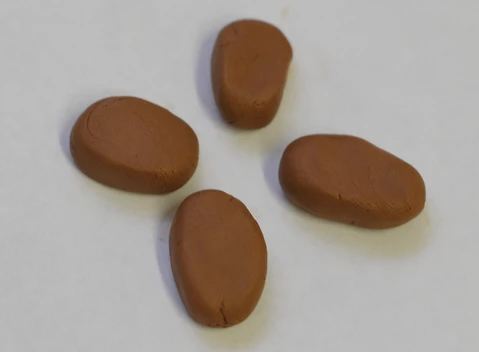
Pinch off a piece of clay the size of a grape to make the head. Roll this into
a ball and then pull out the clay slightly to make a snout. It might look like a gumdrop.
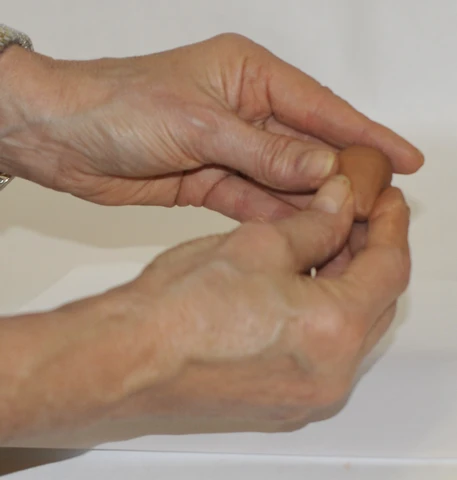
Moisten this piece and the pot and press firmly together to attach the head of
your porcupine. Using a mini Popsicle, gently blend the neck into the body.
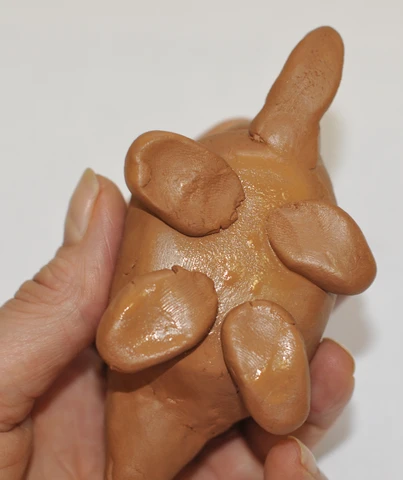
Roll out two small balls to make the ears. Press slightly and pinch into teardrops.
Moisten these two pieces and put on the head.

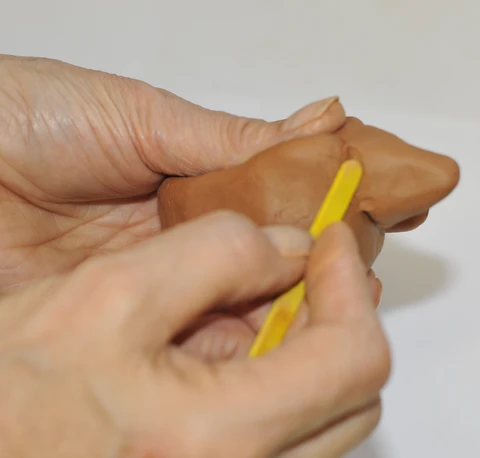
Press a pencil into the eye-holes and then with a toothpick draw the mouth
onto the porcupine by drawing a sideways “Y”.
With a small piece of clay the size of a marble, make a coil for the tail. Moisten both pieces and push it firmly on the body.
Take your toothpick and draw on the quills of your porcupine. Let your artwork dry completely. Take a black permanent marker and draw the eyes, nose and more quills.
Let dry. Lightly spray the clear acrylic sealer and let dry. More coats can be added for a shinier finish. Line your toothpick holder with a mini cupcake paper so that you can dispose of the paper after each use.
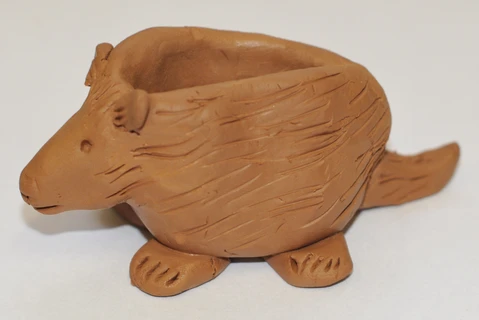
Enjoy your prickly porcupine!!
