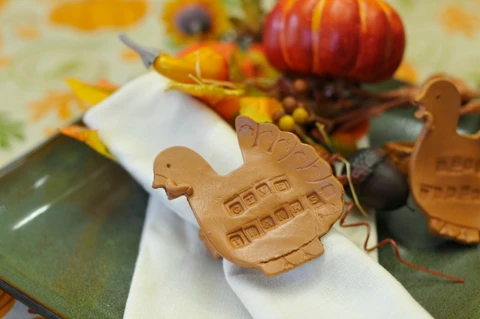
Thanksgiving is just around the corner and what could be more perfect than personalized turkey napkin rings? Set a beautiful table and feel the warmth of the holidays with this extra touch!
Materials needed:
ACTÍVA Product’s Clay Roller kit or wooden slats ¼” thick and rolling pin
Cotton sheeting cut into 8” x 8” square
Small cup of water
Wooden skewer
Crocheted doily (optional)
Ruler
Two cardboard paper towel tubes cut in half
Two small plastic bags or plastic wrap
Alphabet stamp set (needs to be small letters)
Turkey or your choice cookie cutter
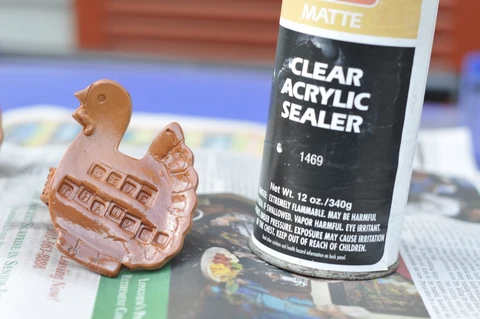
Clear acrylic spray
Epoxy glue (optional)
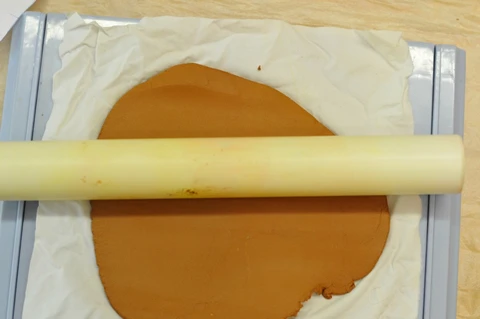
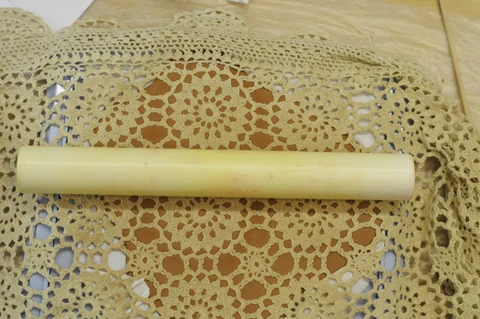
Place a piece of cotton sheeting down on your roller kit to roll your clay out. Roll out a slab of Plus Clay 1/4” thick. Make sure to keep your rolling pin on the slats for even thickness.
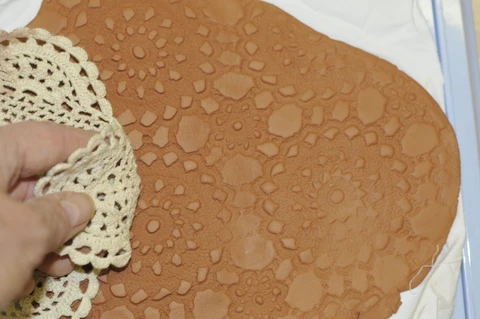
(Optional) Place a crocheted doily on clay. With rolling pin on slats, firmly press doily into clay. Remove the doily to display texture.
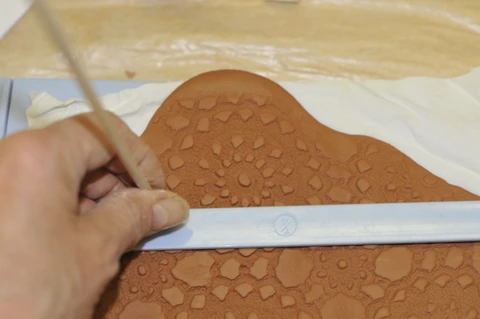
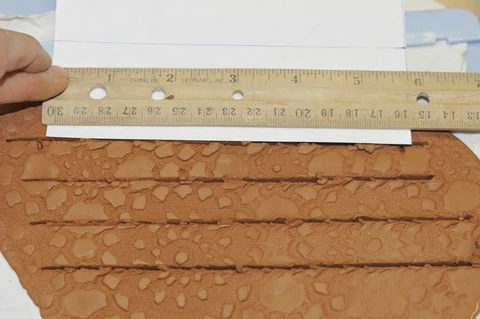
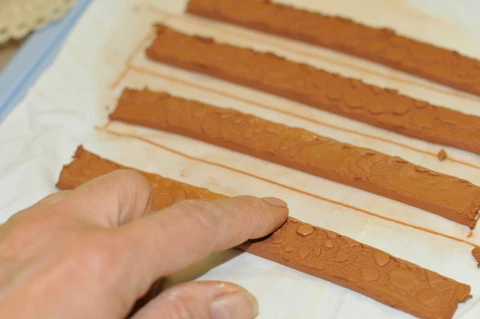
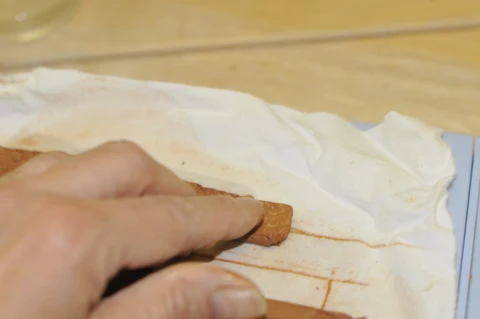
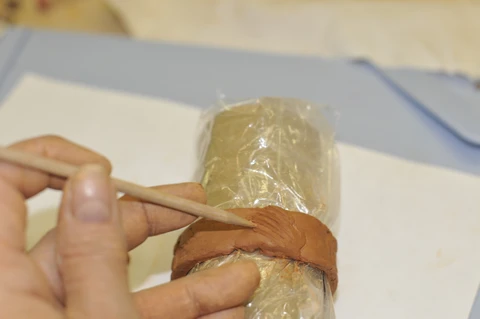
Place a plastic bag over the cardboard paper towel tube. This makes removal of the rings easier as they won’t stick. With ruler, mark off 6” x ½” strips to make the rings. With the wooden skewer at a 45 degree angle cut each strip. Take each strip and slightly moisten your fingertip to smooth out any rough places on the edges.
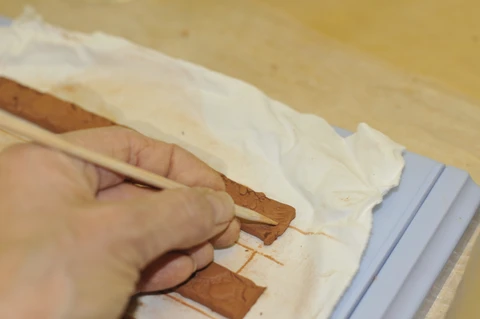
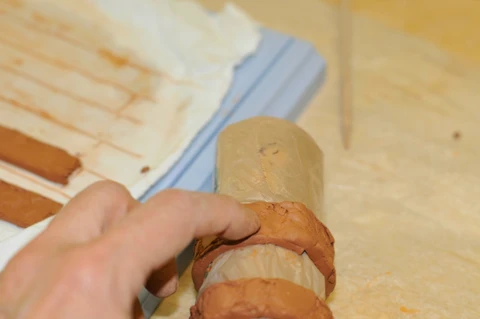
To adjoin the ends, score or scratch the ends that overlap and moisten each scored area. If you need to adjust the length to fit the tube do so now. Wrap this around the plastic covered cardboard tube and press the ends firmly on top of each other. Repeat this process until you have four rings. Set this aside to firm up.
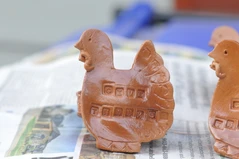
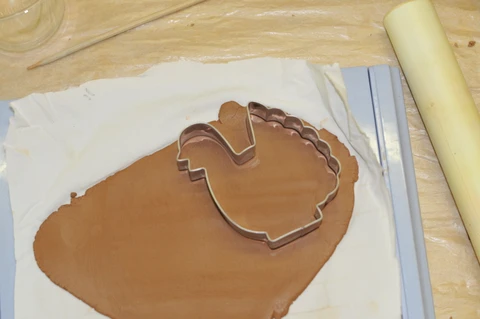
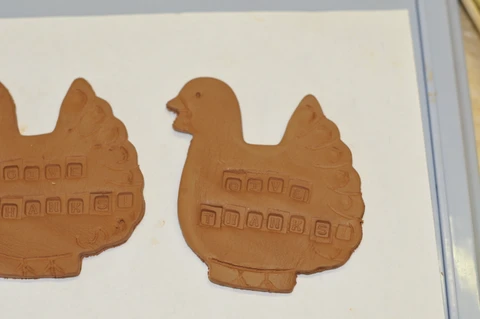
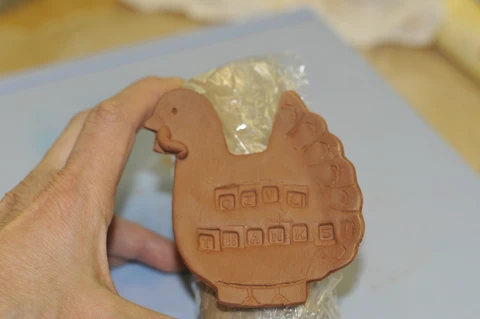
Roll out another slab of clay. When the clay is the correct thickness, use the cookie cutter to cut out the clay. Moisten your fingertip and smooth around rough edges. Carefully press in your sentiment or family names with your stamp kit. I stamped in the words, “Give Thanks”. Using the wooden skewer, draw in eye, feet and feathers. Make sure not to go too deep. Take a small coil of clay to make the wattle at the neck. Attach by scoring both pieces and wetting both sides and pressing it onto clay. With your hands, curve the tail feathers slightly to make your turkey more realistic.
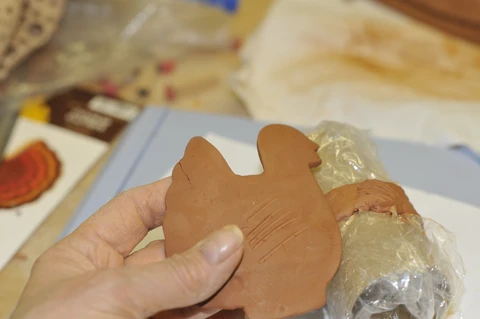
To assemble, score the turkey and the ring and then moisten both pieces and press firmly together. (Optional) Let both pieces dry and then epoxy the two together. Let dry completely.
Spray your artwork with a clear acrylic spray in a well vented area. Let dry. What a thoughtful addition to your holiday table!!