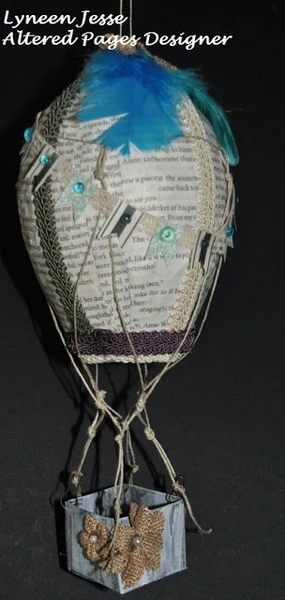
To start gather your supplies to work with Ridge Wrap:
scissors, balloons ( small water balloons),
container for warm water, protective cover for table
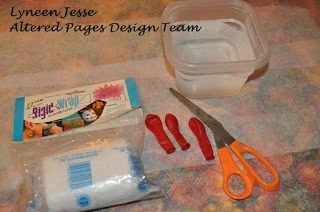
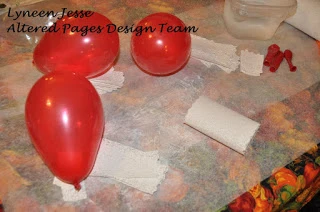
Cut the Ridge Wrap in strips (about 1 1/2 x 4) and blow up
balloons... you are now ready to start applying Ridge Wrap.
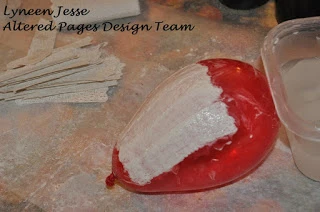
Wet Ridge Wrap thoroughly in the bowl of warm water,
remove excess water. Slightly overlap each piece as you
add them to the balloon. When applying, rub the Ridge Wrap
to help close the plaster holes in the wrap.
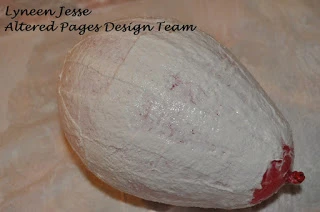
Apply the first layer of Ridge Wrap in one direction.
No need to let is dry before applying the second layer.
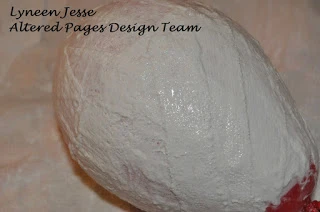
Apply the second layer in a different direction. Here you
can see the second layer at a slight angle.
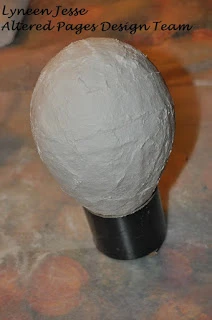
When finished applying Ridge Wrap set aside to dry.
Cut sections of a tube to the rest the balloon on. In about 30
minutes you can remove the balloon.
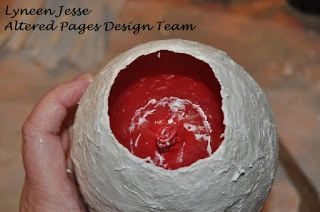
Snip a little hole in the balloon and it will release from the sides.
Remove the balloon and let dry over night.
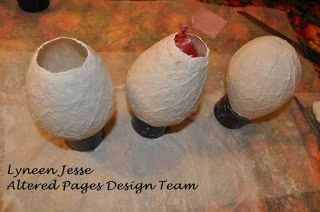
One package of Ridge Wrap (roll 4" x 180") was able to
cover 3 small balloons.
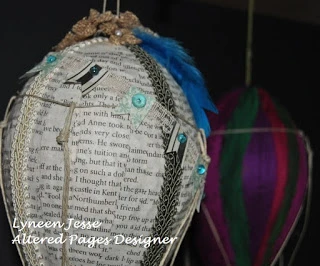
Now to decorate the balloon in a vintage style!
Supplies:
Vintage Text
Tacky Glue
Paint Brush
Acrylic Paints
Trims & Twine
Glitz Laced with Grace Paper Pack
Dew Drops
Petaloo Burlap Flowers
Light Bulb Pins
Lace
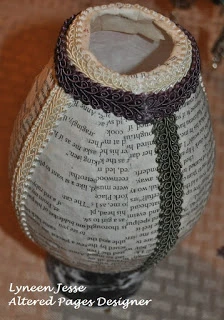
To create the text balloon cover it with vintage text from Altered Pages!
Strips of Vintage Text Papers were torn in strips approximately 1/2 inches.
For the length of strips: measure from the top of the balloon to the bottom
add about an inch.
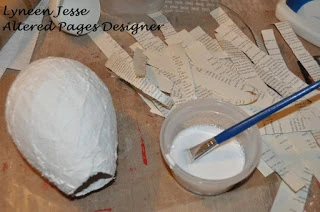
Using a non-food dish pour Tacky Glue and water it down...
with a paint brush apply to the dry Activa Ridge Wrap balloon.
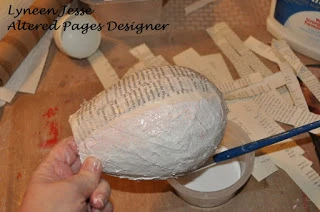
Starting at the top center apply strips of vintage text, tucking
about 1 inch inside the opening of the balloon, over lap each
strip as you add them.
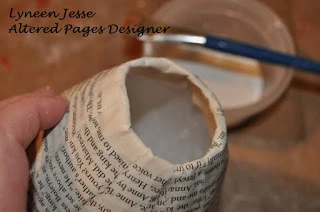

Once the balloon is covered set it aside to dry!
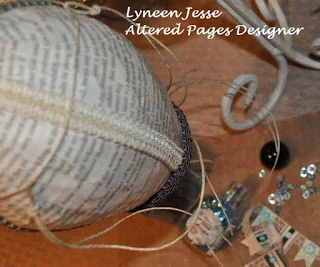
Add trims to the balloon with Tacky Glue, when adding
the trims be sure to add a hanger from the top center of the balloon.
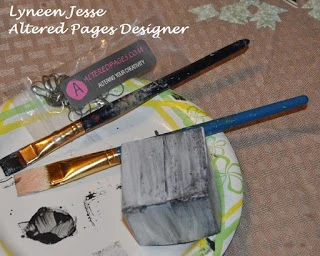
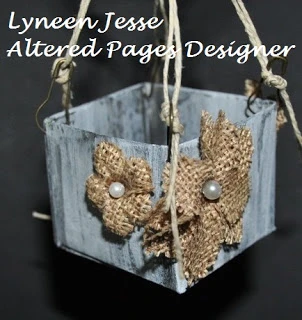
Make a small box for the balloon basket. Paint it with acrylic
paints, dry. When dry punch small holes in the corners and
put the light bulb pins through the holes. Add Petaloo Burlap
flowers to the basket.
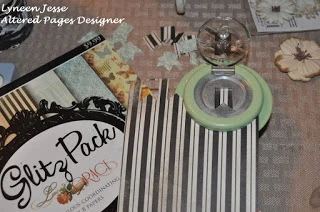
Punch banner flags from contrasting papers in the Laced
with Grace paper pack, add Dew Drops to each flag, attach flags to lace
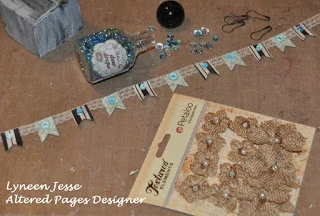
Tie twine to hold the basket: one piece around the top of the
balloon and four pieces about a yard each to attach to the basket.
Once the twine has been tied off to the basket, attach the
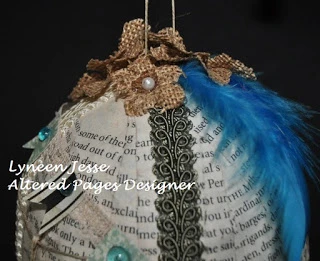
lace with banners to the balloon, add feathers and burlap flowers to the top.
Find out how to make a Silk Sari Hot Air Balloon Here


 />
/>
 />
/>