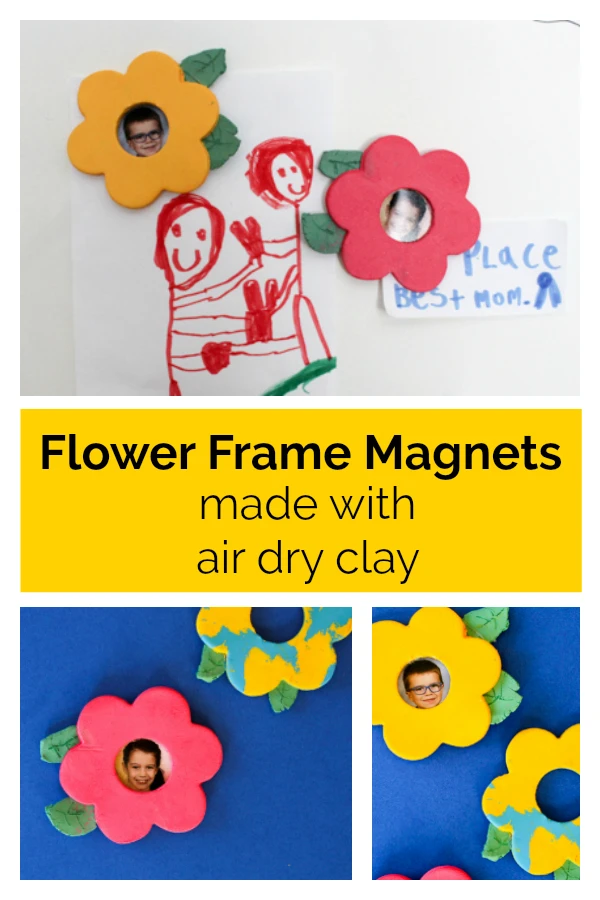
If you're looking for an easy and cute DIY Mother's Day gift idea or DIY birthday gift idea, these air dry clay flower frame magnets are the perfect solution! They're a fun air dry clay craft for kids of all ages, and the recipient will love to see a smiling face in a frame on his or her refrigerator!
Supplies Needed for Air Dry Clay Flower Frame Magnets
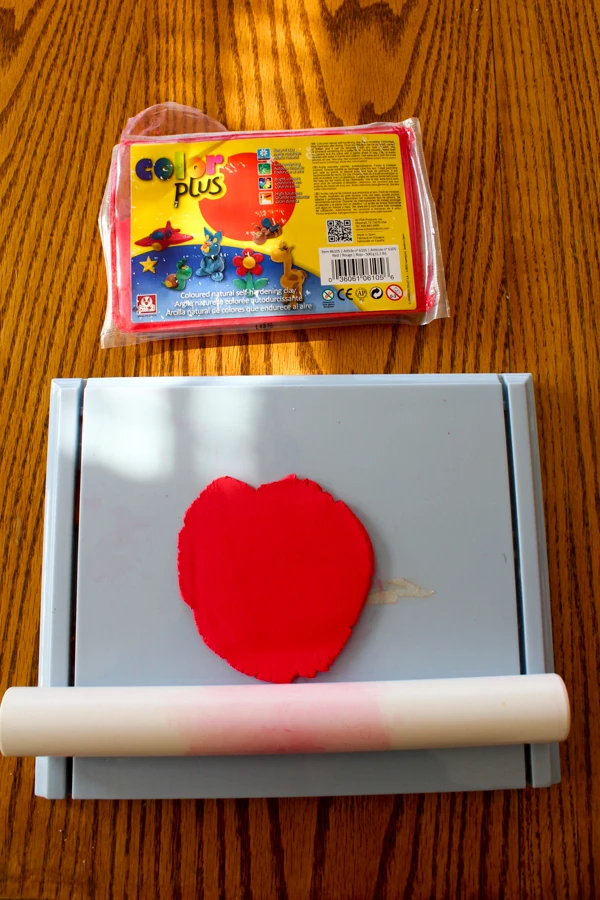
- Color Plus Clay in colors of your choice. We used red, yellow, blue, and green.
- Clay Roller Kit
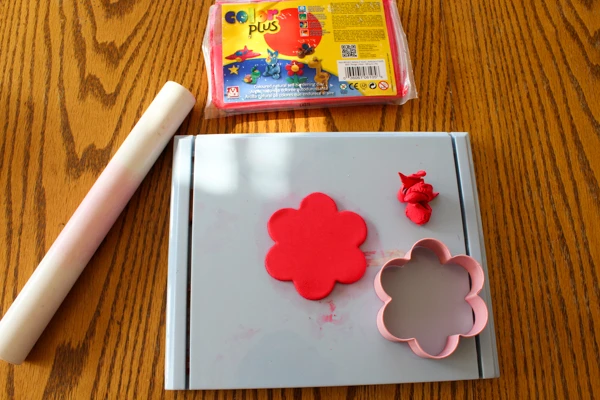
- Flower cookie cutter
- Small circle cookie cutter
- Fork
- Magnets
- Hot glue gun
- Photo
How to Make Flower Frame Air Dry Clay Magnets
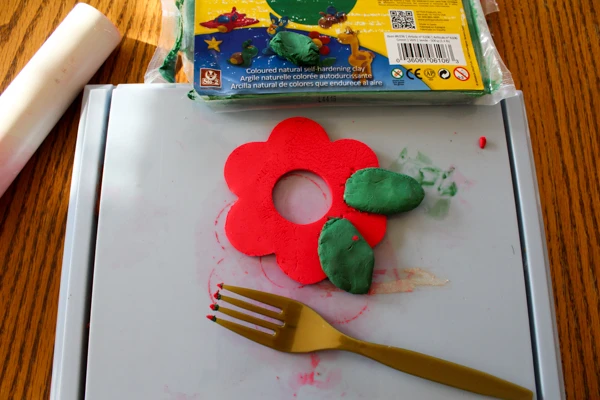
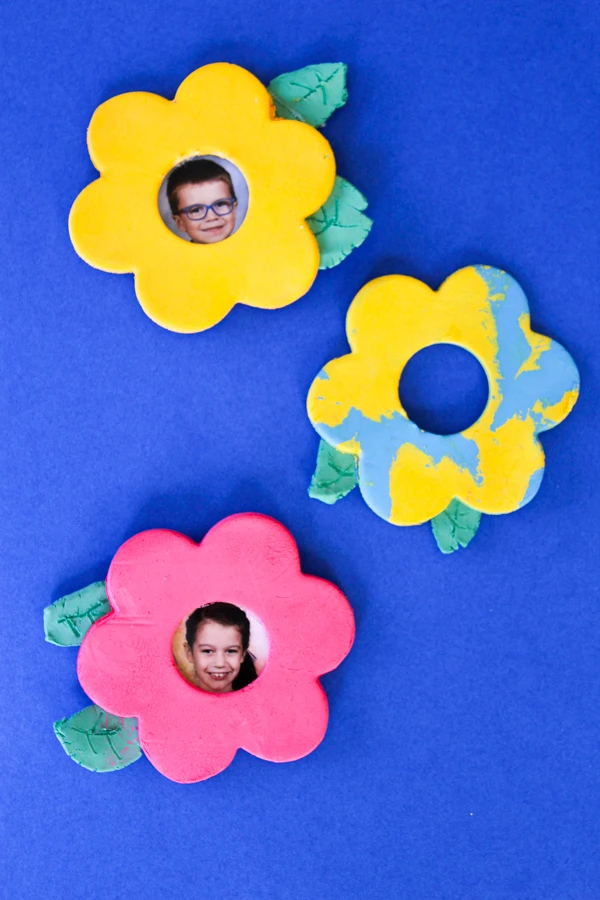
1. Roll out Color Plus Clay in the color(s) of your choice. You can use a solid color or blend multiple colors together for a colorful look!
2. Use the flower cookie cutter to create a flower shape in the Color Plus Clay.
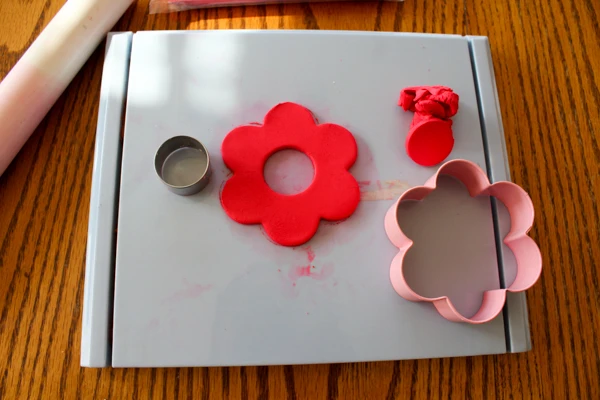
3. Use the small circle cookie cutter to cut a hole in the center of the flower.
4. Tear off small chunks of green Color Plus Clay to form leaves. If desired, use the fork to add some lines into the leaves. Gently press the leaves onto the backside of the flower.
5. Place the flower aside to dry overnight. We recommend drying on a cookie rack to allow air flow to both sides. This will expedite the drying process.
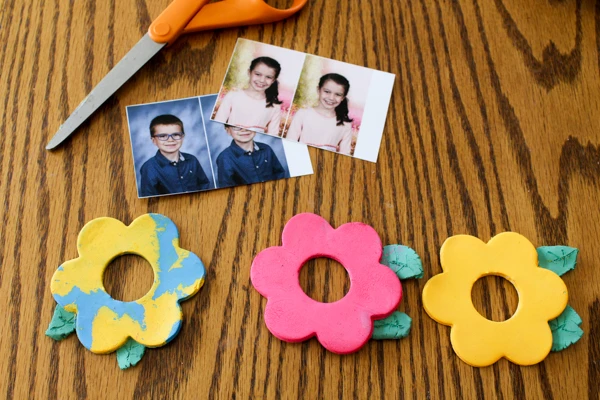
6. Once the flower is completely dry, cut a small photo to fit on the back of the flower. Wallet size school photos work wonderfully!
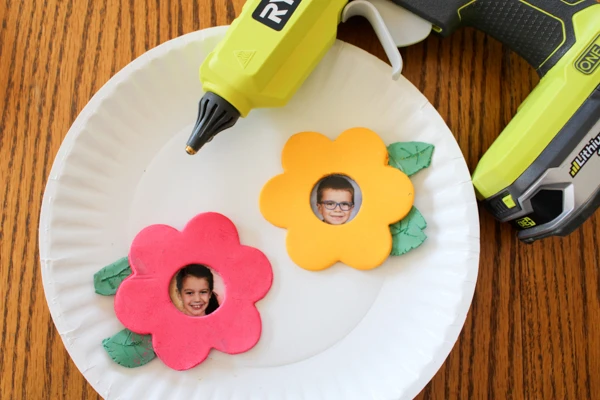
7. Hot glue the photo to the back of the flower. TIP: place the hot glue around the outer edge of the circle on the back of the flower. Carefully turn the flower over and press the photo into place while looking at it through the circle. This will help ensure proper placement of the photo in the hole.
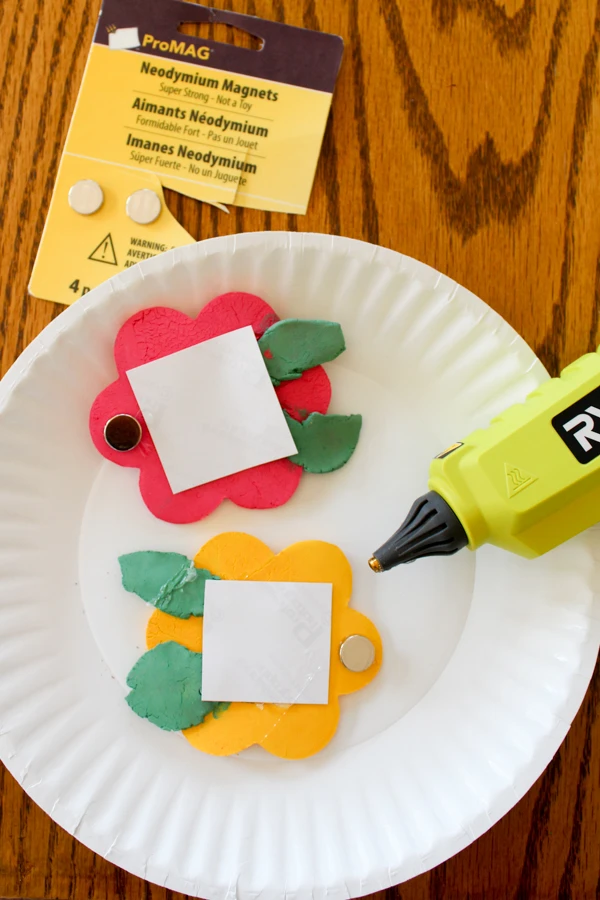
8. Hot glue a strong magnet to the back of the flower.
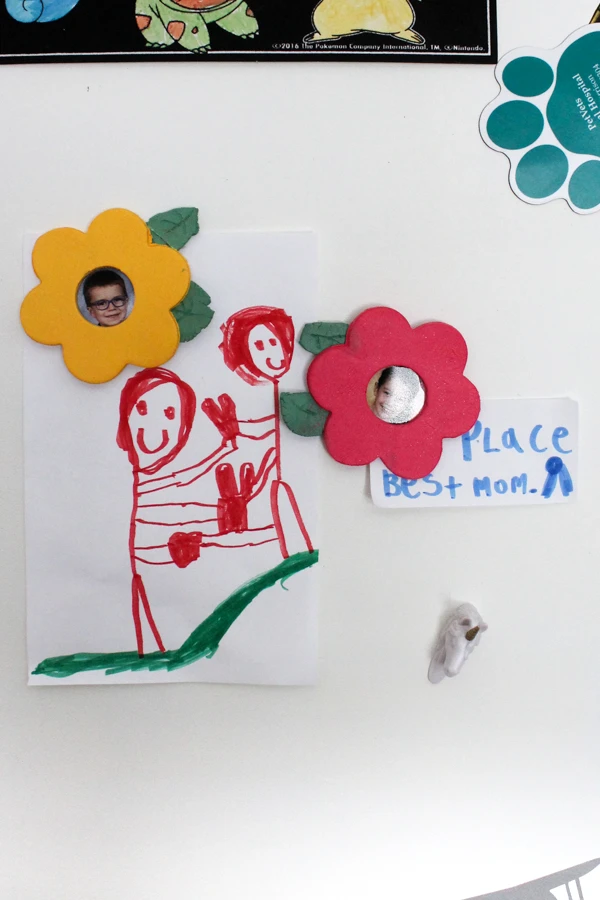
9. Wrap up the air dry clay flower magnets to give as a gift, or hang on your fridge or magnet board and enjoy! These magnets work especially well when holding love notes and special drawings. :-)
To see more creative air dry clay project ideas, please visit our project gallery!