Supplies Needed:
- Activ-Clay™ Air Drying Clay - Terracotta
- Clay Roller Kit
- Activ-Clay Tools Set
- Plastic wrap
- Popsicle stick
- Pencil
- Canvas board
- CelluClay® Instant Paper Mâché - White
- Water
- Plastic bag
- Toothpicks
- Wiggly eyes
- Tissue paper
- Scissors
- Liquid glue
- Paste brush
- Decorative scrapbook paper
- Acrylic paint
- Paint brush
- Picture frame
Step 1
Flower Pot
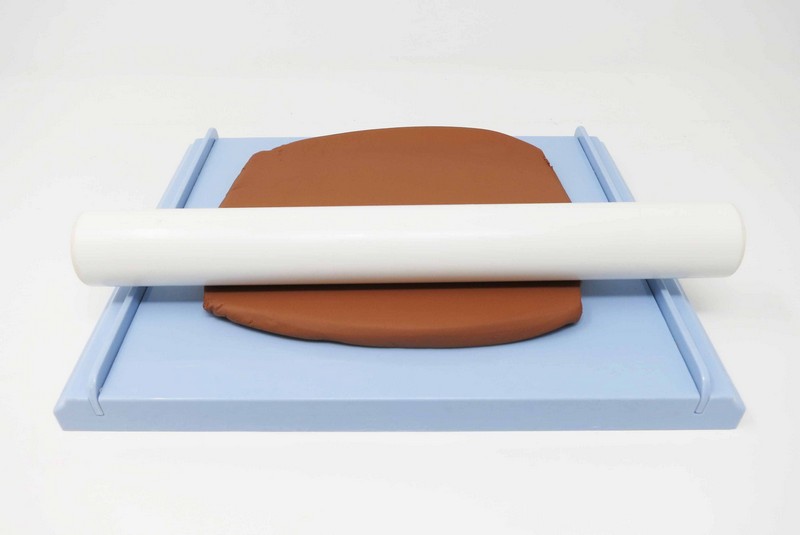
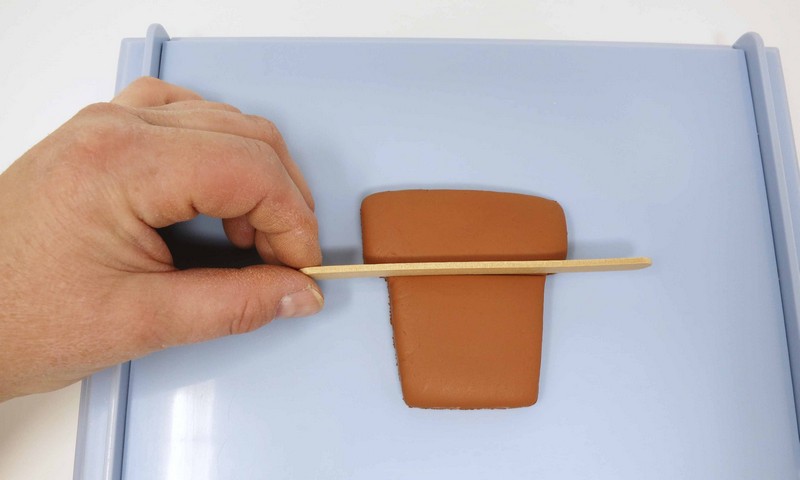
Roll a 1/4” slab of clay.
Cover clay with plastic wrap.
Press shape cutter into the clay.
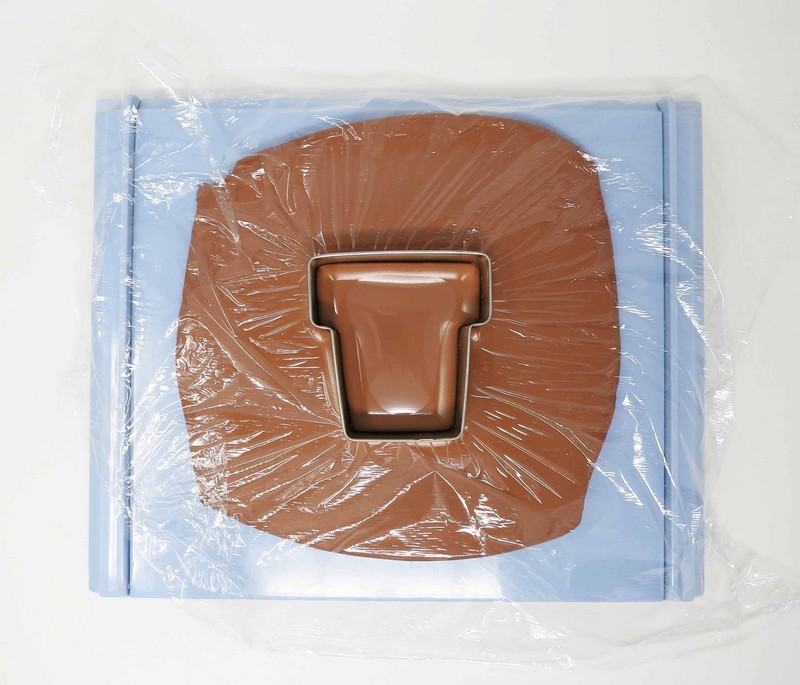
Remove access clay from around flower pot shape.
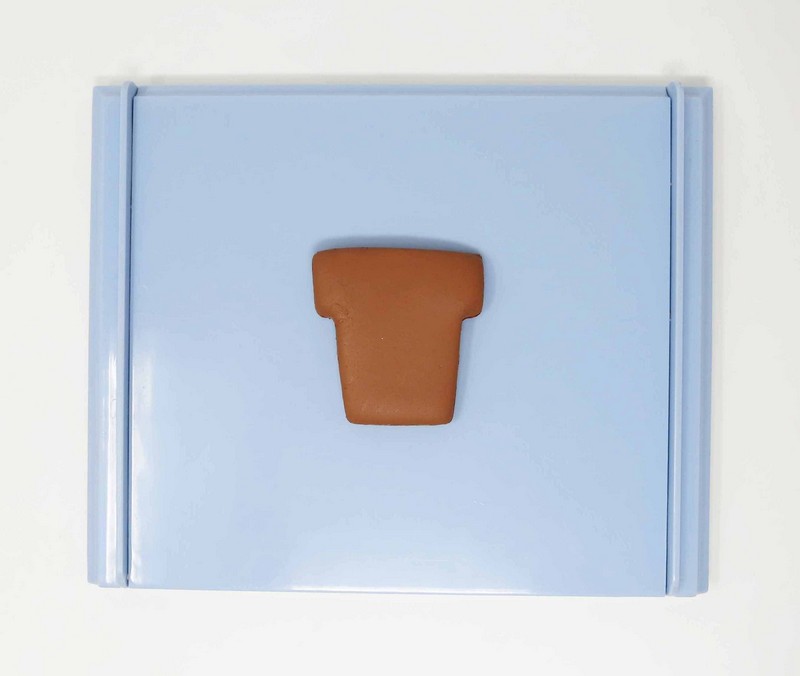
Indent a horizontal line under the top of the flower pot.
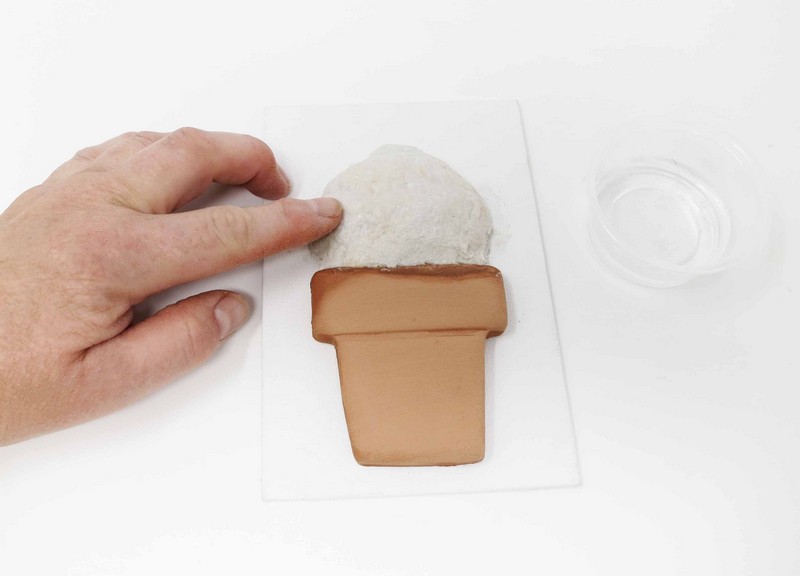
Step 2
Cactus Outline
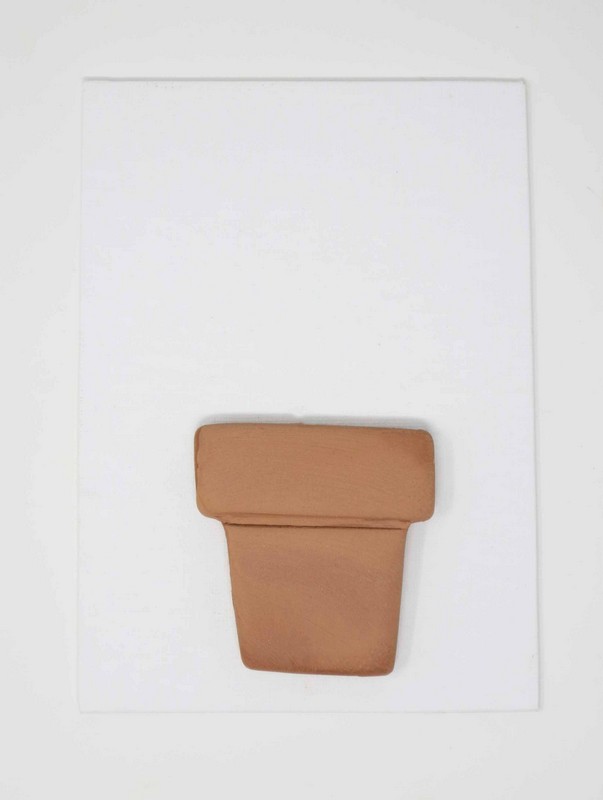
Place the flower pot onto the canvas board background.
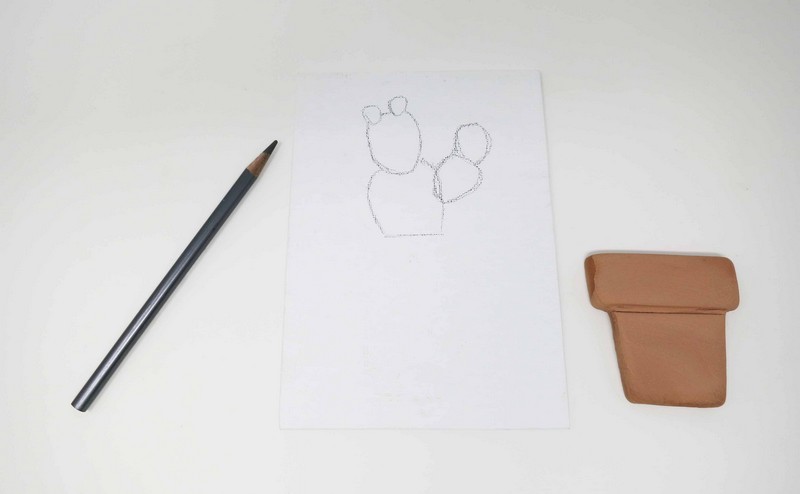
Sketch the desired cactus shape coming out of the flower pot.

Remove the flower pot and set aside.
Step 3
Paper Mache
Prepare the paper mache according to the package directions.
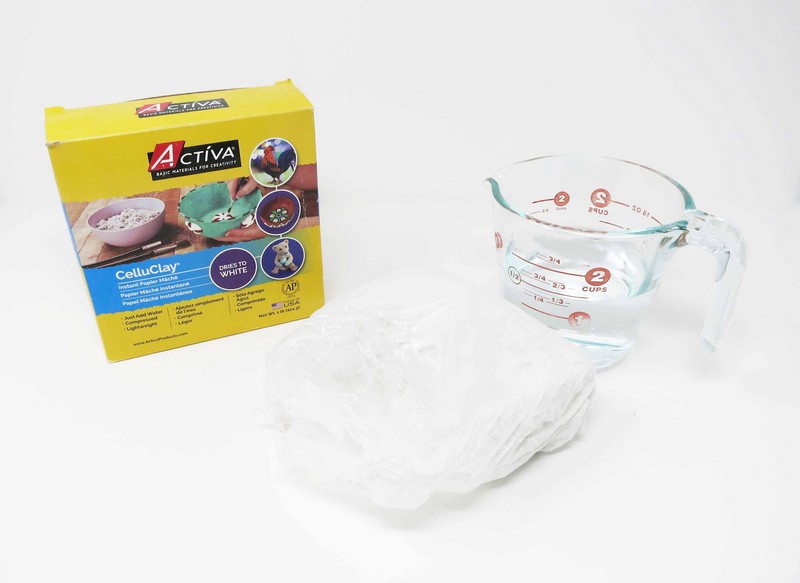
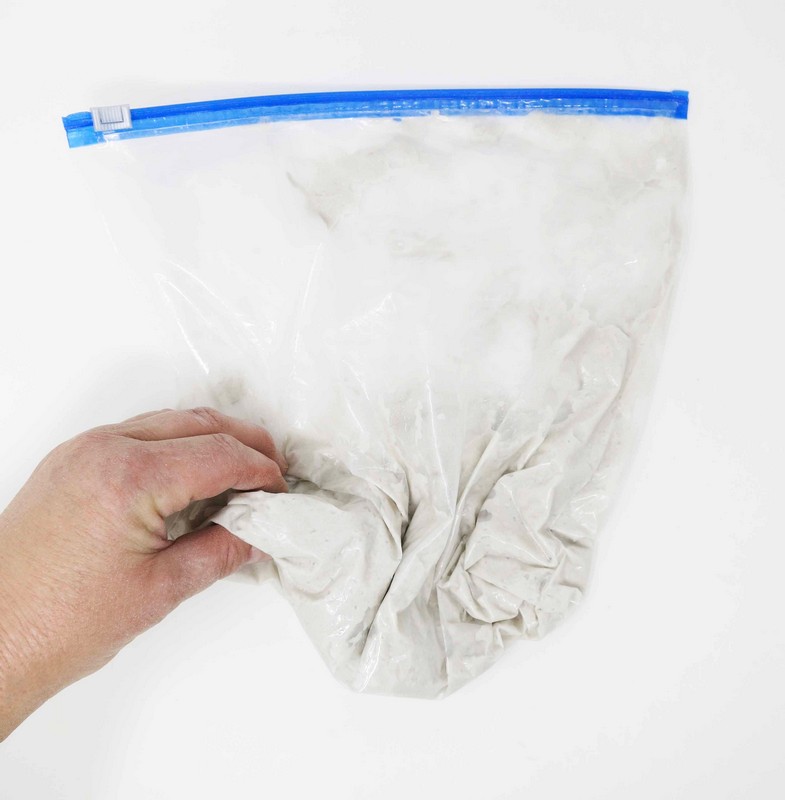
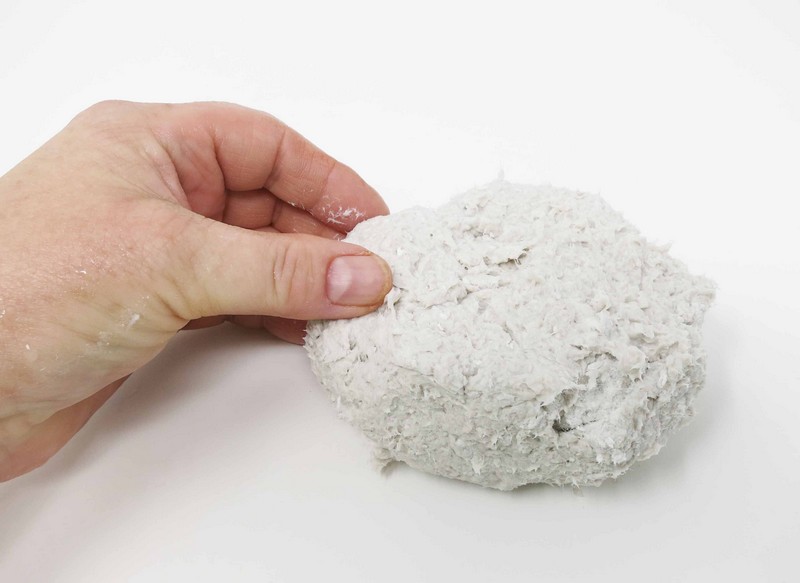
Remove the paper mache from the mixing bag.
The paper mache should be a thick consistency.
Step 4
Mold
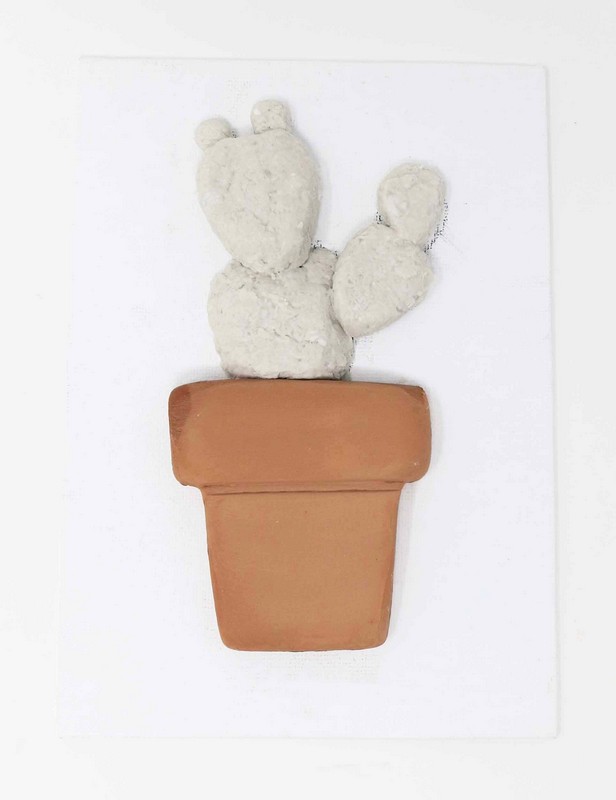
Spread the paper mache’ over the sketched cactus shape.
Use the sculpting tools to help mold the cactus form.
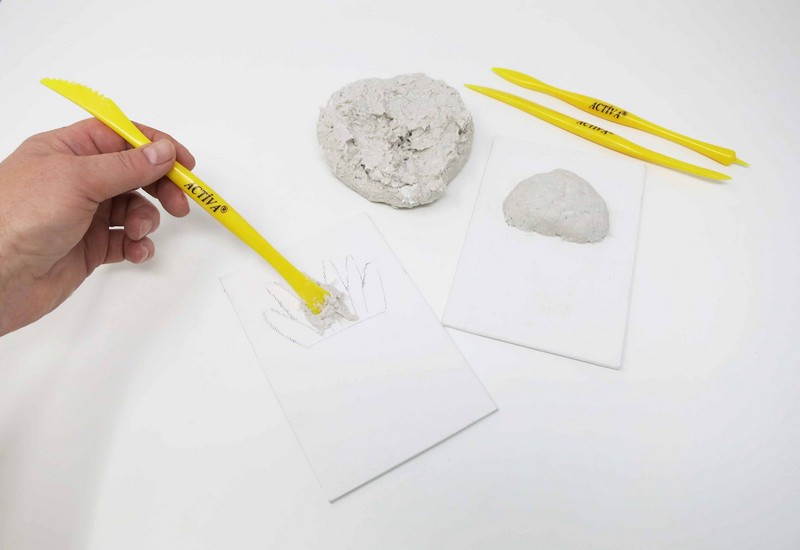
Smooth out any bumps with a little bit of water using fingertips.
Step 5
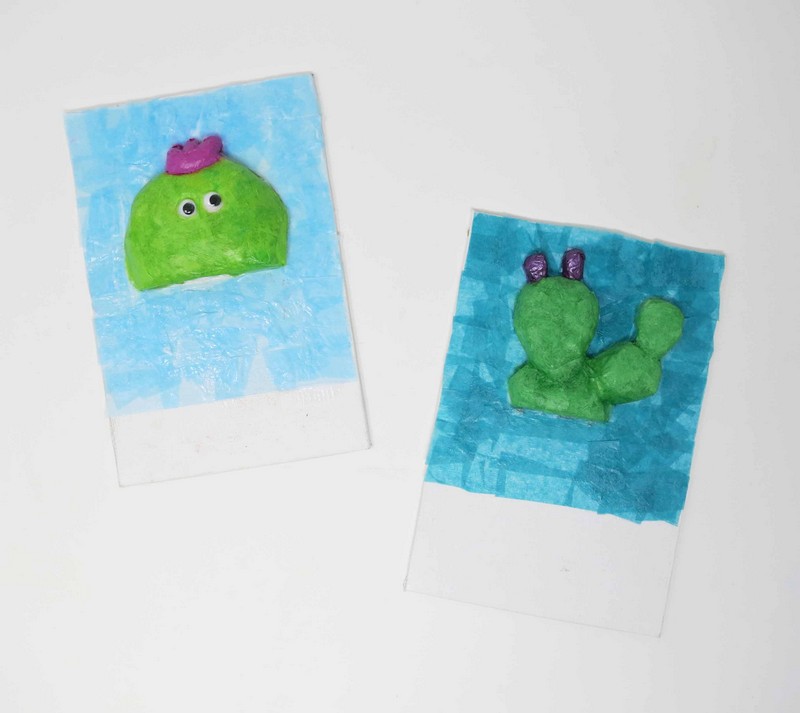
Embellishments
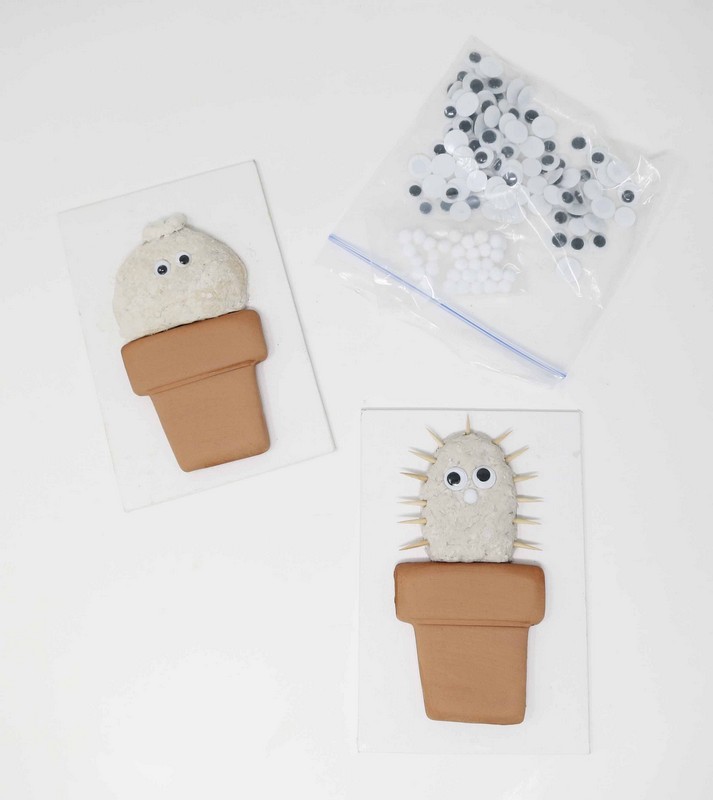
Toothpicks maybe added to resemble cactus spikes.
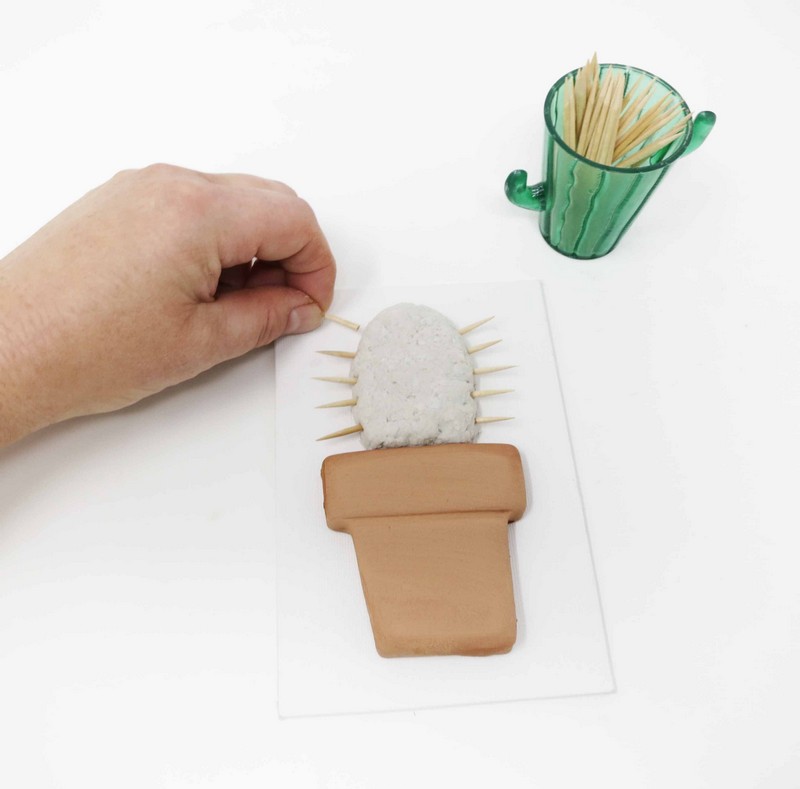
Wiggly eyes maybe added to create a whimsical face.
Step 6
Tissue Overlay
Cut colored tissue paper into small squares. Coat paper mache forms with liquid glue.
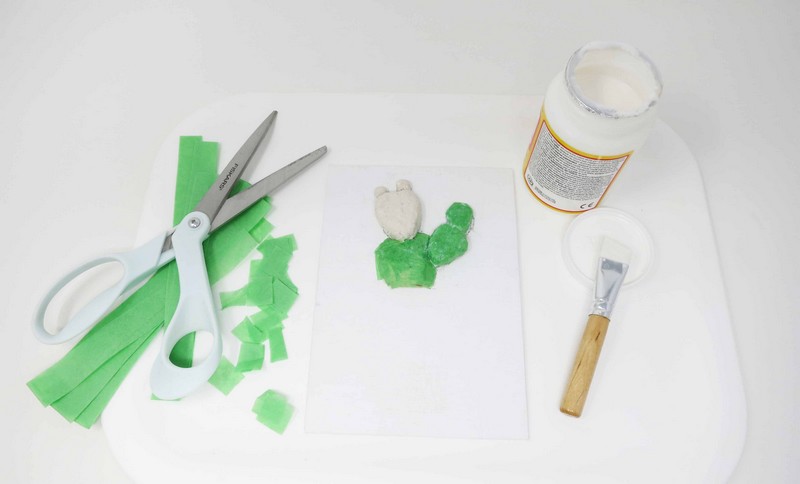
Place tissue paper squares on top of the glue covered surfaces.
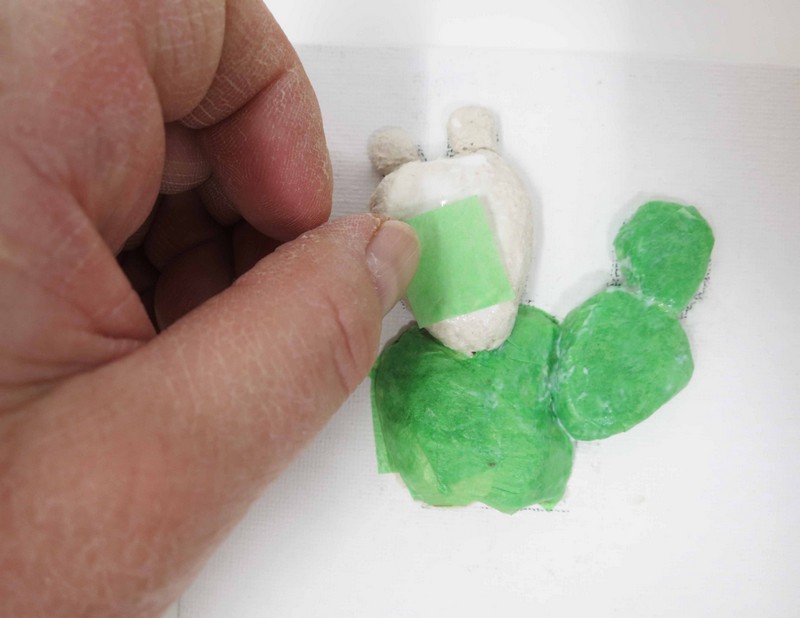
Cover the area around the cactus with colored tissue paper as well.
Step 7
Background
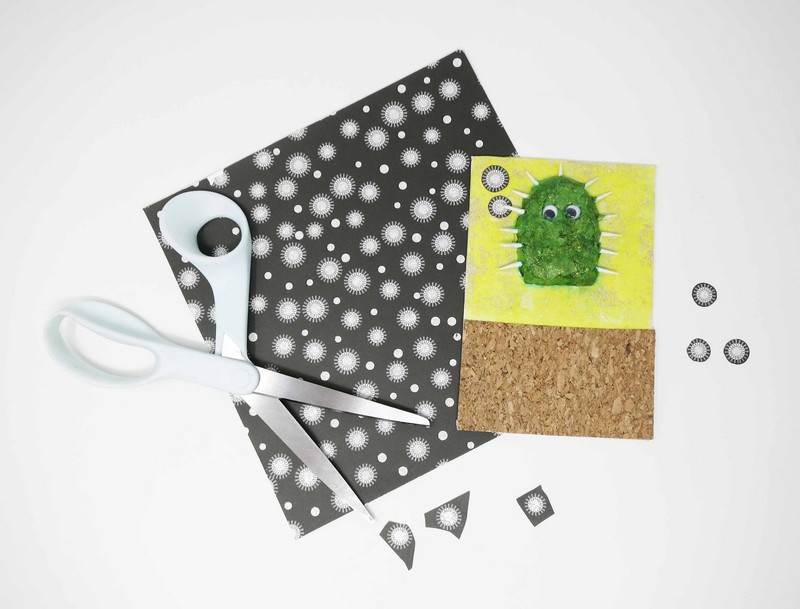
Cut a rectangular shape out of the scrapbooking paper.
Glue the shape to the bottom of the canvas board to create a table top.
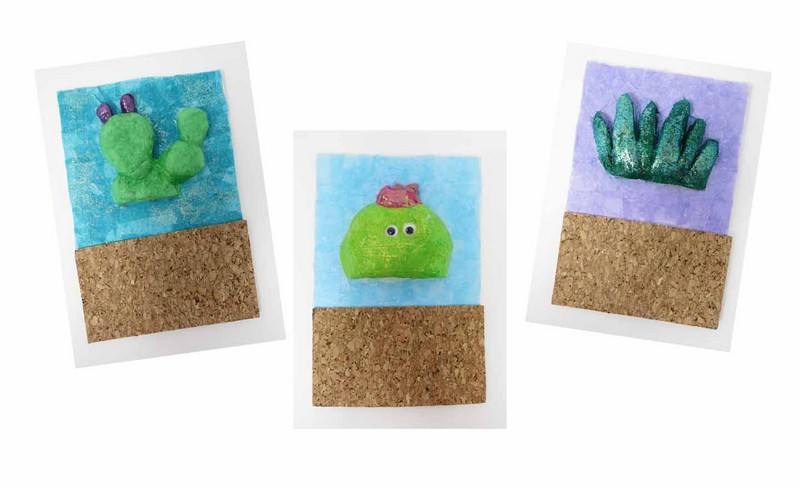
Cut desired shapes to decorate the wall background of the scene.
Step 8
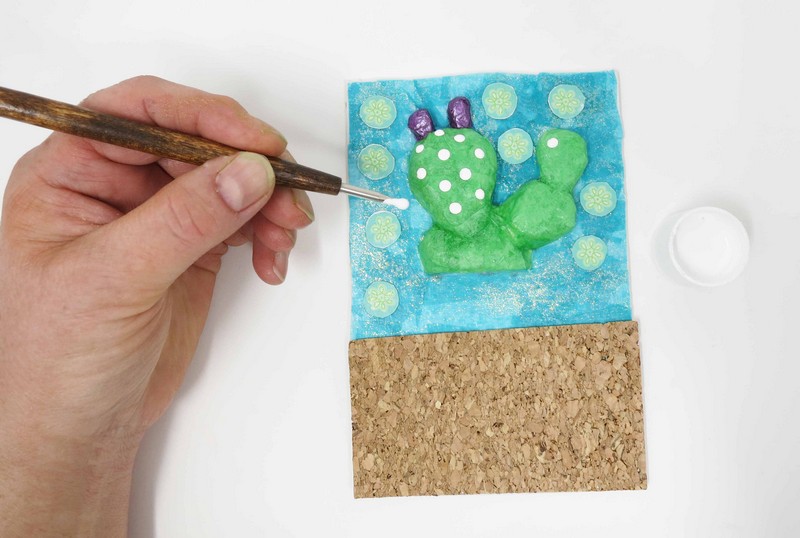
Details
Use acrylic paint to add cactus details.
Step 9
Attach
Spread glue onto the back of the flower pot shape and attach it to the canvas board background.

Step 10
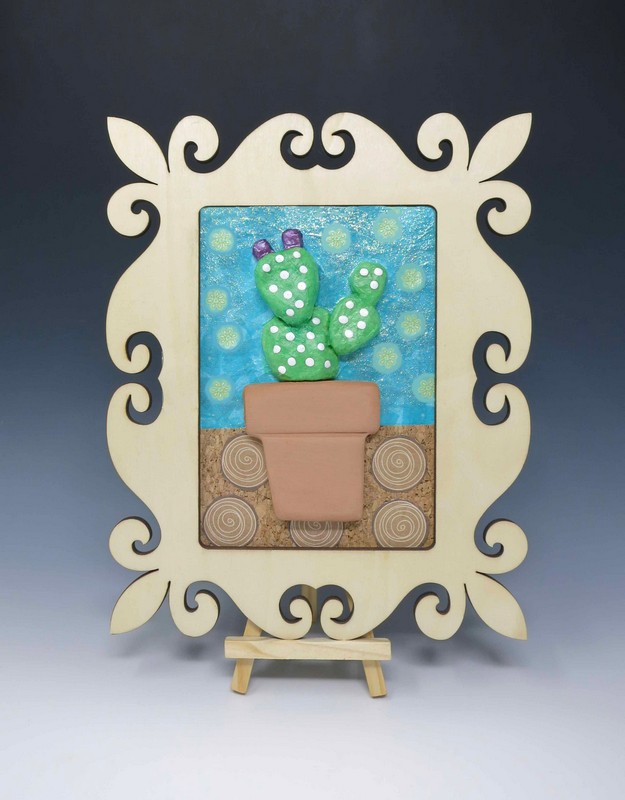
Display
Place the canvas board into a frame and display finished artwork.