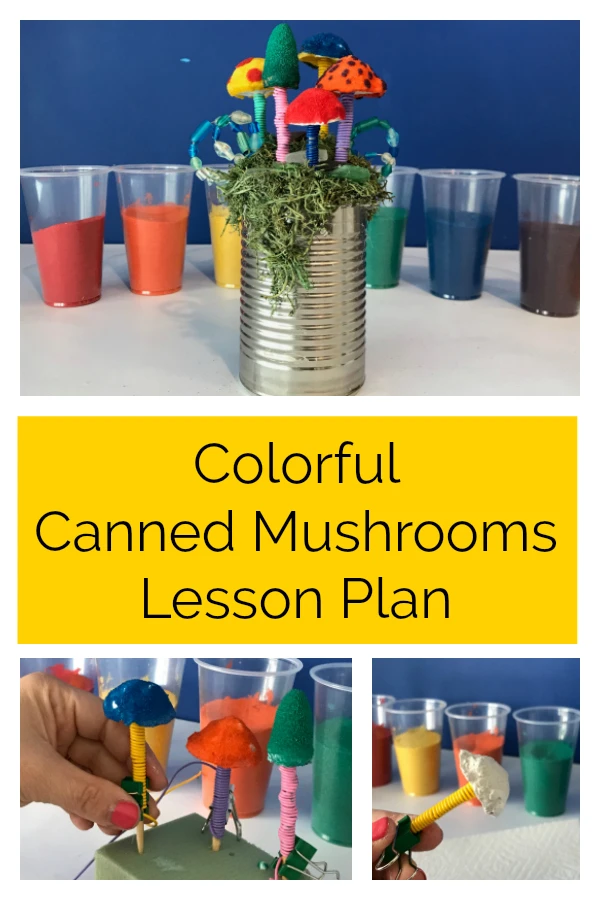
As part of the ACTÍVA Products 2018 Art Teacher Mystery Box Contest, art teacher Nichole Hahn created this Colorful Canned Mushrooms project.
About the Art Teacher
"My name is Nic Hahn and I’m a K-8 Visual Arts Teacher in Minnesota. I love sharing the happenings of my classroom on my blog, on Instagram, and on Twitter.
For this project I was inspired by Contemporary Artist, Stephanie Kilgast who creates amazing mini sculptures in soup cans. She has a very active Instagram. I loved this idea of using a small, recycled can being the base of a mini environment. My goal was to take Stephanie Kilgast's extremely intricate works of art and make a student friendly version for future classes of mine to create!"
Supplies Needed
- ACTÍVA Products Activ-Clay
- ACTÍVA Products InstaMold
- ACTÍVA Products PermaStone
- ACTÍVA Products Scenic Sand
- Tin can
- Containers for mixing InstaMold and PermaStone
- Water
- Cups to hold Scenic Sand
- Toothpicks
- Wire
- Mod Podge
- Floral foam
- Binder clips
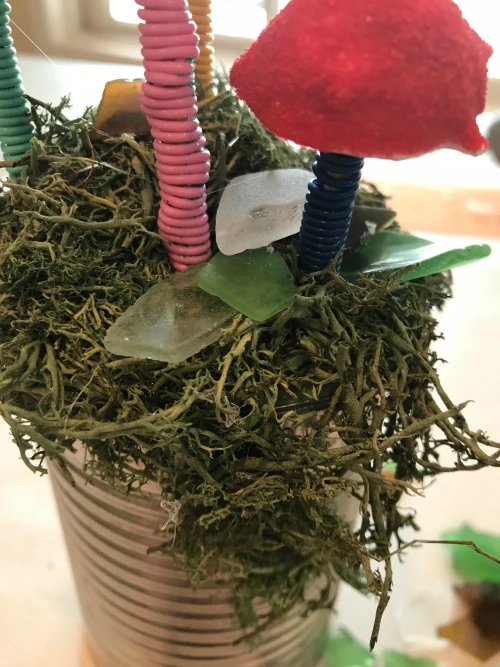
- Moss
- Glue
- Decorative elements like beach glass, beads, etc.
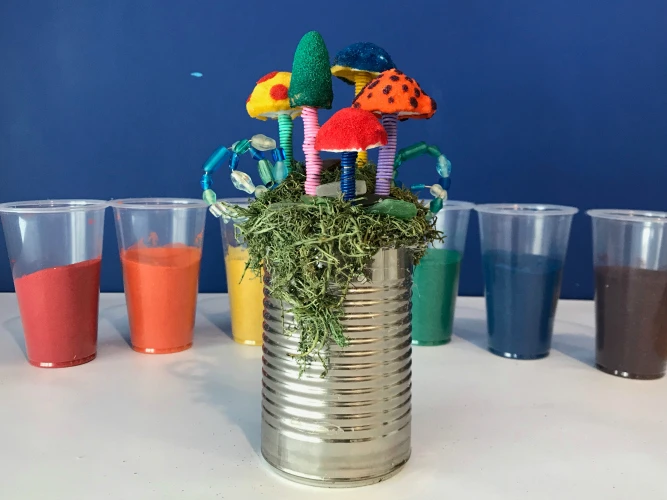
Instructions for Making Colorful Canned Mushrooms
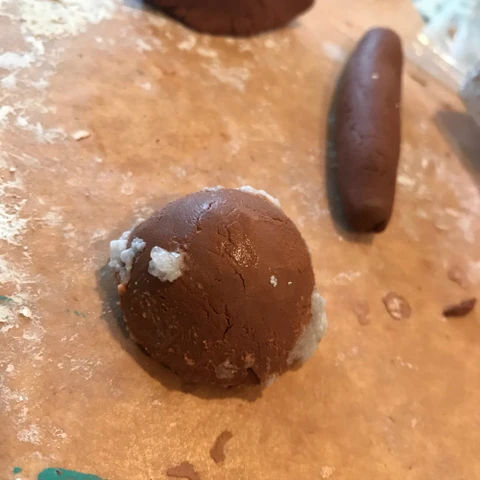
1. Create the shape of a mushroom with Activ-Clay. Clay can dry or you can use it when still pliable.
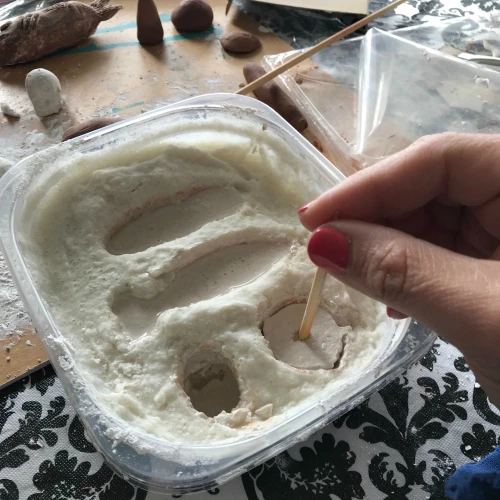
2. Mix InstaMold into a container that is at least two times deeper than the tallest mushroom top.
3. Place the mushroom tops into the InstaMold until set. Remove to reveal the shape of the mushroom top in the InstaMold.

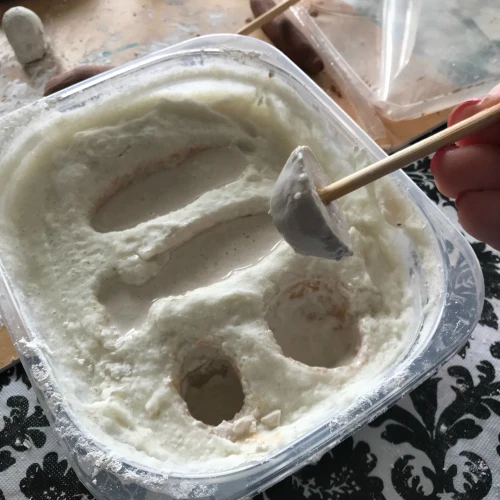
4. Mix PermaStone and place it into the InstaMold mushroom top shapes. Let sit for 5 minutes. Place a toothpick in the PermaStone Mushroom Top and let harden.
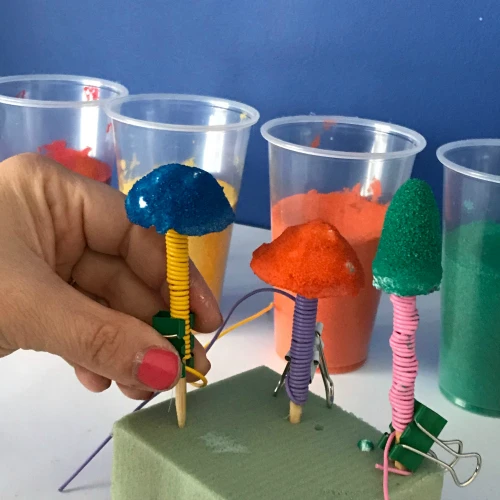
5. Remove PermaStone Mushroom Top.
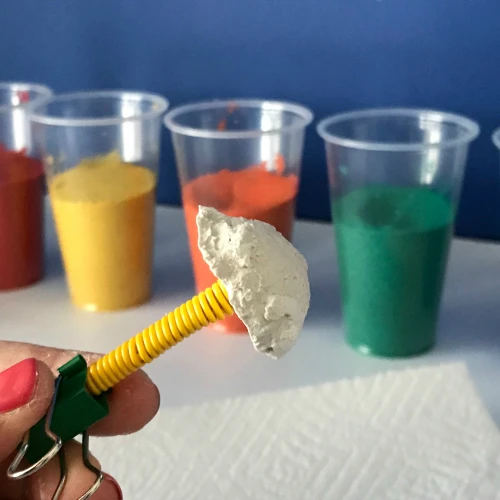
6. Cover toothpick with colorful wire.
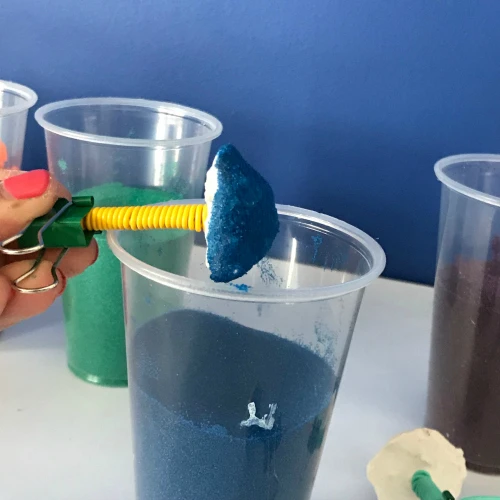
7. Dip mushroom top into Mod Podge. Dab excess Mod Podge off.
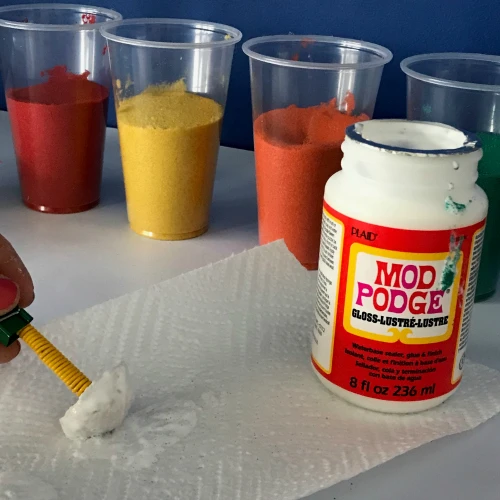
8. Place mushroom top into Scenic Sand and set aside to dry.
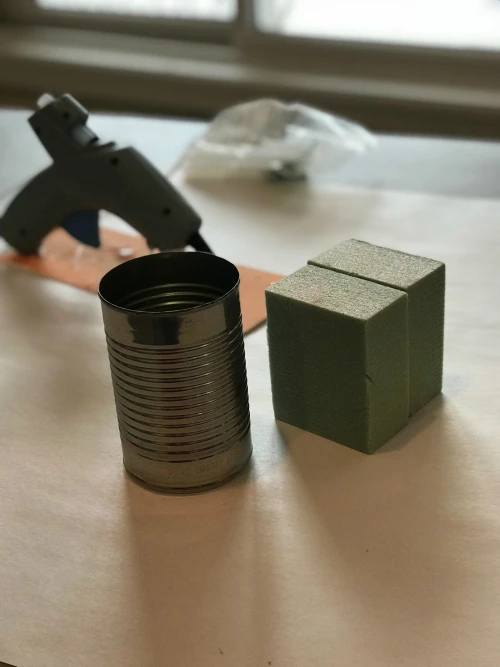
9. Cut floral foam to fit into a soup can. You can use extra scraps to create ‘hill’ on the top of the foam.
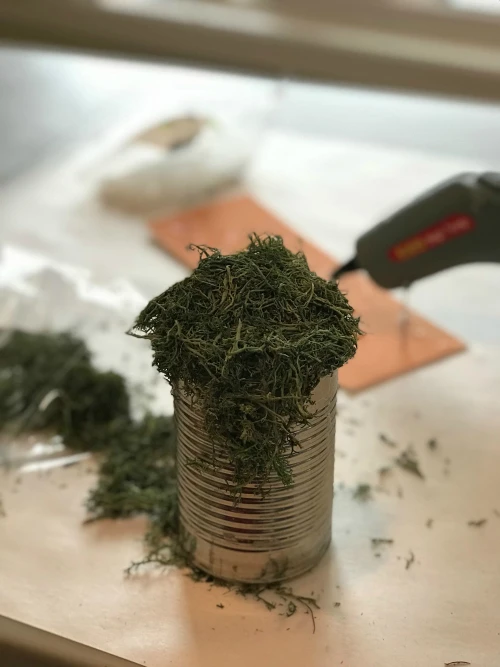
10. Add moss to the top of the foam.
11. Place mushrooms into the moss and foam.
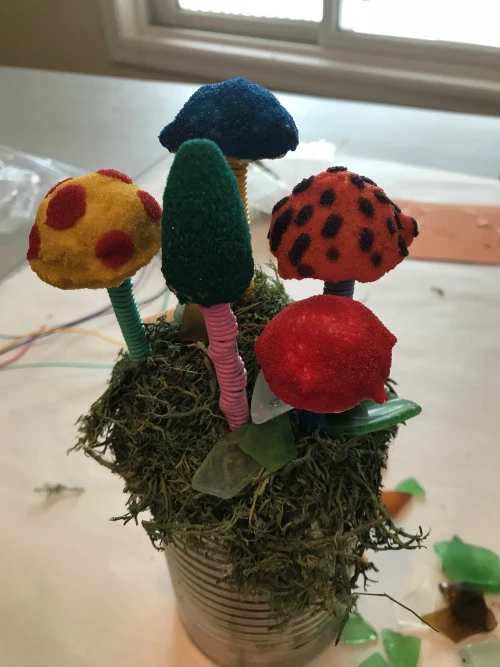
12. Add extras such as beach glass, beads, and other found objects.