Materials Needed:
- Blackjack Tan Stoneware Clay
- Potter’s wheel
- Bat
- Water bucket
- Rib tool
- Trimming tool
- Fettling knife
- Sodium silicate solution
- Wide brush
- Heat gun
- Flexible kidney shape rib tool
- Wire tool
- Red iron oxide
- Large sponge
- Brushes
- Glaze
Preparing The Clay
Wedge
Weigh out desired amount of clay.
Prepare the clay by wedging it.
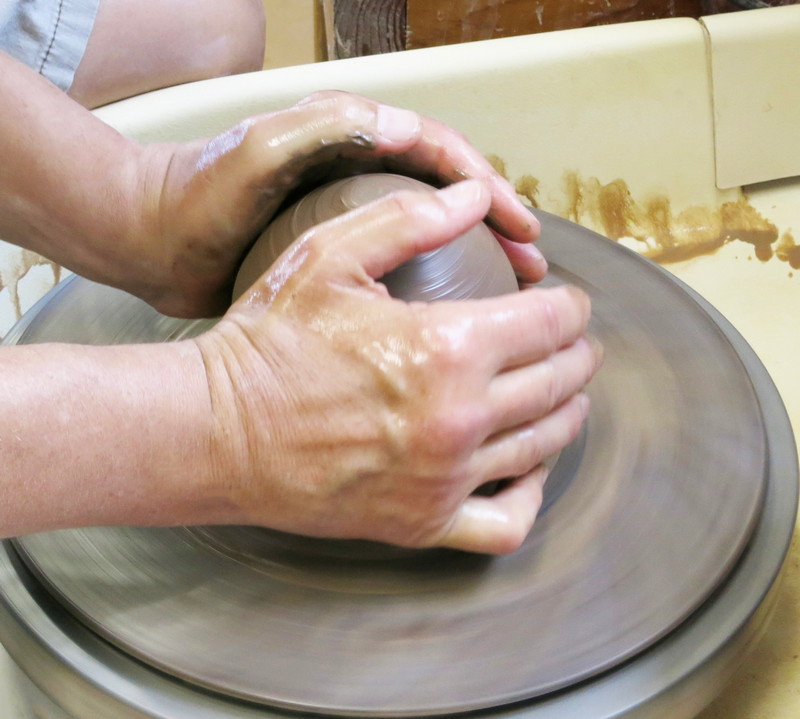
Step 1
Centering
Form clay into a sphere and slam it onto the center of the bat attached to the potter’s wheel.
Wet hands and clay.
Turn the potter’s wheel on and center the clay.
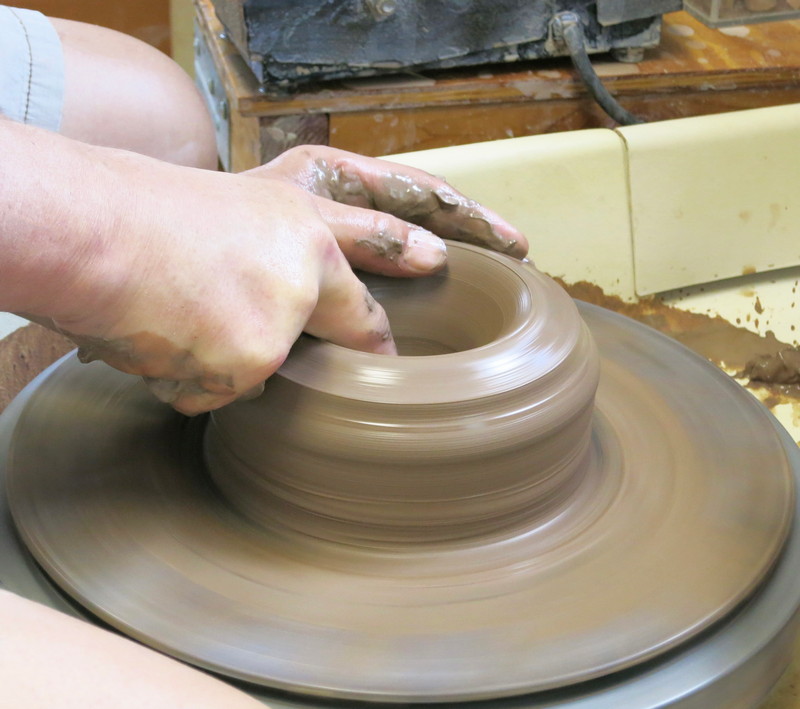
Step 2
Open The Form
Insert one finger to start into the center of the clay.
Using fingers firmly pull the clay back towards the body creating an opening in the clay.
Repeat several times until the clay is the desired width.
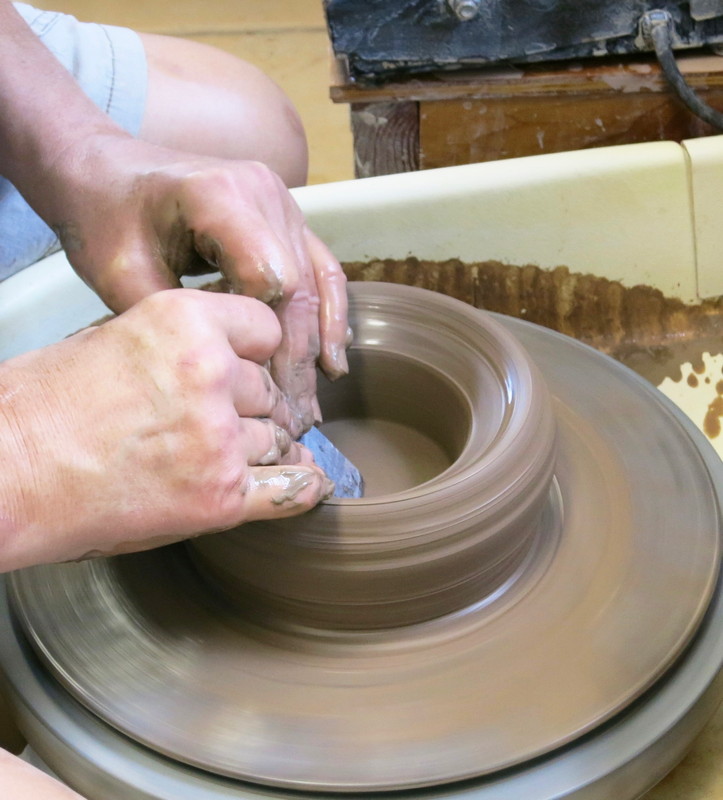
Step 3
Compress
Use a rib tool to compress the floor of the form.
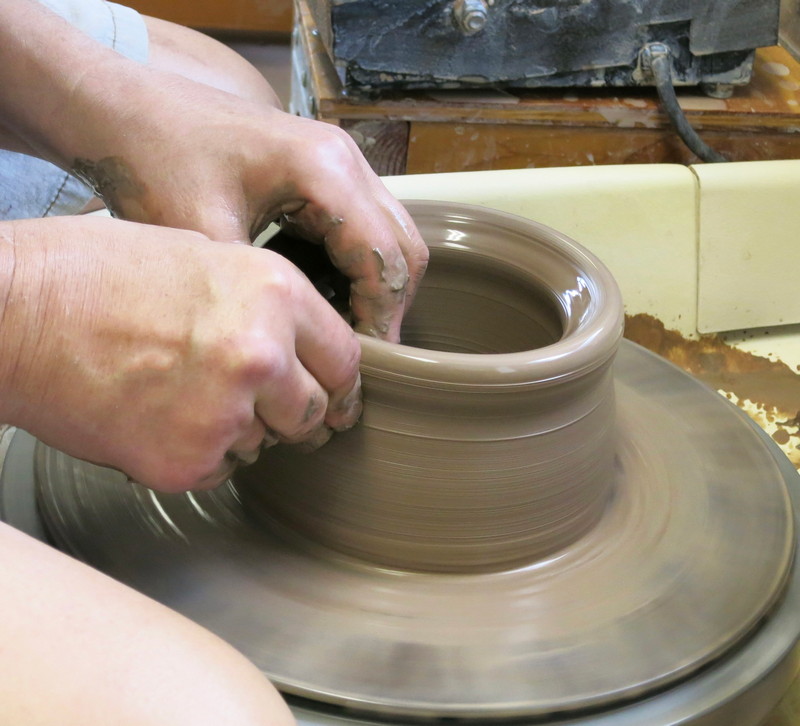
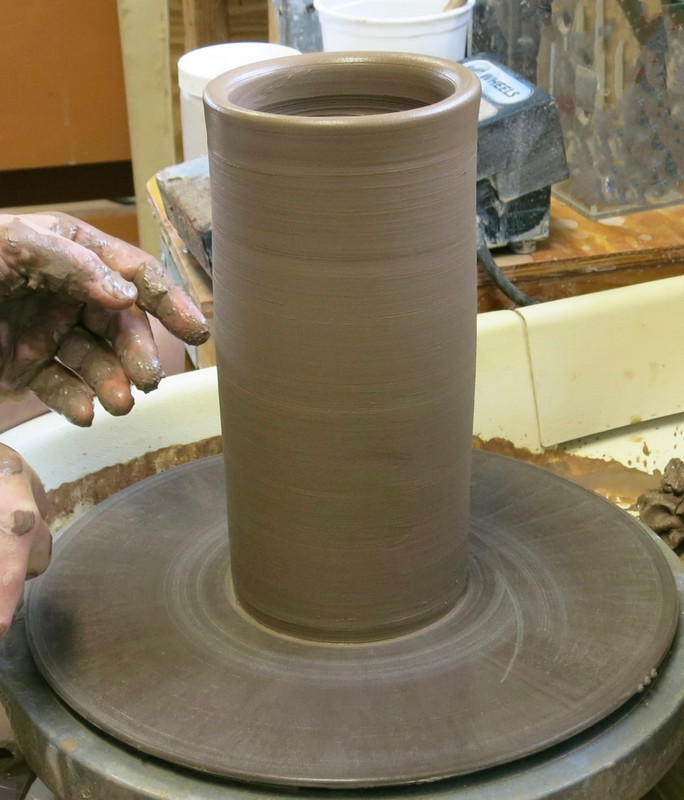
Step 4
Walls
Pull the clay up from the bottom in-between fingertips to create the walls of the form.
Repeat until the walls are the desired thickness and height.
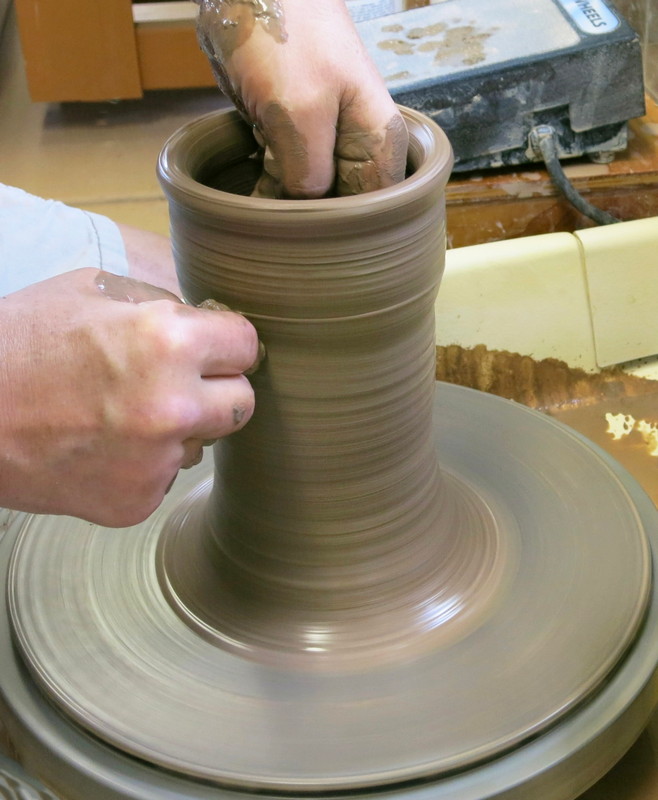
Smooth the outside wall of the cylindrical form with a straight edged rib tool.
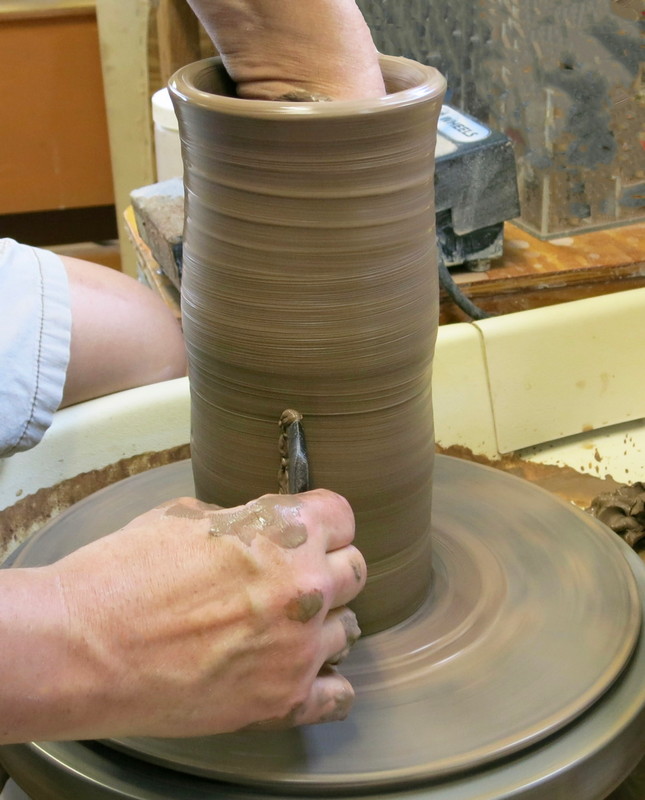
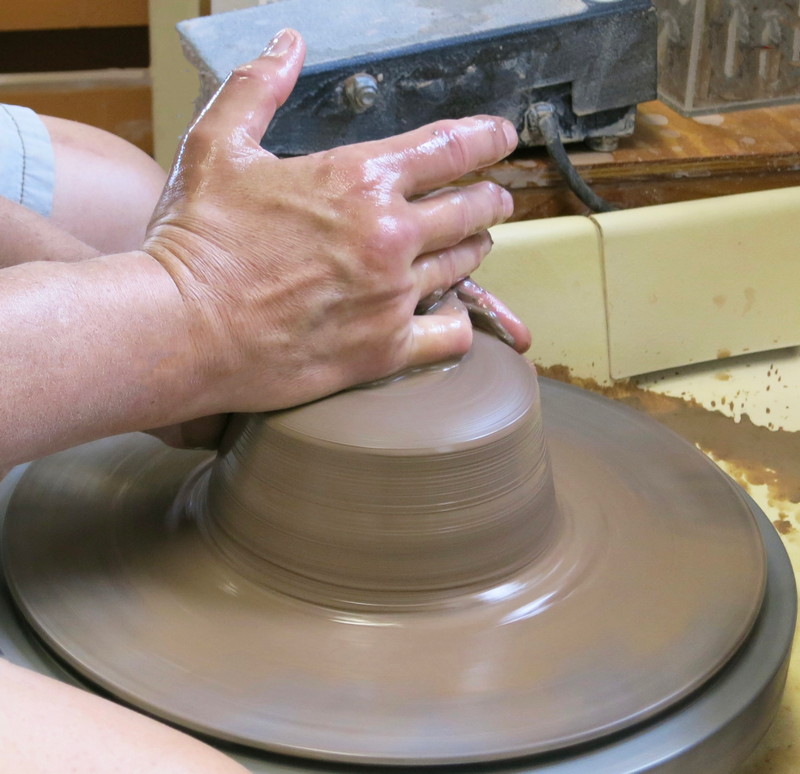
Step 5
Trim
Remove the excess clay from the base of the cylindrical form using a trimming tool.

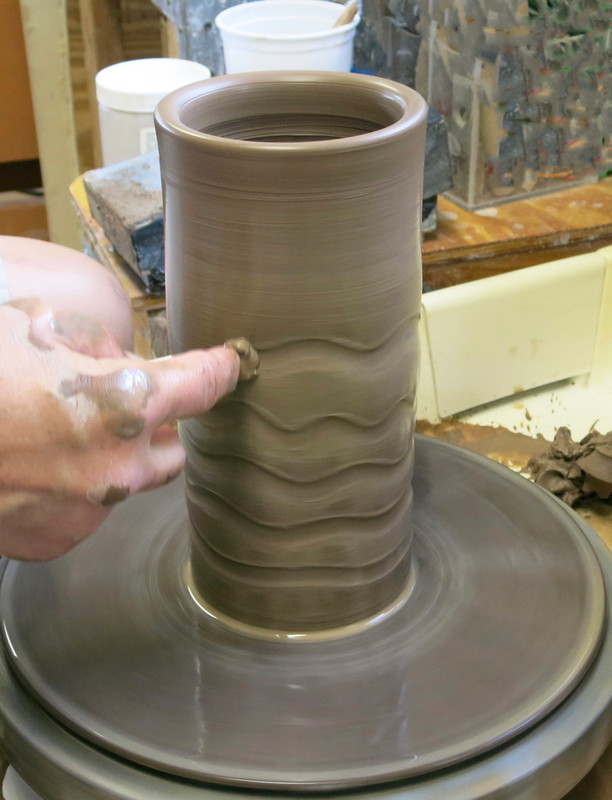
Step 6
Adding Solution
Run index finger up the side of the cylindrical form to create a wavy line pattern.
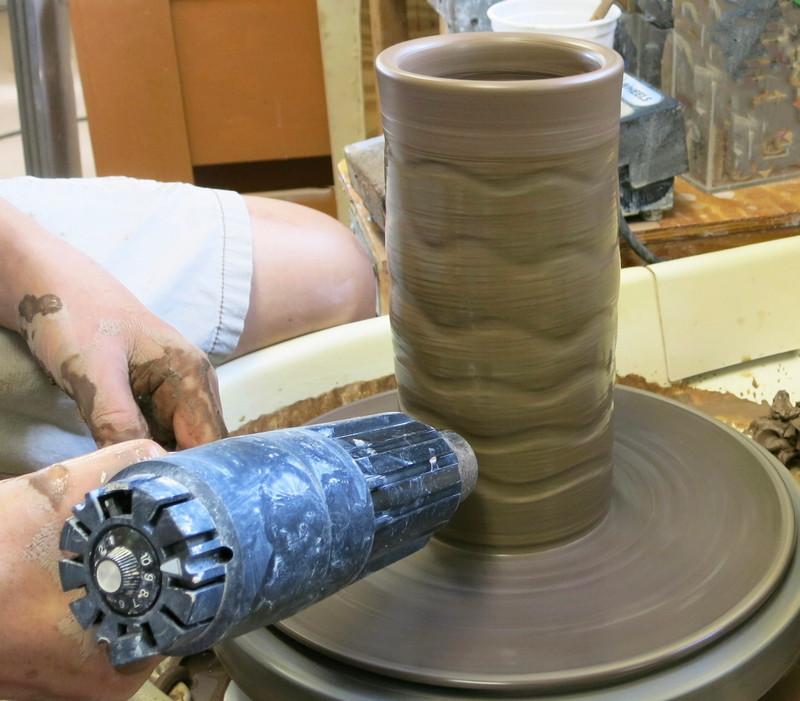
Use a wide brush to coat the outside of the clay form with the sodium silicate solution.

Use a heat gun to dry the sodium silicate solution.
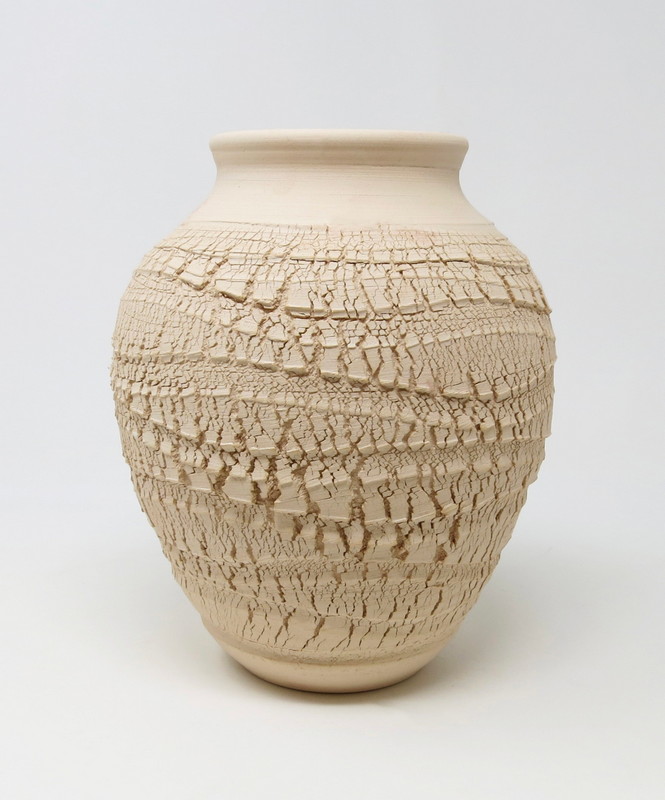
Step 7
Cracking the Vessel
Run a flexible rib tool along the inside walls of the cylindrical form.
Gradually pushing outward to expand the inside of the vessel.
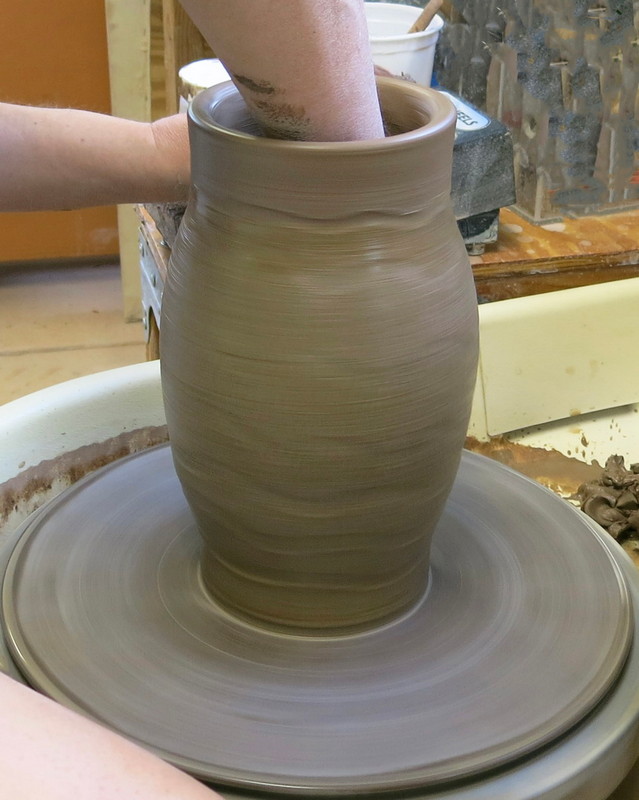
The pressure of the rib along the interior walls will cause the outside walls to crack.
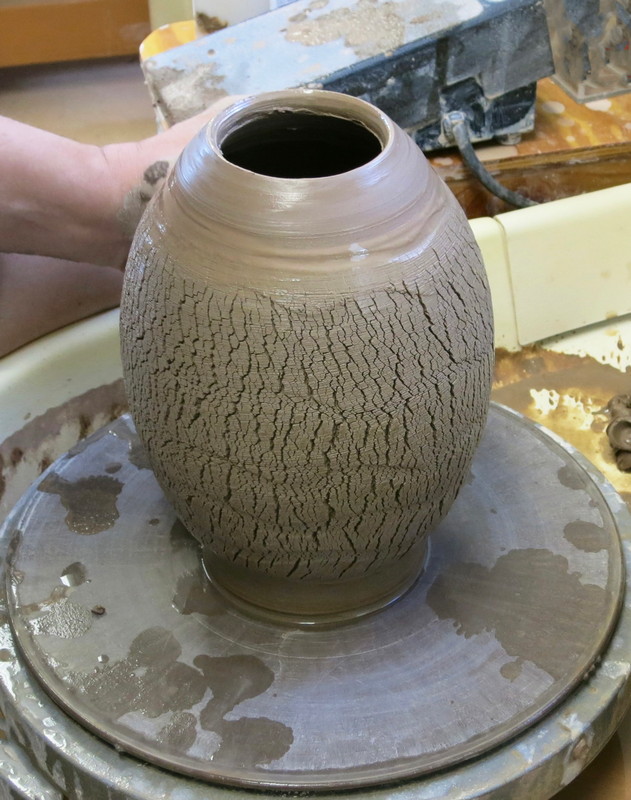
The more pressure used, the larger the cracks will be.
Step 8
Base
Remove excess clay from the base of the form using the fettling knife.
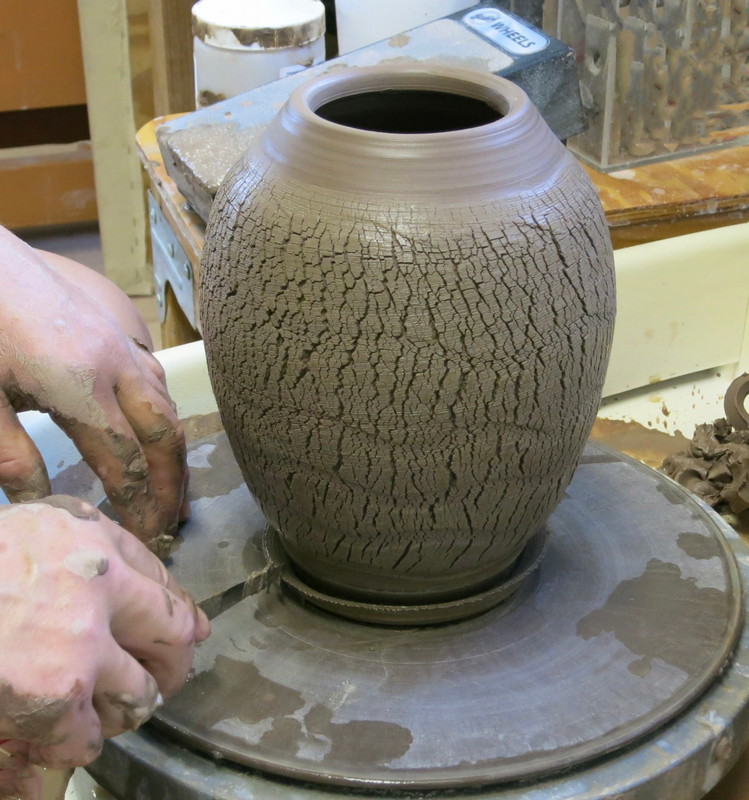
Wire off the vessel from the bat.
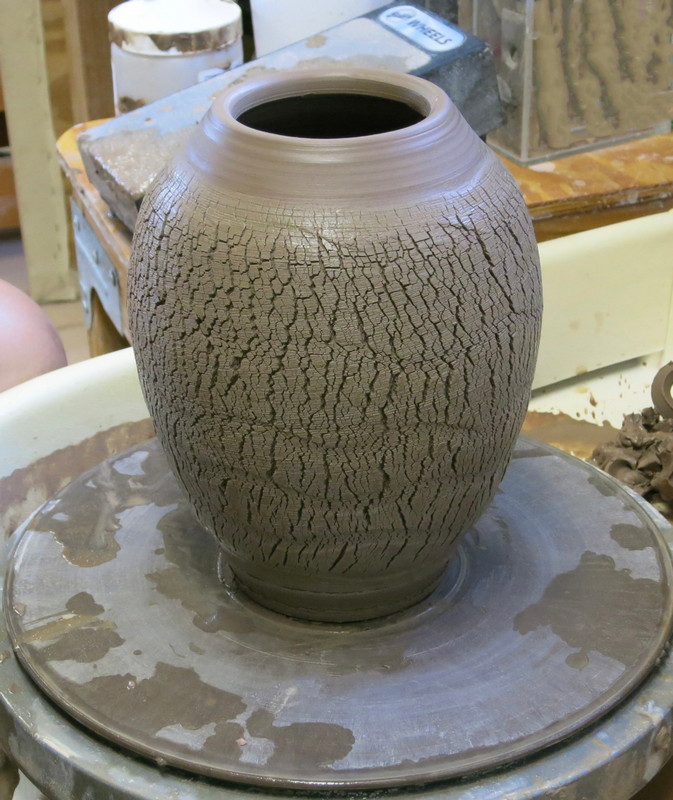
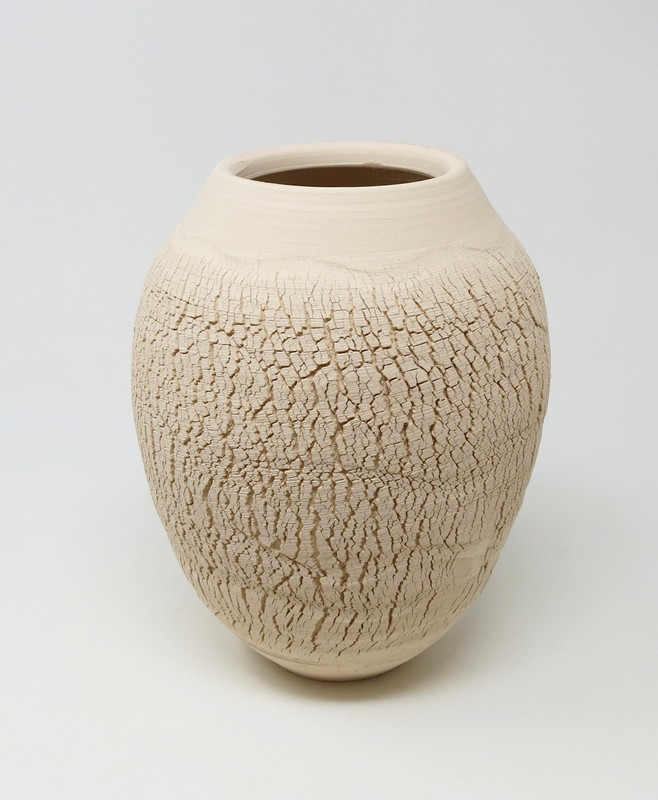
Step 9
Dry
Allow the clay to fully dry.
Drying time will vary depending on temperature and humidity.
Step 10
Bisque Fire
Fire the clay vessel in the kiln to bisque fire temperature 04.
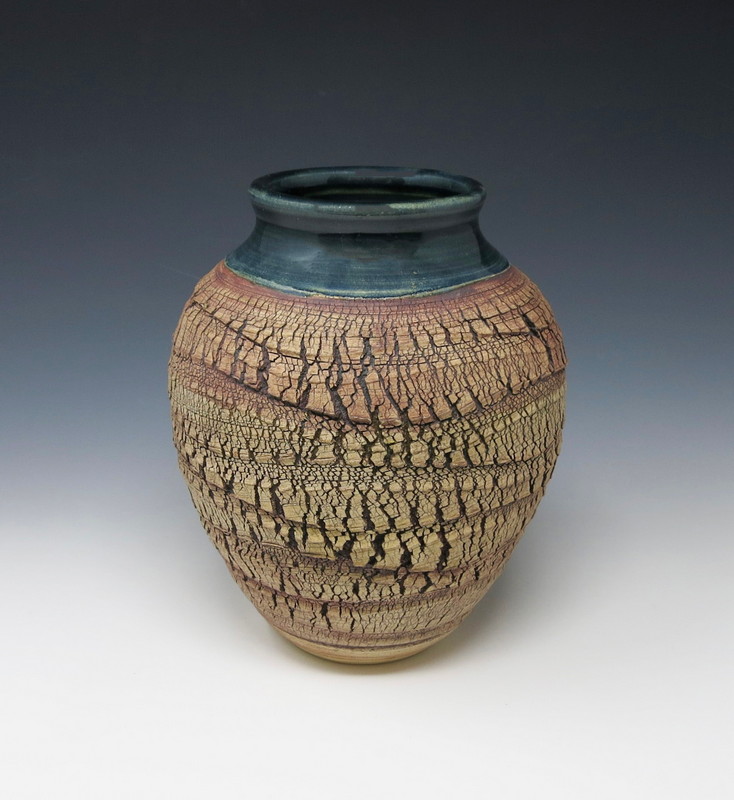
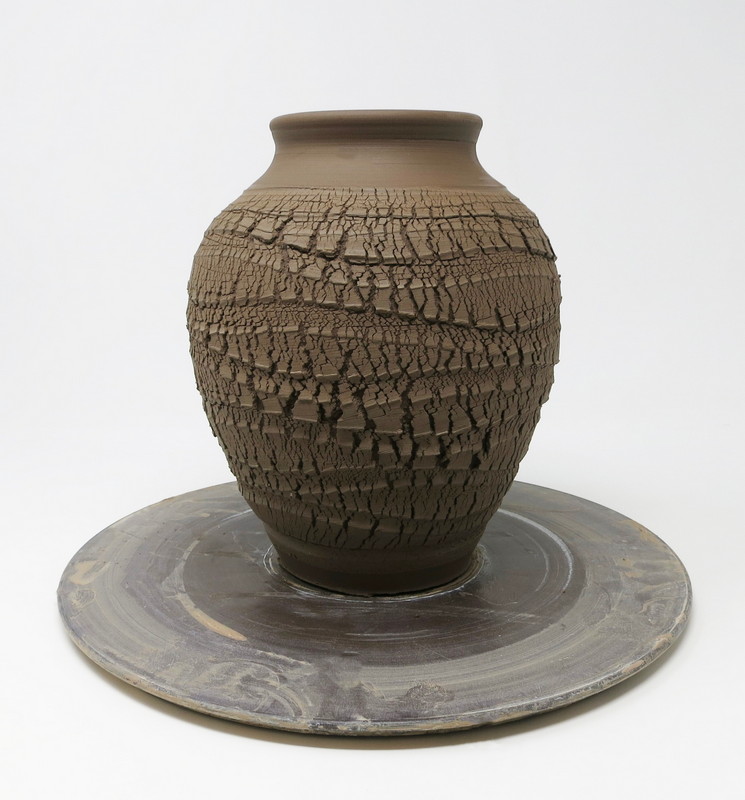
Step 11
Stain
Apply a wash of red iron oxide over the bisque vessel using a paint brush.
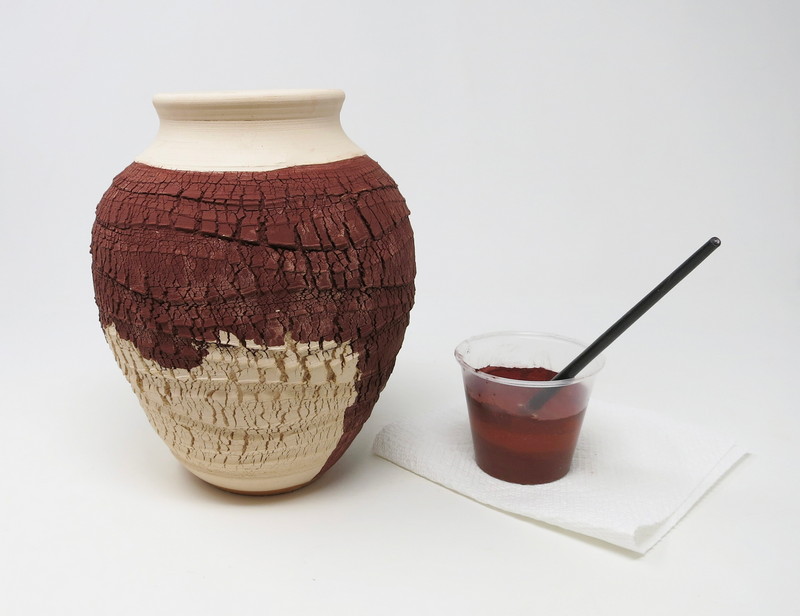
Allow the oxide to soak into the cracks.
Use a damp sponge to wipe away the oxide from the outside surface of the vessel.

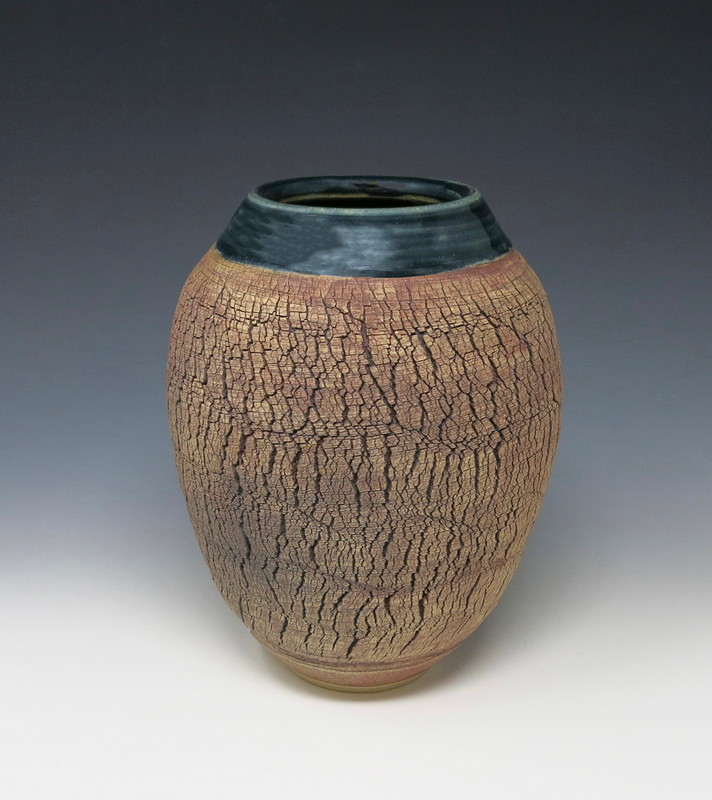
Step 12
Glaze
Apply a glaze to the bisque vessel’s neck, rim and inside according to manufacture’s guidelines.
Step 13
Glaze Fire
Fire the glazed vessel in the kiln. Follow manufacturer’s firing guidelines.
Firing range: Cone 6-10 (2269o-2381oF)