Materials Needed:
- Activa CelluClay
- Water
- Zip top bag
- Recycled plastic round carryout container or shallow bowl
- Corrugated cardboard
- Scissors
- Hot glue gun
- Activa Clay Sculpting Wheel
- Sandpaper
- Recycled cardboard egg carton
- Acrylic paint
- Paint brush
- Artificial green leaves
- Wooden tooth picks
- Glue
Step 1
Prepare the CelluClay
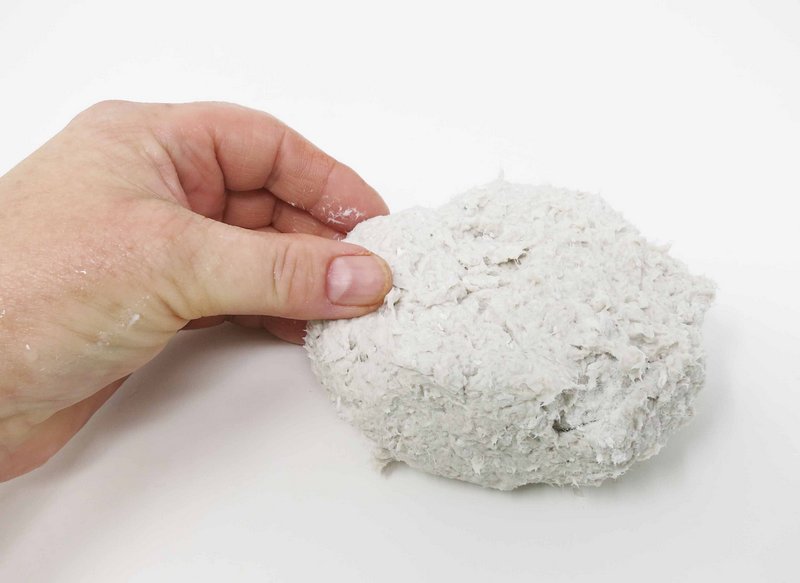
Mix the CelluClay according to package directions.
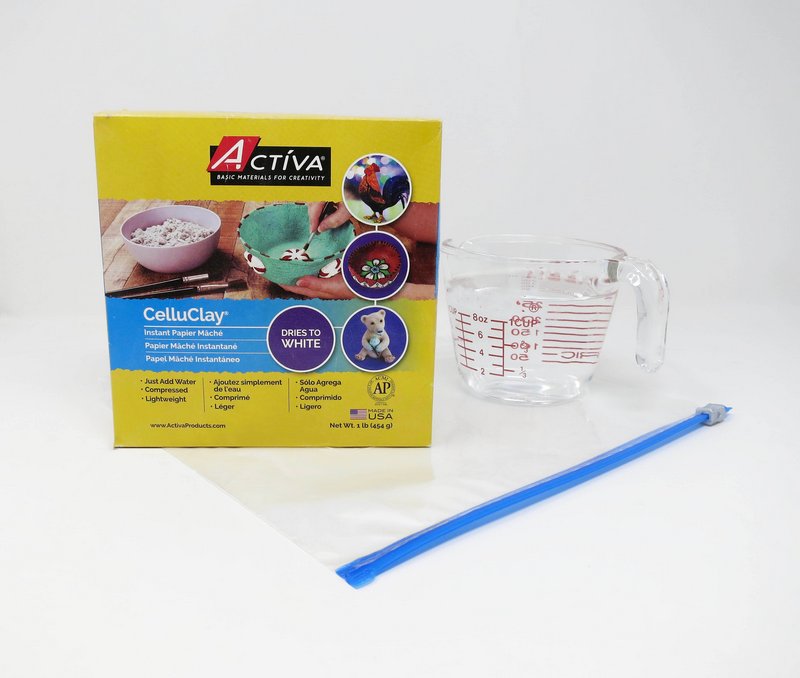
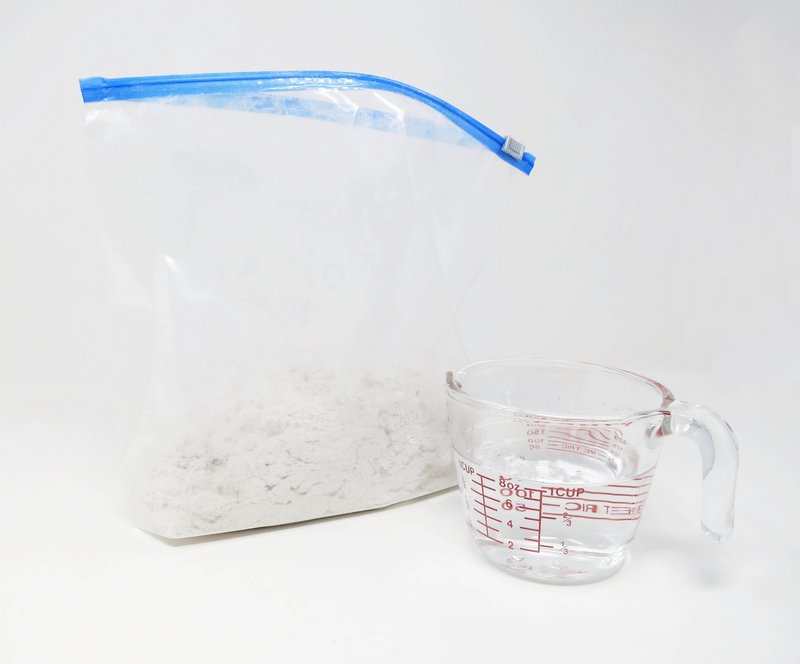
Add 32oz. of warm water to 1 lb. of CelluClay mixing in a zip top bag.
Knead with fingers until the CelluClay reaches the consistency of clay or stiff dough with no dry spots.
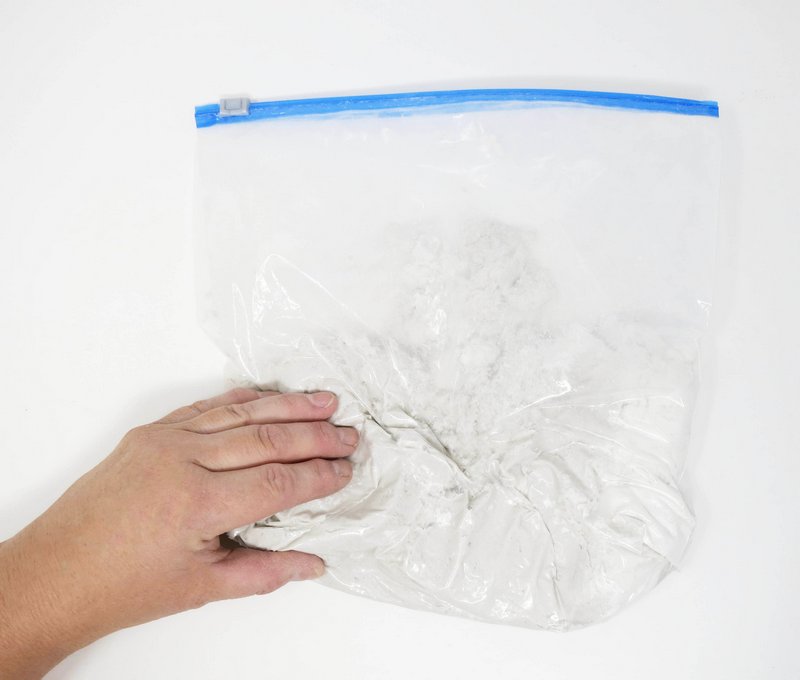
Add more dry CelluClay if mixture is too wet or soft, and more water if CelluClay if too dry or stiff.
Remove the Celluclay from bag when done mixing.
Step 2
Armature
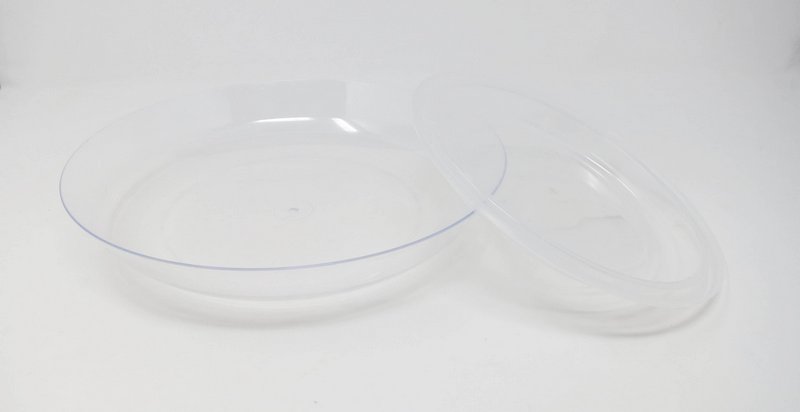
Use a recycled plastic round carryout container or shallow bowl for the structure of the kitty cat’s head.
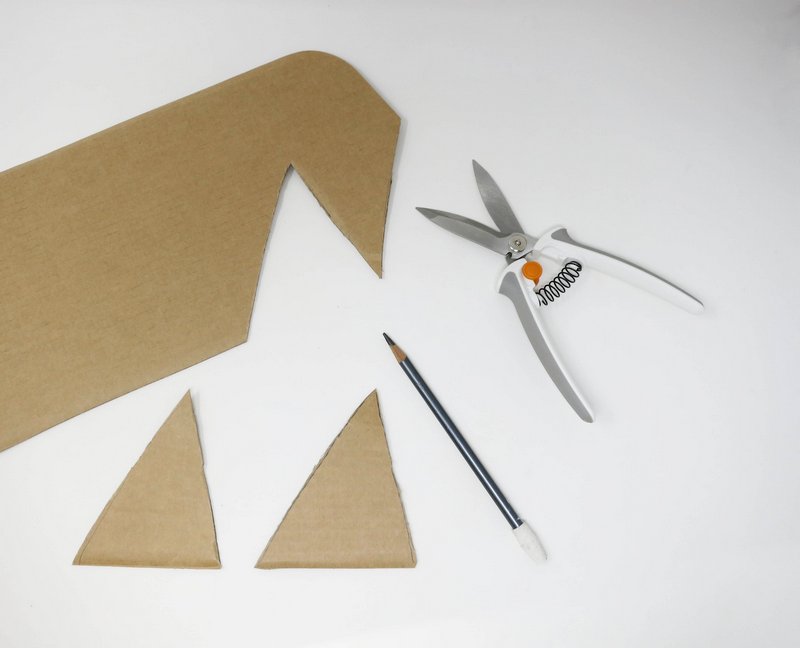
Cut two triangle shapes out of corrugated cardboard.
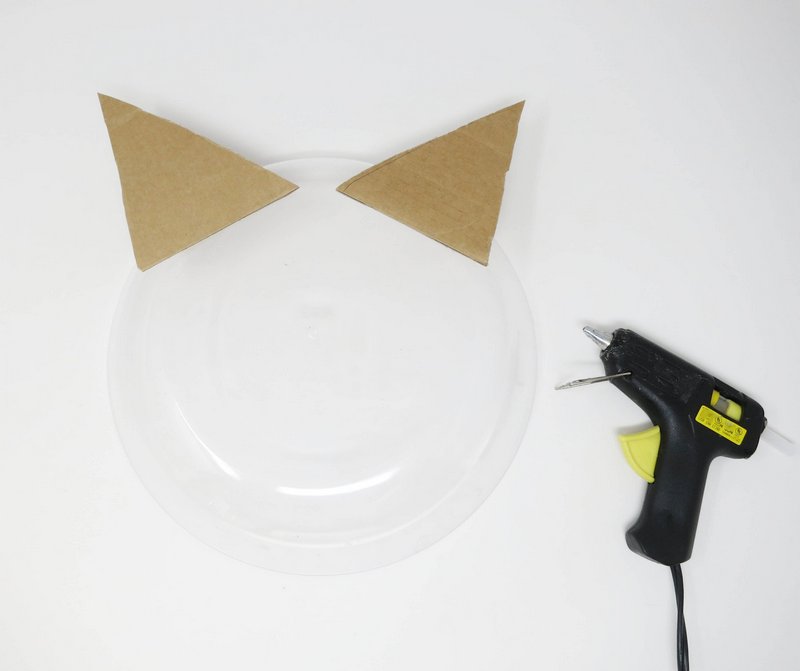
Attach the triangle shapes to the top of the circle form with a hot glue gun.
Step 3
Layer
Cover each armature with a coat of the CelluClay.
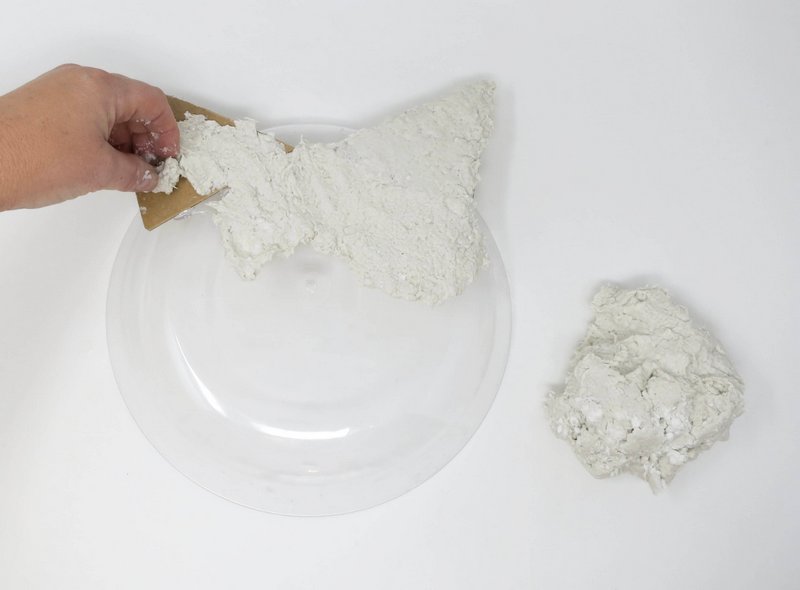
Smooth out any bumps in the CelluClay with wet fingertips.
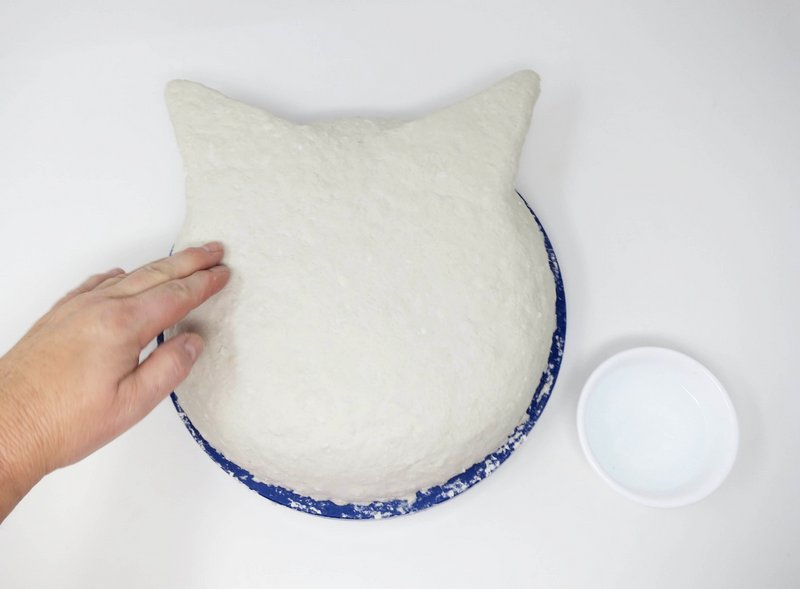
Apply several coats of CelluClay as needed. Allowing the individual coats to dry in between layers.
Step 4
Dry
Allow the sculpture to air dry. Humidity levels will impact drying time.
The CelluClay will lighten in color and become harder as it is drying.
The CelluClay will feel room temperature when dry and have a bright white color appearance.
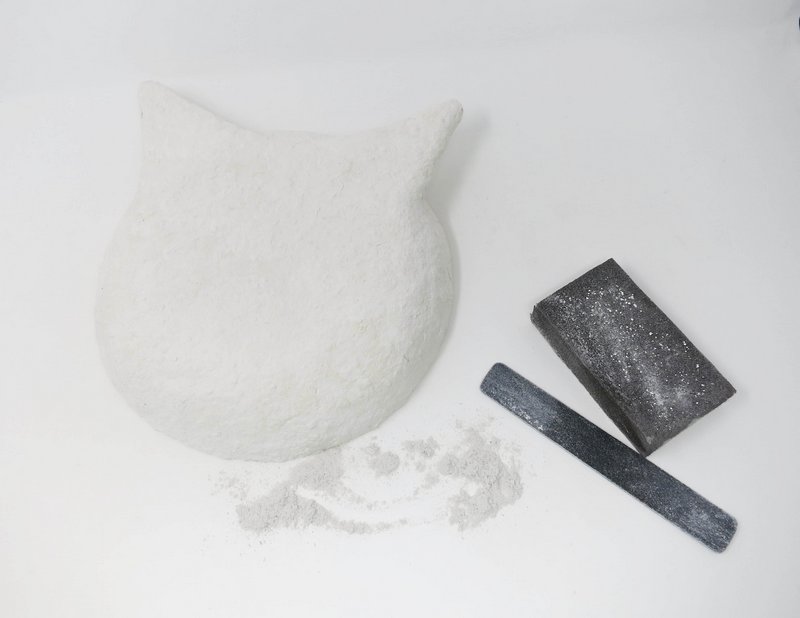
Step 5
Smooth
Use sandpaper to smooth out any rough areas or bumps on the sculpture’s surface.
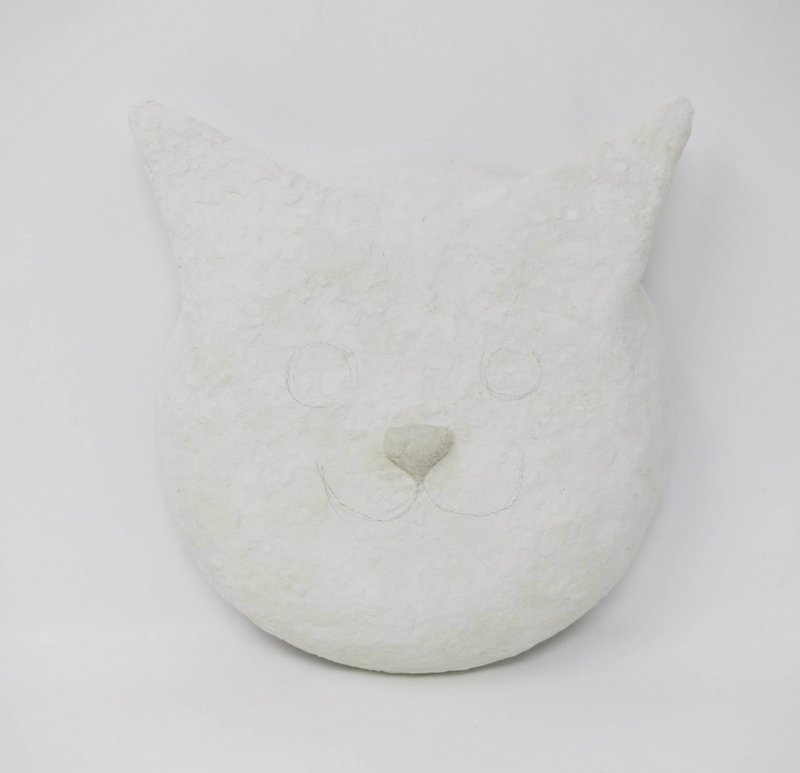
Step 6
Nose
Build up a small triangular nose with CelluClay in the center of the cat’s face.
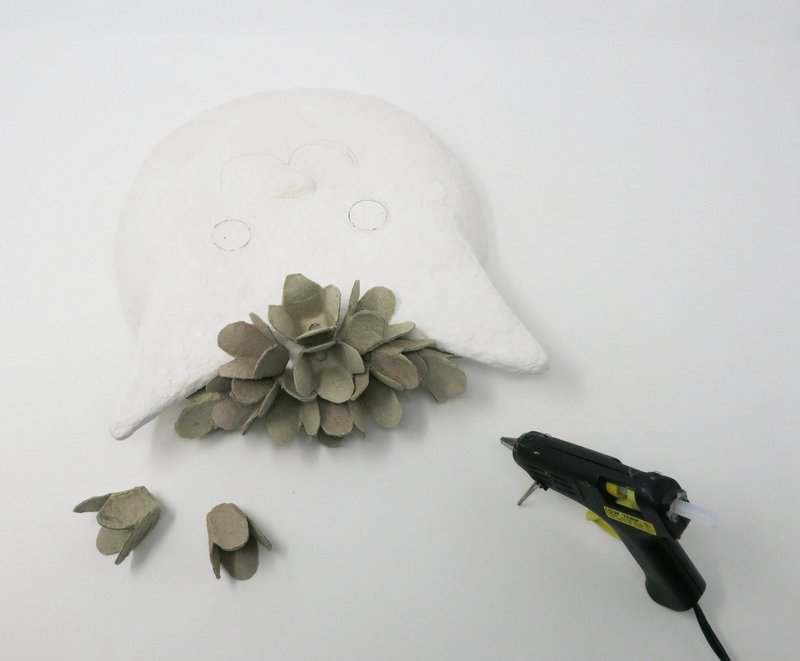
Step 7
Flower Crown
Use a recycled cardboard egg carton for the flower shapes.
Cut the carton apart and trim the raised cone shape parts into flower pedals.
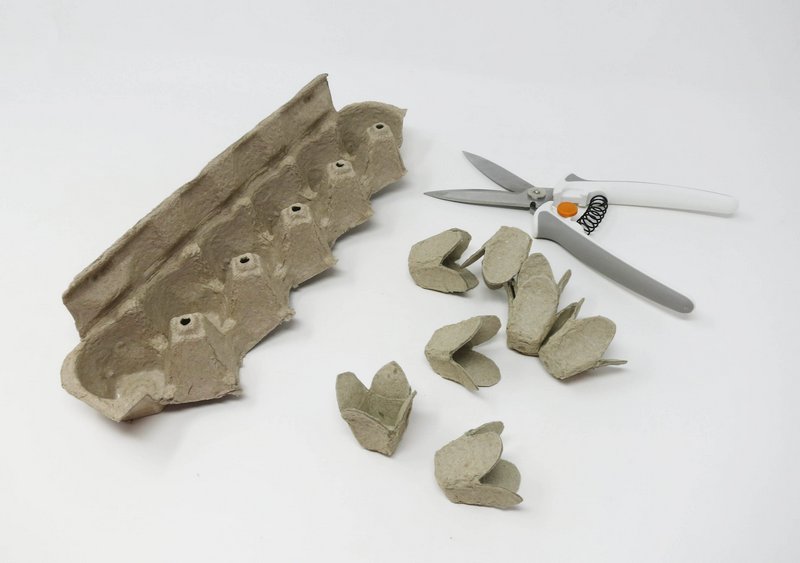
Attach the pedal pieces to the cat’s face using a hot glue gun.
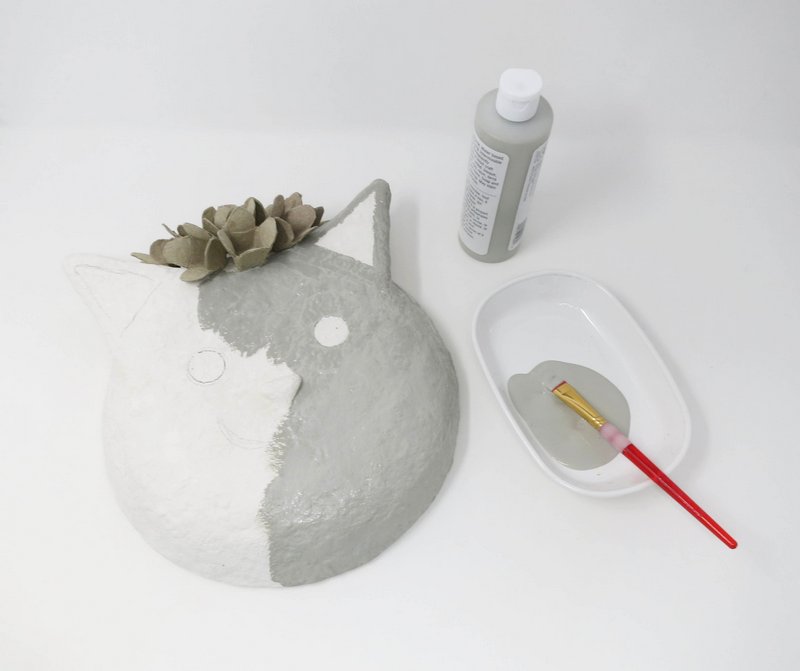
Step 8
Color
Use acrylic paint to paint the sculpture.
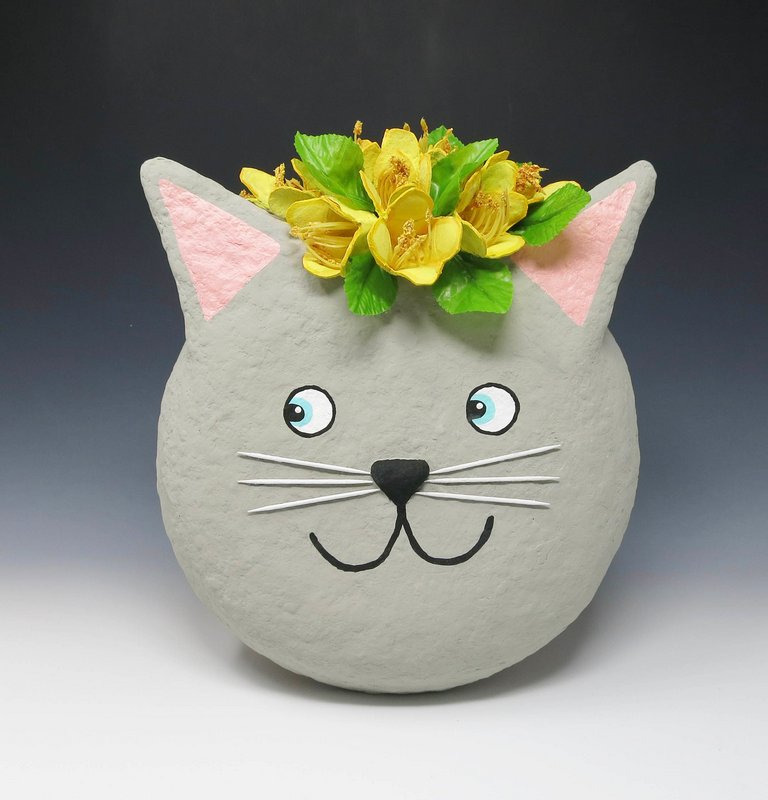
Step 9
Leaves
Add artificial green leaves around the cardboard flowers with a hot glue gun.

Step 10
Wiskers
Glue three painted white wooden toothpicks onto both sides of the cat’s nose.
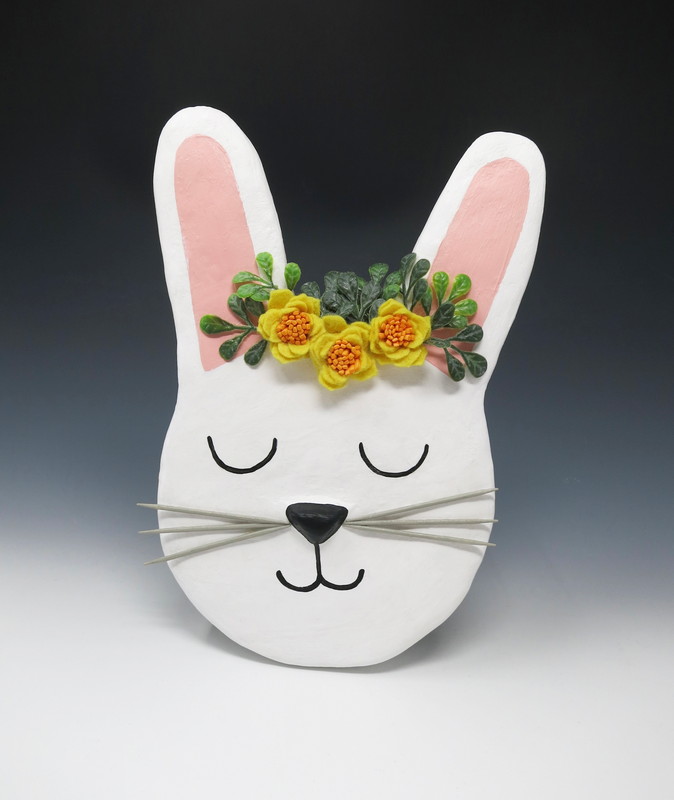
Alternate Bunny Design: