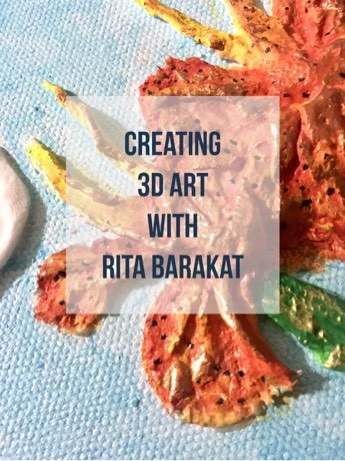
Project by Rita Barakat - Mixed Media Artist, Illustrator, Designer, and Educator.
Hey creatives! Rita Barakat here with a new ACTÍVA project! Mixed Media is my forte and I am pleased to share my latest creation with you, using ACTÍVA's Rigid Wrap and Hearty Clay products!
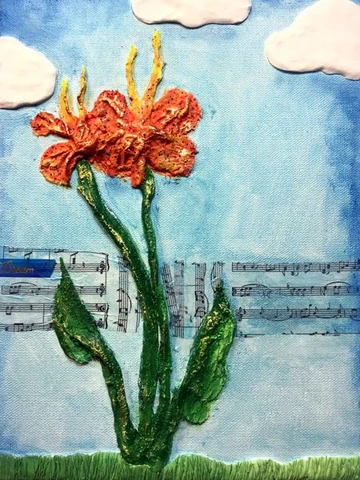
Mixed Media is easy to create. Instead of using one medium like acrylic or watercolor, you can use as many as you want! On this piece, I ended up using paper, washi, different types of paint, Rigid Wrap and Hearty Clay! Keep reading for the full tutorial, and make sure to watch the video at the end of this post to see this project created in real-time!
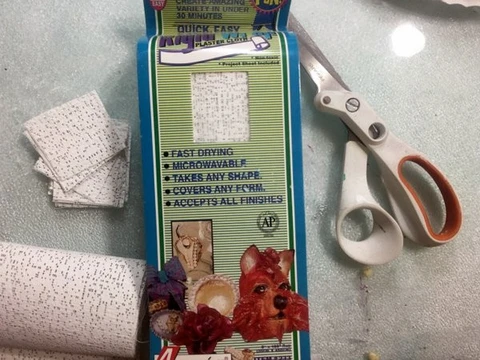
SUPPLIES NEEDED FOR MIXED MEDIA 3D ART
HOW TO CREATE MIXED MEDIA 3D ART
STEP ONE: The first thing you want to do is prepare your supplies. Before you start, cut strips of Rigid Wrap lengthwise and small squares too – it comes in handy when your hands are already wet and full of product!
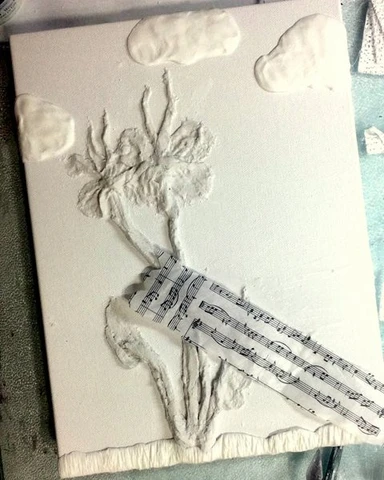
STEP TWO (MAKING FLOWERS): Take one strip of Rigid Wrap at a time, dip it in the water and form the first design on your canvas. If you are more comfortable, draw an outline of what you are trying to accomplish first. Only wet the strip of Rigid Wrap when you are ready to use it - you can layer strip upon strip even though it is wet. Form your design with your hands, keep a pair scissors handy in case you need to trim any edges. (Baby wipes work well for fast clean up!)
Tip* Dip your fingers in the water to smooth out edges and to make sure they are adhering to the canvas.
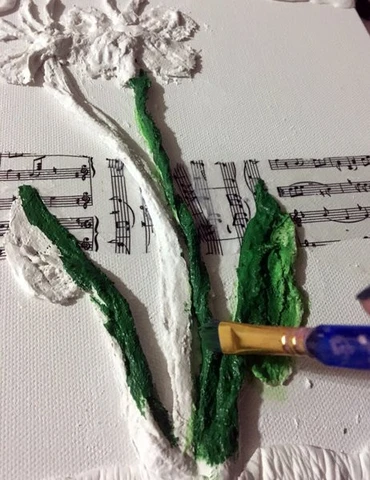
STEP THREE (MAKING CLOUDS AND GRASS): Make small balls out of Hearty Clay and form clouds directly on the canvas. While forming those clouds, you are pushing them into the canvas, making sure they are attaching. If they are too thick you can stretch and smooth them out with a brayer. Take a long strip of Hearty Clay and roll it out to be the length of your canvas. Flatten it into place and use something with a sharp thin edge to make little “blades” of grass. (I used a palette knife, but you can easily use an old credit card or hotel key card).
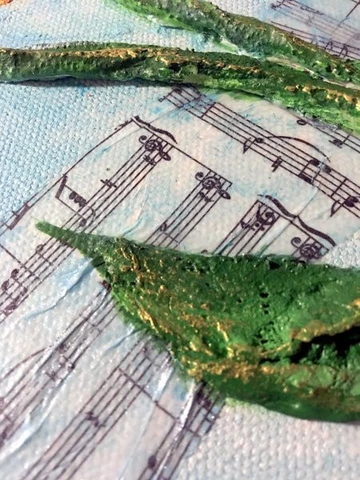
STEP FOUR (FINISHING TOUCHES): Allow your work to dry completely. Once dry, you can use gel medium or other liquid adhesive to reattach any edges that aren’t fully adhered to the canvas. Since I had some areas that weren’t fully attached I decided to add a little tissue paper for interest. Use your palette knife and gel medium to make sure everything is securely in place. Once dry you can paint with any type of paint you choose and add a little washi for an accent!
These techniques can easily be used to make any type of art come to life!

And make sure to watch this video to see just how this project was created! It's truly amazing how easy it is to create beautiful 3D art with Rigid Wrap and Hearty Clay!