Project by Erin Sipes of My Very Educated Mother.
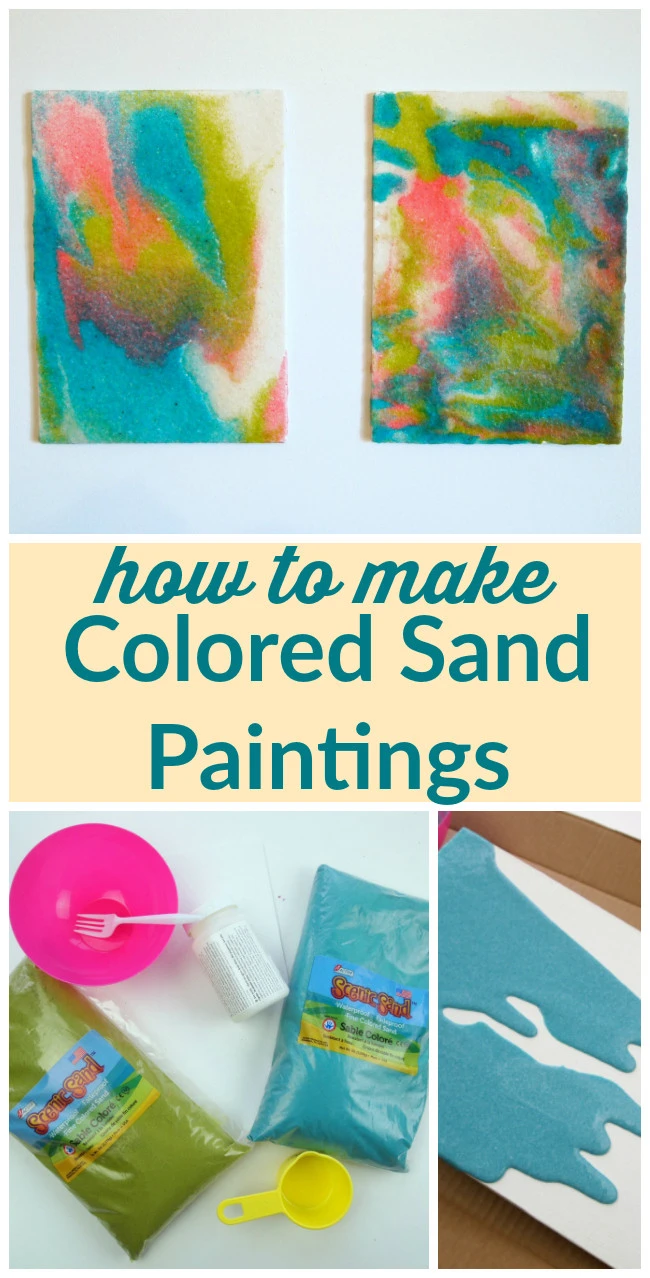
Are you looking for an affordable way to add some color and interest to your bare walls? We have the solution for you! This DIY Colored Sand Painting project is the perfect way to inexpensively add a modern touch to any decor. Plus, it's a great project for all ages - kids included!
And, ACTÍVA's new Scenic Sand Bundles in fresh spring colors will give you gorgeous color pairings for a project that's virtually effortless!
SUPPLIES NEEDED
- ACTÍVA Scenic Sand. The Spring Colors Bundles are perfect for this project as they are gorgeous color pairings that come pre-packaged for your convenience. White & Turquoise, Pink & Yellow, and Blue & Green bundles are available for your Easter and Spring decorating and entertaining needs!
- Decoupage medium, such as Mod Podge
- 8x10" canvas panels
- Measuring spoons
- Plastic or paper bowls and spoons for mixing
- Box or other object to prop up canvas
INSTRUCTIONS FOR MAKING DIY SAND ART PAINTINGS
This project is a snap to put together! It's a great activity for kids and adults alike.
STEP ONE:
Cover your work area. This project can get messy.
STEP TWO:
Create your sand glues by combining equal parts decoupage medium and sand, and mixing until smooth.
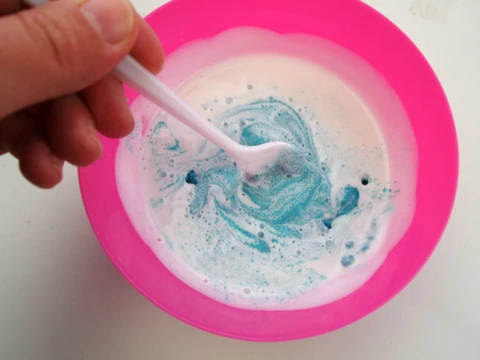
You could use glue for this project, but since decoupage products are glue, sealer, and finisher all in one, they tend to give better results.
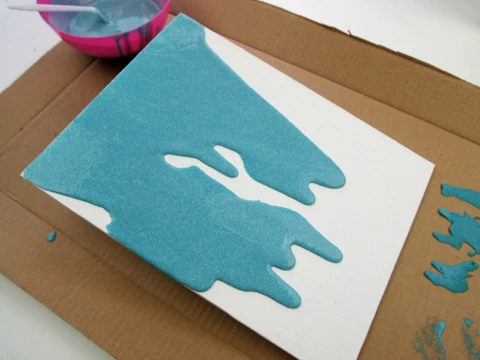
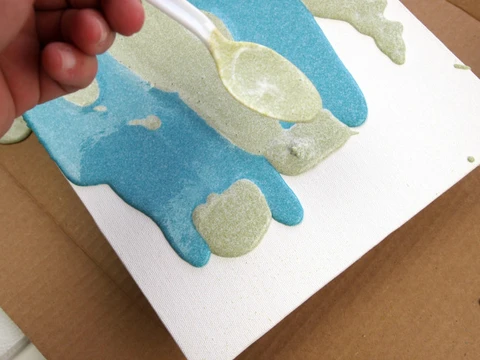
STEP THREE:
Prop up one end of your canvas using a small box, roll of tape, or any item you don’t mind potentially getting a little messy. Then, spoon on the sand glue so that it can run down the length of the canvas.
STEP FOUR:
With your canvas still propped up, add another color of sand glue to fill in the panel. Don’t be afraid to pick up the canvas and tip it back and forth to get complete coverage and create unique patterns with the mixture.
STEP FIVE:
Set the artwork on an elevated surface so that any excess sand glue can drip off the edges. Let it dry for at least 24 hours.
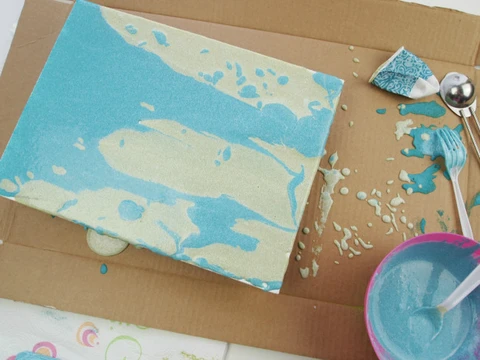
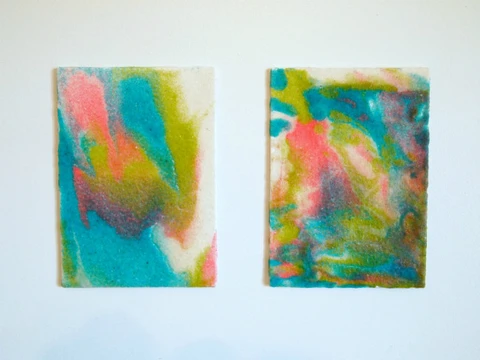
Once the painting has fully dried, hang it and enjoy!
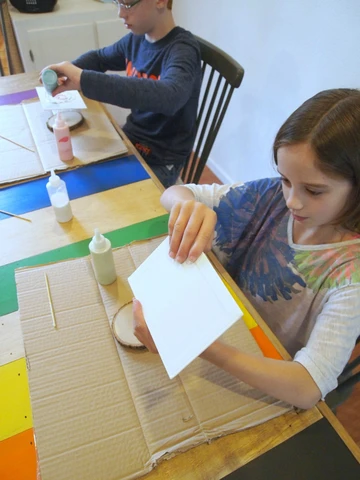
KIDS' CRAFT VARIATION:
Make sand glue following the instructions above and pour it into squirt bottles. Use no more than four different colors to avoid muddling. Set the bottles out with smaller 3”x 5” canvas panels and something to prop the panels. Let kids drip, mix, and create sand art pieces of their own. Let the artwork dry on an elevated surface for at least 24 hours.
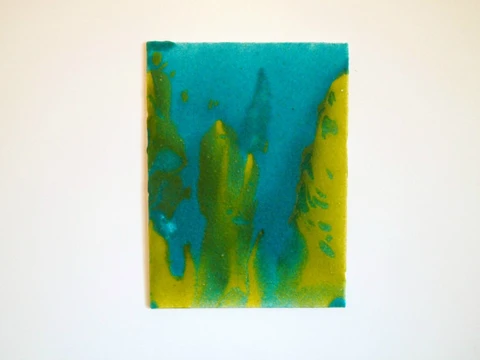
That is ALL you need to do to create beautiful and unique artwork for your home! The colored sand adds beautiful texture and color to any blank canvas. It's an easy project that you're sure to enjoy for years to come.
Make sure to pick up some colored sand in our online store, and check out our colored Scenic Sand Spring Bundles, too!