Materials Needed:
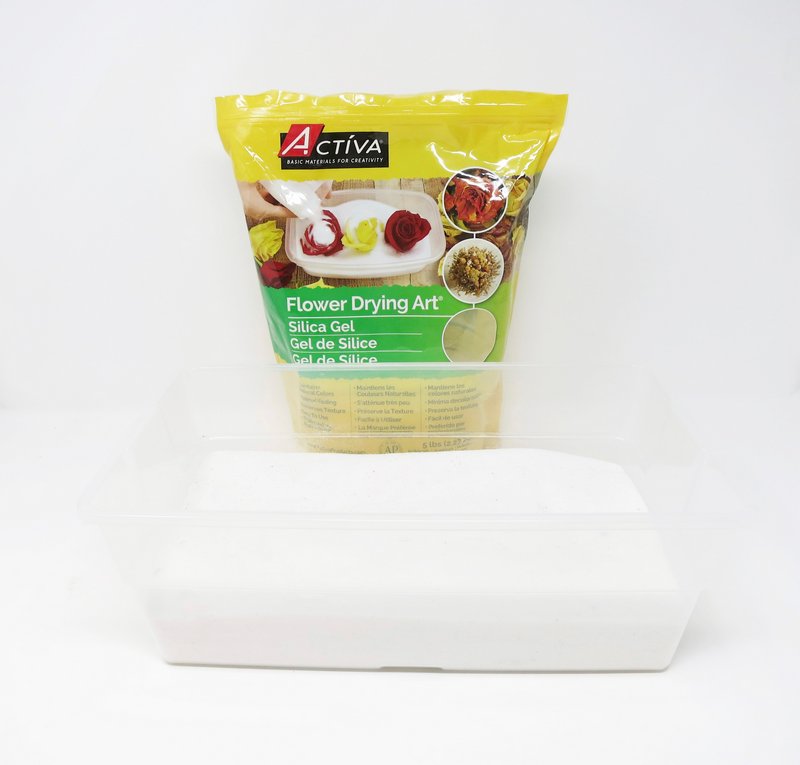
- Activa Flower Drying Art® Silica Gel
- Lidded container
- Fresh flowers
- Scissors
- Paint brush
- Silicone pendent and keychain molds
- Tweezers
- Resin
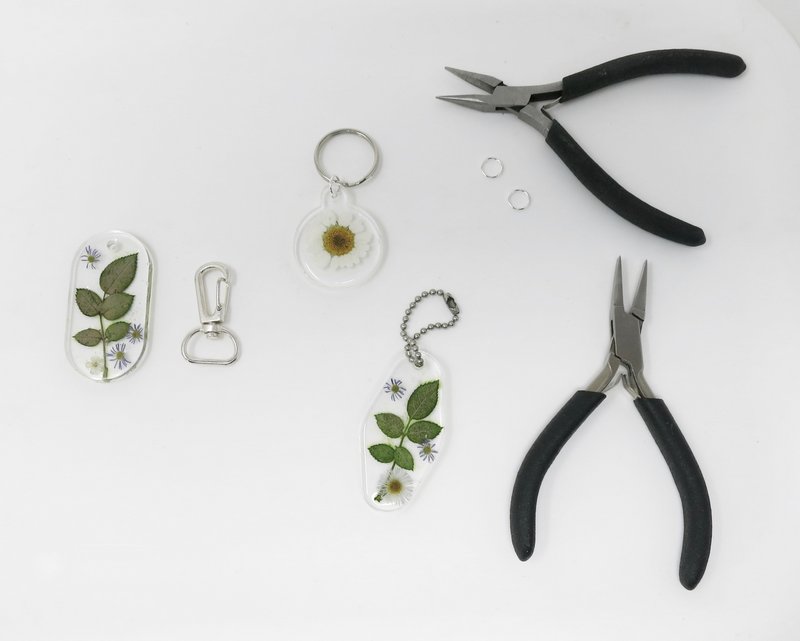
- Jewelry hardware
- Chains
- Key ring
Step 1
Silica Gel
Pour Flower Drying Art into a container to a depth of at least 1.5” to cover the bottom.
Step 2
Prepare Flowers
Select fresh flowers to preserve.
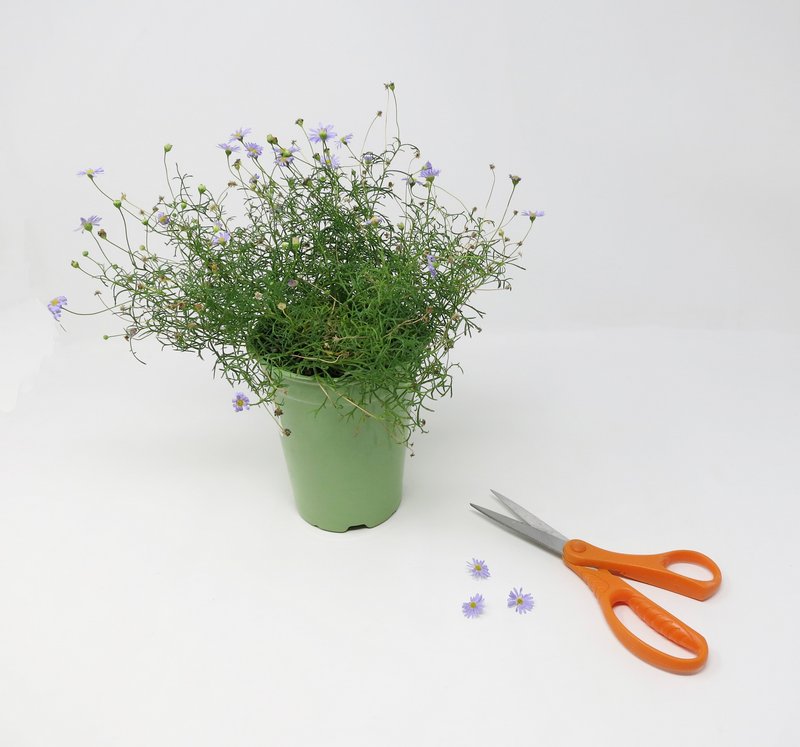
Step 3
Dry Flowers
Place flowers on the surface of the Flower Drying Art upside down.
Space flowers so they do not touch each other.
Slowly sprinkle Flower Drying Art around the base of the flowers, adding it to the top and sides of the flowers.
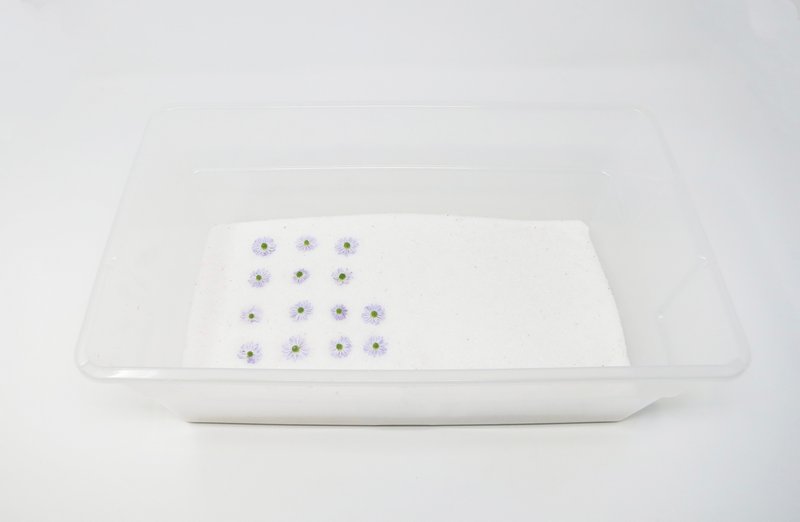
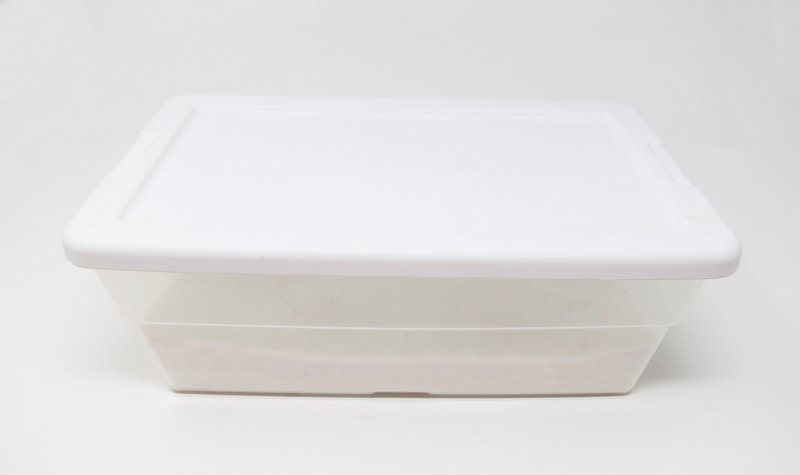
Cover the container with an airtight lid and put away in a dry place.
Drying times vary depending upon the number of flowers in a container and the moisture content of the flowers.
Watch for the blue crystals to turn pink.
This action shows that the moisture from the flowers is being absorbed into the Flower Drying Art.
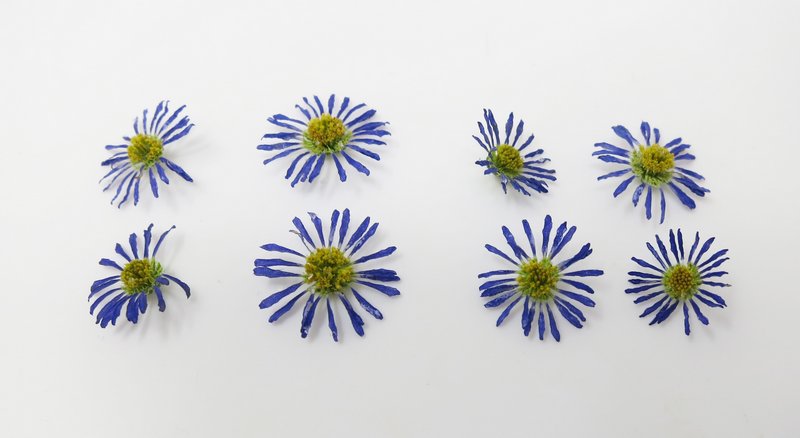
Step 4
Remove Flowers
To remove flowers, slowly pour off the Flower Drying Art until flowers are uncovered.
Gently brush away the silica get that may be on the petals using a soft paint brush.
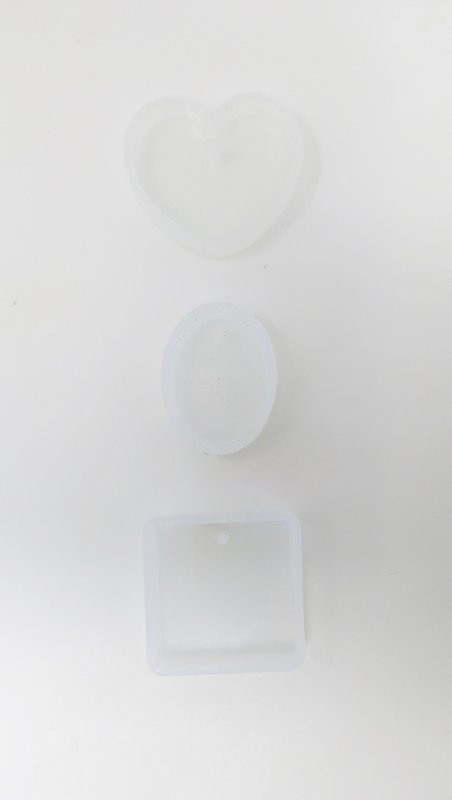
Step 5
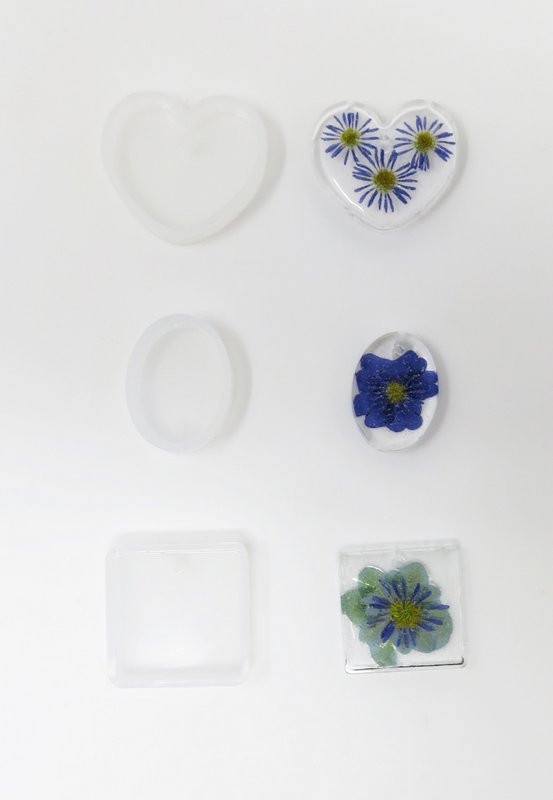
Silicone Mold
Select mold shape to use.
*Clean mold with a damp towel before use.
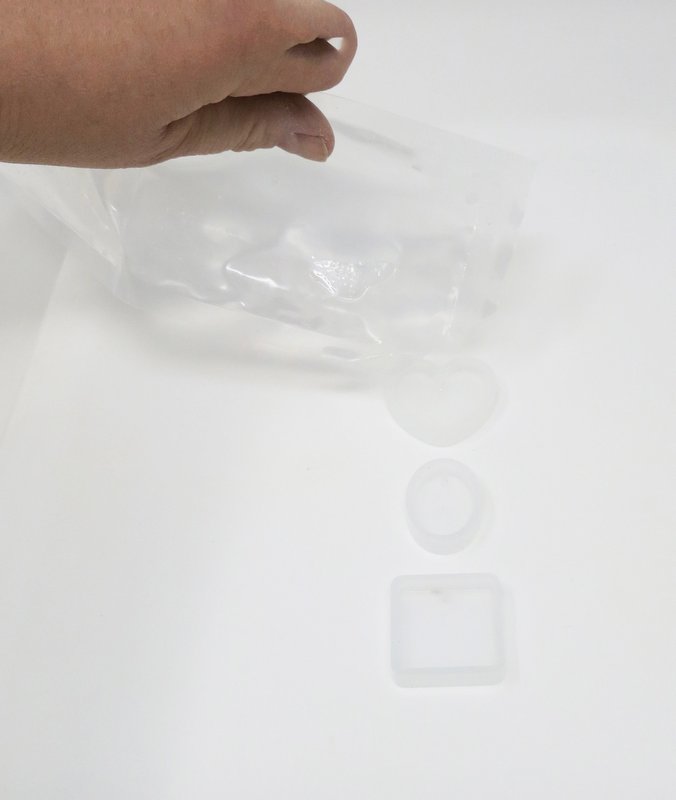
Step 6
Resin
Prepare resin according to manufacture’s directions.
Pour the resin into the mold.
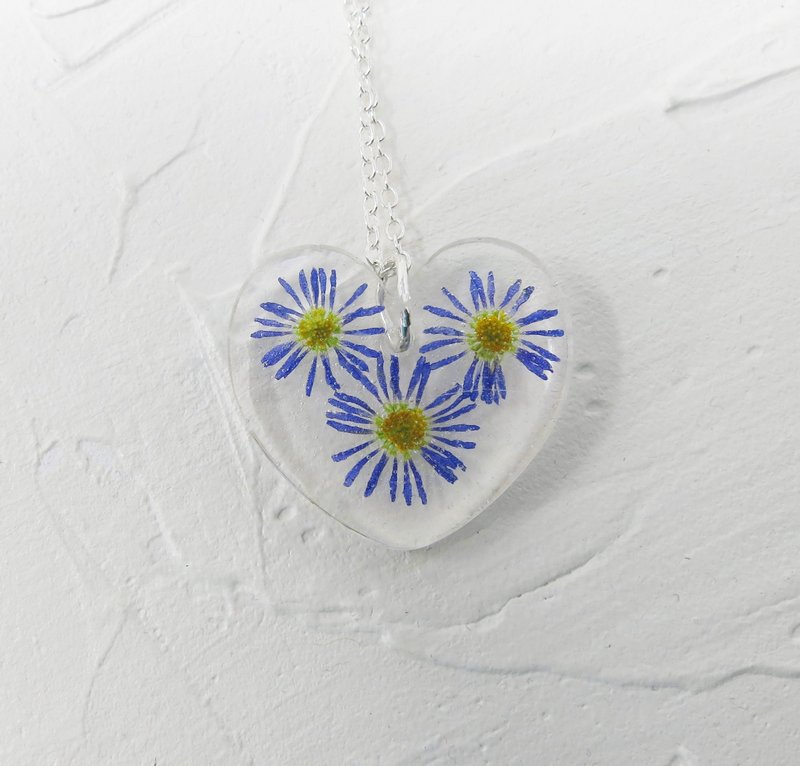
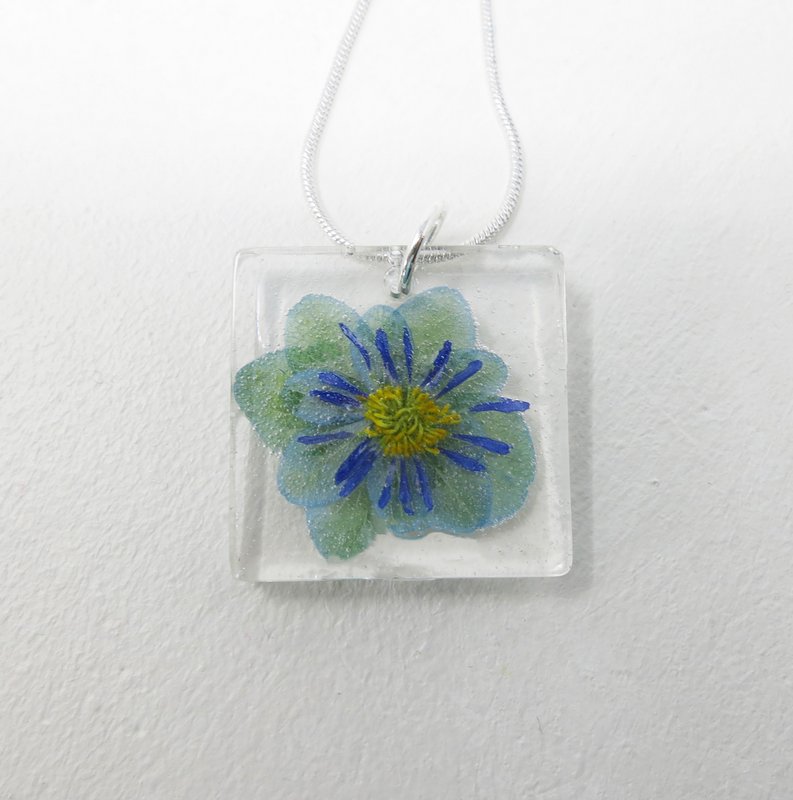
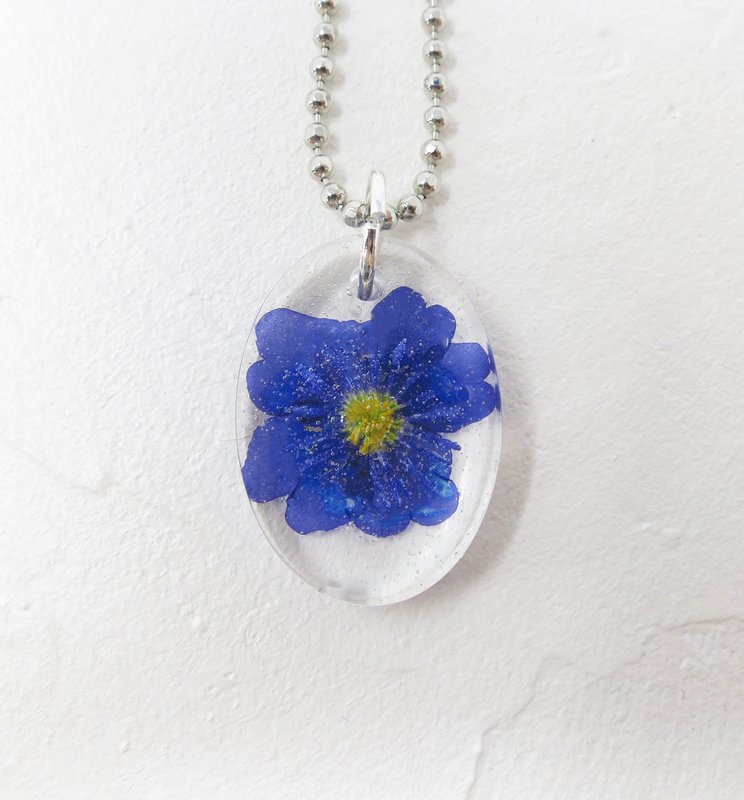
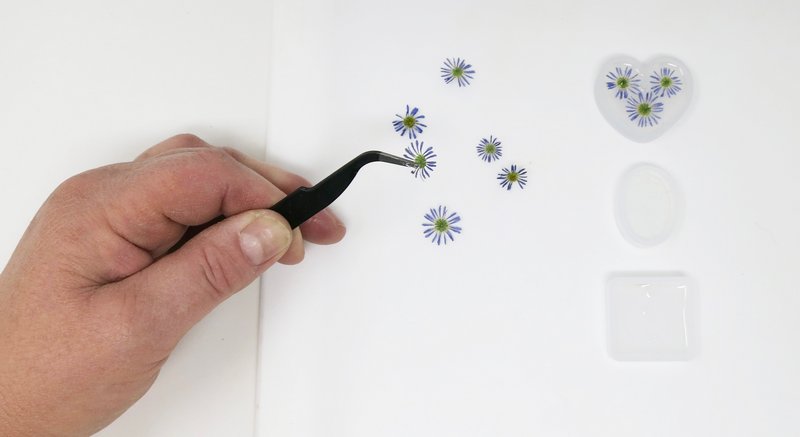
Step 7
Flower Placement
Place flowers into the resin one by one using tweezers.
Move flowers into the desired
arrangement before the resin begins to set.
*Place flowers upside down in the mold.
Step 8
Cure
Allow the resin to completely cure.
*Refer to manufacture’s directions regarding resin curing times.
Step 9
Removal
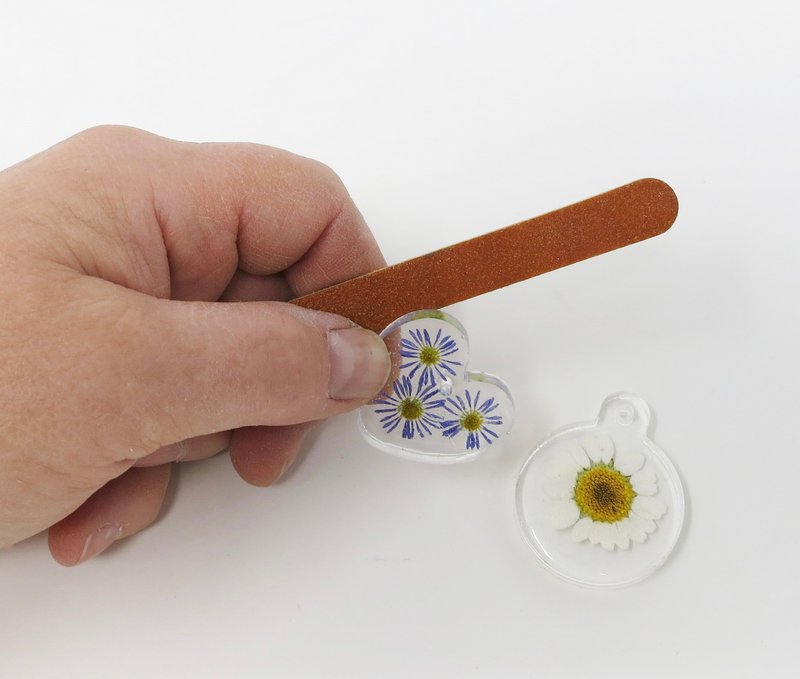
Once the resin has cured, gently flex the silicone mold back and lift the hard flower pendant out of the mold.
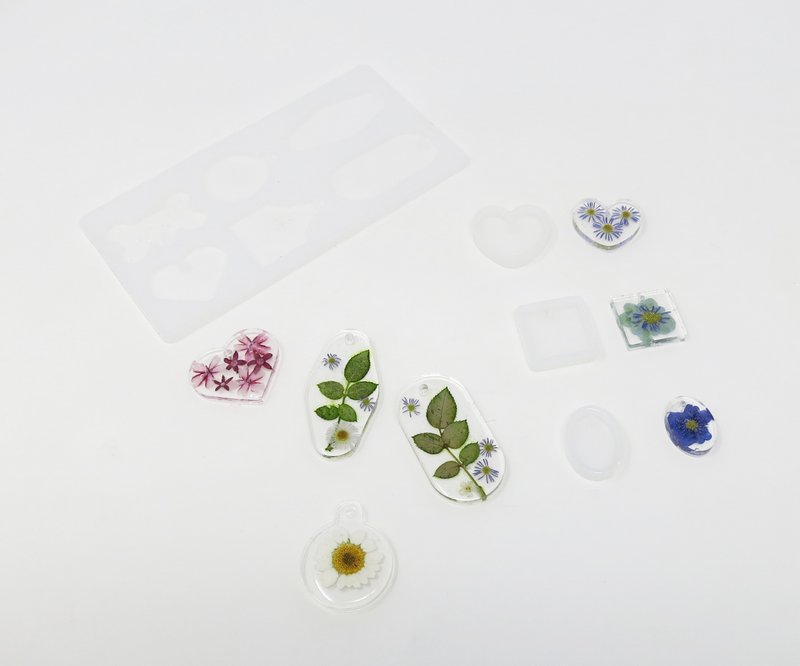
Smooth off any rough edges with light sand paper.
Step 10
Metal Work
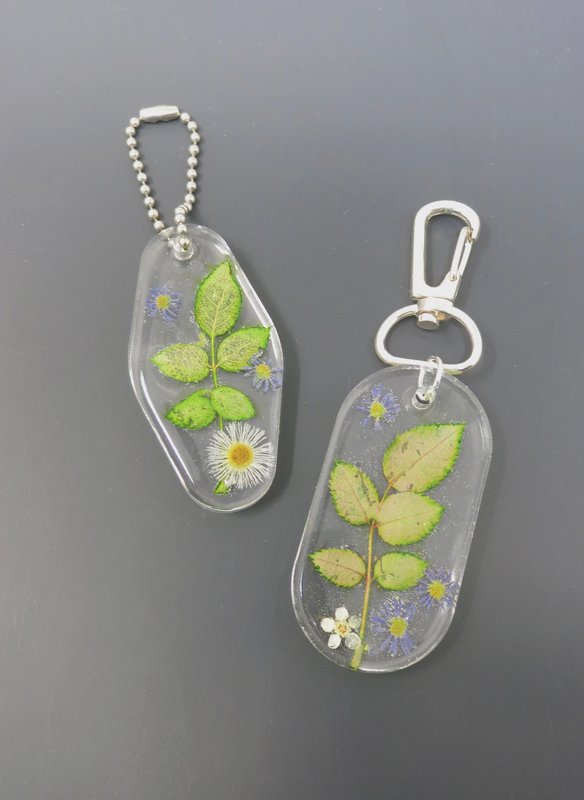
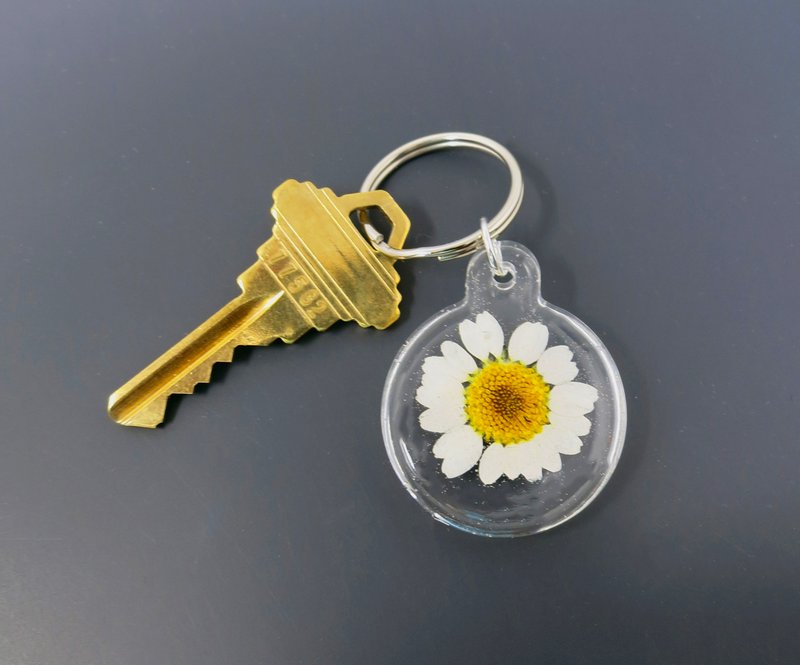
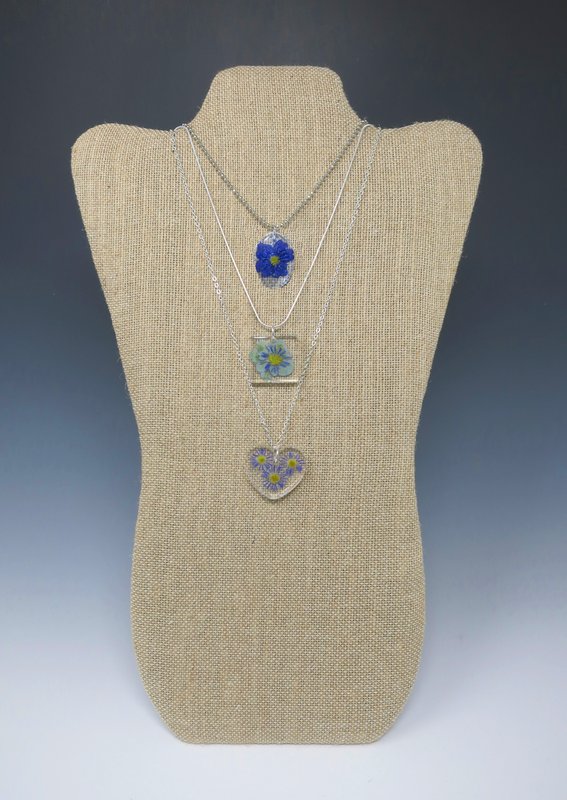
Attach the necessary jump rings and chains using pliers to complete each piece of jewelry.
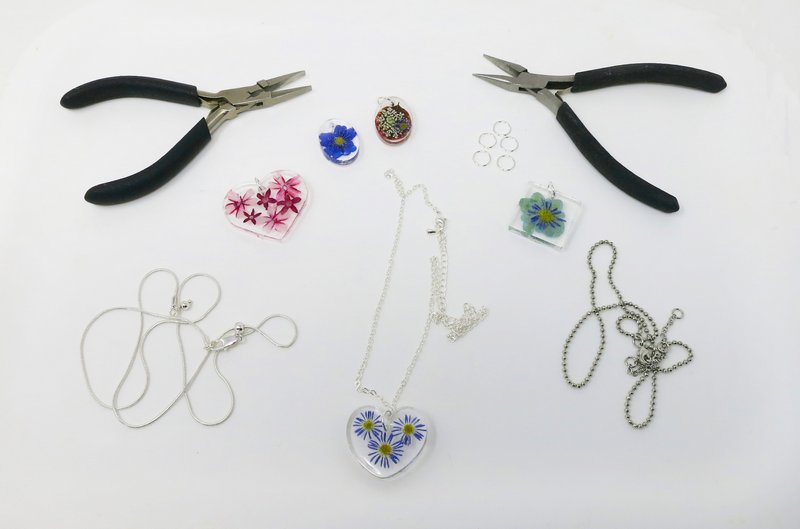
Attach the necessary rings and clasps to complete each key chain.