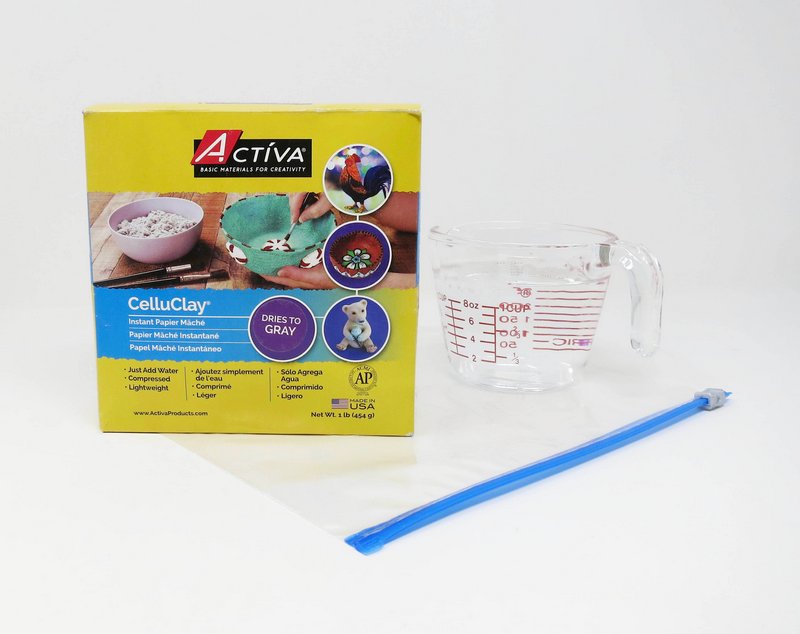
Materials Needed:
- CelluClay® Instant Paper Mâché - Gray
- Water
- Measuring cup
- Plastic bag
- Corrugated cardboard
- Paper plate
- Pencil
- Precision knife
- Tape
- Hot glue gun
- Paper towel
- Tissue paper
- Decoupage medium
- Brush
- Display hook
- Adhesive
Step 1
Armature
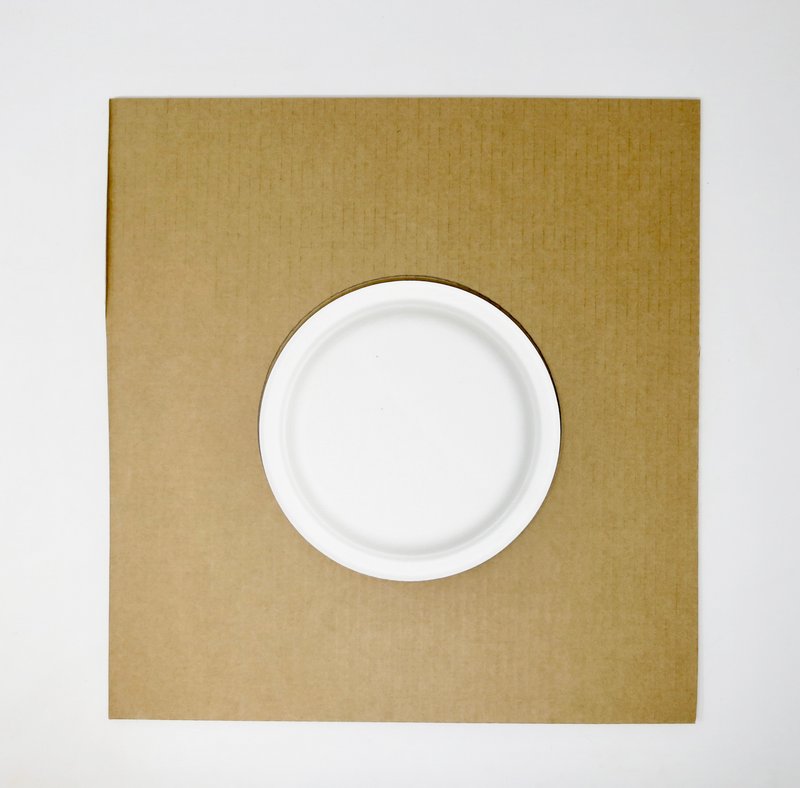
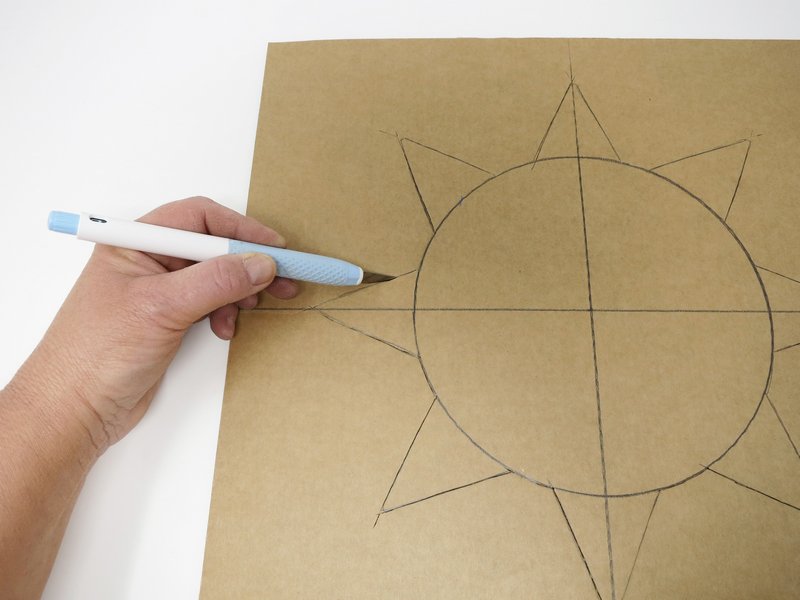
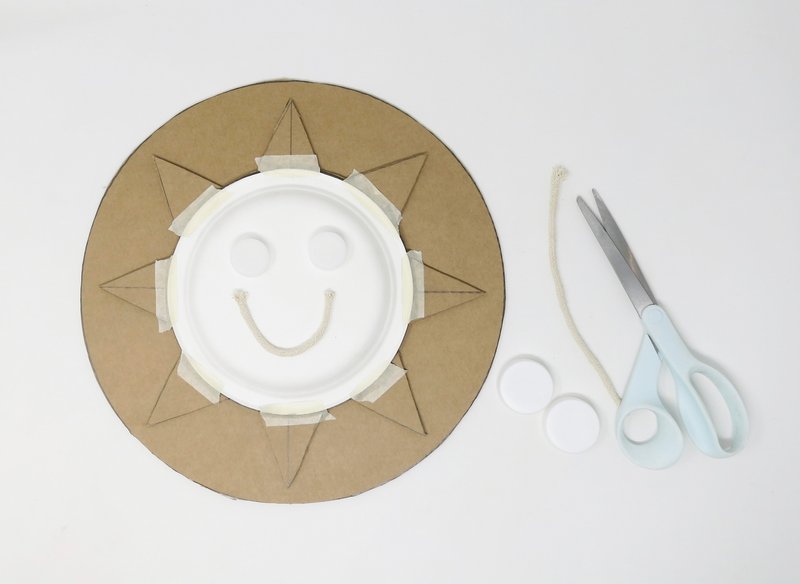
Use a paper plate as a template and draw a large circle shape on a piece of corrugated cardboard.
Add sun rays around the circle shape.
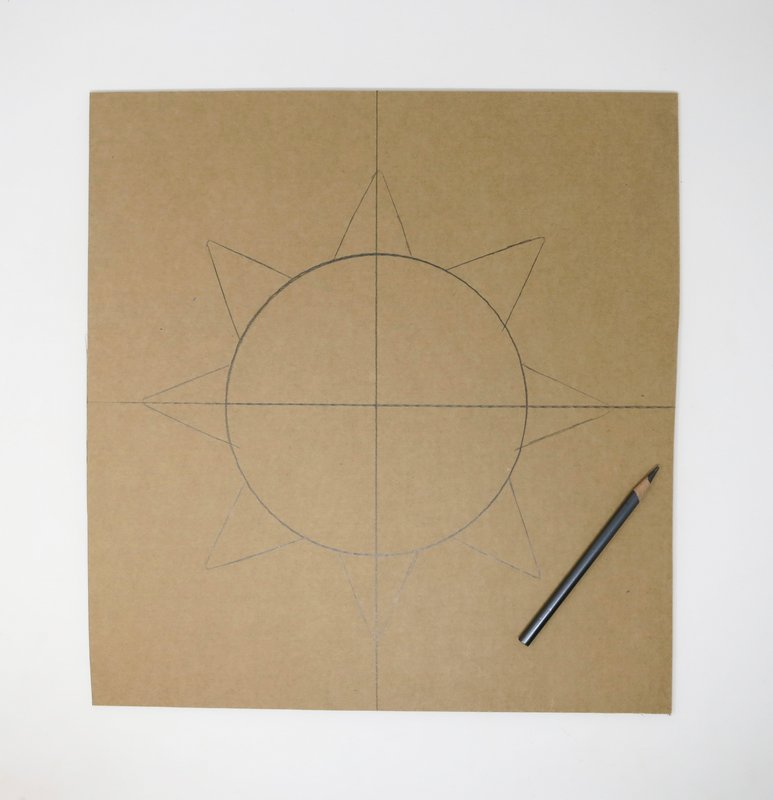
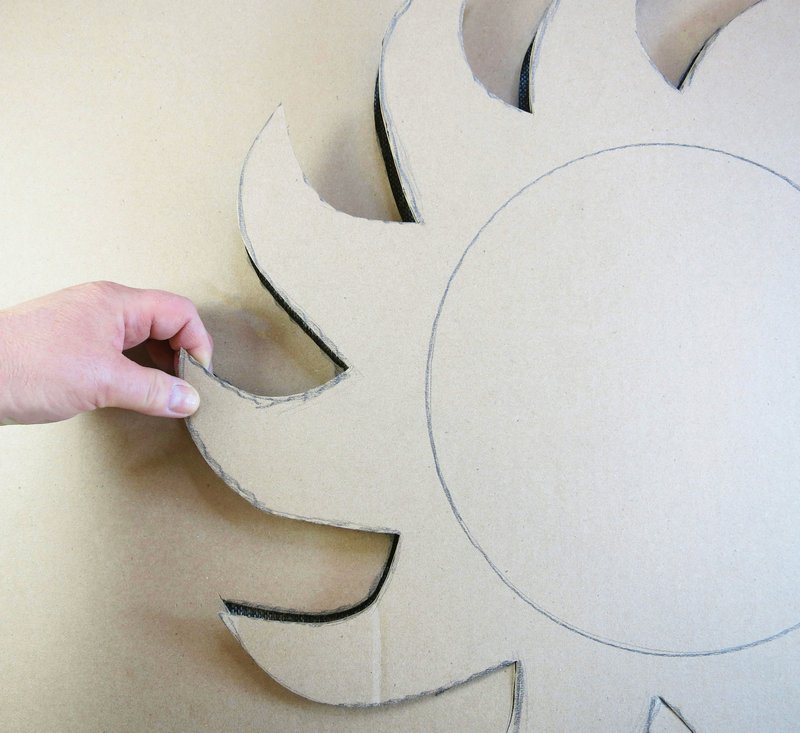
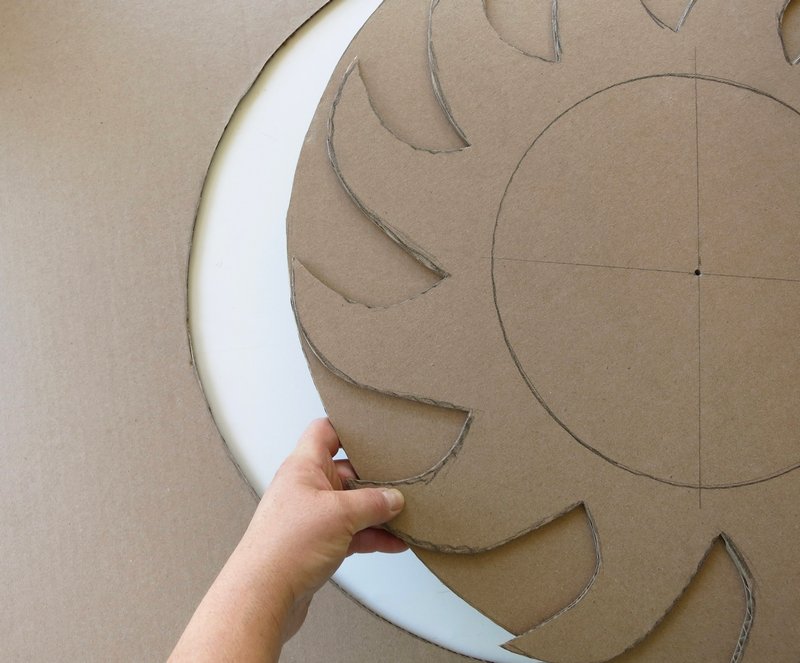
Cut out the sun shape using a precision knife.

Remove the cardboard from around the sun shape.
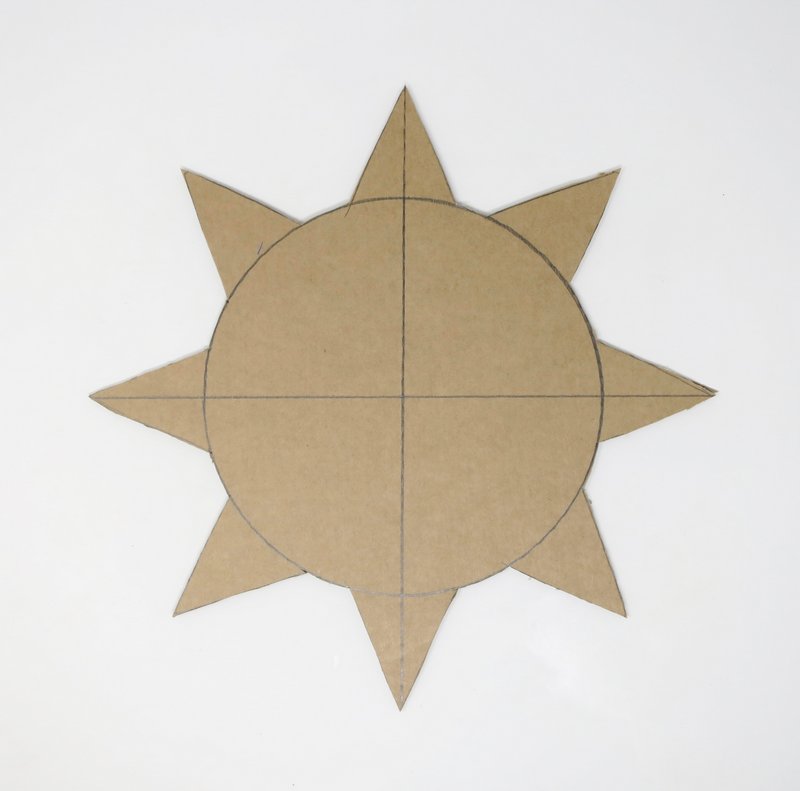
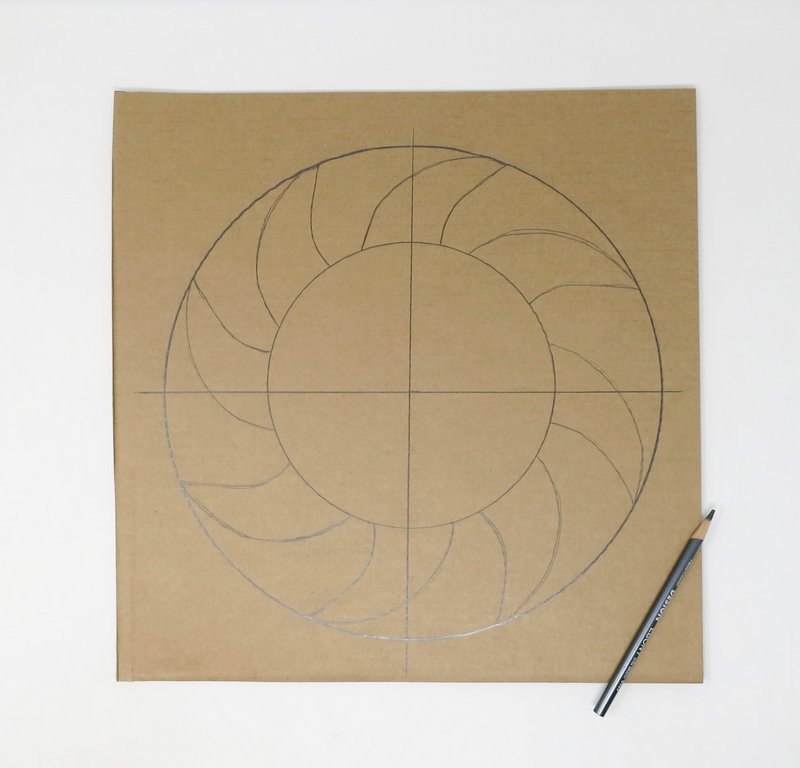
Place the sun shape on top of another piece of corrugated cardboard.
Draw a large circle around the sun’s rays.
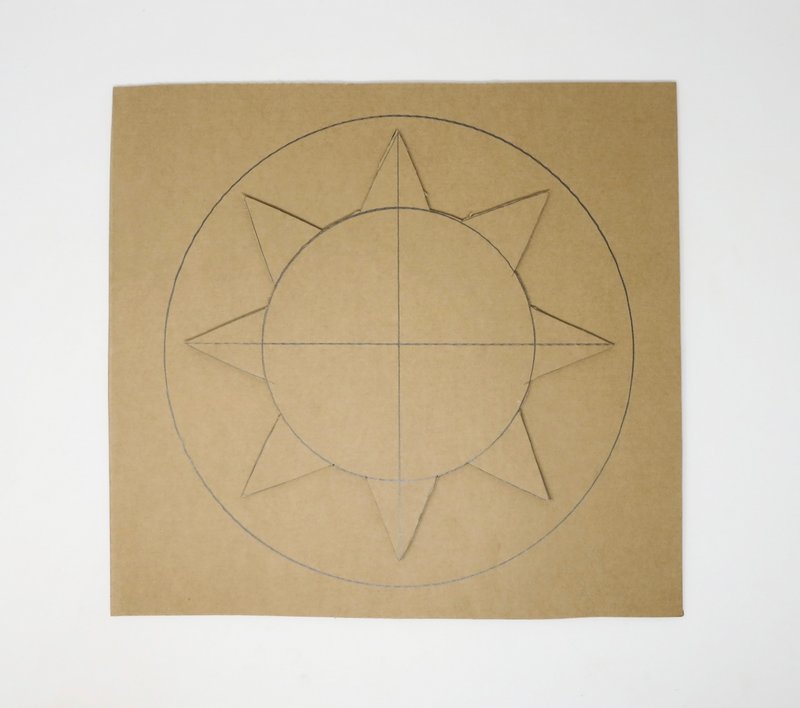
Cut out the large circle around the sun shape with the precision knife.
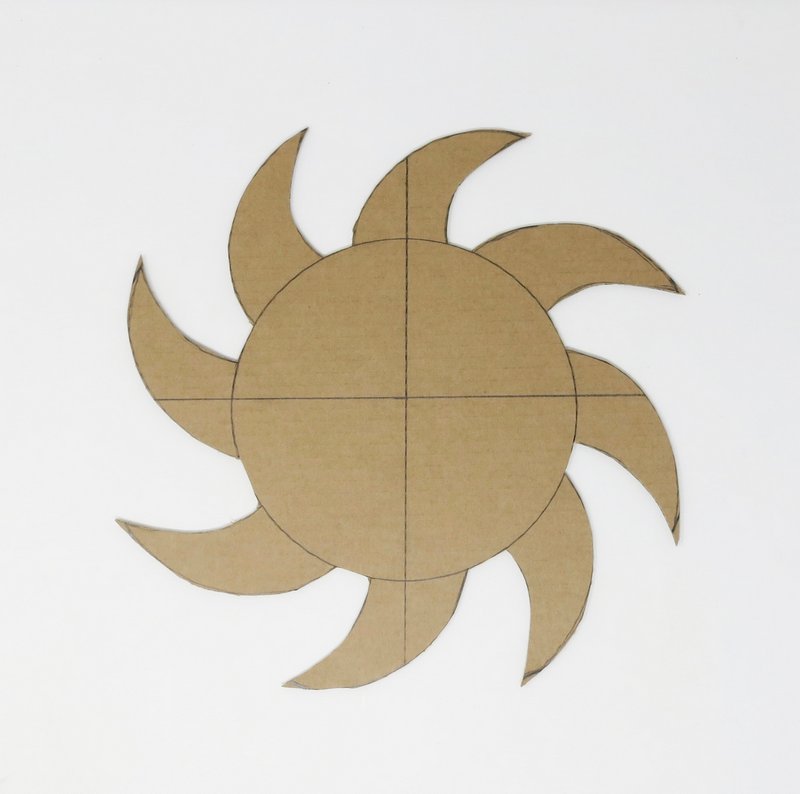
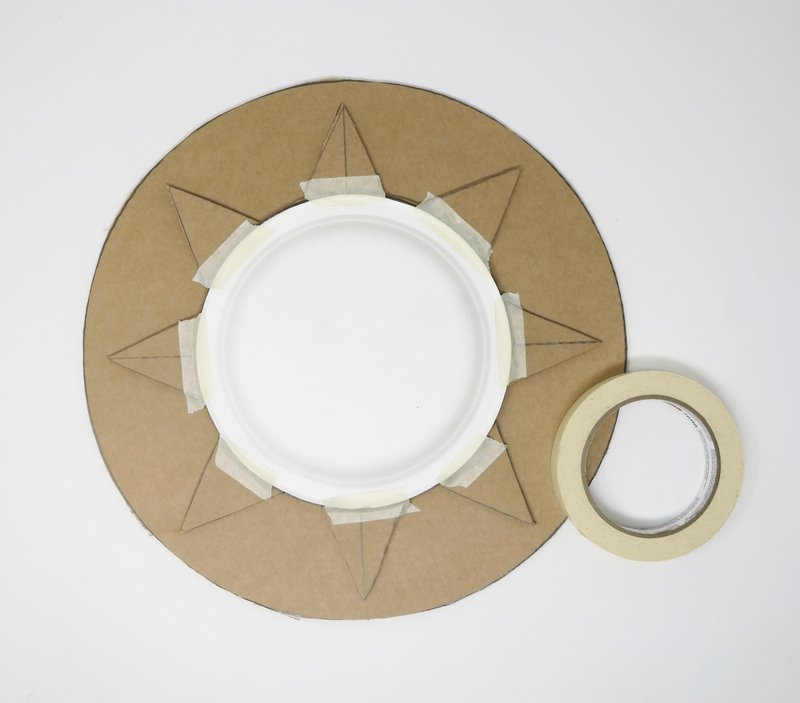
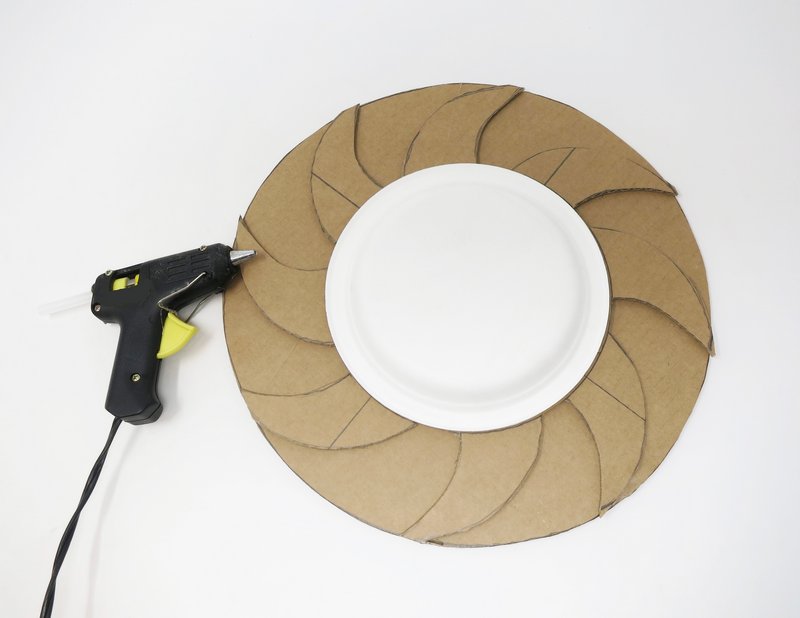
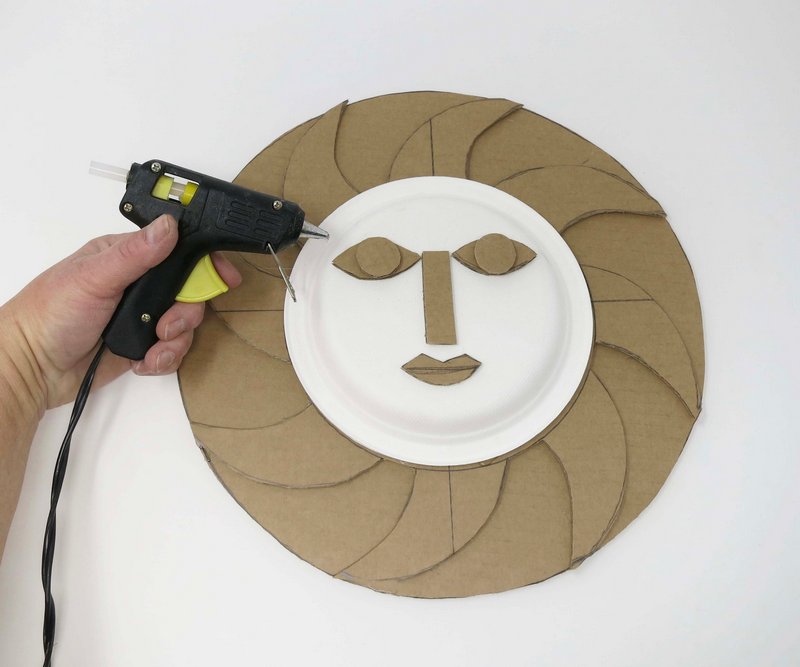
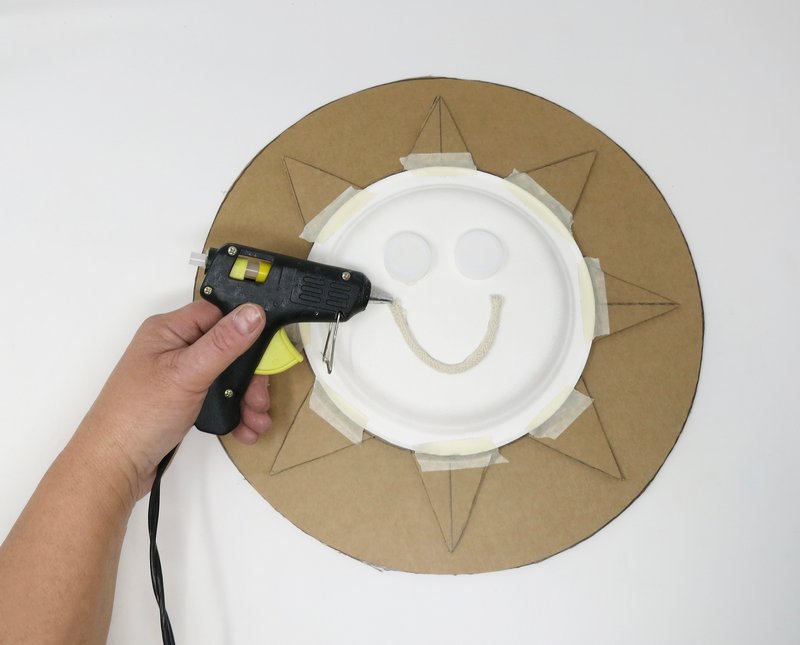
Attach all the cardboard pieces including the paper plate to each other using tape or hot glue.
*Paper towel maybe added underneath the plate to give the armature more support if needed.
Use the scrap pieces of cardboard to build the eyes, nose and mouth of the sun’s
face. Create any type of facial expression.
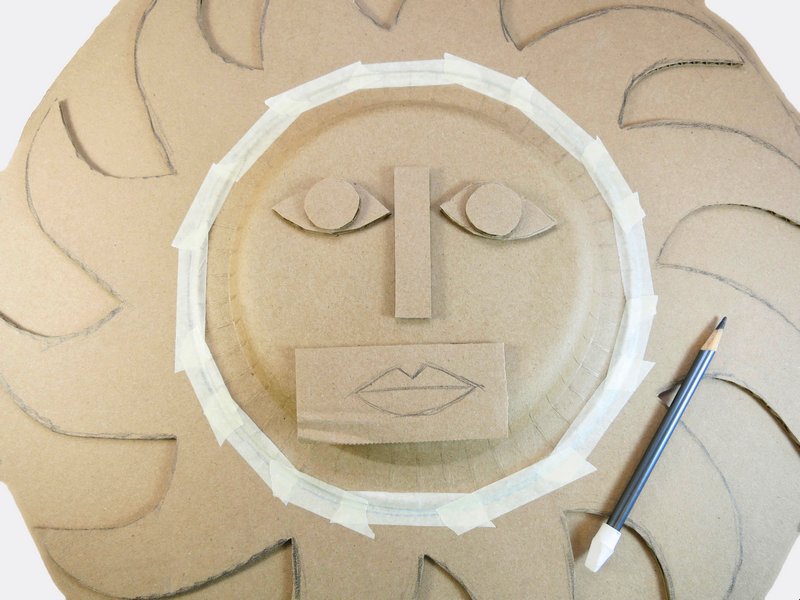
*Found objects made be used as well.
Glue facial features in place.
Step 2
Preparation
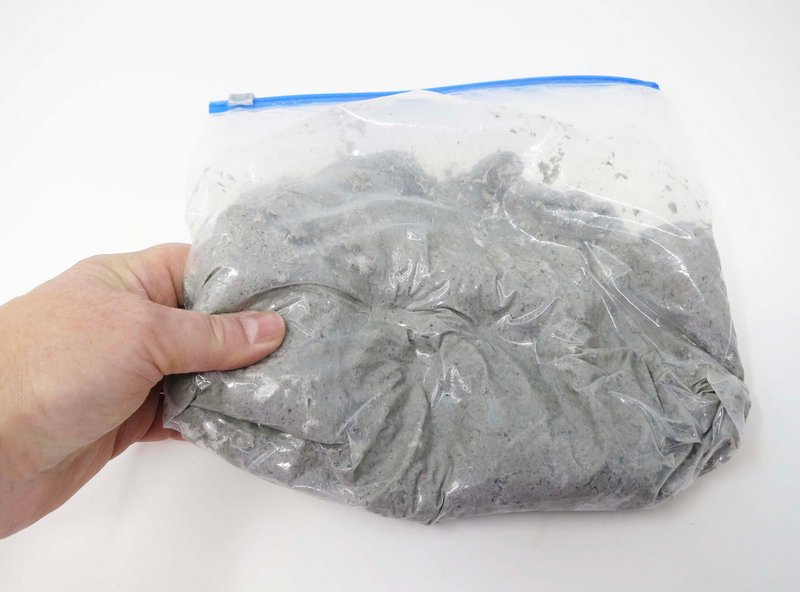
Mix 3 parts dry mache’ with 1 part water in a plastic bag.
*Warm water is best, as it allows for faster activation of the product.
Knead mache’ inside the plastic bag with hands. Continue to mix the mache’ until a dough consistency is achieved.
*If the CelluClay is too dry while mixing add more water. If the CelluClay gets too wet while mixing, add more of the dry CelluClay.
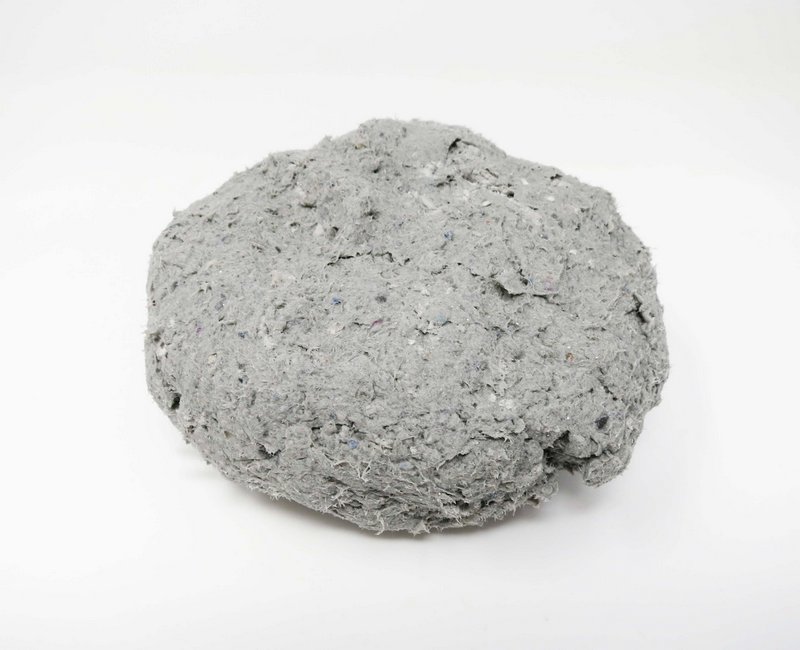
Once the mache’ is properly mixed remove it from the plastic bag.
Step 3
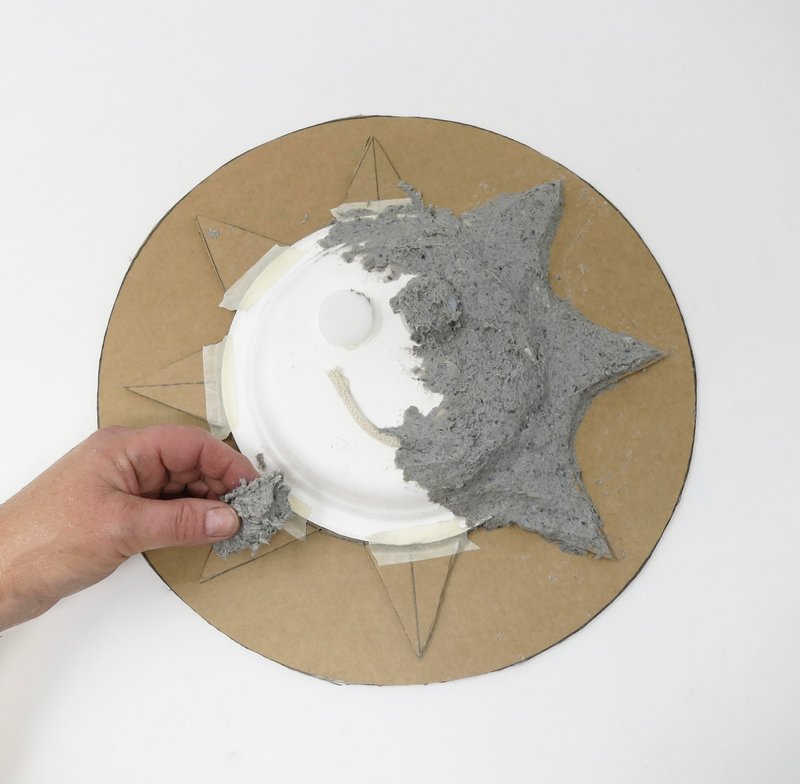
Application
Apply the mache’ onto the armature using finger tips, a flat ended tool, or a brush.
Smooth out any bumps with wet fingertips.
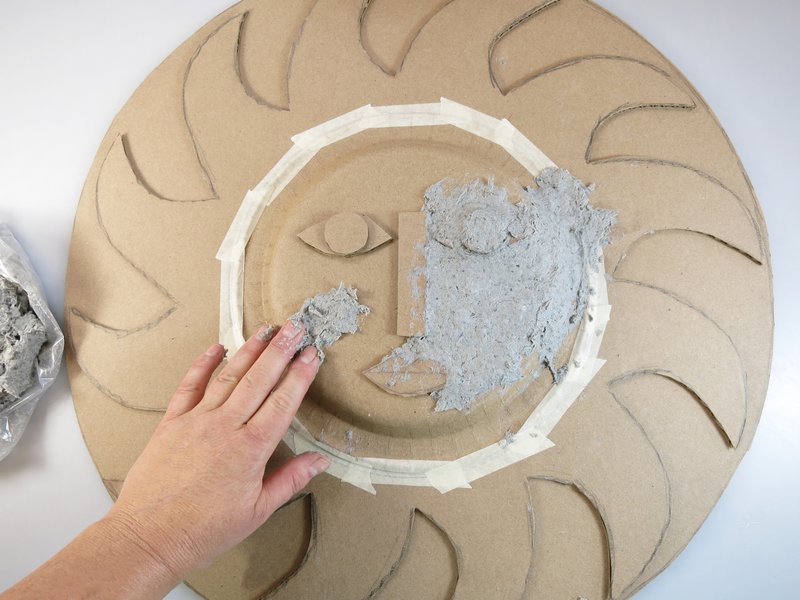
Apply several layers to build up desired thickness. Keep the thickness as even as possible to prevent cracking while drying.
Allow layers to dry in-between coats.
Smooth out any bumps in the mache’ with a little bit of water


Step 4
Drying
Allow the CelluClay sculpture to dry.
*Drying time is dependent upon the weather (heat and humidity), as well as the initial firmness of the mache’ and the thickness of it.
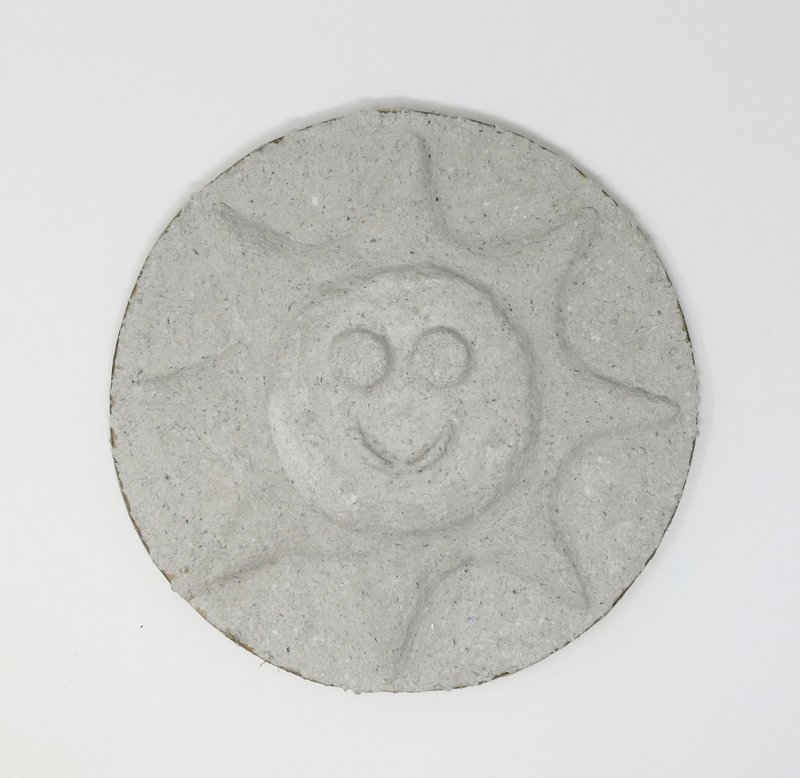
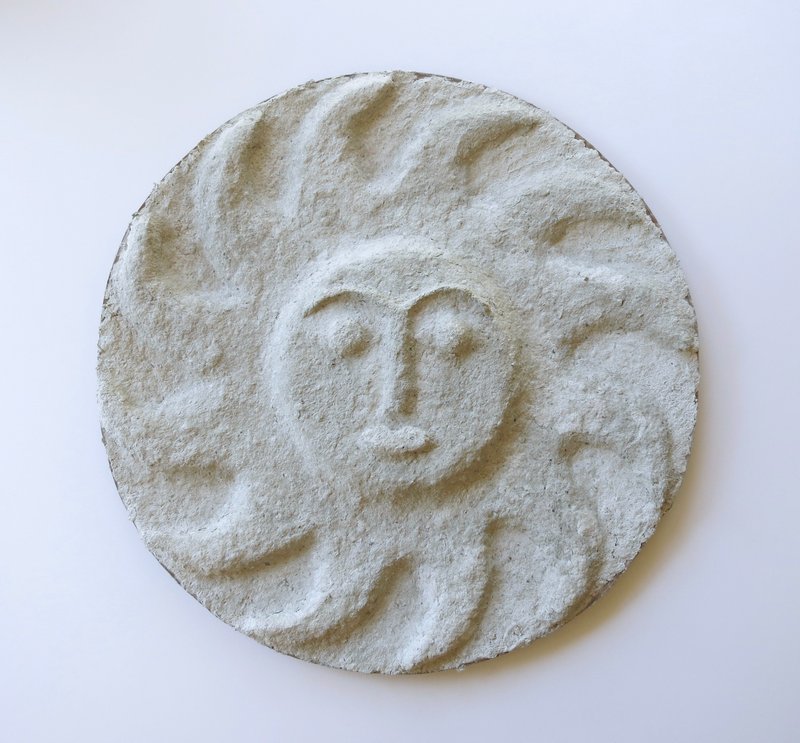
A piece is considered dry when it no longer feels cold to the touch.
The CelluClay will also lighten in color when it is fully done drying.
Step 5
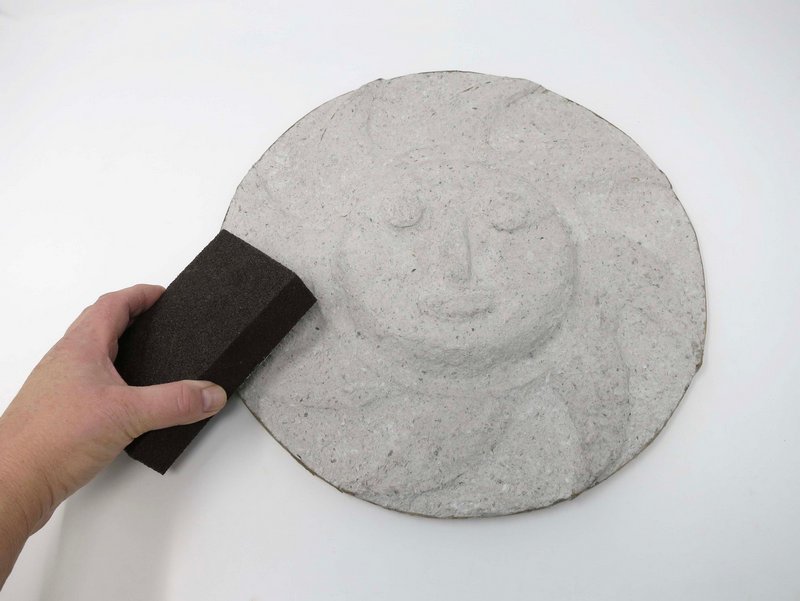
Smooth
File any rough edges on the sculpture with sandpaper.
Step 6
Finishing
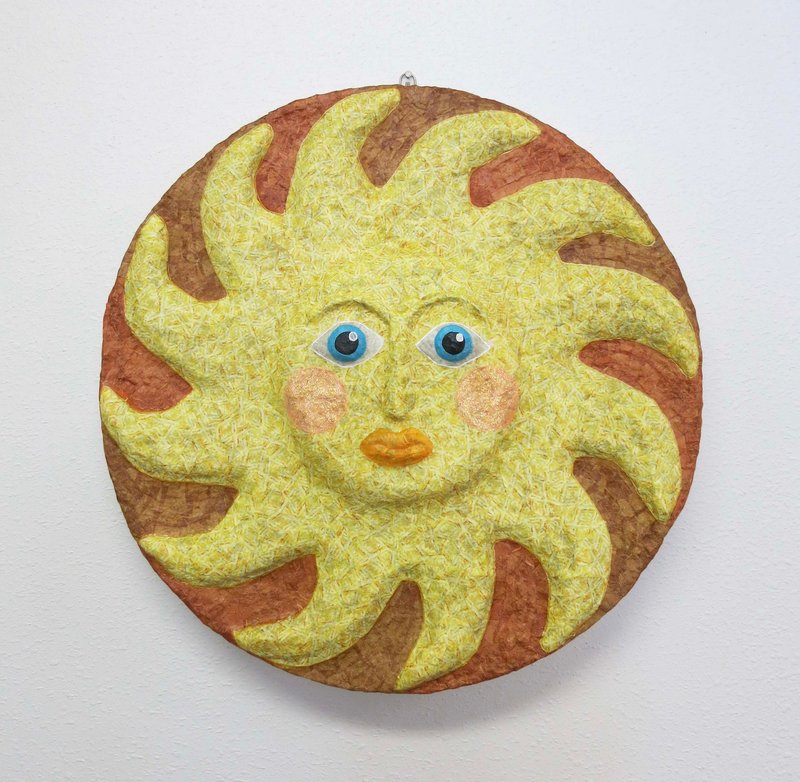
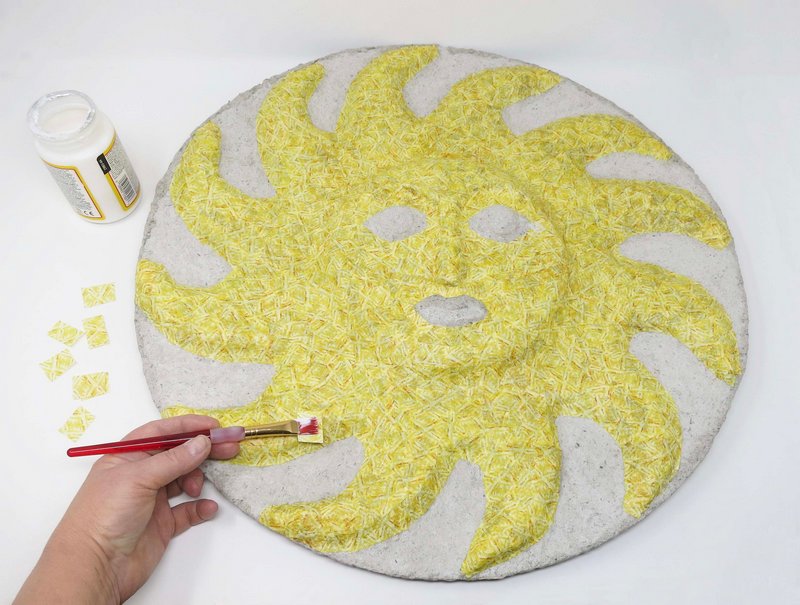
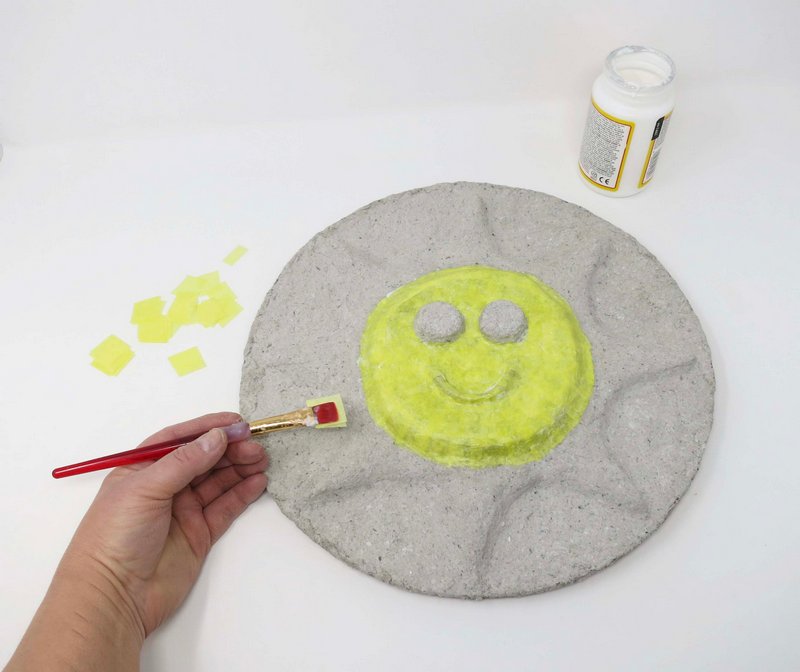
Cut tissue paper into small squares and apply it over the mache’ using a decoupage medium.
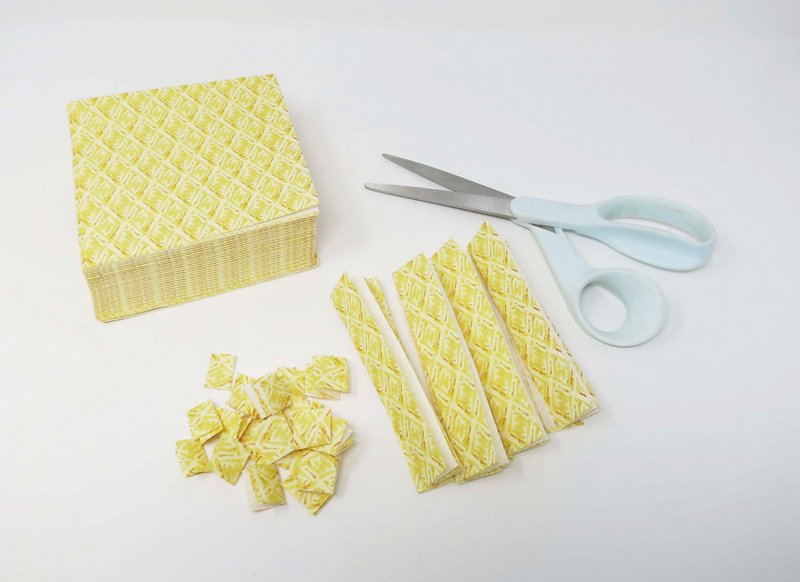
Apply several layers to achieve desired color saturation, allowing layers to dry in-between coats.
Step 7
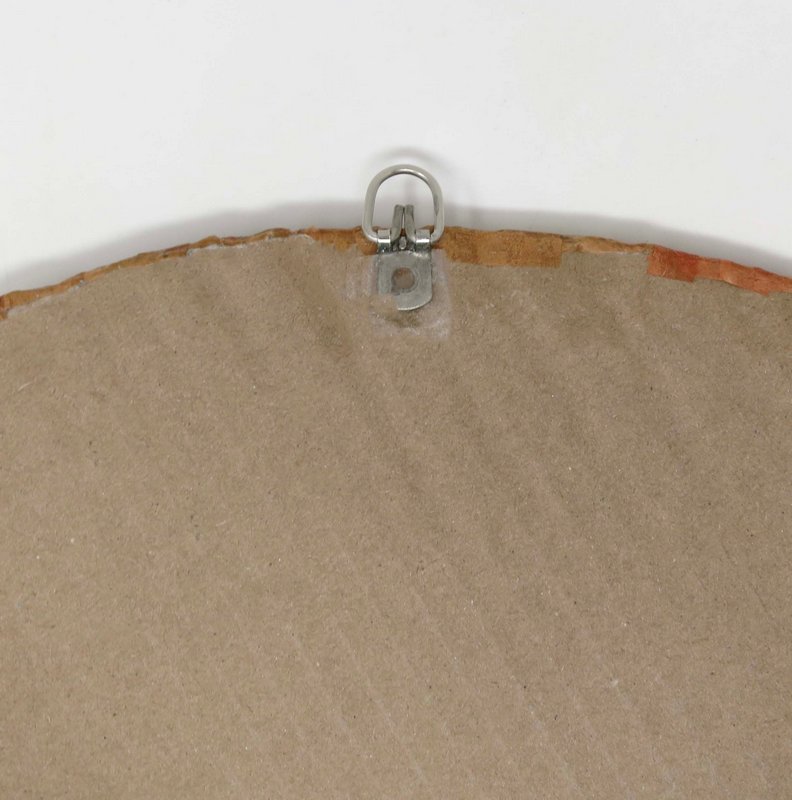
Display Hardware
Attach a small hook onto the back of the sculpture using adhesive.
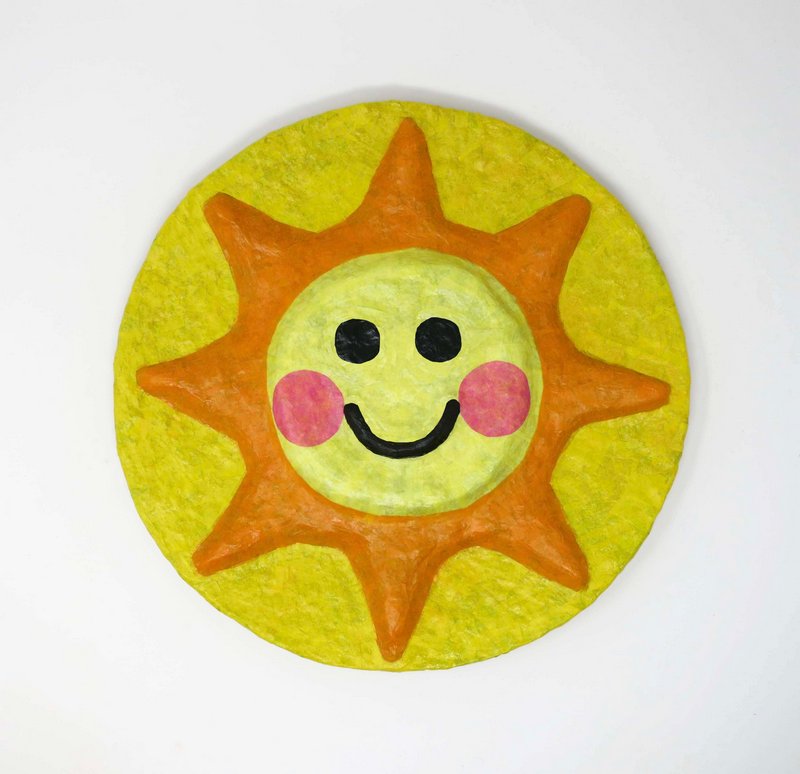
Step 8
Hang
Hang sun relief in desired location.