Materials Needed:
- Blackjack Low-Fire Clay
- Activ-Tools Clay Set
- Extruder
- 1/2” Dowel
- Water Bowl
- Clay Slip
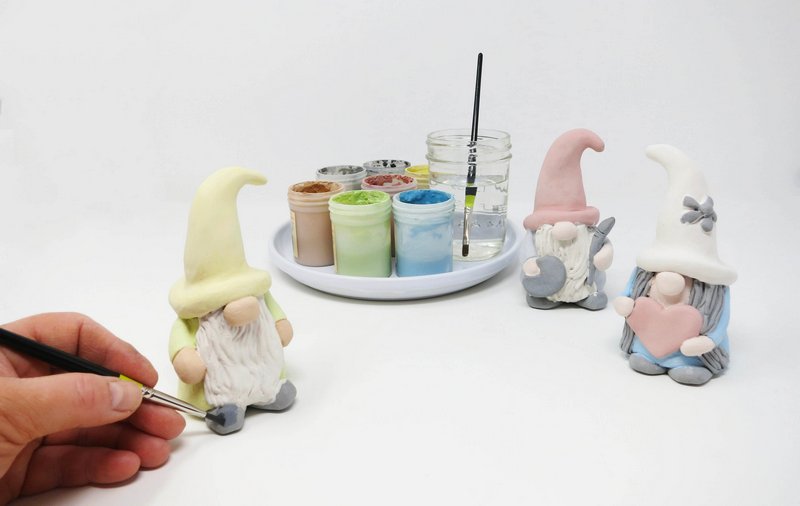
- Glazes
- Paint Brush
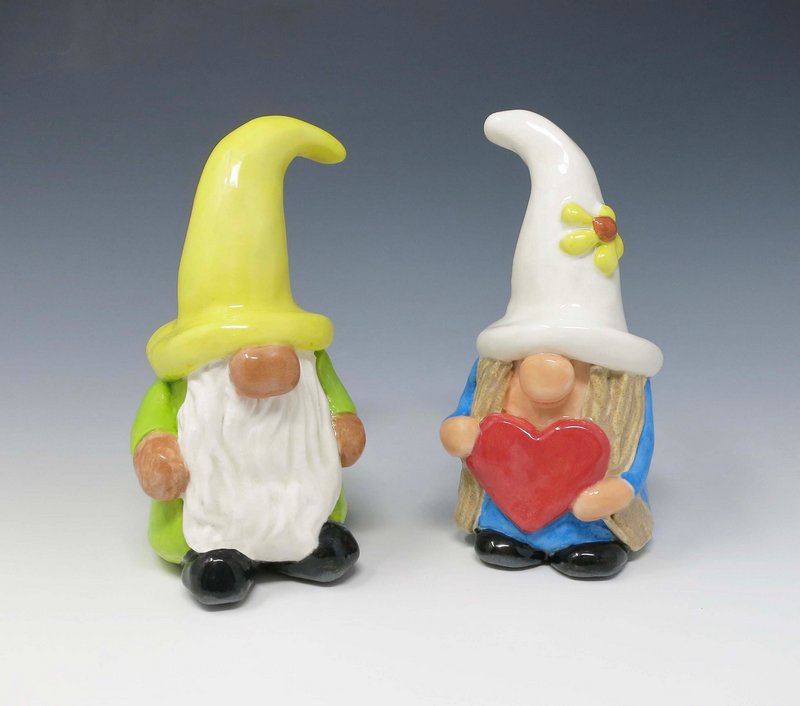
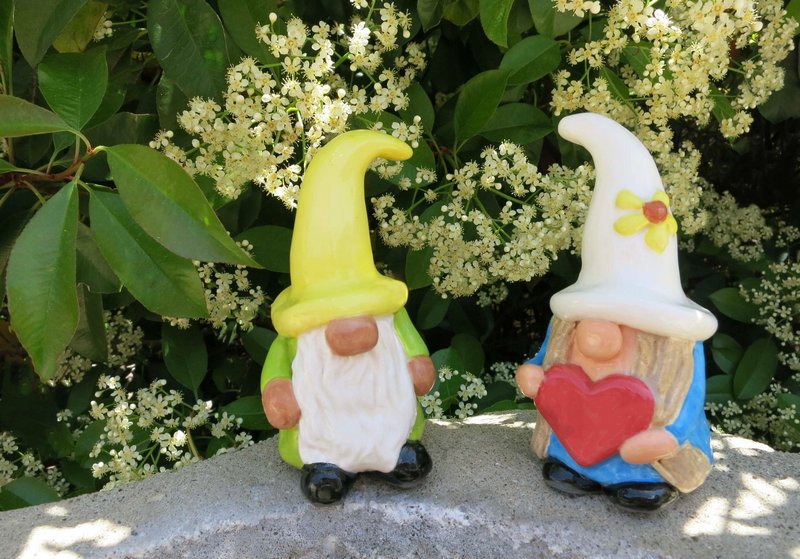
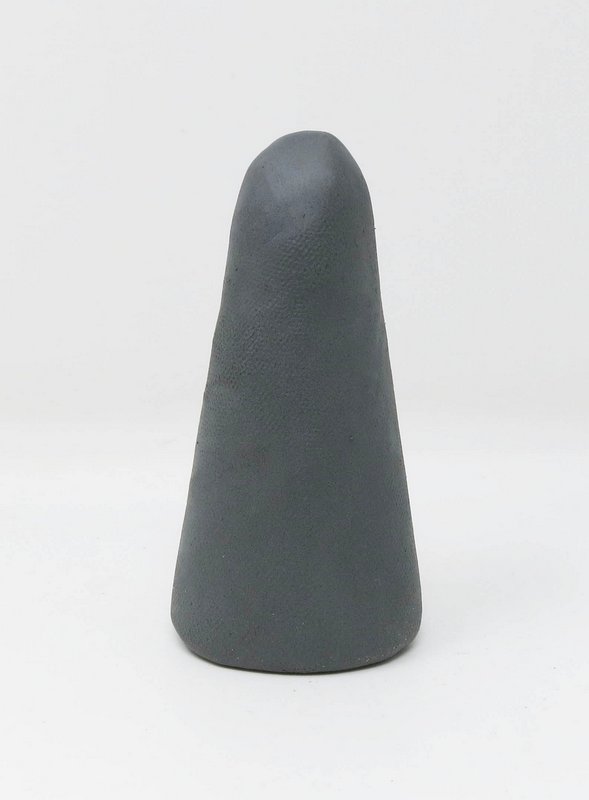
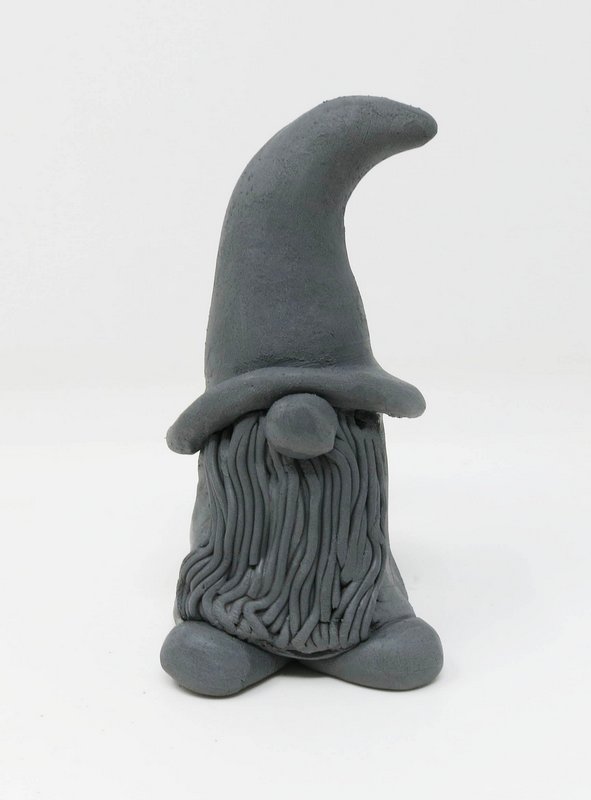
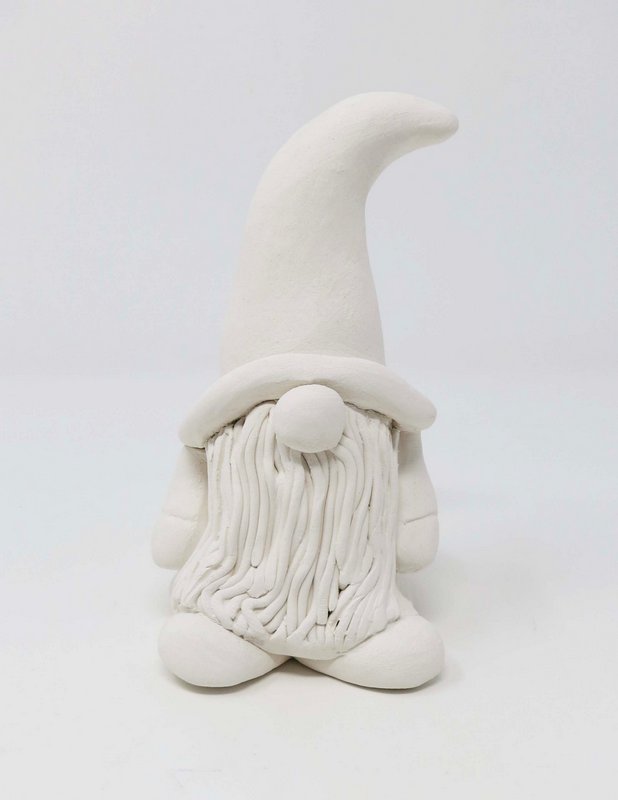
Step 1
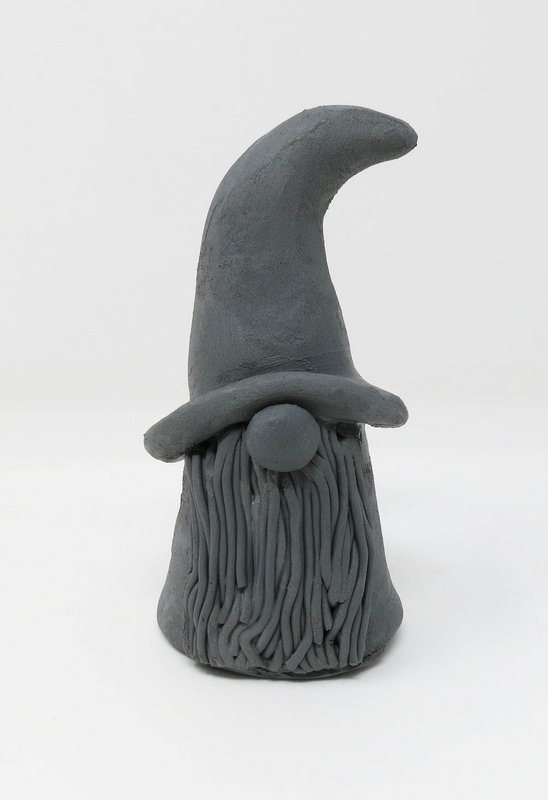
Body
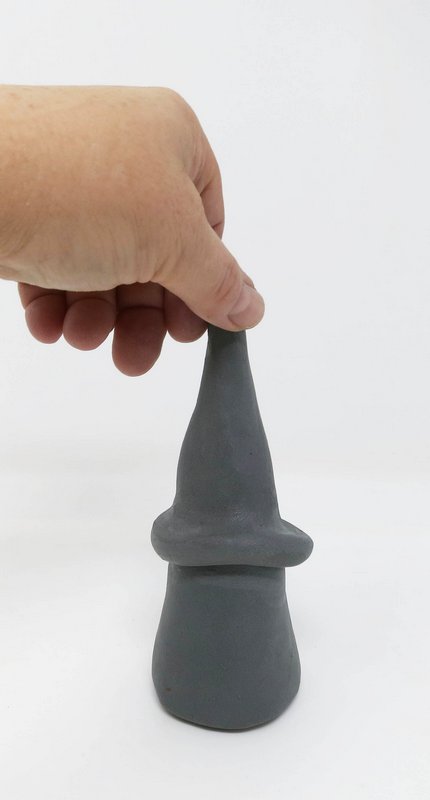
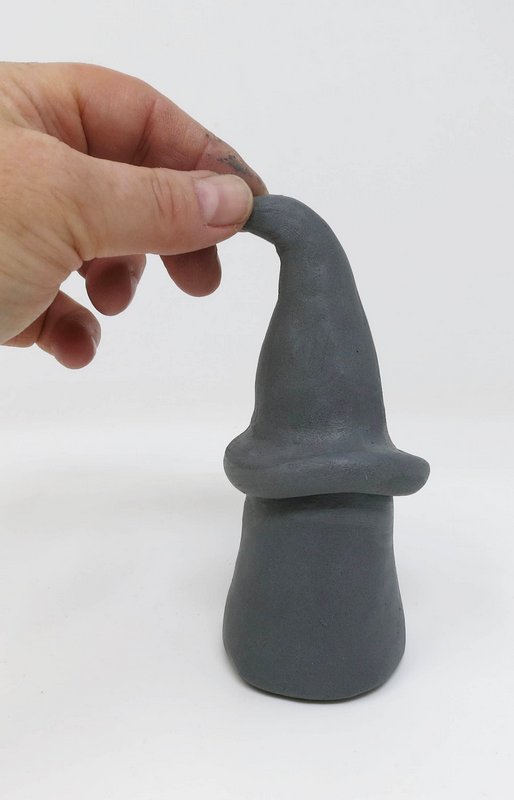
Shape a large cone form out of clay for the gnome’s body.
Step 2
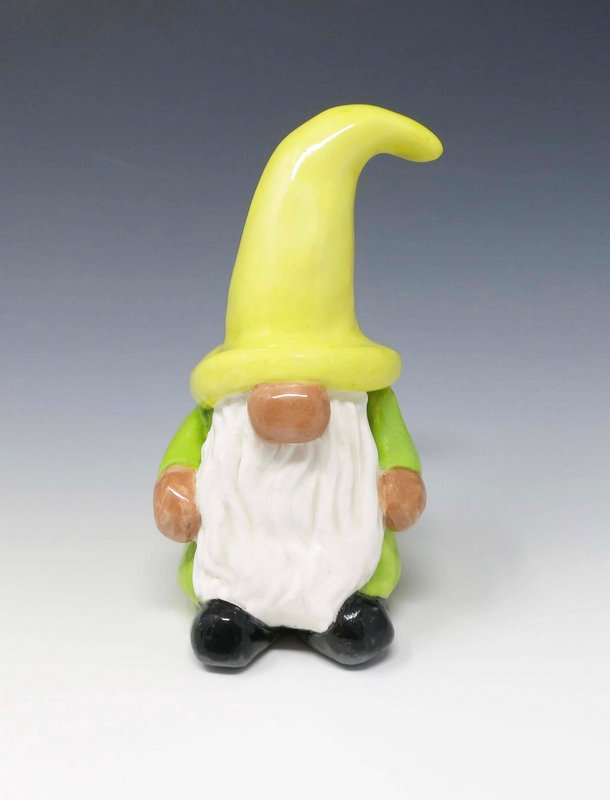
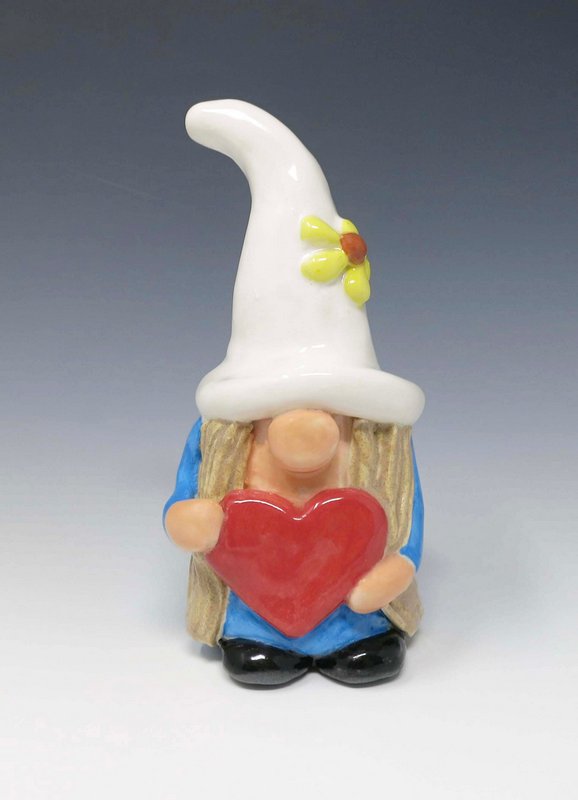
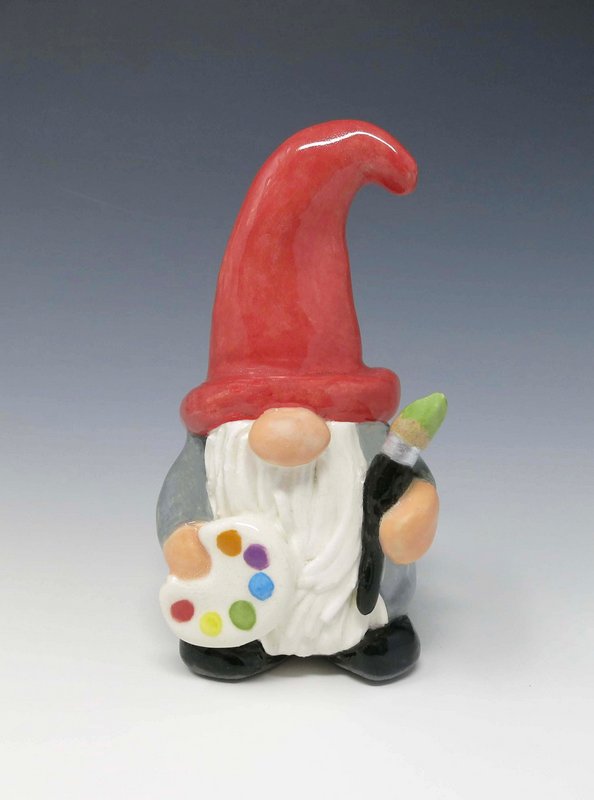
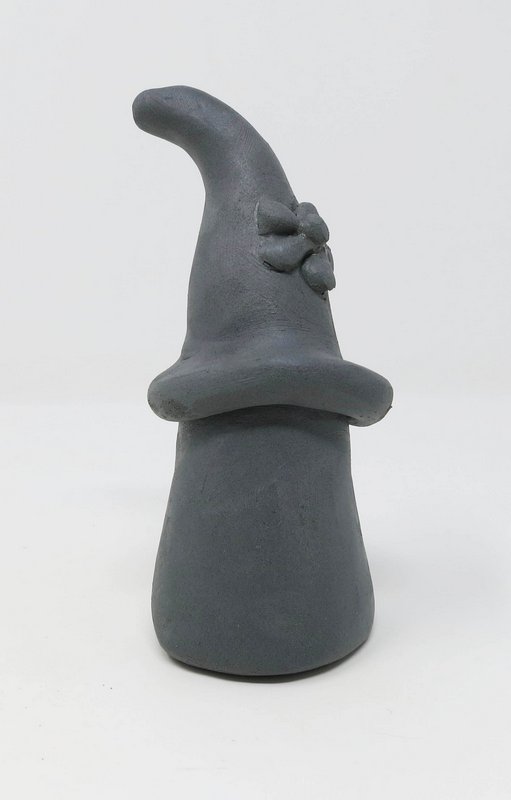
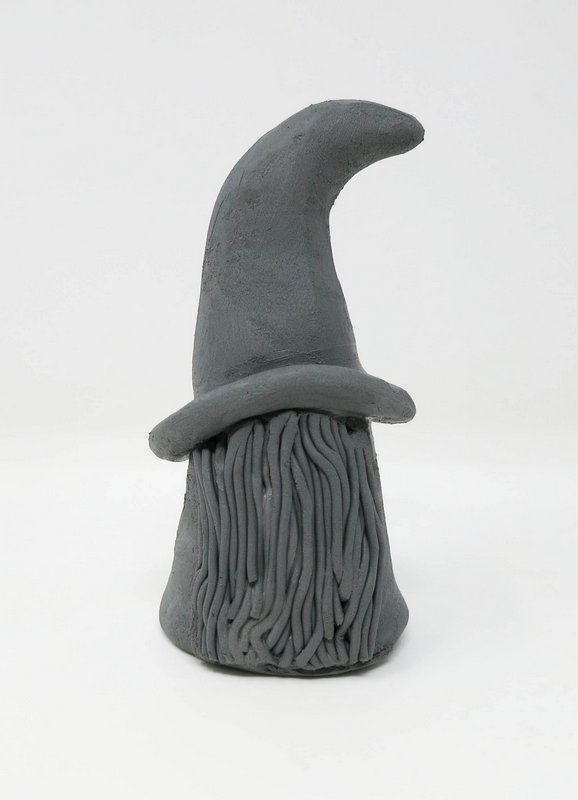
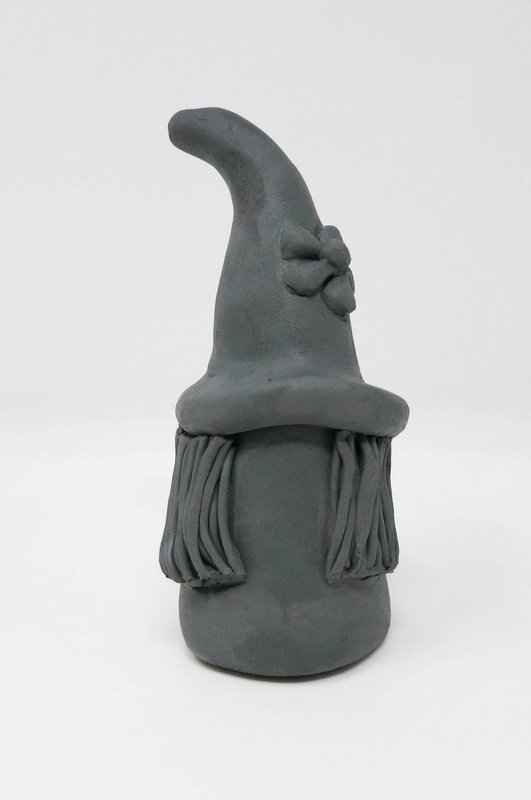
Hat
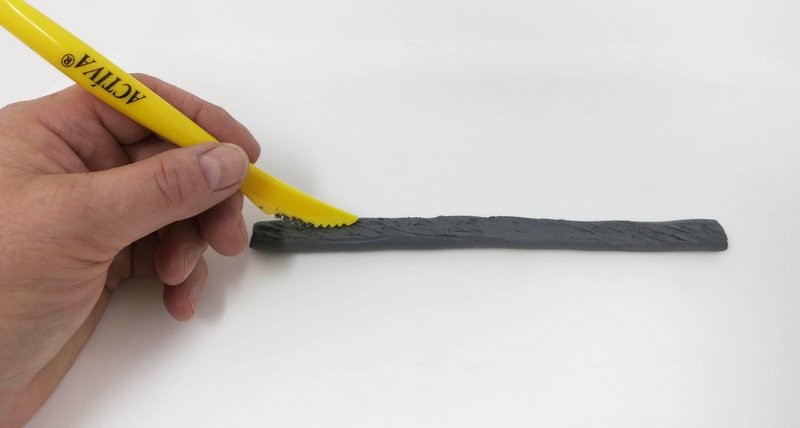
Roll a thin coil of clay.
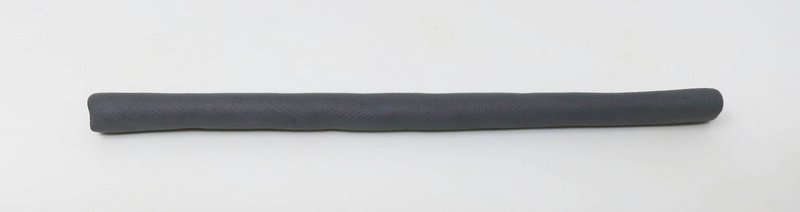
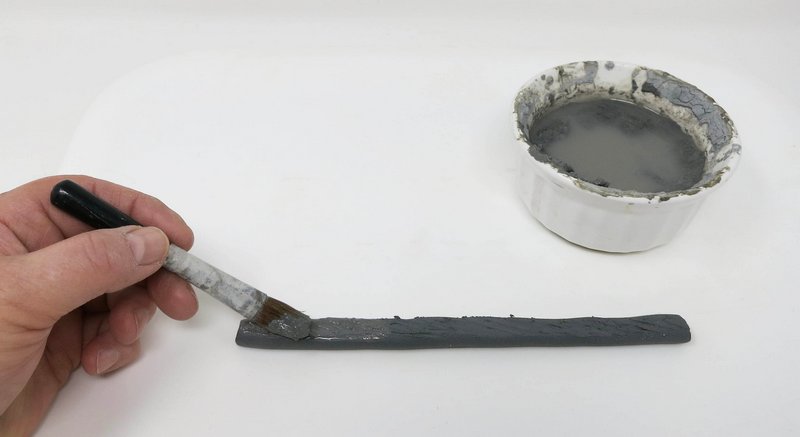
Score the coil of clay and brush it with clay slip.
Wrap the clay coil around the center of the cone to form the brim of the hat.

Cut off the excess clay.

Attach the two pieces of clay together with the smoothing tool.

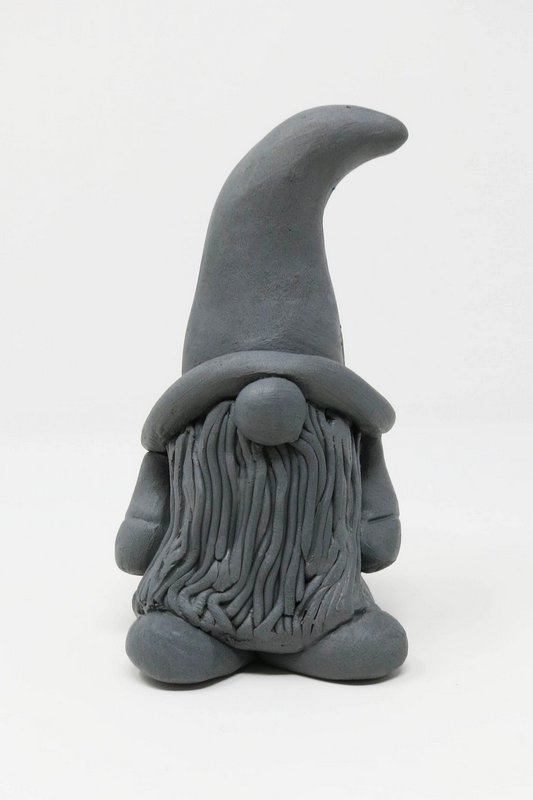
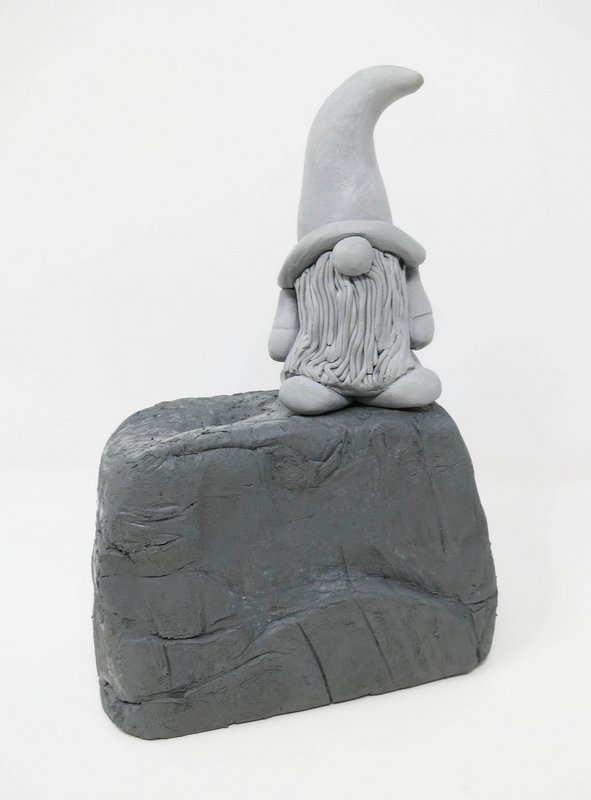
Pinch the top of the cone to create a point. Slightly bend it downward.
Decorations may be added to the hat if desired.
Step 3
Hair
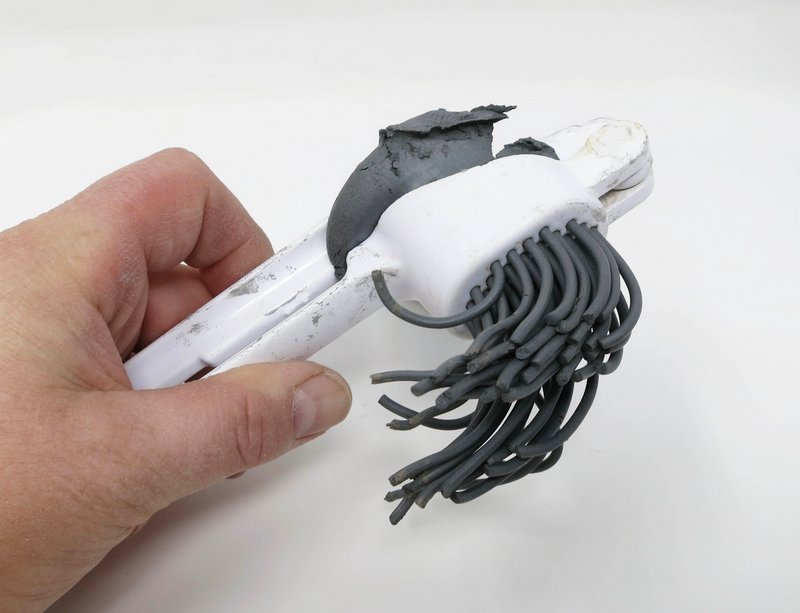
Use the extruder tool to create thin coils of clay.
Add the coils as locks of hair or group them together to form a beard.
Secure them in place with a little bit of water.
Gently pat them down so the coils can form a solid shape.
Step 4
Nose
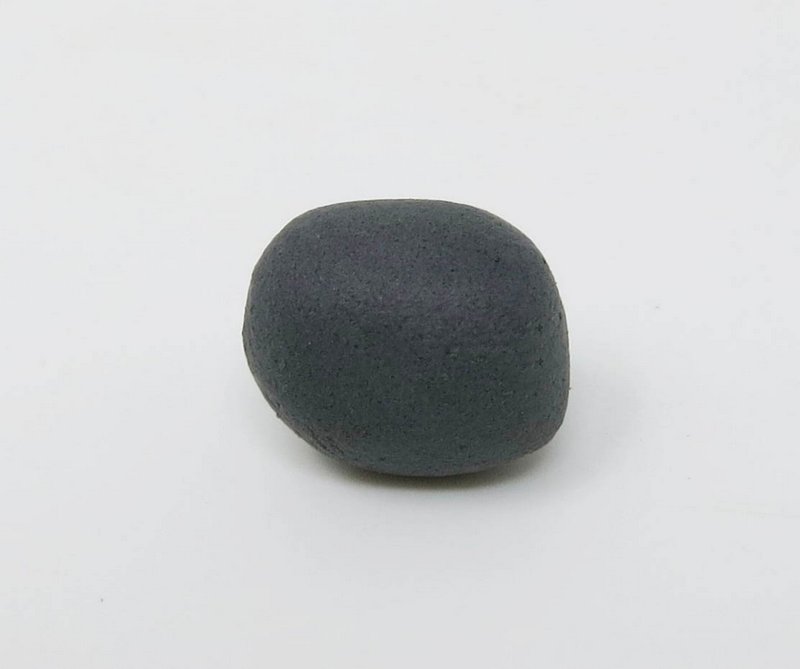
Roll a small sphere of clay and attach it using a small dab of water to the gnome’s face under the hat.
Step 5
Hands & Feet
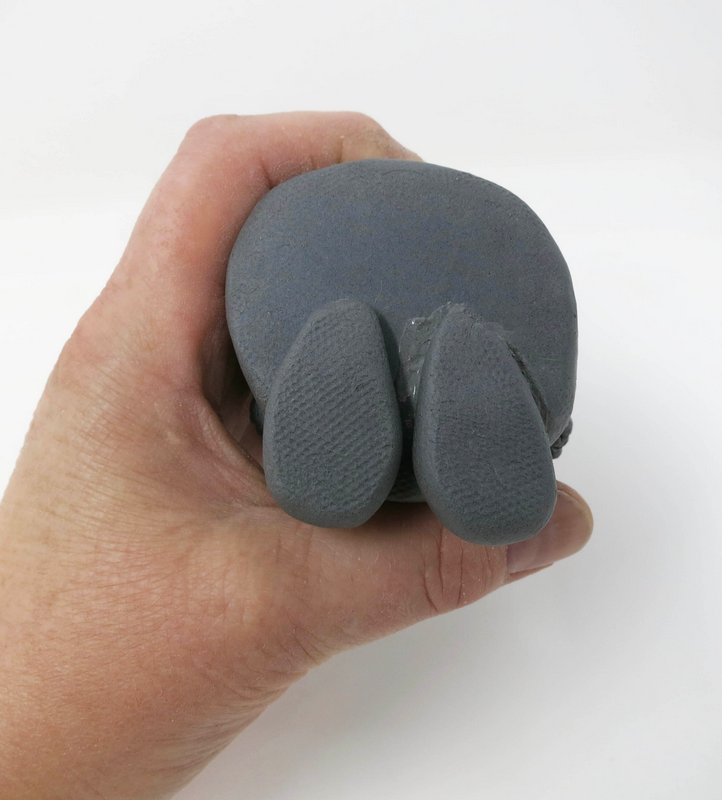
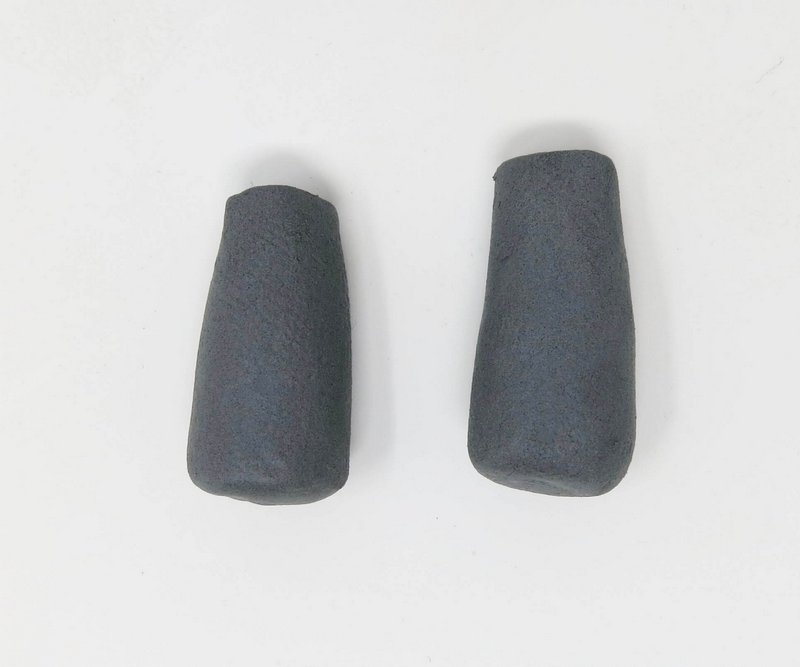
Roll 4 small cones out of clay. 2 for the feet and 2 for the arms.
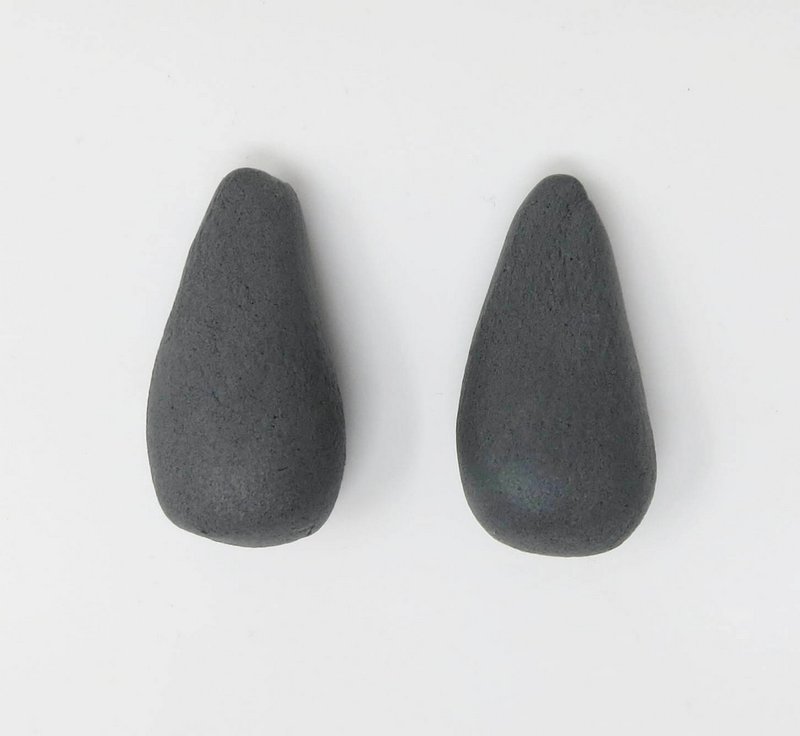
Add 2 of the cones to the bottom of the body by scoring and slipping them on.
Allow the forms to slightly stick out of the front of the sculpture. Round the ends of each form to create the gnome’s feet.
*Steam Release* To help release steam from the wet clay while it fires in the kiln, insert a hole into the clay using a dowel.
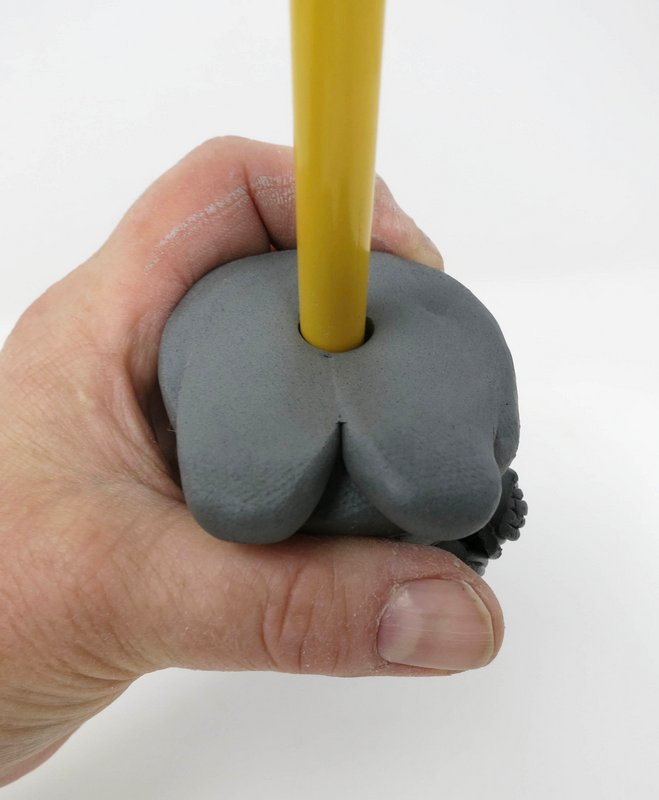
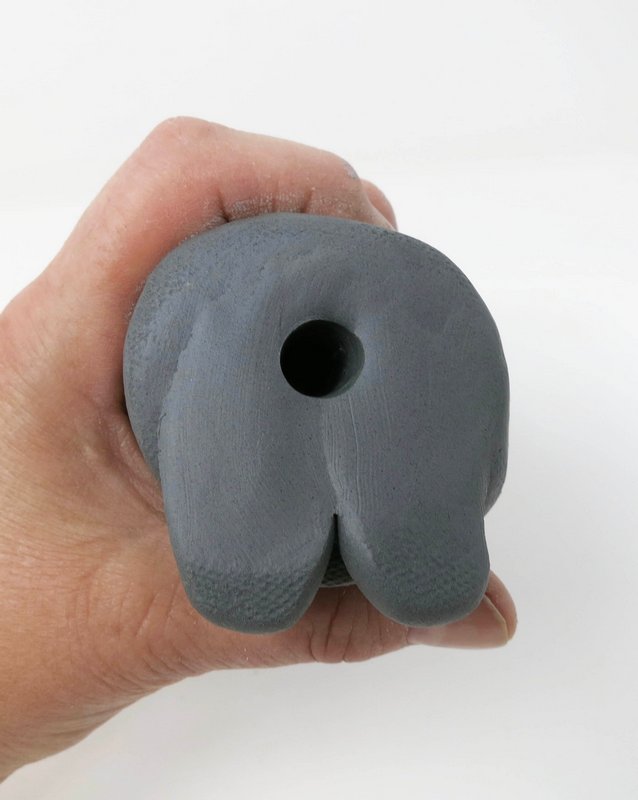
Attach the other 2 cones to the sides of the gnome’s body to create the gnome’s arms. Round the ends of each form to create the gnome’s hands.
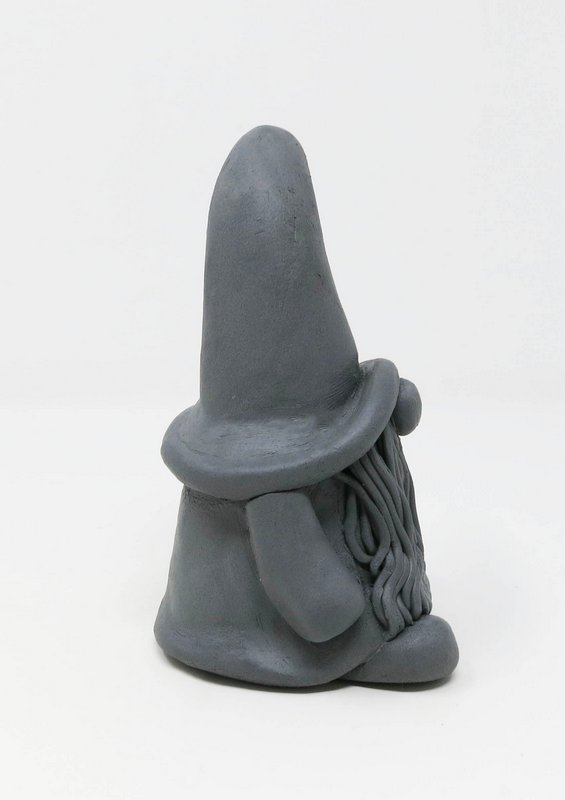
Pose the hands in the desired position.
Step 6
Props
Additional items may be added in the gnome’s hands.
Step 7
Dry
Allow the clay to become bone dry.
Step 8
Fire
Fire clay to 04 bisque-ware.
Step 9
Paint
Glaze gnome sculpture according to glaze instructions and re-fire to 05-06 glaze-ware.