Project by Michelle at Our Crafty Mom.
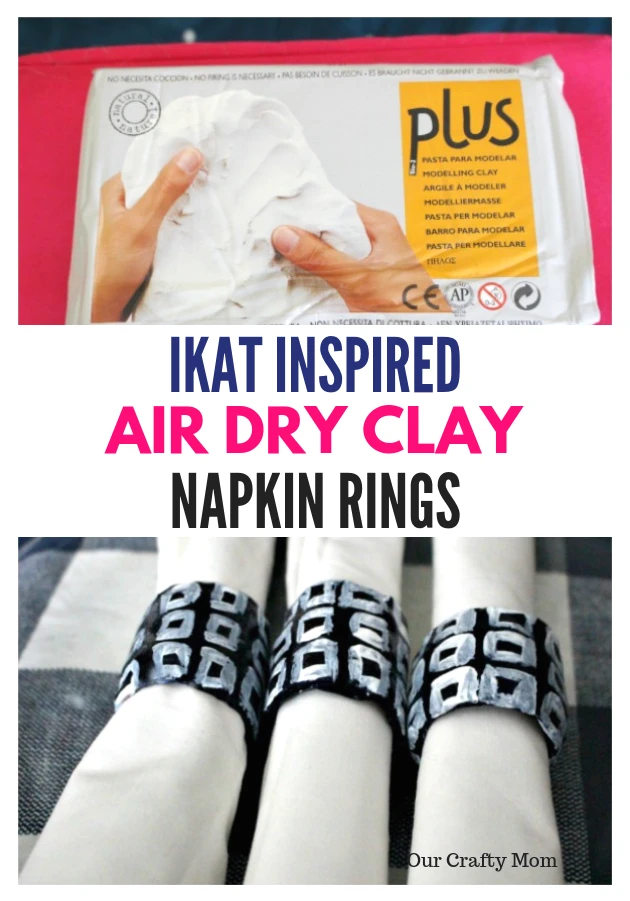
With the busy holiday season quickly approaching, make your own ikat inspired air dry clay napkin rings with just a few supplies. You can paint them any color you like to match your decor. If ikat is not your style, you can leave them plain or even add polka dots!
Air dry clay is so easy to work with. I tend to be an impatient crafter and the great thing about air dry clay is you do not have to bake it. Just let it dry overnight and you are good to go. So quick and easy! Let me show you how to make these fun napkin rings.
Supplies Needed
PLUS Clay air dry clay in White
Toilet Paper Roll (Cardboard)
Clay Roller Kit (or Glass Jar)
Acrylic Paint (I used navy)
Paint Brush
White Sharpie Paint Pen
Gloss Top Coat or Varnish
Sandpaper
Craft Knife
Instructions
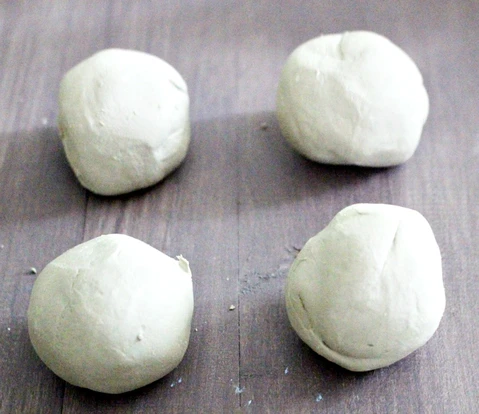
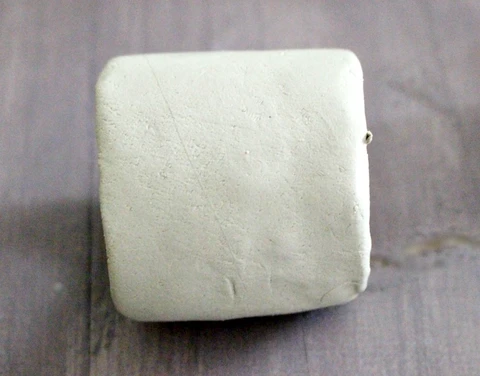
Remove a piece of PLUS Clay air dry clay and roll it into a ball. I very rarely measure and just made a ball about the size of a donut hole.
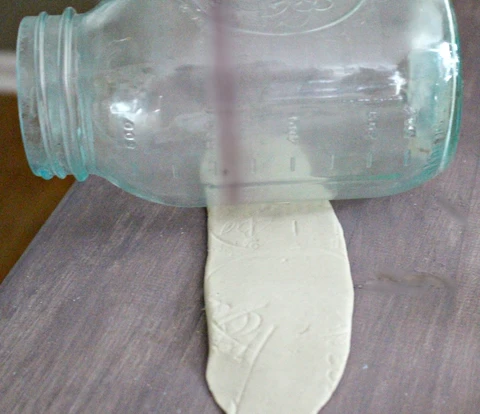
Use the Clay Roller in the Clay Roller Kit (or a glass jar) to flatten the ball of clay. You want the clay to be about 1/8" thick. Using the rails provided in the Clay Roller Kit will help you achieve even thickness to your clay.
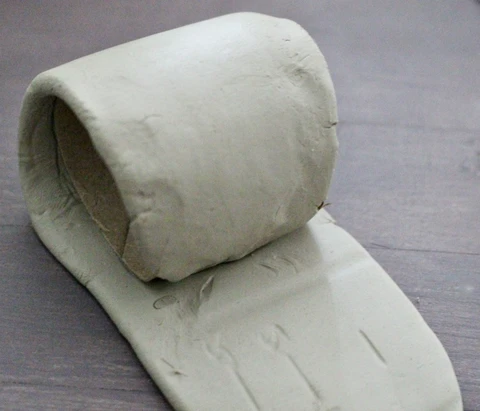
Cut the toilet paper cardboard in half using a craft knife.
Wrap the clay around the toilet paper cardboard and cut it where the ends of the clay meet. Smooth out the seams.
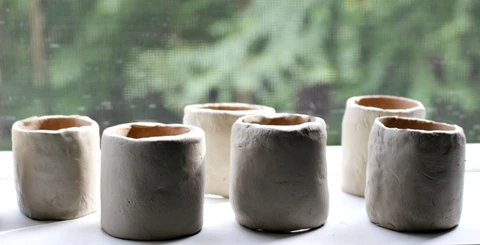
Continue this process until you have as many napkin rings as you will need. I made 8.
Let the clay dry overnight. I placed mine in a window sill and they were ready to be painted the next day.
Use sandpaper to smooth out any uneven edges.
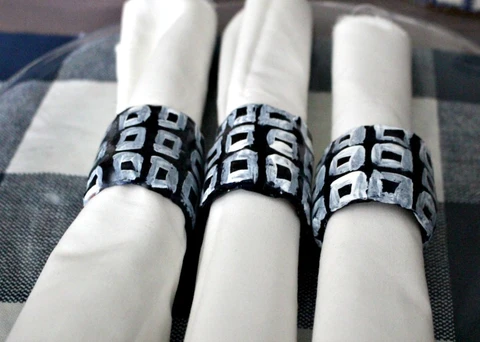
Now you can paint the napkin rings the same color, like I did, or you could make different colors and designs. You will definitely need two coats of paint. Once the solid color is dry, use a sharpie paint pen to add your creative touch. I have this cool ikat pitcher that I just love. So, I chose to create a fun, trendy ikat inspired design.
It's important to add a top coat to ensure the napkin rings last. I used a Gloss Top Coat adding 2-3 coats to each.
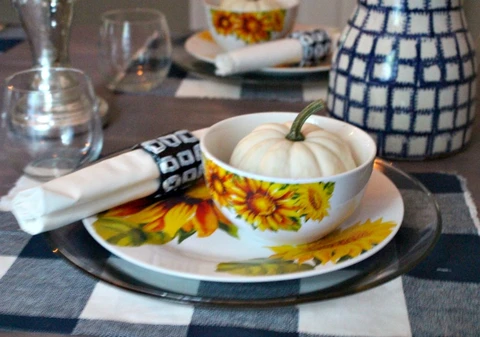
I just love how these ikat inspired napkin rings turned out and they were so easy to make. I already envision making some of these for Christmas. They are so versatile and will really complete your tablescape.
Thank you so much for visiting and I hope you enjoyed this project! I would love it if you would stop by my blog Our Crafty Mom for more quick and easy craft ideas.
And to find more easy air dry clay project ideas, make sure to visit our Project Gallery!
FIND PLUS CLAY AIR DRY CLAY AND THE CLAY ROLLER KIT IN OUR ONLINE STORE.