Project by Holly Borei of Borei Design.
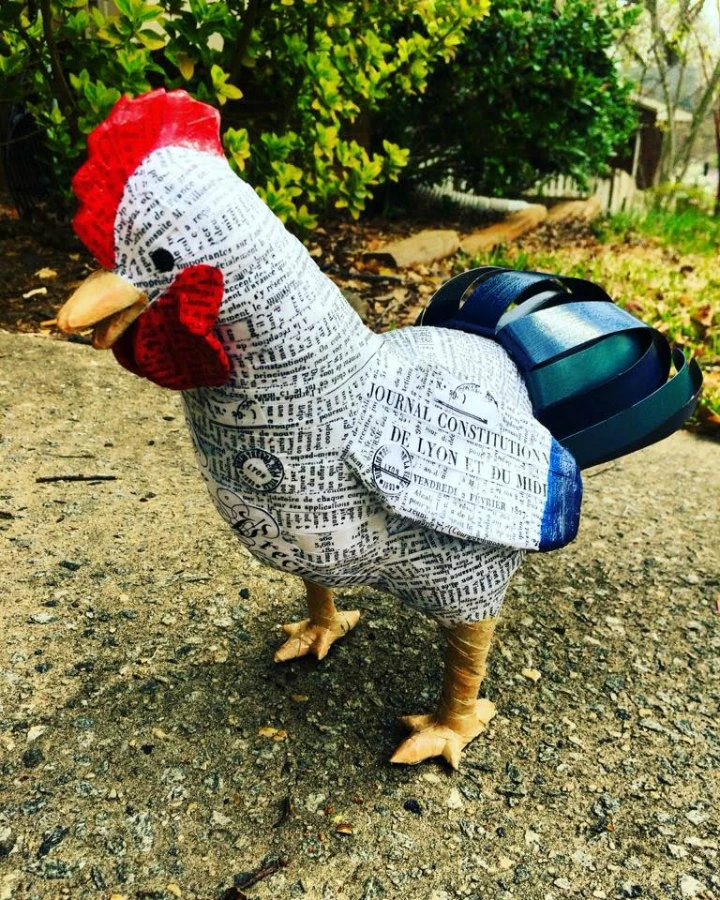
Are you looking to add some farmhouse flair to your home decor, or perhaps to simply create an adorable feathered "friend"? If so, this paper mache rooster sculpted with ACTÍVA Products' FastMâché instant paper mache is the perfect project!
Supplies Needed to Sculpt a Paper Mache Rooster
For Construction:
- ACTÍVA Products FastMâché instant paper mache
- Cardboard (corrugated and thin)
- Old Wire Hanger or Heavy Craft Wire
- Scrap Paper (Newspaper, Copy, Junk Mail, etc.)
- White Glue (School or Craft Glue)
- Hot Glue Gun and Glue Sticks
- Masking Tape
- Wood Craft (Popsicle) Sticks
- Standard Office/Craft Scissors
- Pencil or Pen for Sketching
For Decoration:
- Acrylic Craft Paint
- Decorative Paper
- Decoupage Medium
- Acrylic Sealing/Finishing Spray
- Paint or Sponge Brushes
How to Sculpt a Paper Mache Rooster
Step One: Make the Body
Sketch and cut out a basic body shape from corrugated cardboard. 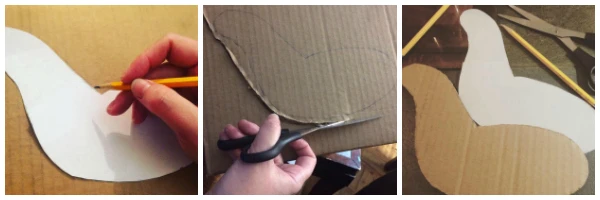
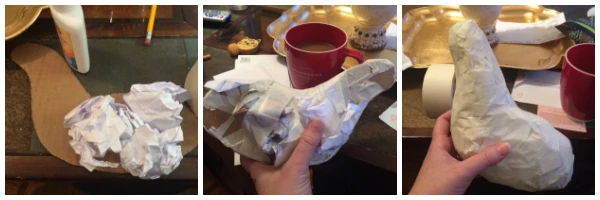
Pad shape with scrap paper. Use glue and masking tape to help secure pieces of paper, if needed. Once completely padded, wrap entire body in masking tape.
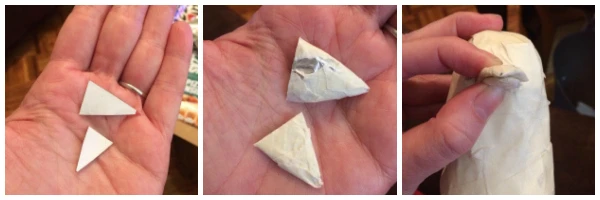
Step Two: Add the Features
Cut out facial features and wings from lightweight (cereal box-type) cardboard. Pad features with more scrap paper if desired. Glue in place and wrap in masking tape.
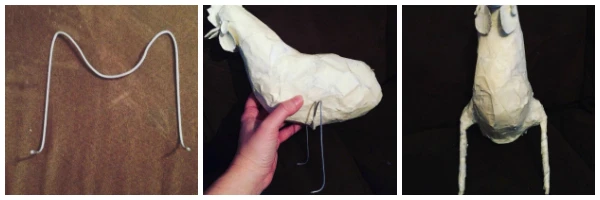
Step Three: Make the Legs
Bend wire (cut from an old hanger if applicable) into a rough “M” shape. Bend each bottom end of the cut wire into an “L” shape. Glue and/or tape the “M” shaped portion of the wire to the bottom side belly of the bird. Pad legs with more scrap paper and masking tape as desired.
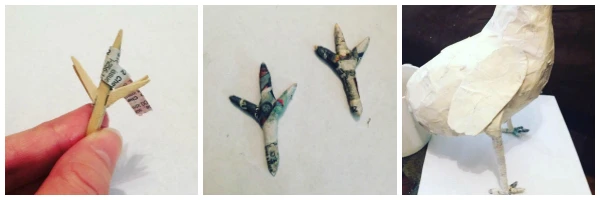
Step Four: Make the Feet
Cut feet and toes from wood craft sticks using scissors. Secure pieces with hot glue and/or white glue dipped newspaper strips. Hot glue to the bottom of “L” shape portion of the wire you created.
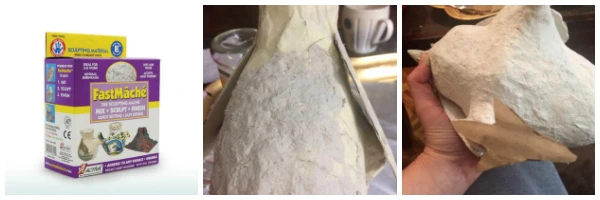
Step Five: FastMâché
Mix FastMâché according to package directions and cover entire rooster in FastMâché. Allow to dry completely.
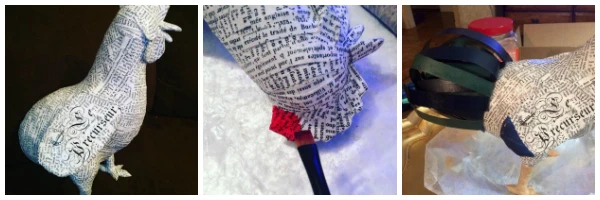
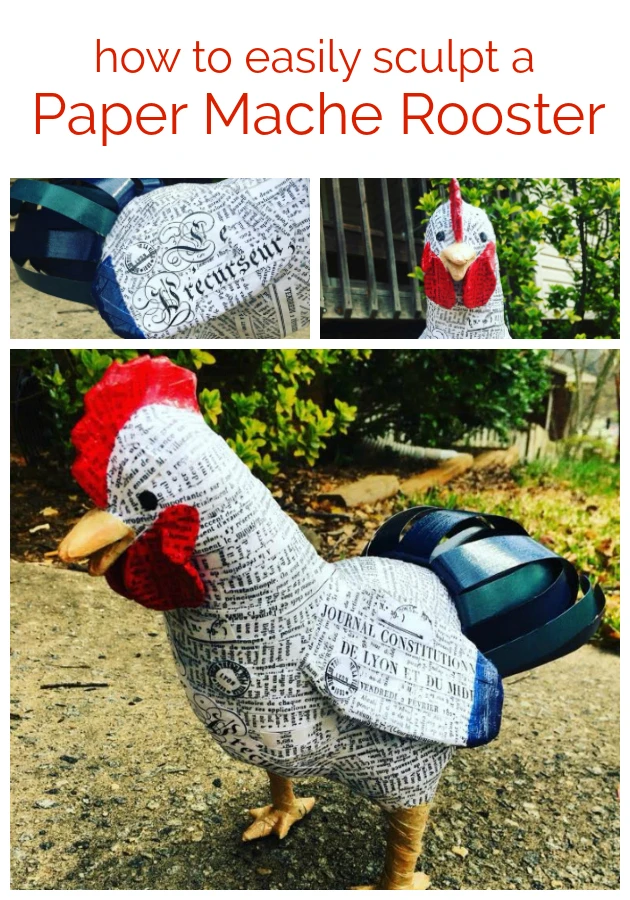
Step 6: Decorate and Enjoy!
Decorate as desired. The pictured rooster was decoupaged with laser photocopies of an old newspaper, and the tail feathers were created from cut strips of cardstock. Some of the features were painted using acrylic craft paint and the project was finished with acrylic sealing spray for a finished look and for added durability.
And with that, you can sculpt your own paper mache rooster with FastMâché!
To learn more about FastMâché or to purchase, please visit our online store.