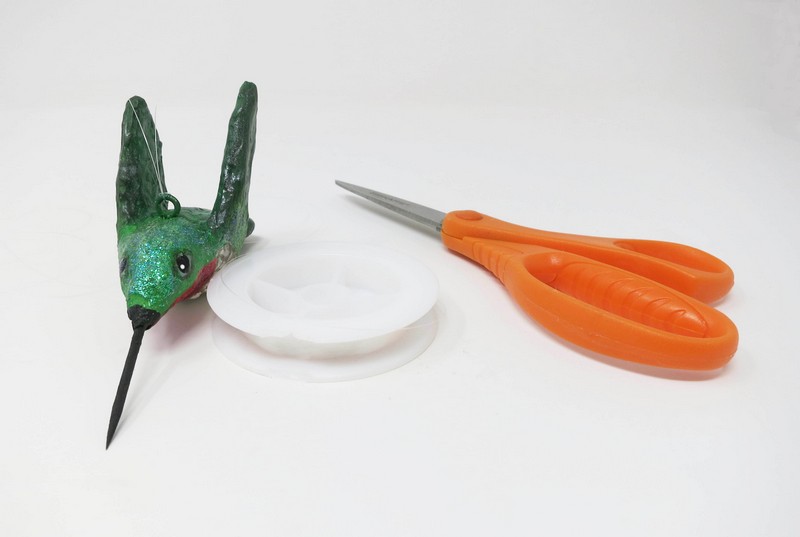
Supplies Needed:
- Activa CelluClay
- Toothpicks
- Masking Tape
- Cardboard
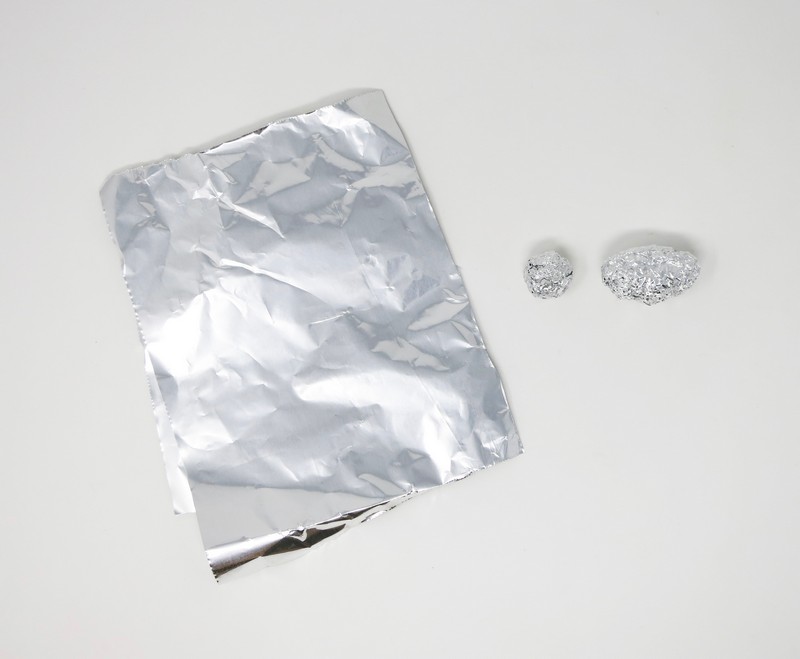
- Aluminum Foil
- Zip Top Plastic Bag
- Water
- Spreading Tool
- Water Bowl
- Acrylic Paint
- Paint Brush
- Fine Glitter
- Iridescent Gloss Medium
- Scissors
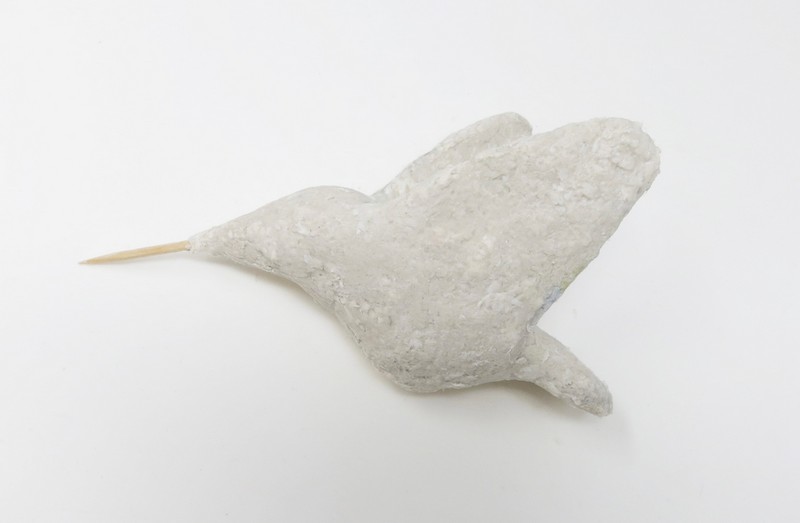
Armature
Construct an armature for the bird’s body shape.
Step 1
Wings & Tail Feather
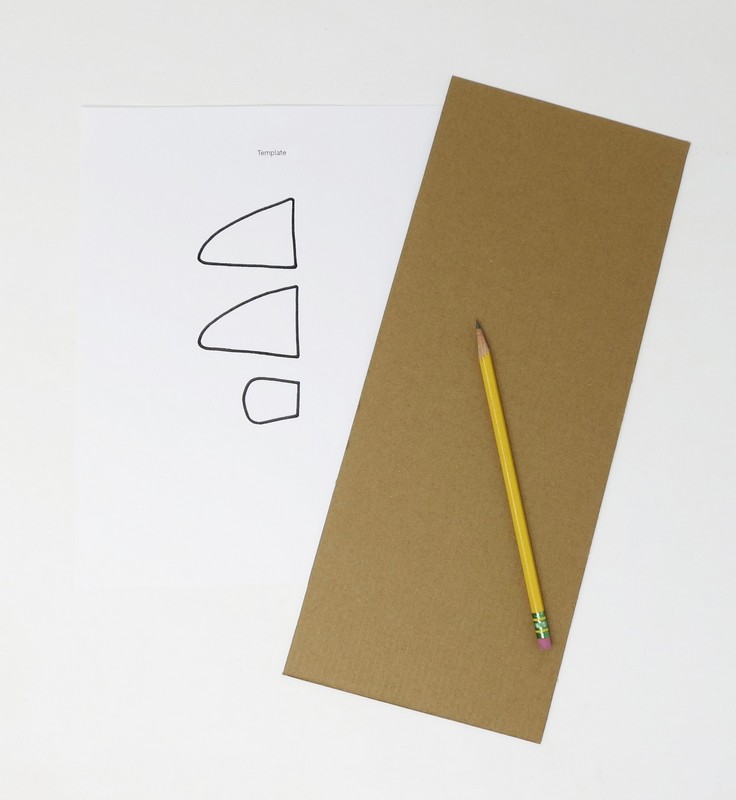
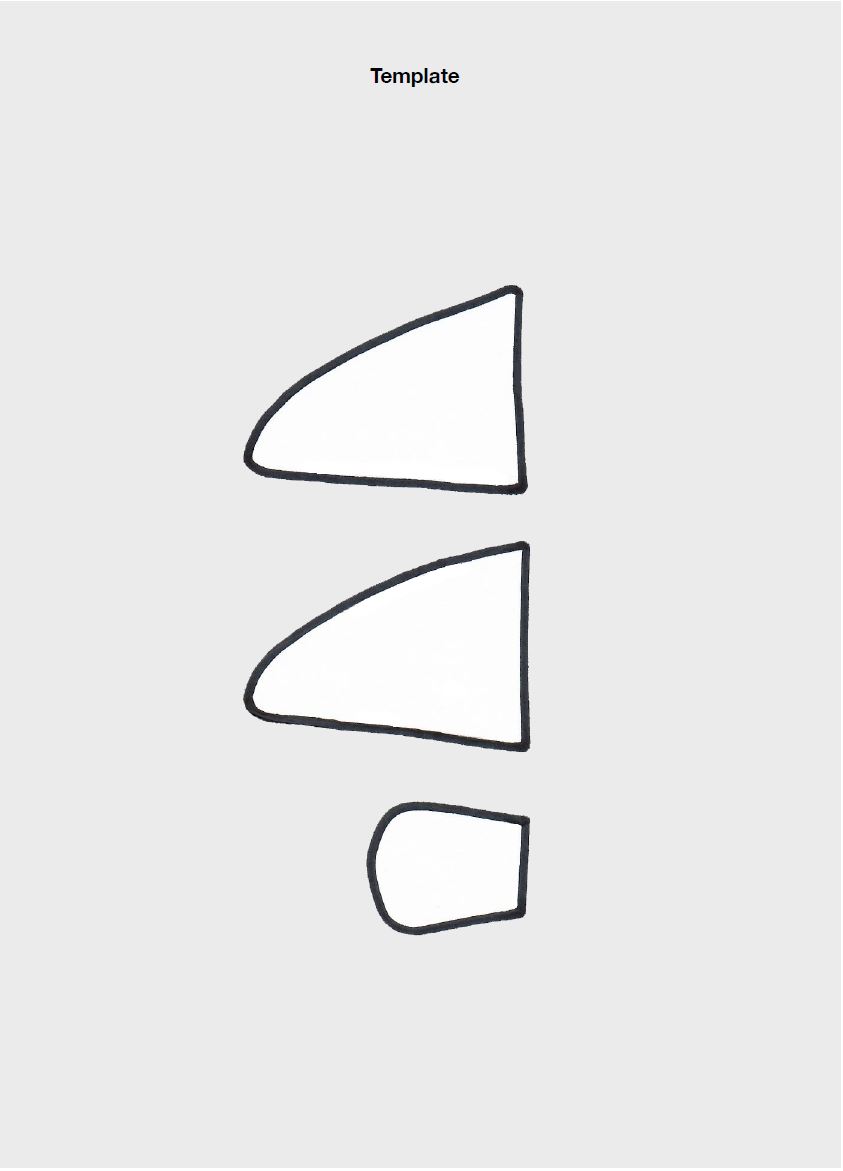
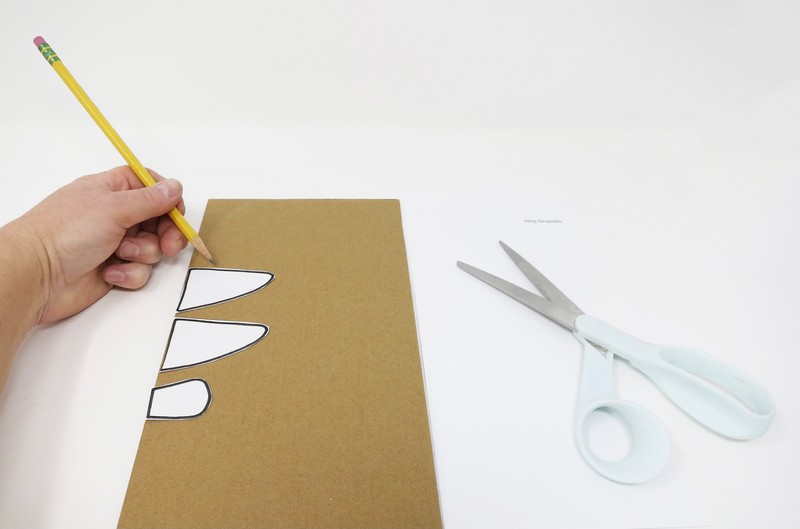
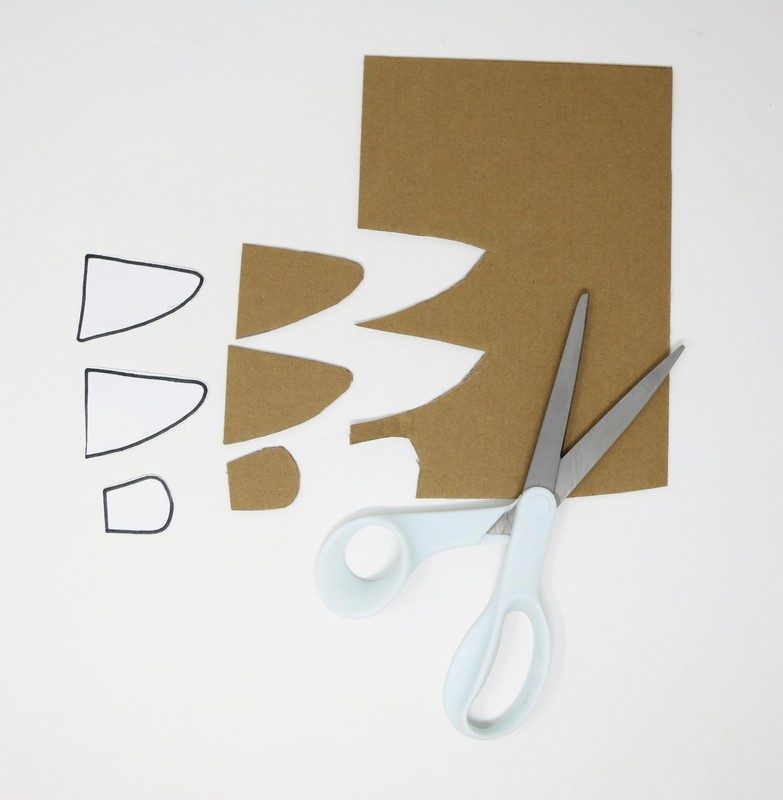
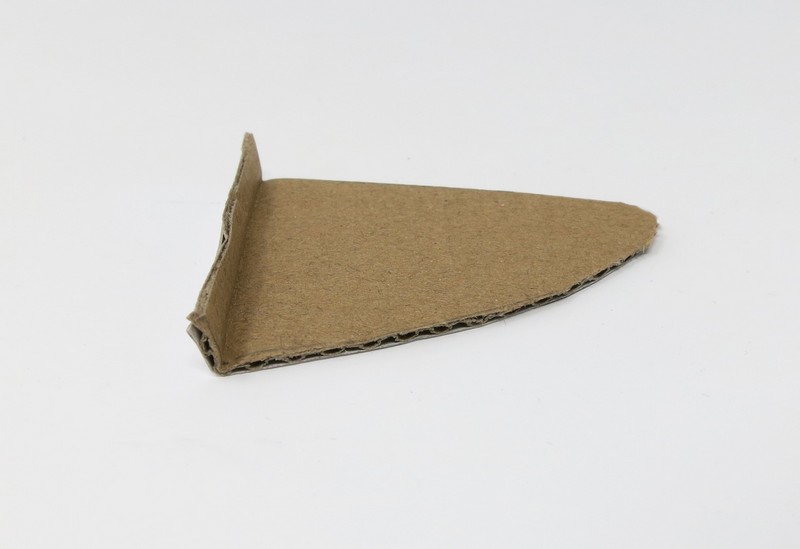
Draw and cut out 2 wings and 1 tail feather out of cardboard.
Use the Wing Template included in these directions if needed.
Step 2
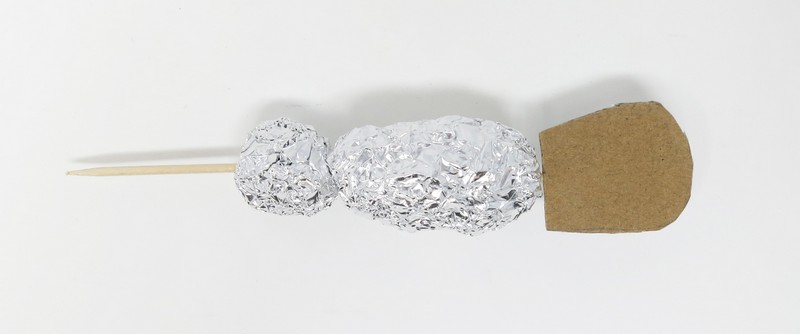
Head & Body
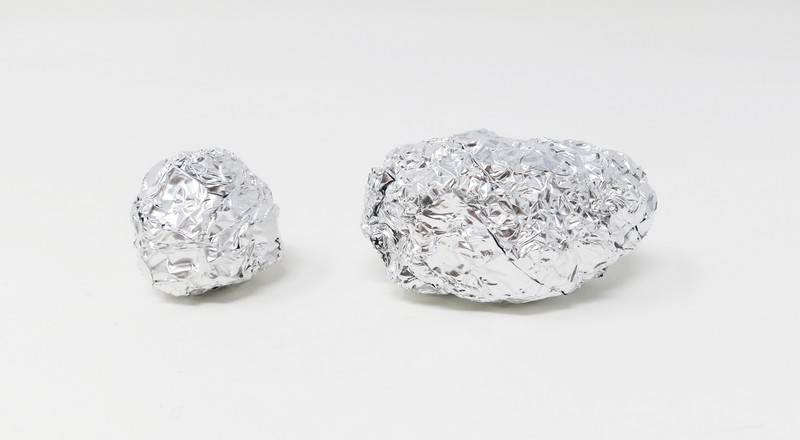
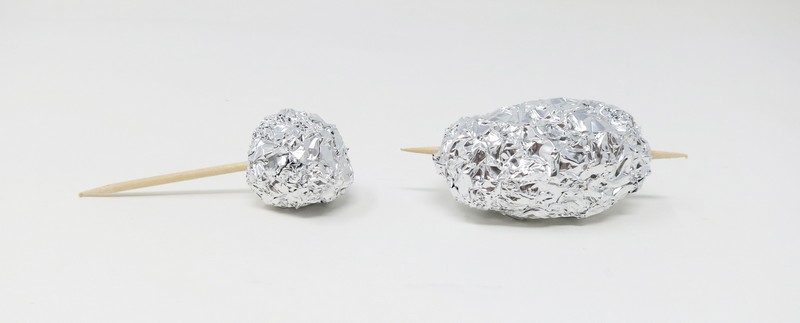
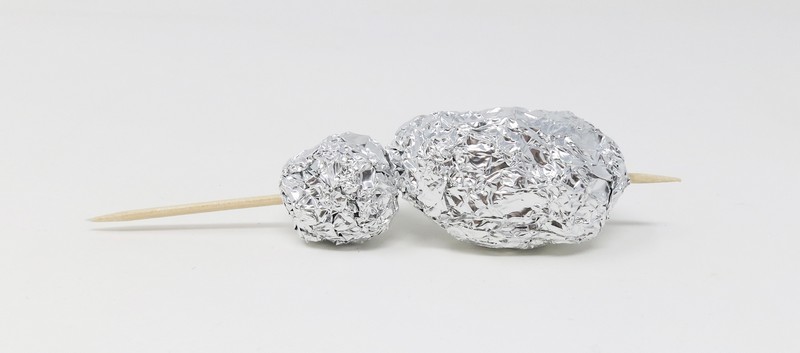
Roll a small sphere and egg form out of aluminum foil for the head and body of the hummingbird.
Insert a toothpick into the sphere and another one through the egg form.
Connect the two forms together.
Step 3
Assemble Armature
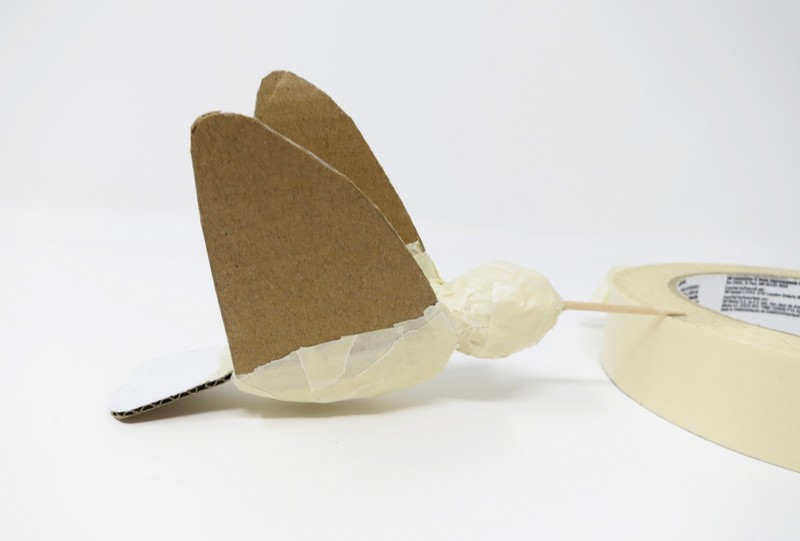
Insert the end of the toothpick into the cardboard tail feather shape.
Bend up the straight edge of the wing shape to create a hinge. Attach the cardboard wings to the body with masking tape.
Step 4
Sculpt with the CelluClay
Mix CelluClay according to directions.
Apply CelluClay over the armature. (Avoid adding it to the bird’s toothpick beak.)
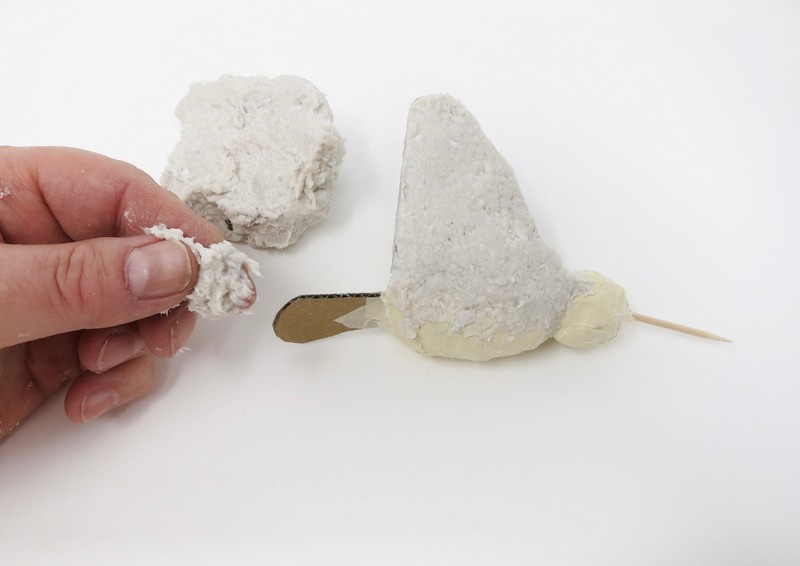
Apply several layers as needed until the armature is fully covered. Allow the CelluClay to dry between layers.
Step 5
Dry
Allow the CelluClay sculpture to completely dry. Drying time is dependent upon the weather (heat and humidity), as well as the initial firmness of the mache’ and the thickness of it.
A piece is considered dry when it no longer feels cold to the touch.
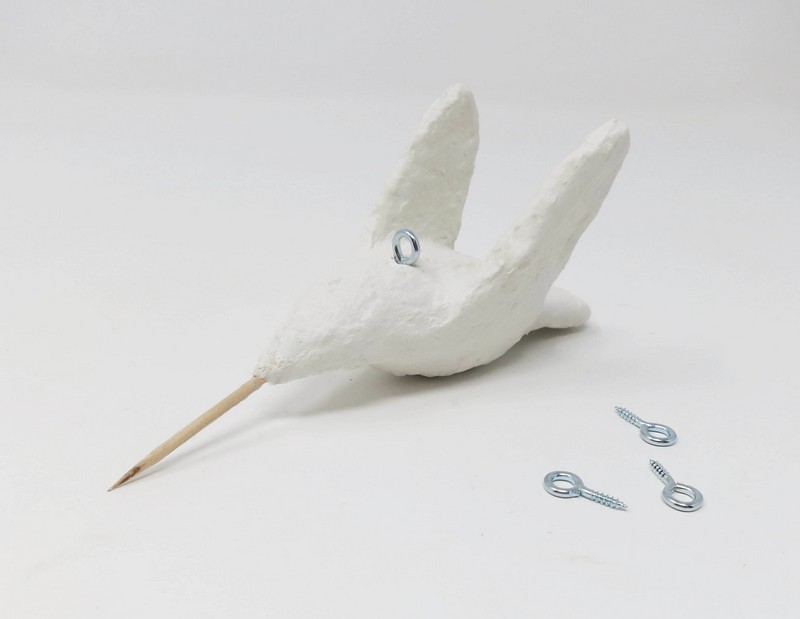
Step 6
Hook
Decide on how the bird should hand and insert an eye hook into the bird’s body.
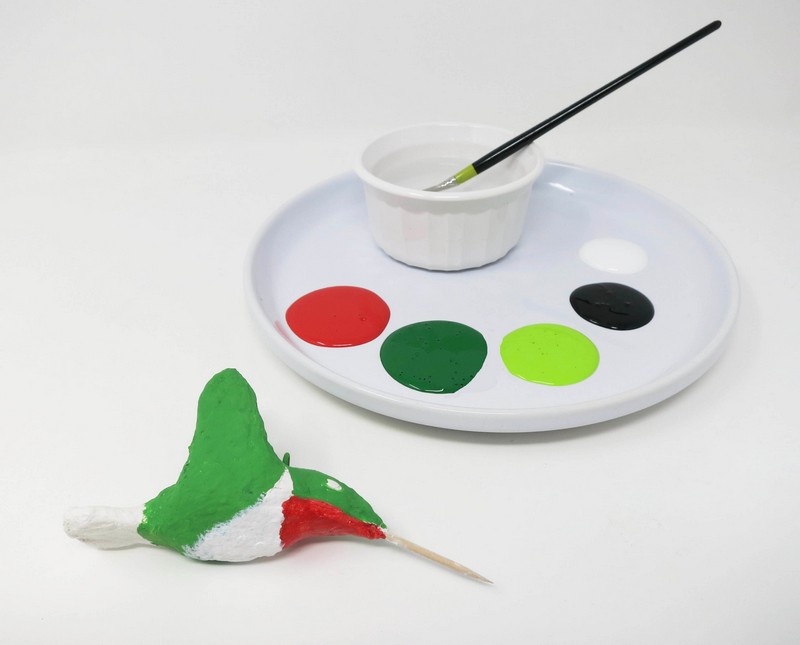
Step 7
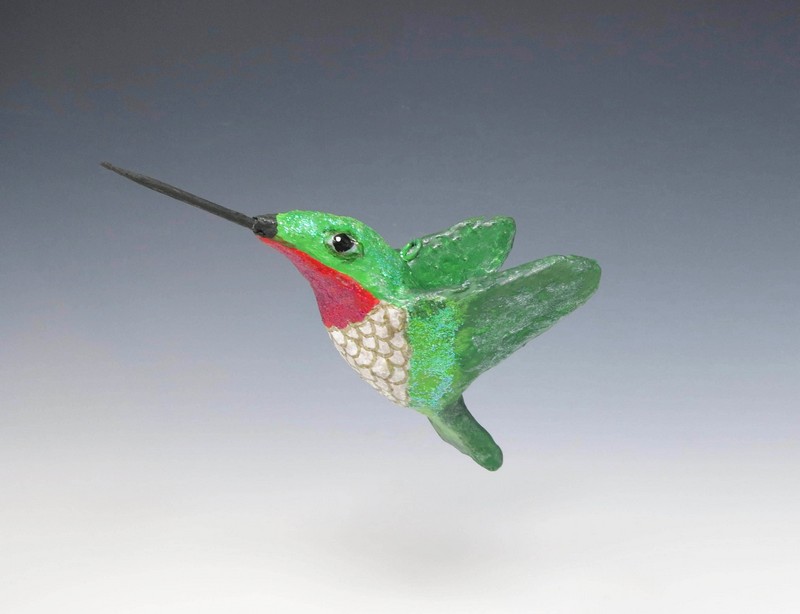
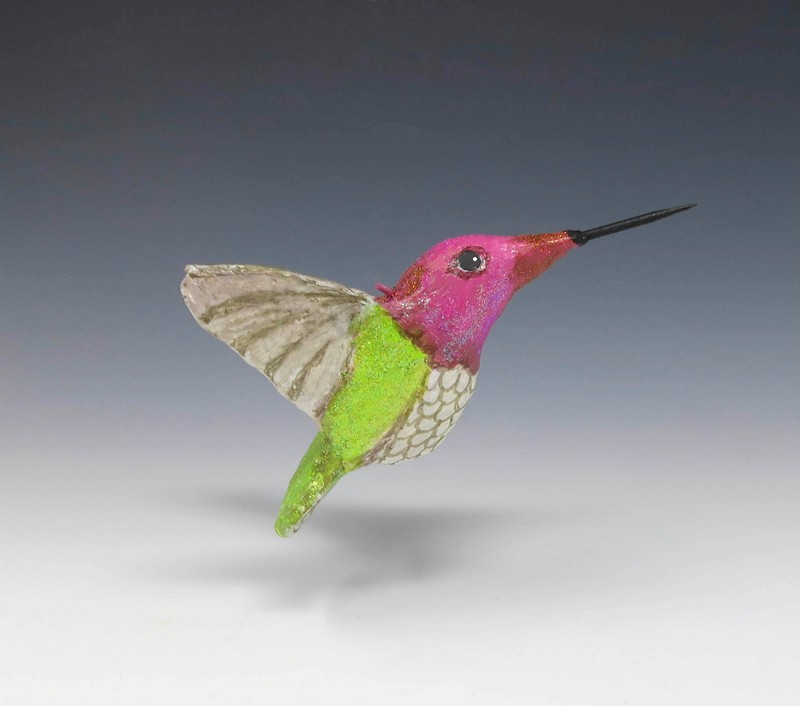
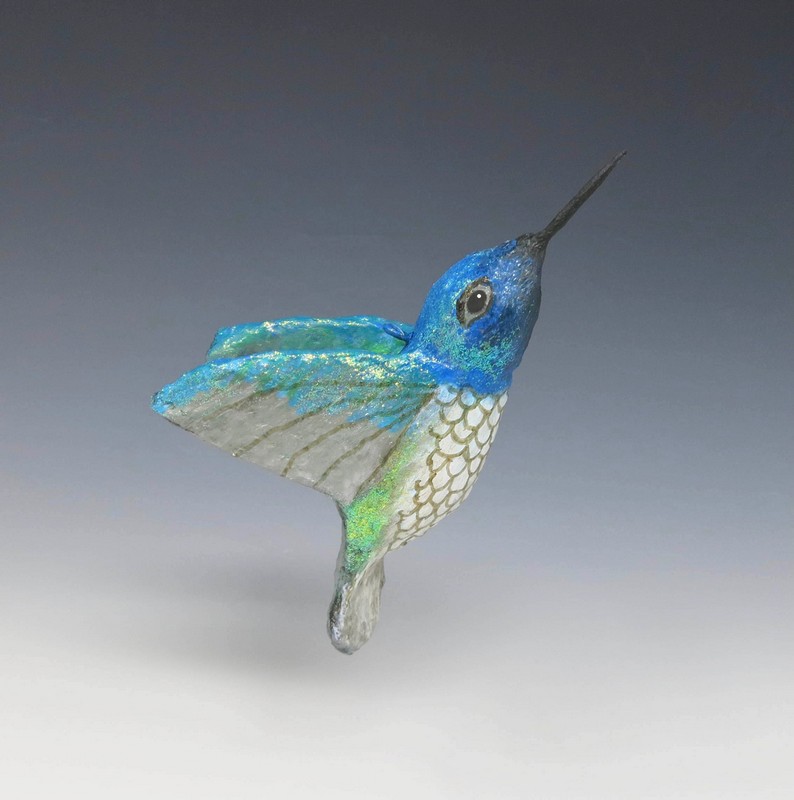
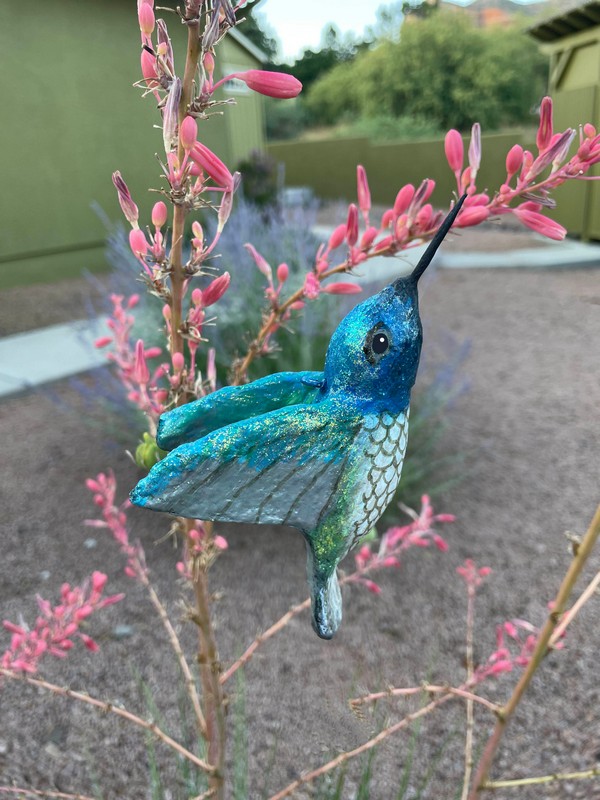
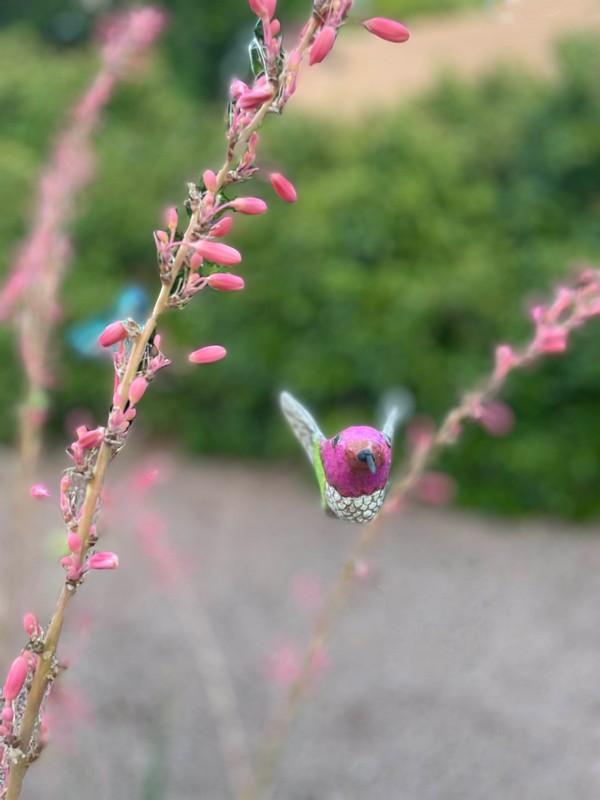
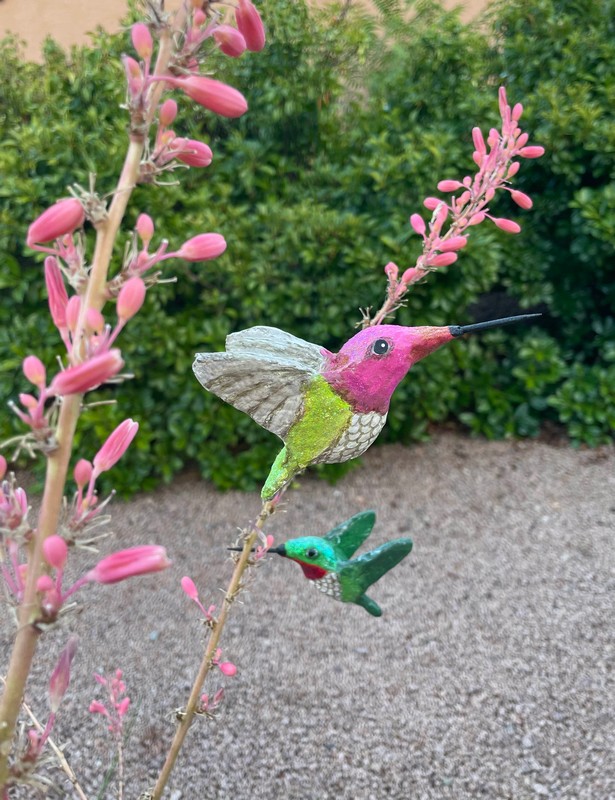
Paint
Paint hummingbird the desired color using acrylic paint.
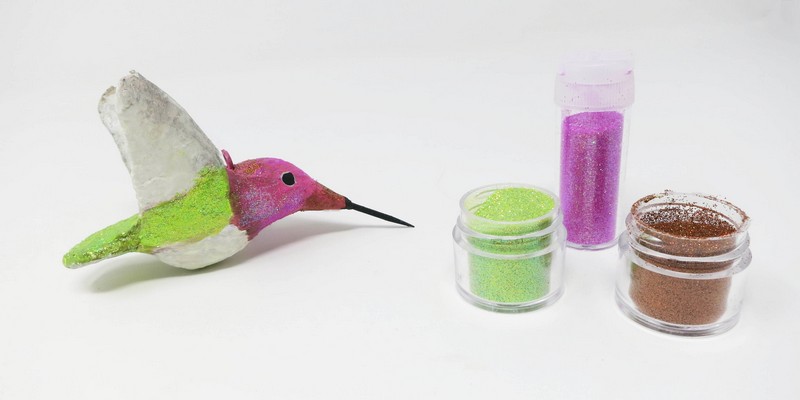
Step 8
Shine
Glitter and iridescent varnish maybe added to give the hummingbird a shiny appearance.
Step 9
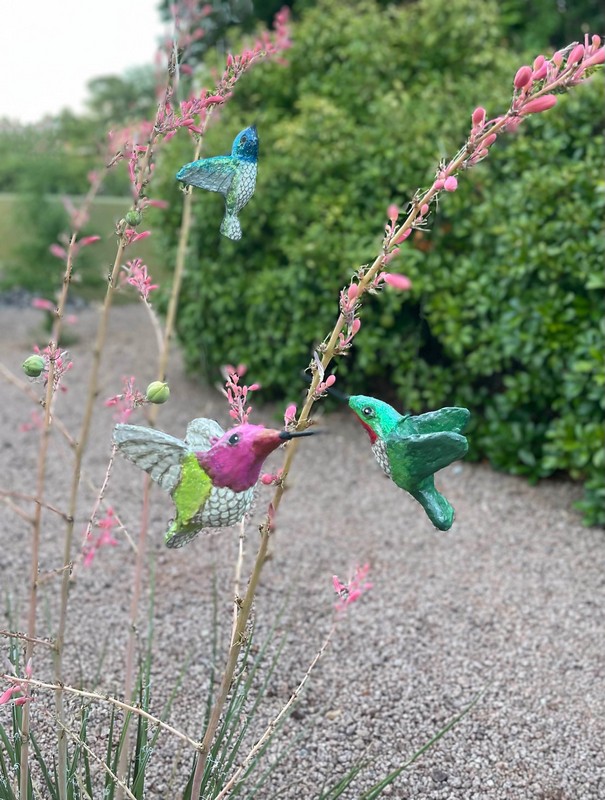
Display
Attach a piece of clear cord to the eye hook and display the bird.