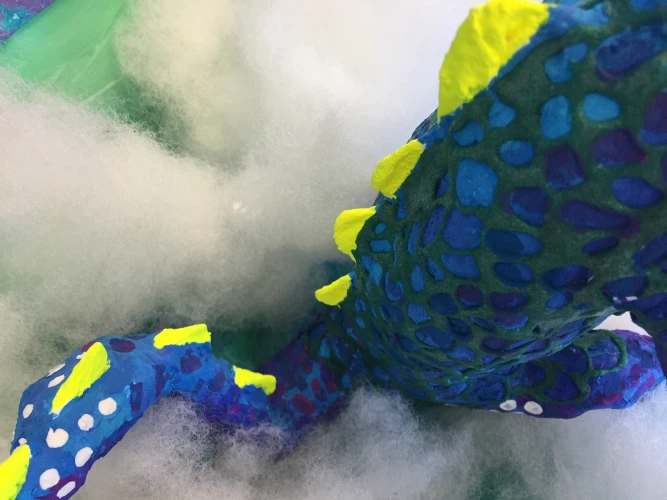
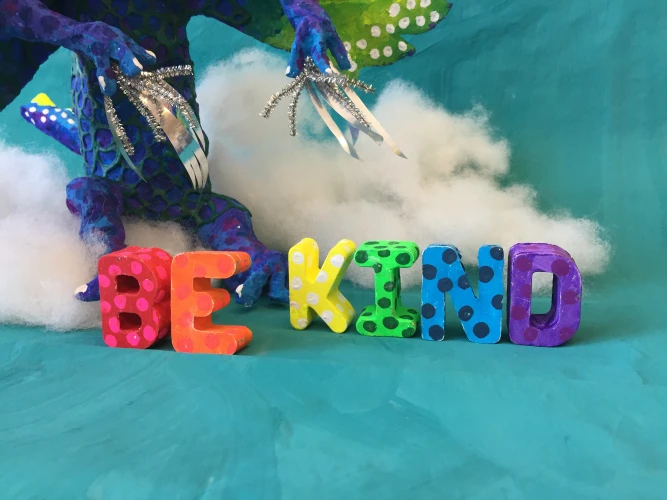
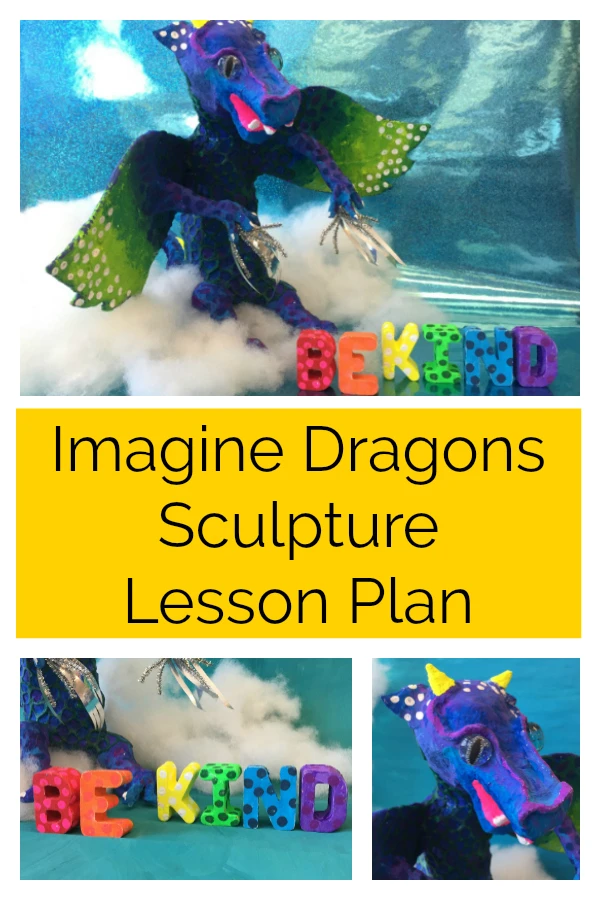
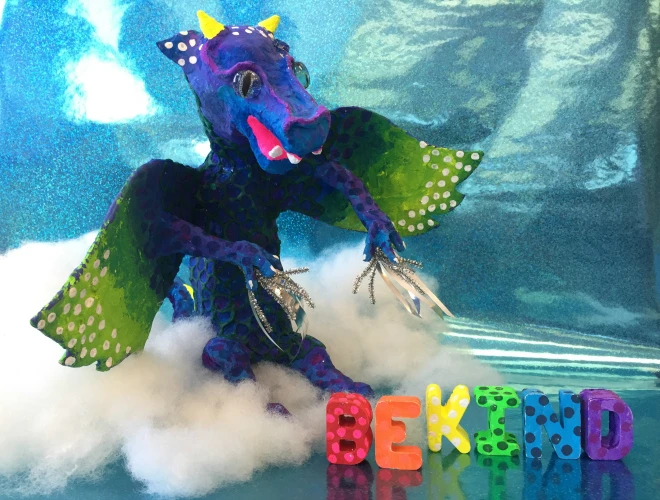
As part of the ACTÍVA Products 2018 Art Teacher Mystery Box Contest, art teacher Breanne Rothwell created this Imagine Dragons sculpture.
About the Art Teacher
"I've been teaching elementary art for 16 years. It is the best! I am amazed each day by the children I teach, they are my inspiration. Each year I choose a theme for the year. It keeps things interesting for both the students and myself . . . . and I enjoy the research involved in making my lessons relevant and exciting. I am so lucky to have a "job" that I love."
To follow along with Ms. Rothwell's art room adventures, make sure to follow her on Instagram.
The Big Idea
Dragons are amazing, serpent-like mythical creatures possessing magical powers, and are represented in the folktales of many cultures worldwide. As legend would have it, some dragons are beasts that breathe fire and need to be tamed, yet others are busy fighting evil, doing good for others and have above average intelligence.
This lesson is designed to encourage students to imagine a magical dragon sharing a special message with the world, what would it be? This "Imagine Dragon" is a busy sending good vibes out into the world, with the message "be kind."
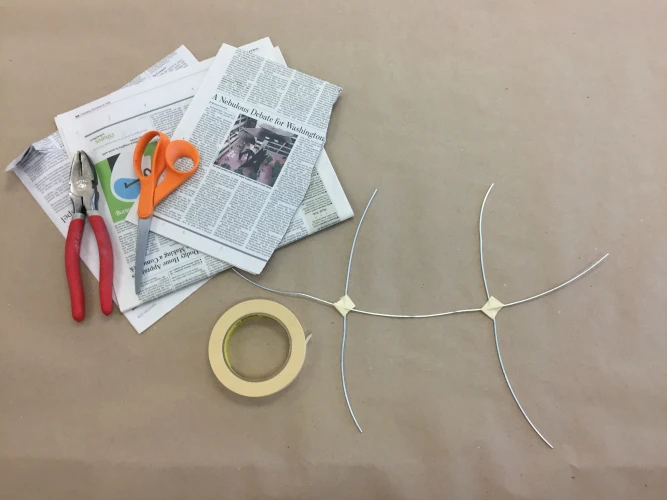
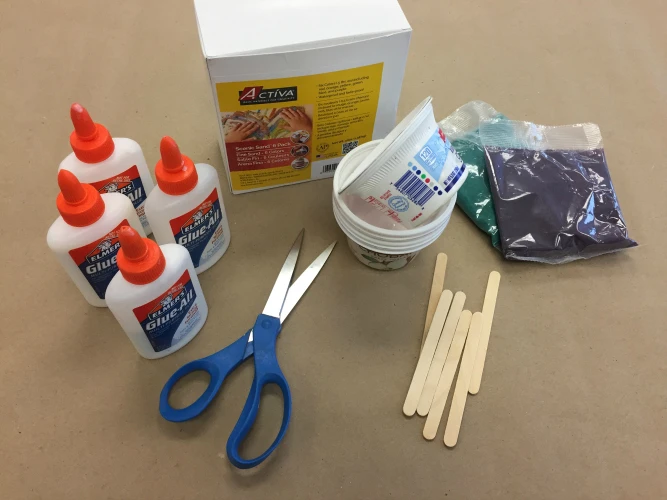
Supplies Needed
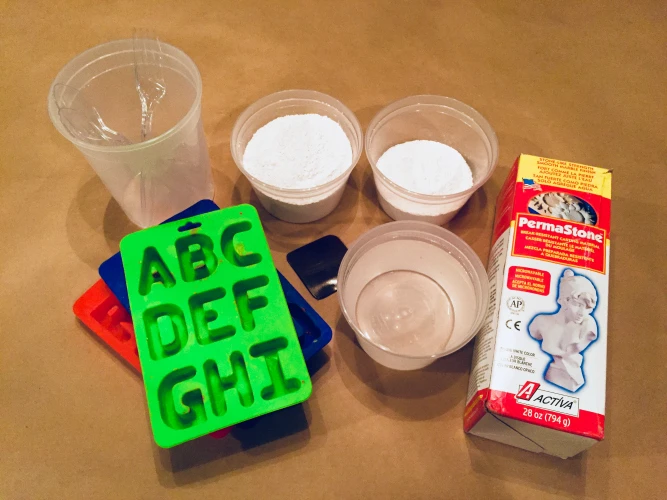
- PermaStone from ACTÍVA Products
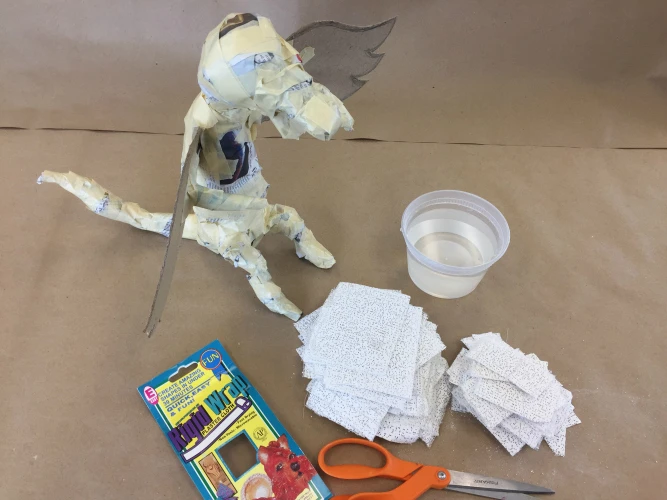
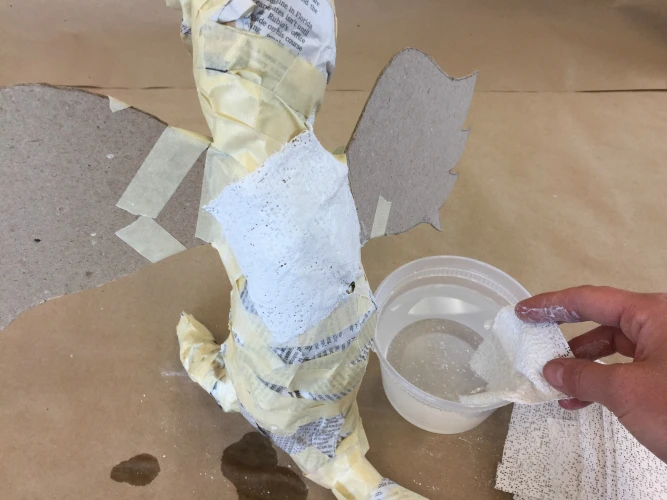
- Rigid Wrap from ACTÍVA Products
- Scenic Sand from ACTÍVA Products
- Newspaper
- Masking tape
- 14 gauge wire
- Elmer's glue
- Paint
How to Make a Dragon Sculpture
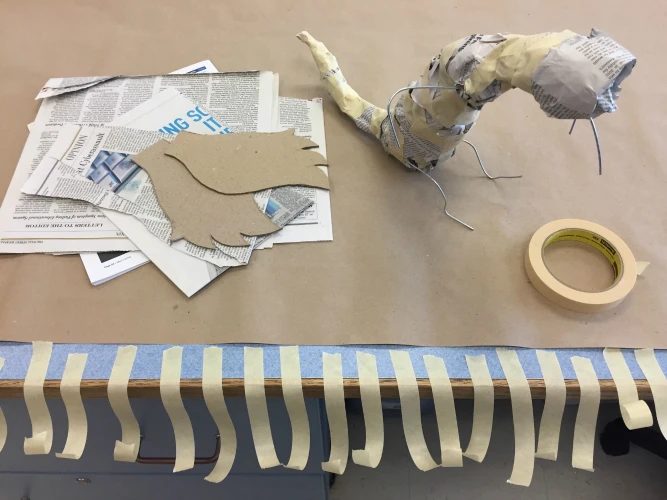
1. Gather your materials and cut 3 pieces of wire. One piece about 2 feet long, the other pieces about a foot long each. Tape them together as shown. The longer wire will be used to form the head, body and tail. The other wires will be used for the arms and the legs.
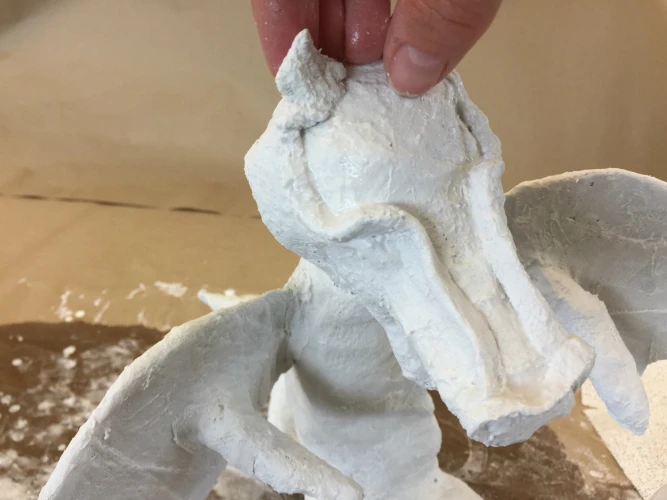
4. You are ready for paint.
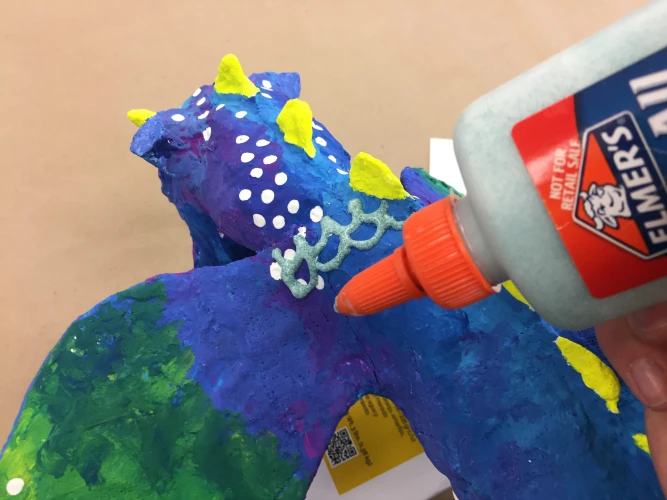
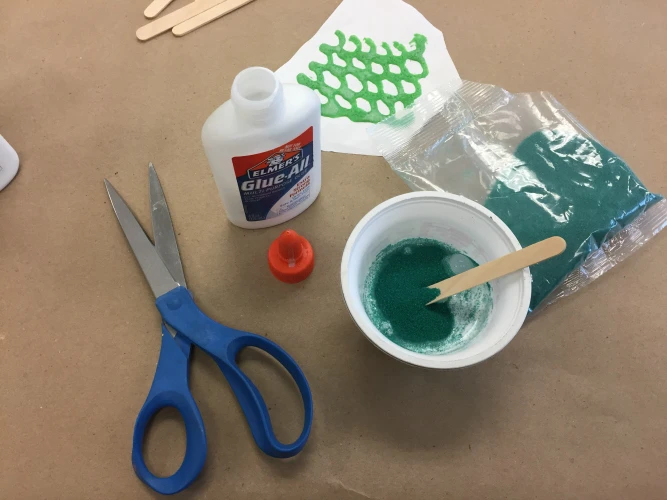
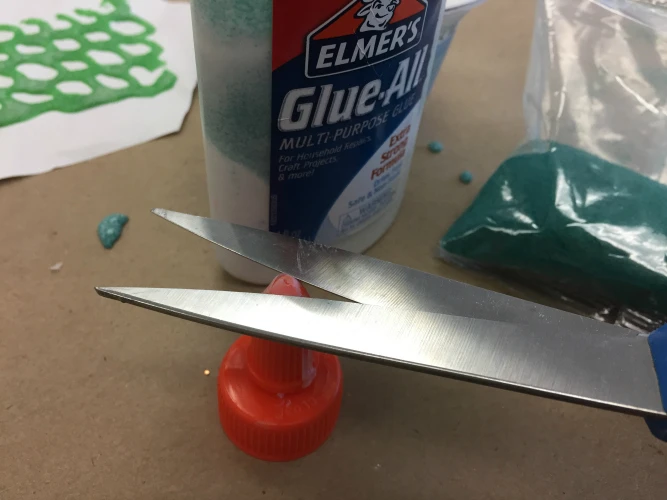
6. Empty the glue bottle into your mixing bowl, and add ACTÍVA Scenic Sand colored sand and mix until you have glue that is the consistency of thick pancake batter. Add the mixture back into the glue bottle and slightly snip the tip of the bottle as shown.
7. Take your time adding scales, allowing time for the glue to dry as you work your way around the dragon. A blow dryer can help speed this process up. :)