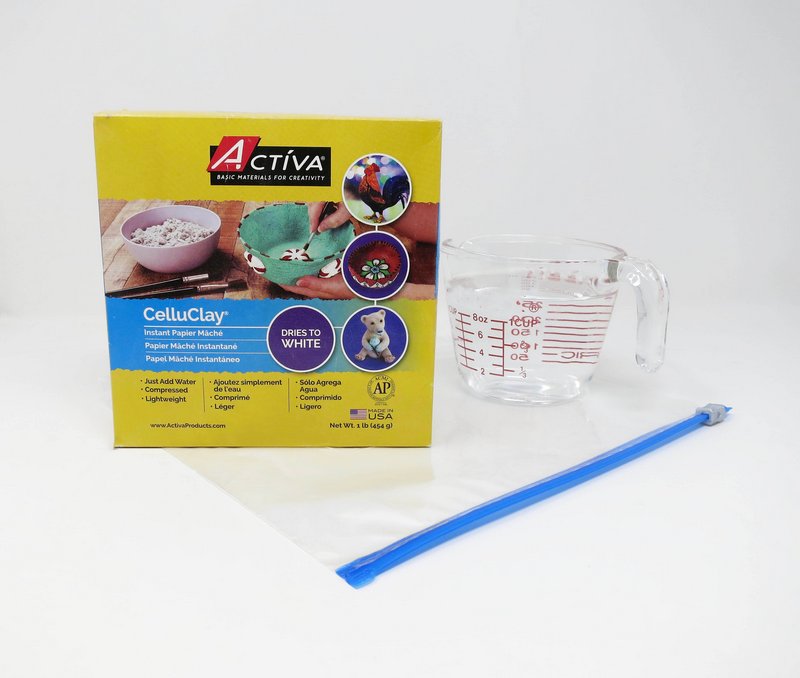
Materials Needed:
- Activa CelluClay
- Activ-Tools - Clay Tool Set
- Water
- Zip top bag
- 3” styrofoam balls
- Sandpaper
- Acrylic paint
- Paint brush
- Matte varnish
- Yellow tissue paper
- Scissors
- Artificial green leaves
- Adhesive
- Metal ball stylus
Step 1
Prepare the CelluClay
Mix the CelluClay according to package directions.
Add 32oz. of warm water to 1 lb. of CelluClay mixing in a zip top bag.
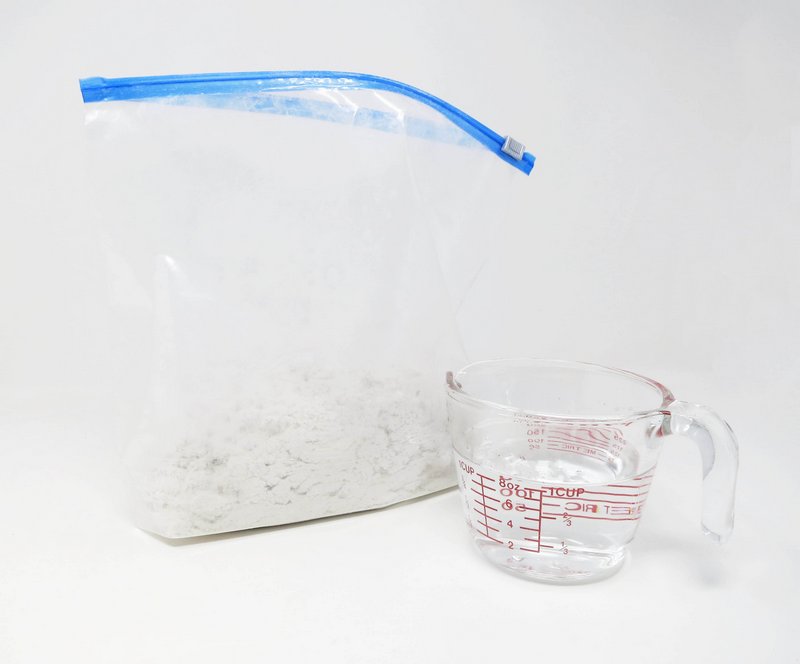
Knead with fingers until the CelluClay reaches the consistency of clay or stiff dough with no dry spots.
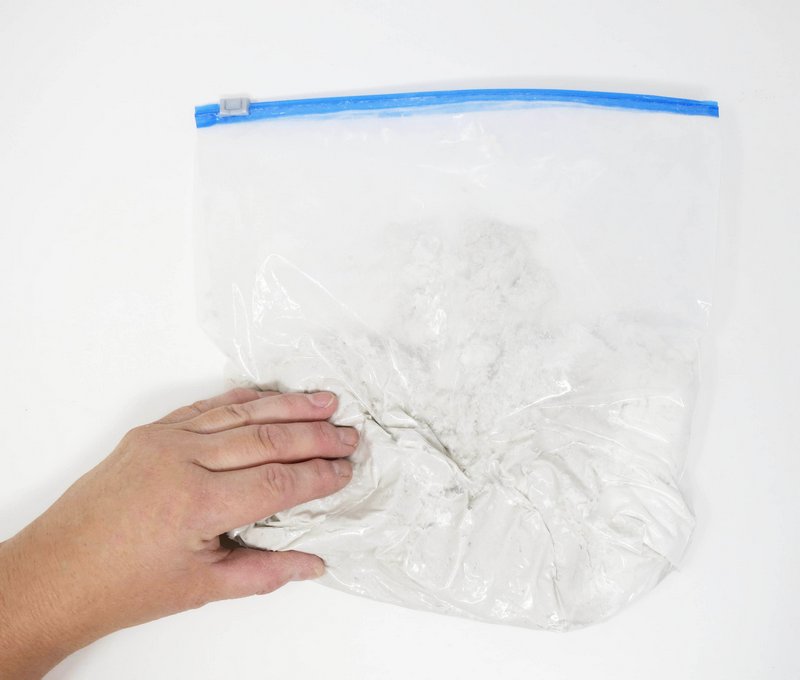
Add more dry CelluClay if mixture is too wet or soft, and more water if CelluClay if too dry or stiff.
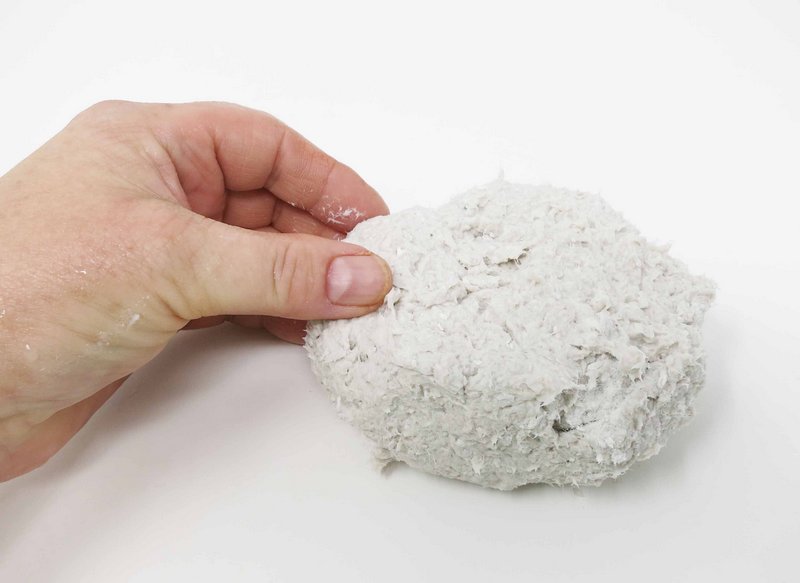
Remove the Celluclay from bag when done mixing.
Step 2
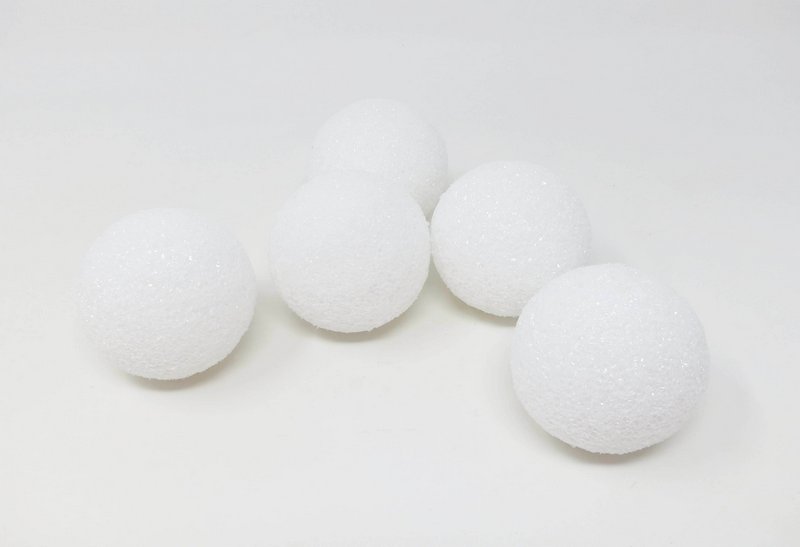
Armature
Use a 3” styrofoam ball as the armature for each of the lemon sculptures.
Step 3
Layer
Cover each armature with a coat of the CelluClay.
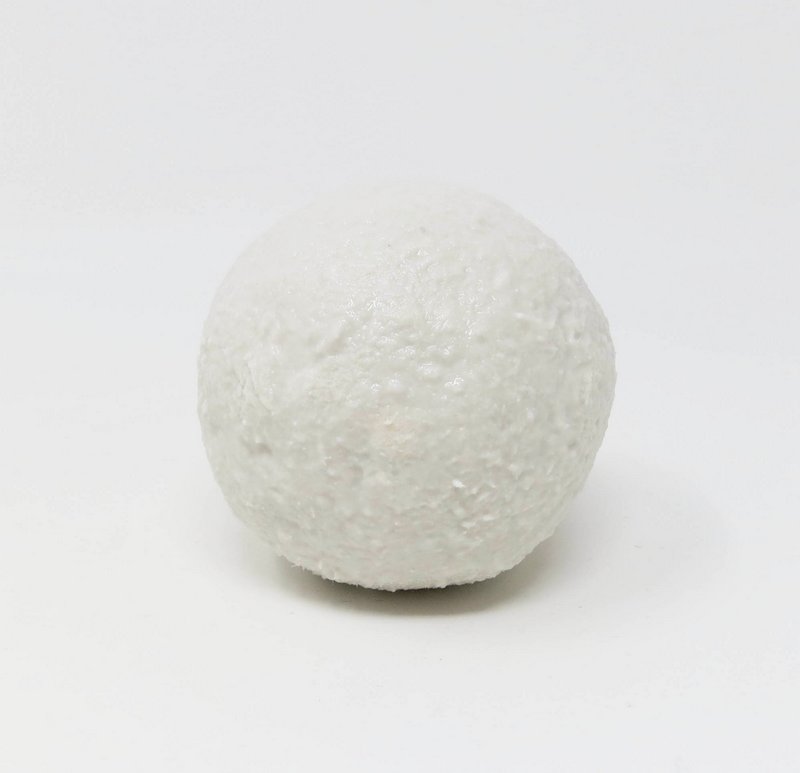
Smooth out any bumps in the CelluClay with wet fingertips.
Add additional CelluClay in a hill formation to the top and bottom of the sphere form.
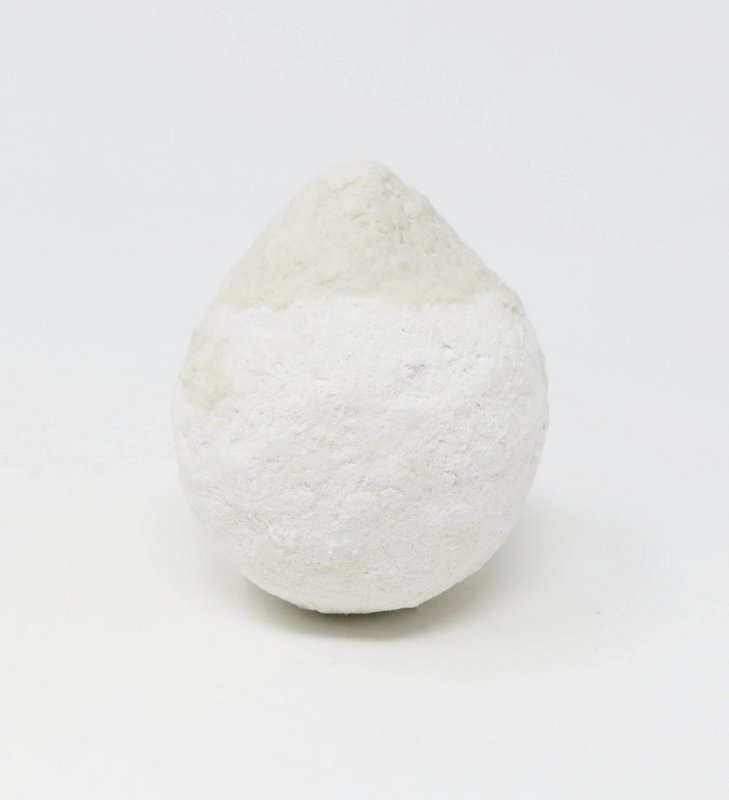
Apply several coats of CelluClay as needed. Allowing the individual coats to dry in between layers.
Step 4
Stem
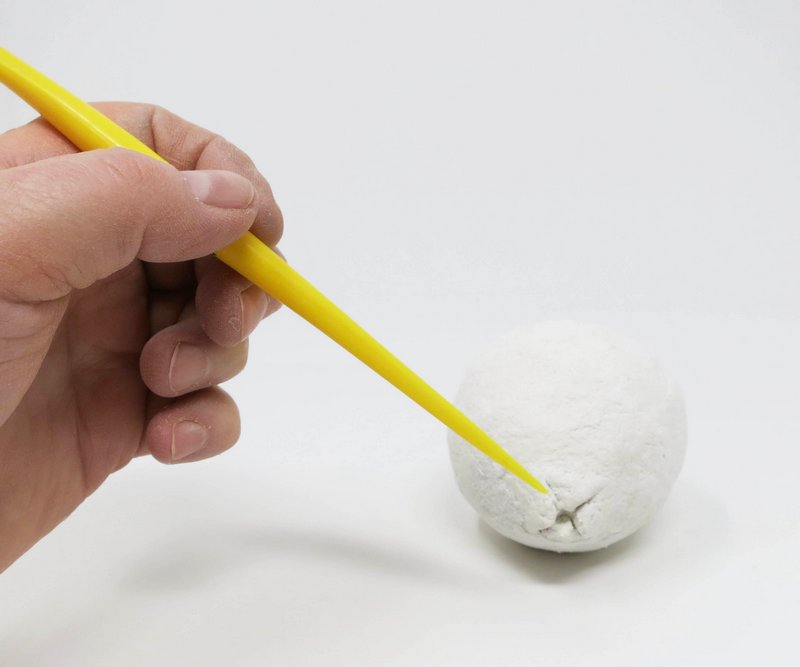
Indent an X into one of the ends of the lemon forms using a flat ended sculpture tool.
Poke a small hole in the middle of the X with a ball stylus.
Step 5
Dry
Allow the sculpture to air dry. Humidity levels will impact drying time.
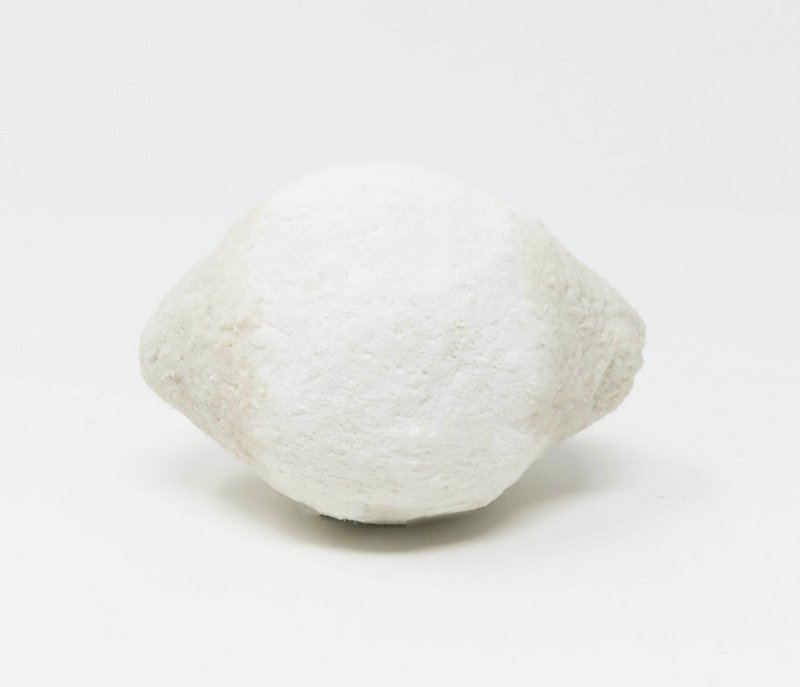
The CelluClay will lighten in color and become harder as it is drying.
The CelluClay will feel room temperature when dry and have a bright white color appearance.
Step 6
Smooth
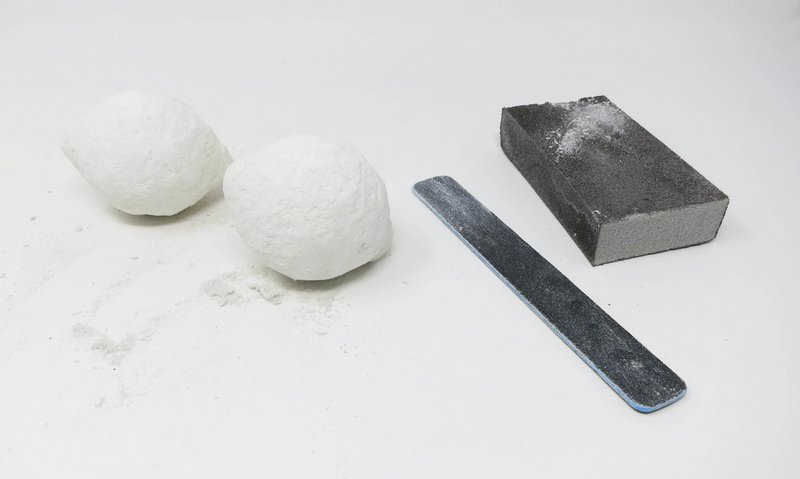
Use sandpaper to smooth out any rough areas or bumps on the sculpture’s surface.
Step 7
Color
Cut a piece of yellow tissue paper into small squares.
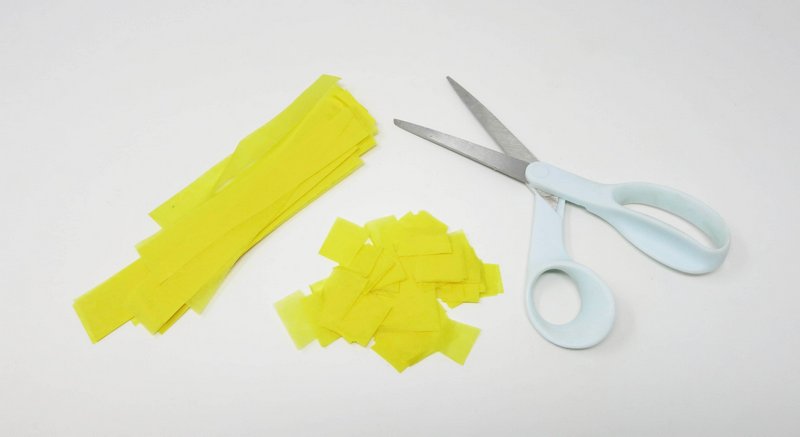
Decoupage the sculpture with yellow tissue paper and matte varnish
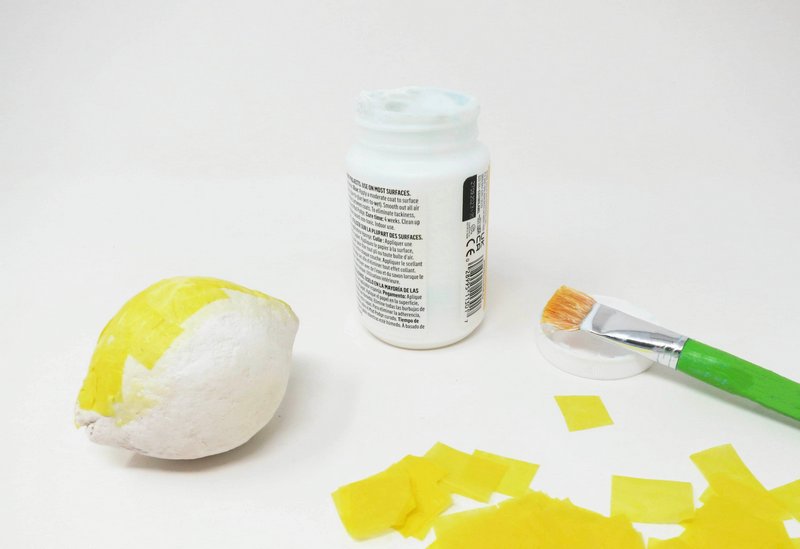
Darken the stem area in with dark yellow acrylic paint.
Step 8
Peel
Create a lemon peel texture by indenting a metal ball stylus over and over into the decoupage surface.

Step 9
Leaf
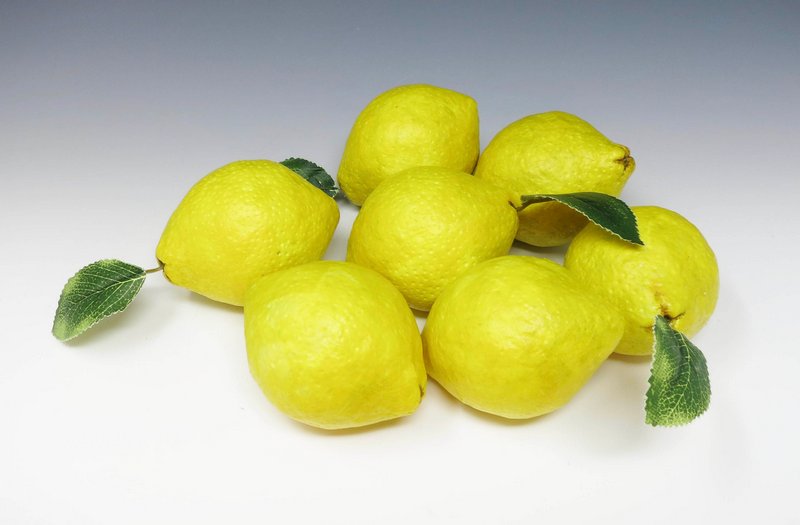
Glue an artificial green leaf into the stem area of some of the lemon sculptures.
*Not all of the lemons need to be embellished with a leaf to give it a lifelike appearance.
Step 10
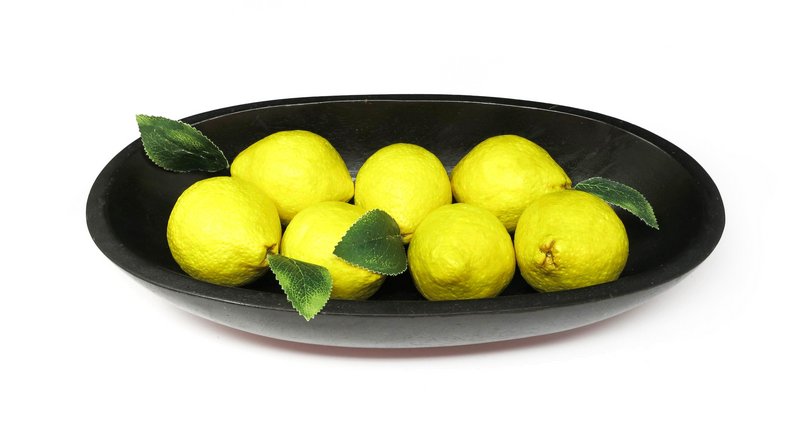
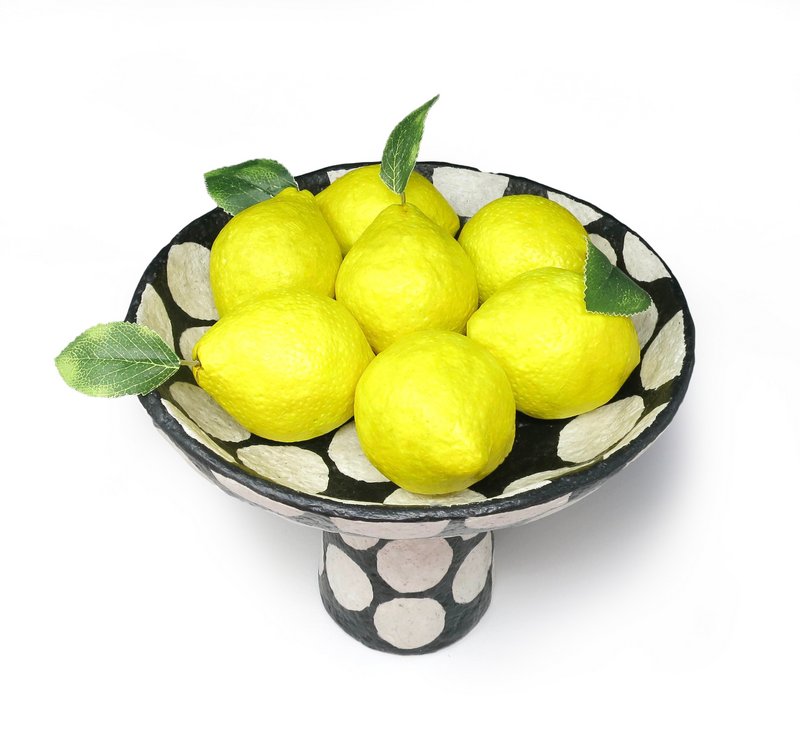
Arrangement
Place the lifelike lemons into a bowl arrangement.