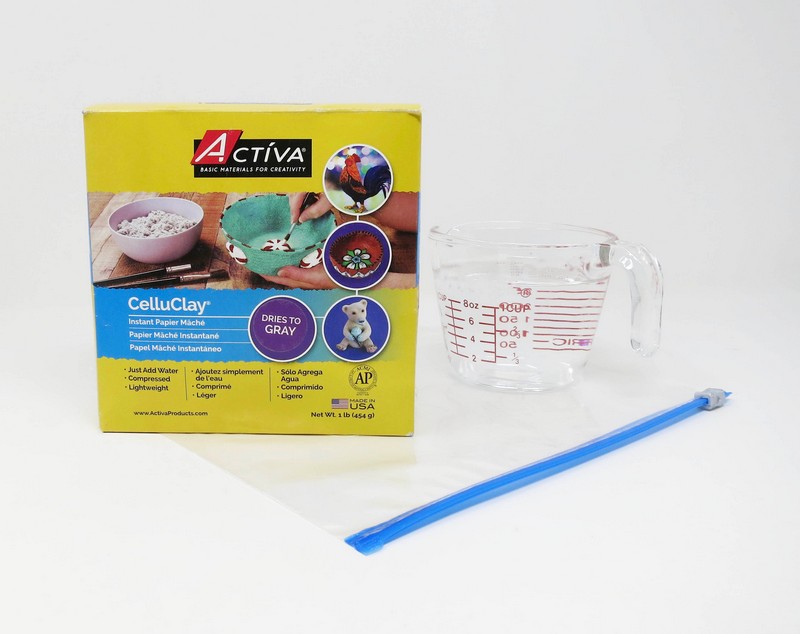
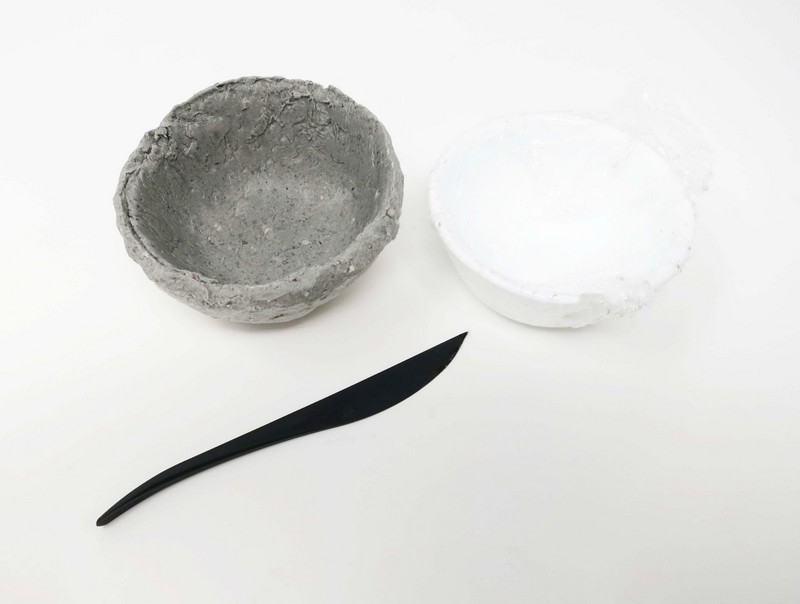
Supplies Needed:
- Activa Gray CelluClay
- Water
- Zip Top Bag
- 3 or more glass, metal, or ceramic kitchen mixing bowls in small to large sizes
- Plastic Wrap
- Flexible Knife
- Tissue Paper
- Scissors
- Liquid Sealant
- Paint Brush
Step 1
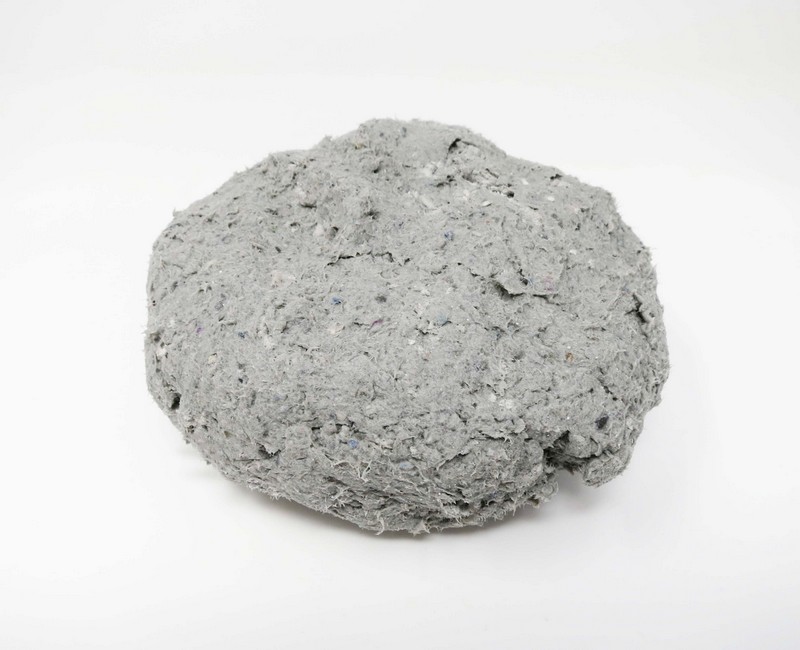
Prepare the CelluClay
Mix the CelluClay’ according to package directions.
Add 32oz. of warm water to 1 lb. of CelluClay, mixing in a zip top bag.
Knead with fingers until CelluClay reaches the consistency of clay or stiff dough with no dry spots.
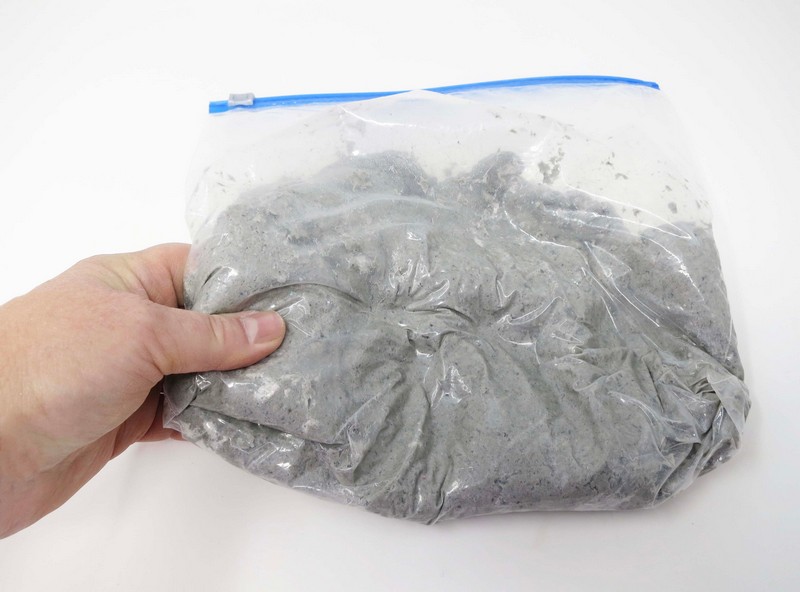
Add more dry CelluClay if mixture is too wet or soft, and more water if CelluClay if too dry or stiff.
Remove CelluClay from bag when done mixing.
Step 2
Sculpture Mold
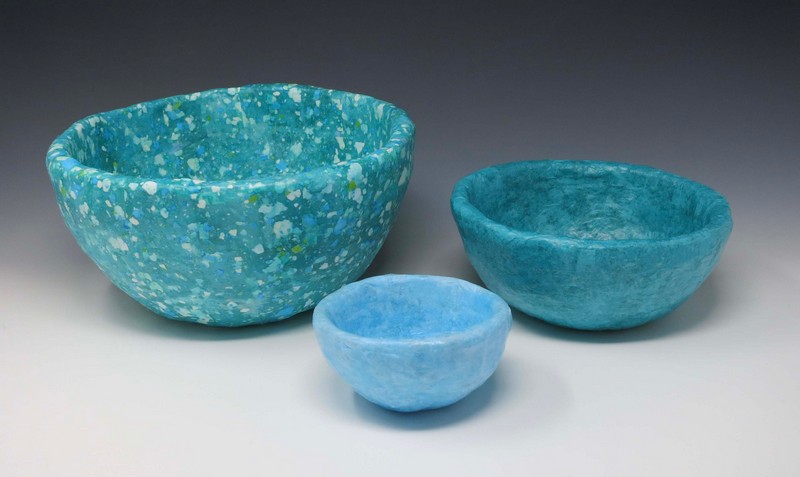
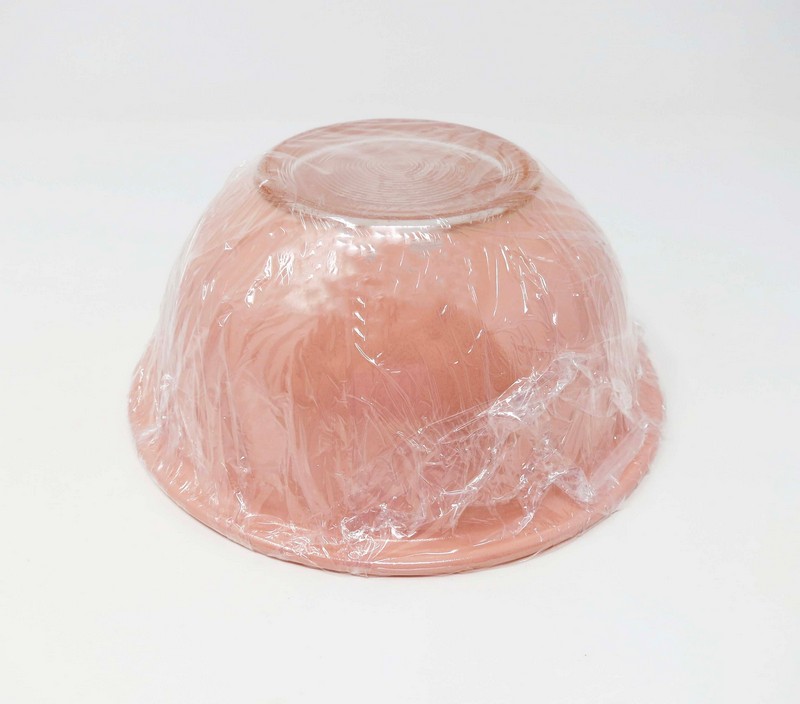
Select an assortment of bowls from the kitchen cabinets to use as molds for the nesting bowls. Vary the sizes of the bowl from small to large.
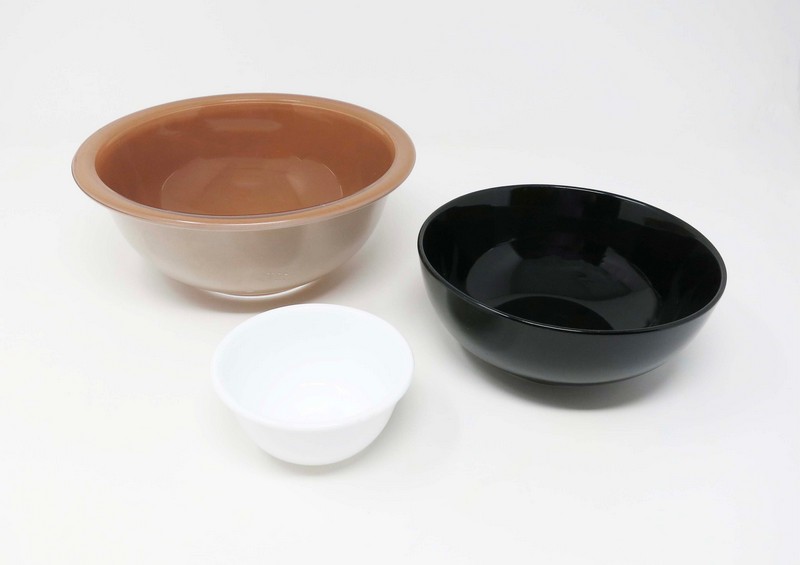
Cover the bowls with plastic wrap.
Step 3
Layer
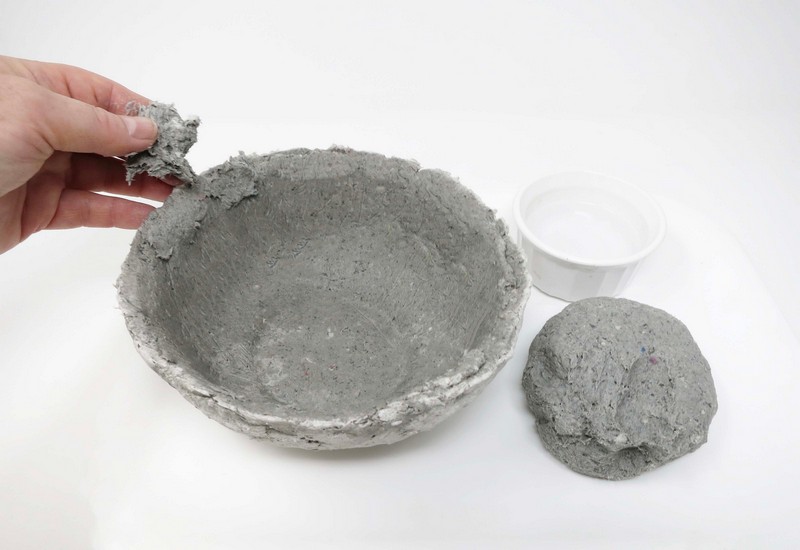
Cover one side of the bowl mold with a thick layer of the CelluClay.
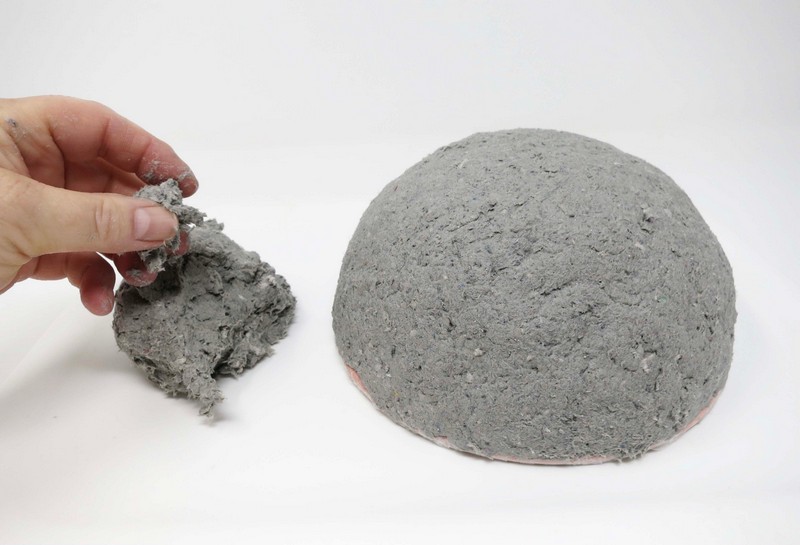
Smooth out any bumps in the clay with wet fingertips.
Allow the CelluClay to dry before turning the bowl over and applying the CelluClay to the opposite side.
Step 4
Mold Removal
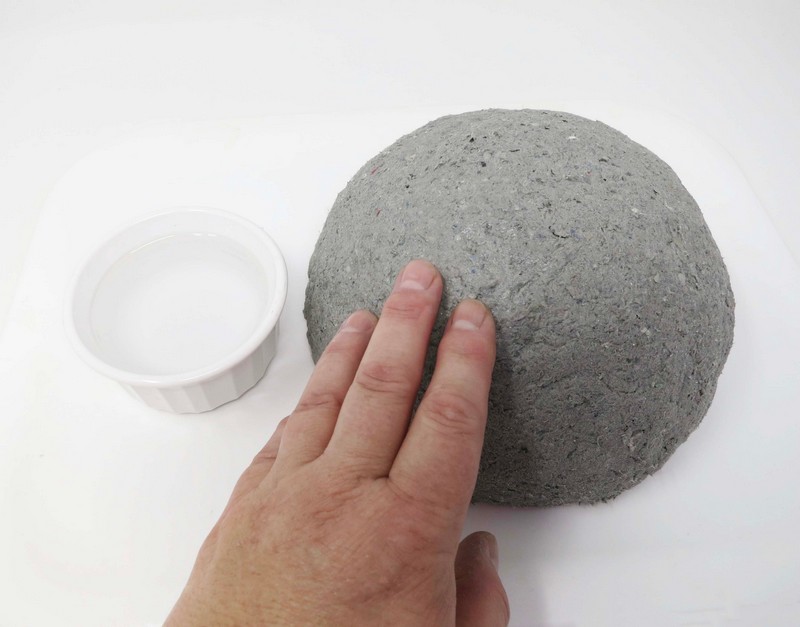
Allow the CelluClay to air dry for 24 hours. After 24 hours the CelluClay will still be a bit damp. Insert a flexible knife between the CelluClay and the plastic wrapped bowl mold. Loosen the seal between the bowls and separate the two of them.
Step 5
Rim
Add additional CelluClay onto any rough edges on the bowl’s rim.
Step 6
Dry
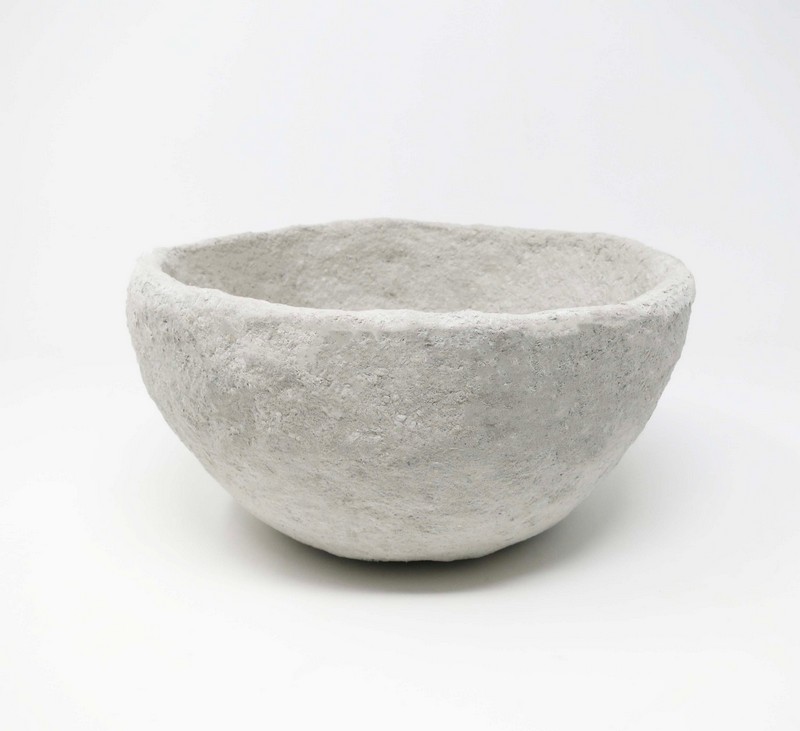
Allow the clay bowls to completely air dry. Humidity levels will impact drying time.
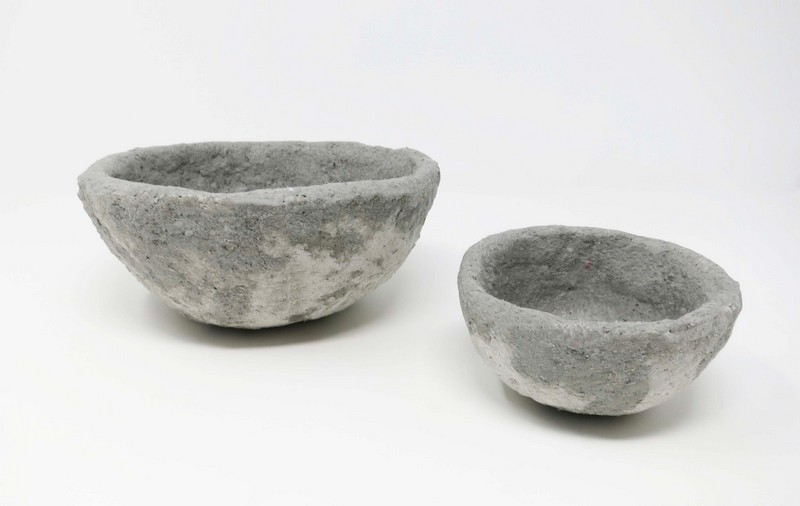
The CelluClay will feel room temperature when dry and have a light gray color appearance.
Step 7
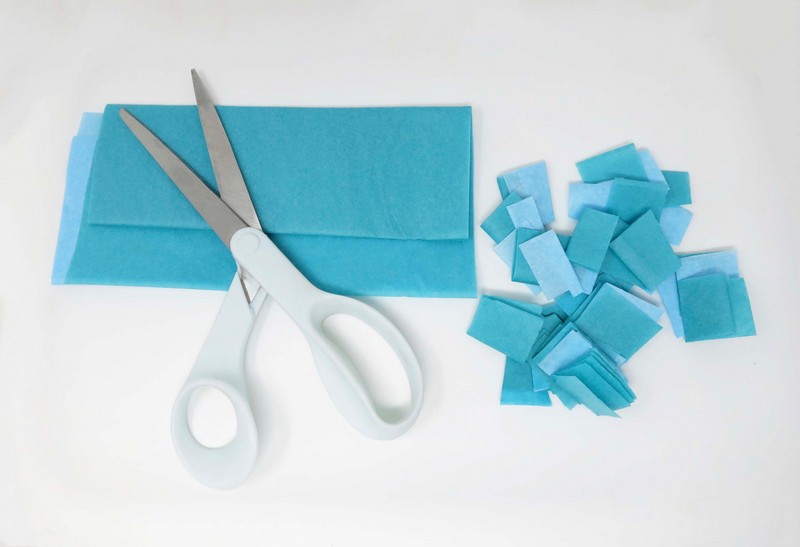
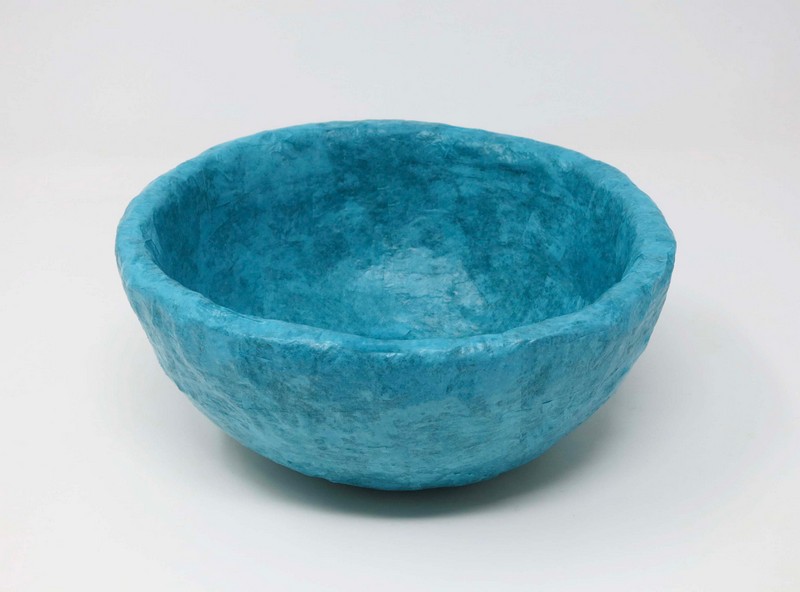
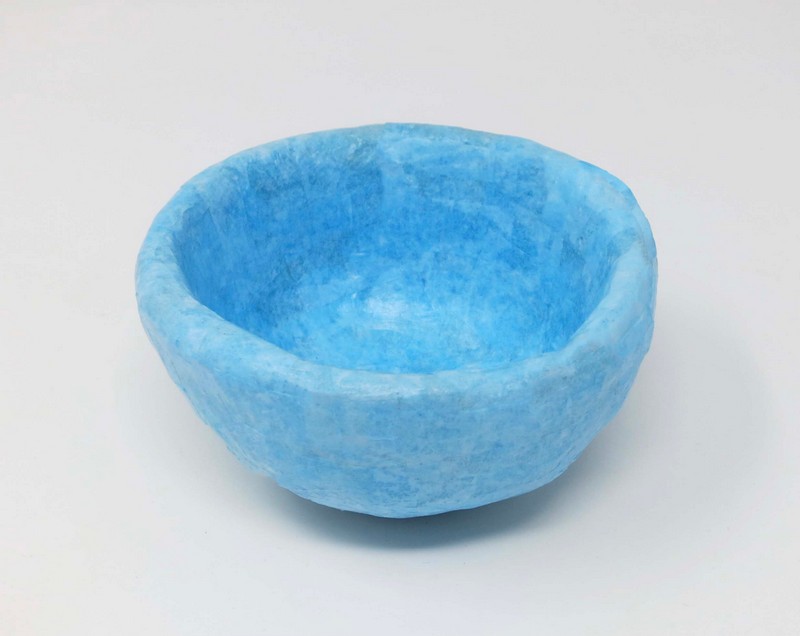
Finishing Coat
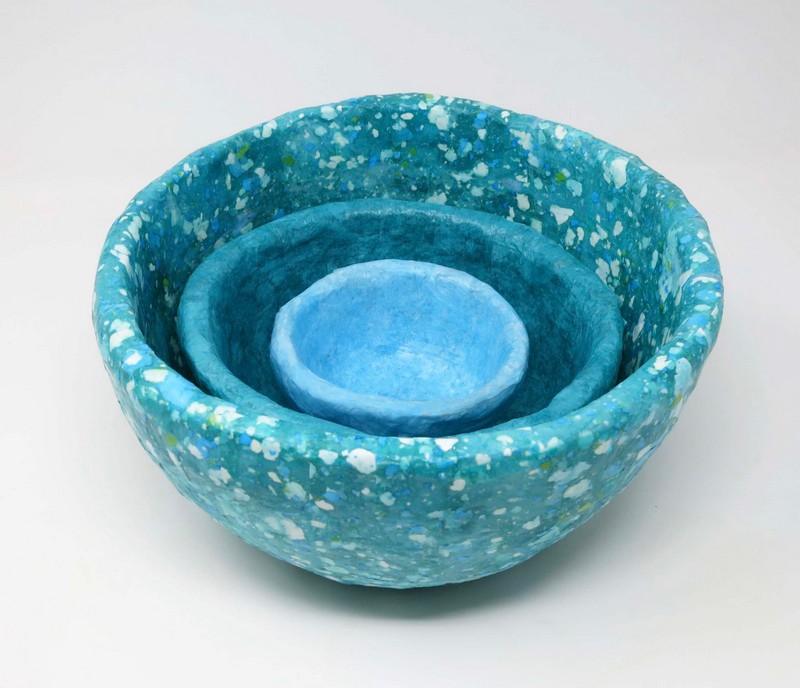
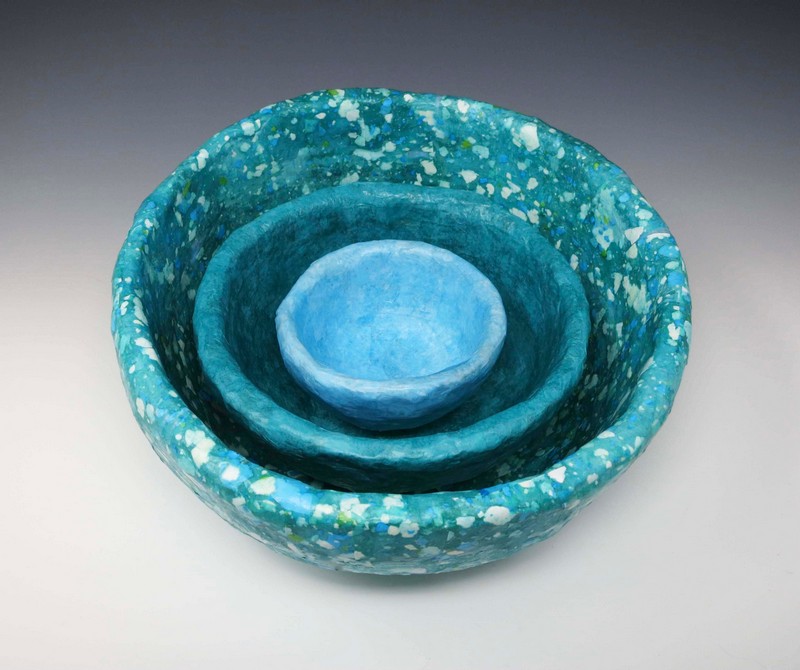
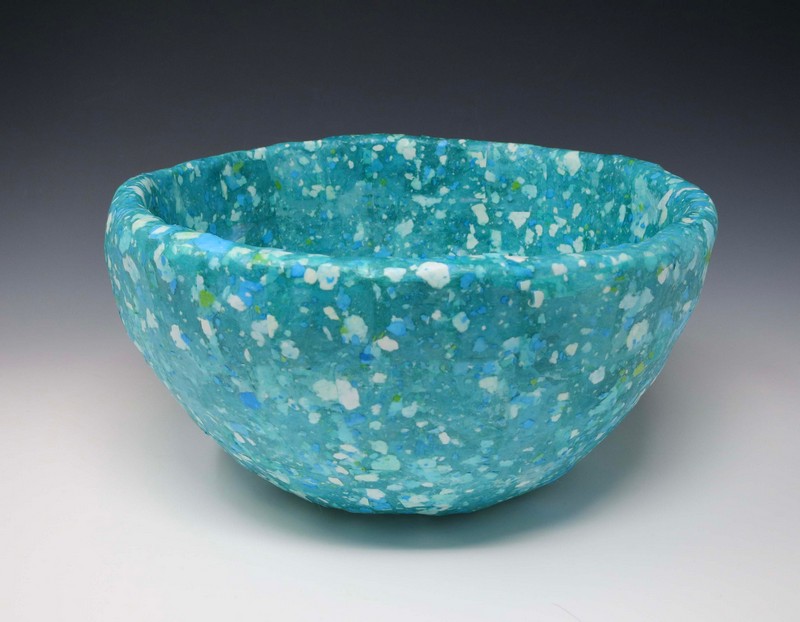
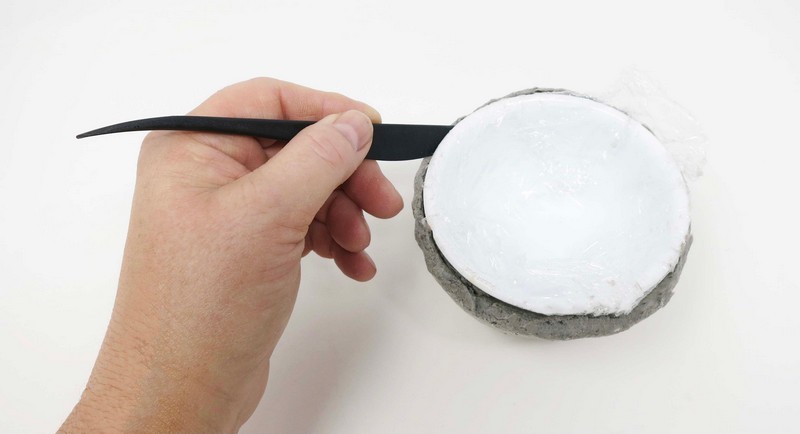
Cut desired colored tissue paper into small squares.
Start by coating the inside or the outside of the CelluClay bowl with liquid sealant.
Attach the tissue paper squares on top of the sealant coated areas. Apply additional liquid sealant over each tissue square. Continue this process until the entire inside or outside of the bowl in coated in tissue paper.

Allow the finishing coat to air dry completely before turning the bowl over to coat the opposite side.
Allow the finished bowls coated in liquid sealant and tissue paper to dry for 24 hours.
Step 8
Use
Nesting bowls maybe used to hold everyday items or dry foods.
*NOTE: Not suitable for liquid items.