Materials Needed:
- Blackjack Low Fire Clay™ Natural Kiln Earthenware
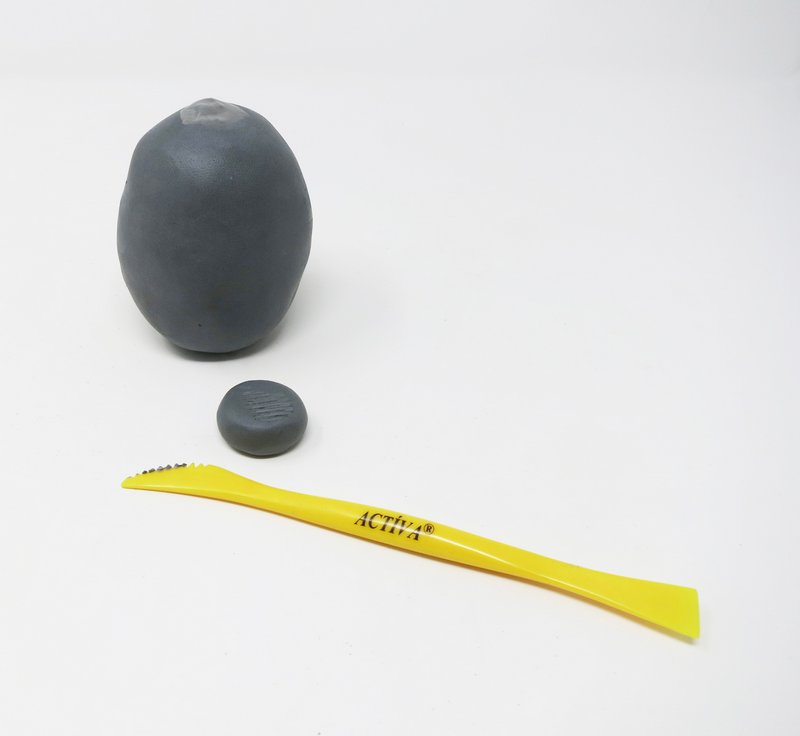
- Activa-Tools
- Brush
- Water bowl
- Wooden spoon
- Ruler
- Loop tool
Step 1
Pinch Pots
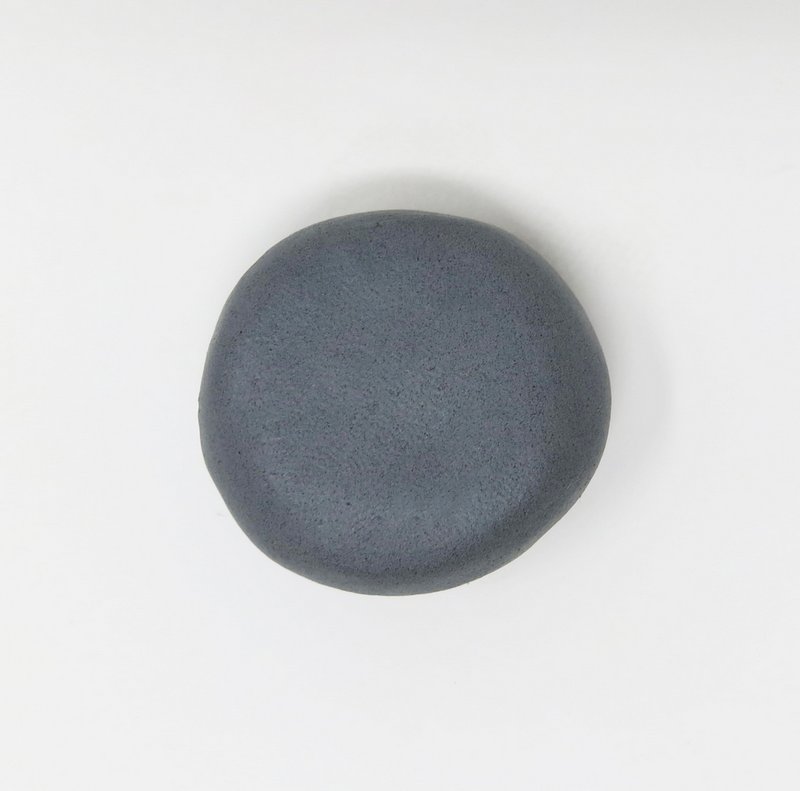
Roll 2 spheres of clay that are of equal weight.
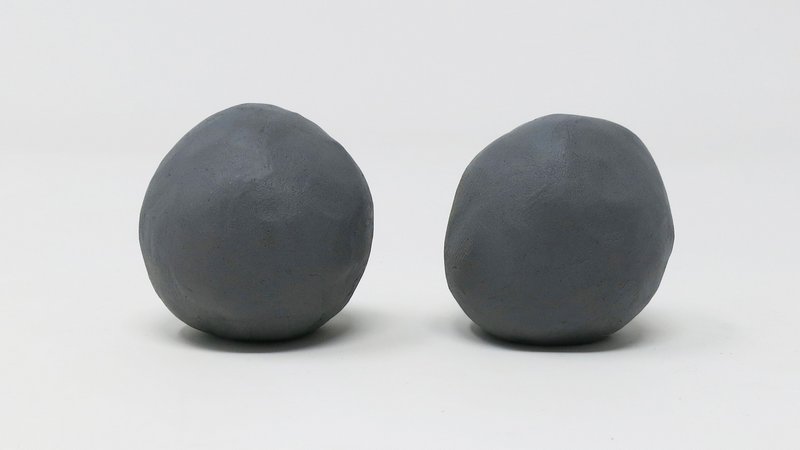
Turn each sphere into a pinch pot.
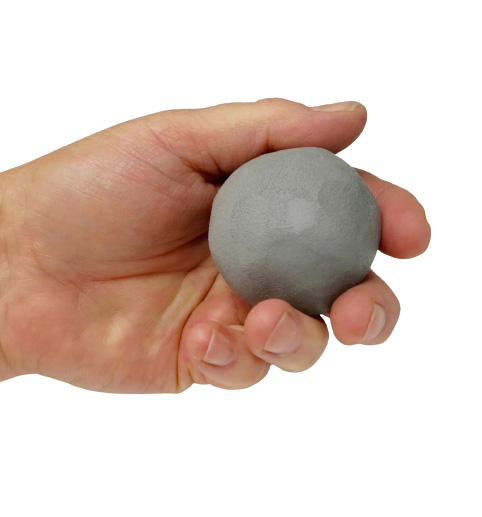
Push thumb into the center of the clay sphere.
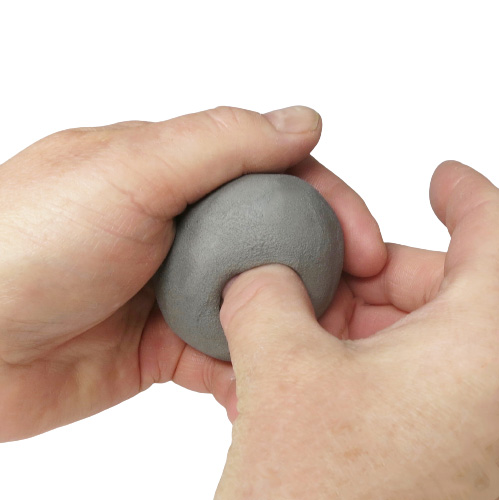
Pinch the clay with thumb and forefinger starting at the bottom and turning as you go.
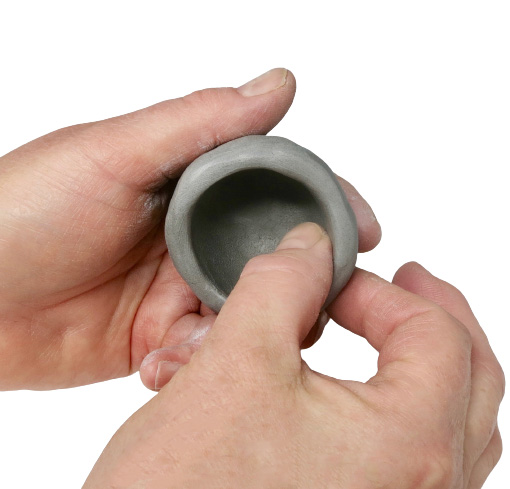
Stop pinching when the pot is wide enough.
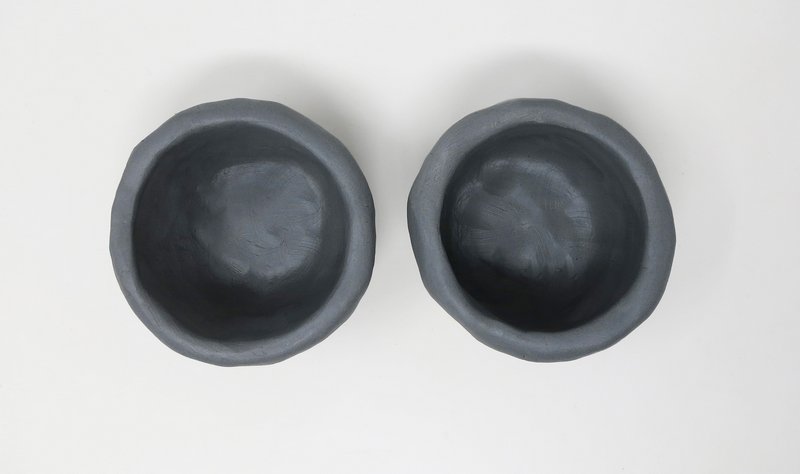
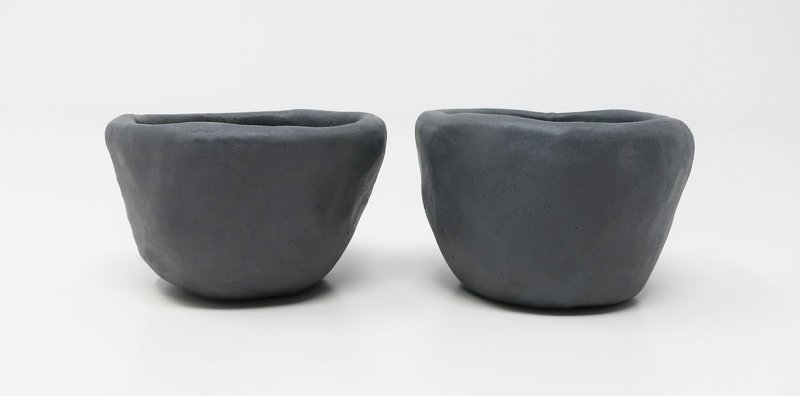
Compare both pots. Pots should both be similar in size.
Step 2
Join
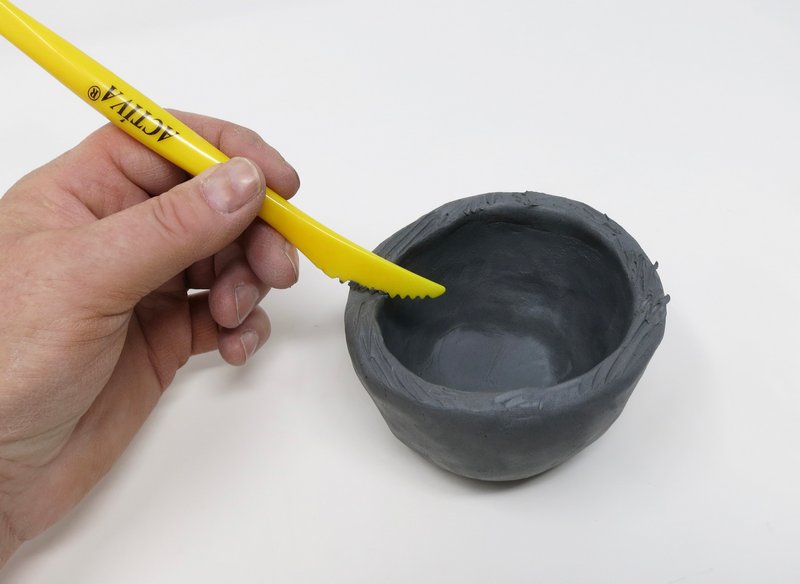
Score the rim of each pinch pot.
*Scoring is scratching the edges of clay before joining them together.
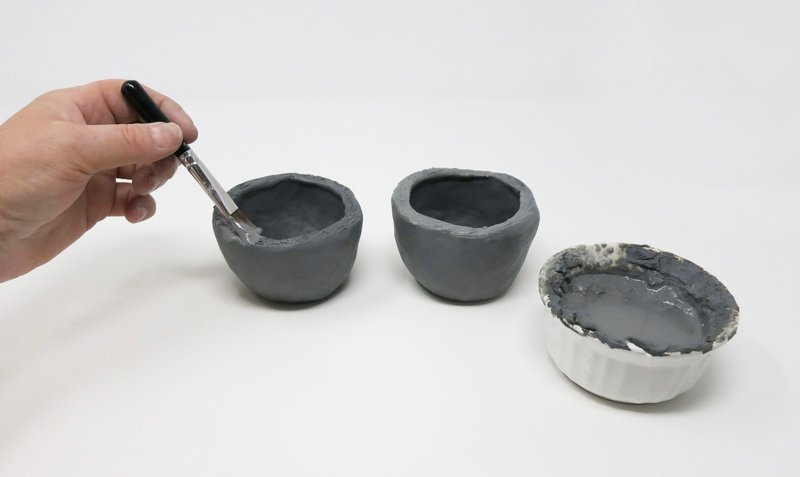
Apply slip over the scoring marks on each pinch pot.
*Slip is liquid clay used to join pieces of clay together like glue.
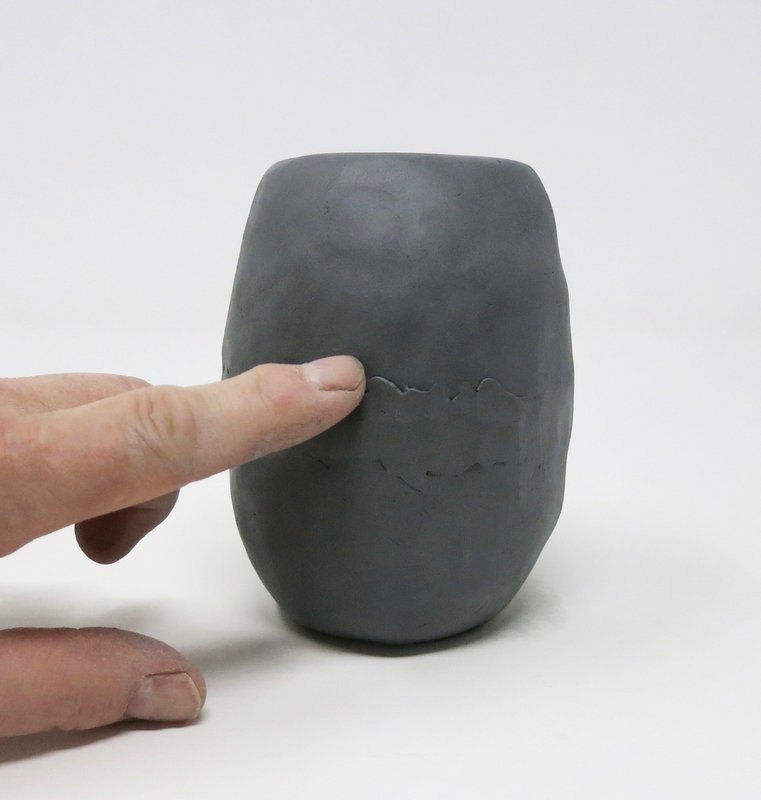
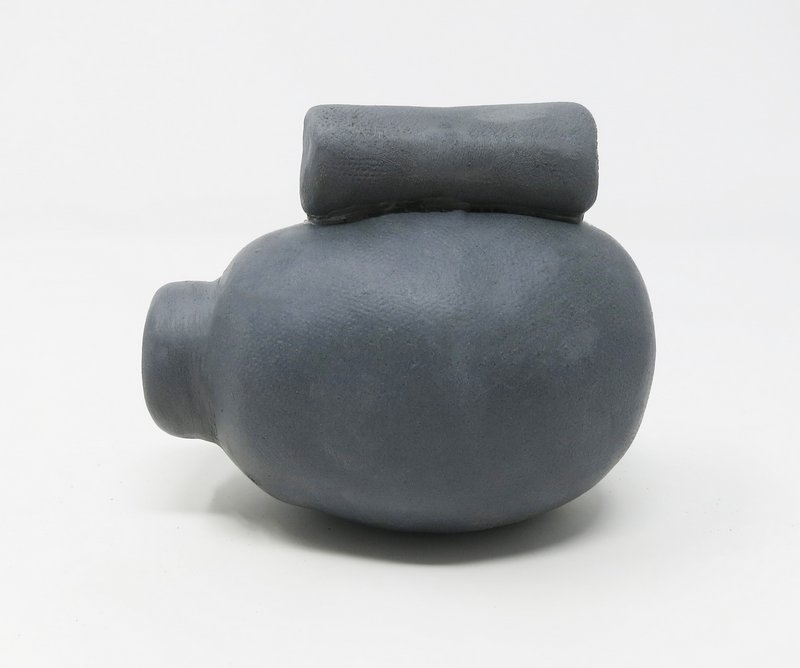
Connect both pinch pots together.
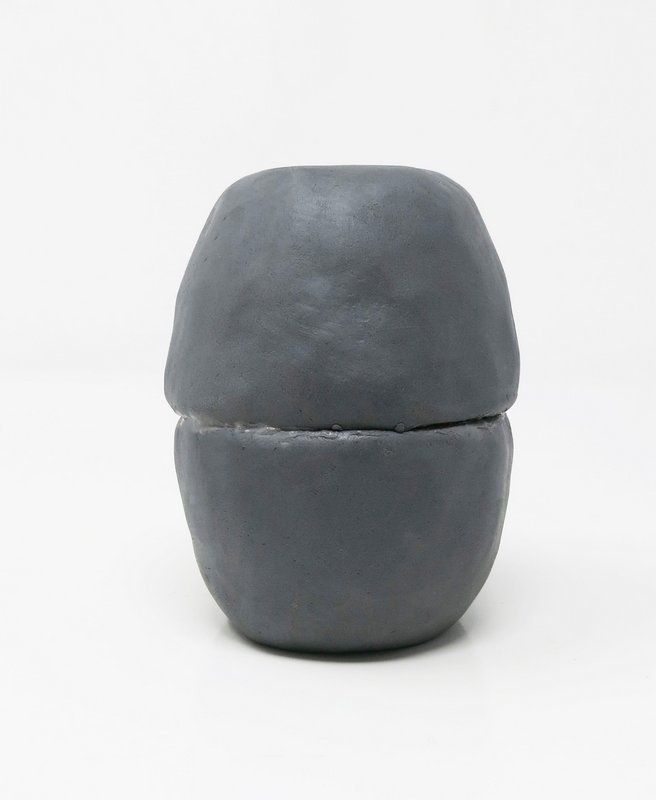
Roll a thin coil of clay.
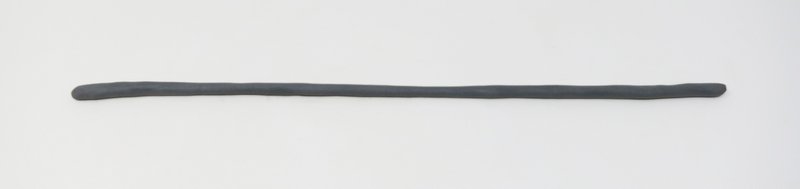
Wrap the coil around the space between the two pinch pots.
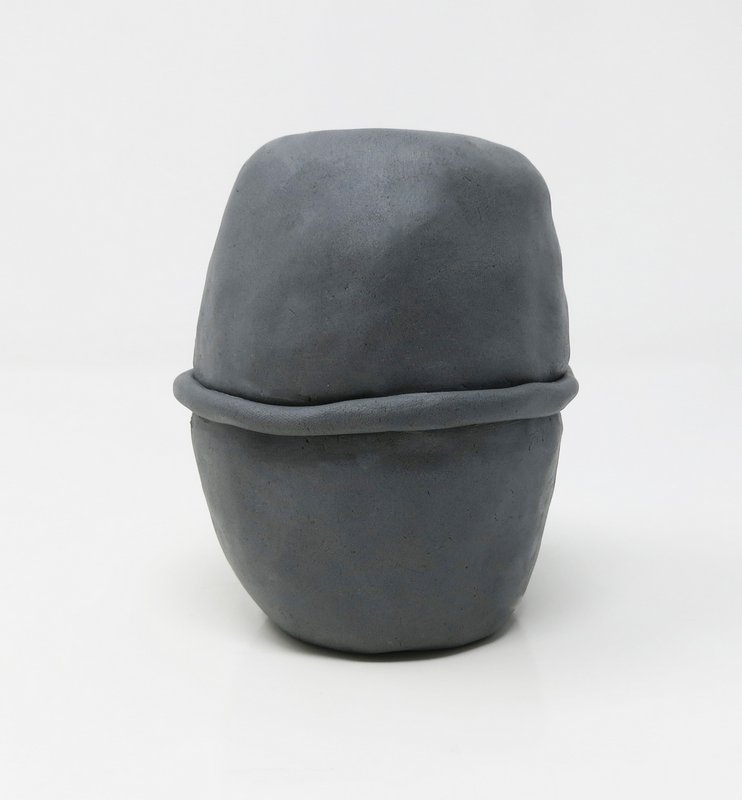
Smooth the coil onto the connected pinch pots.
Step 3
Body Shape
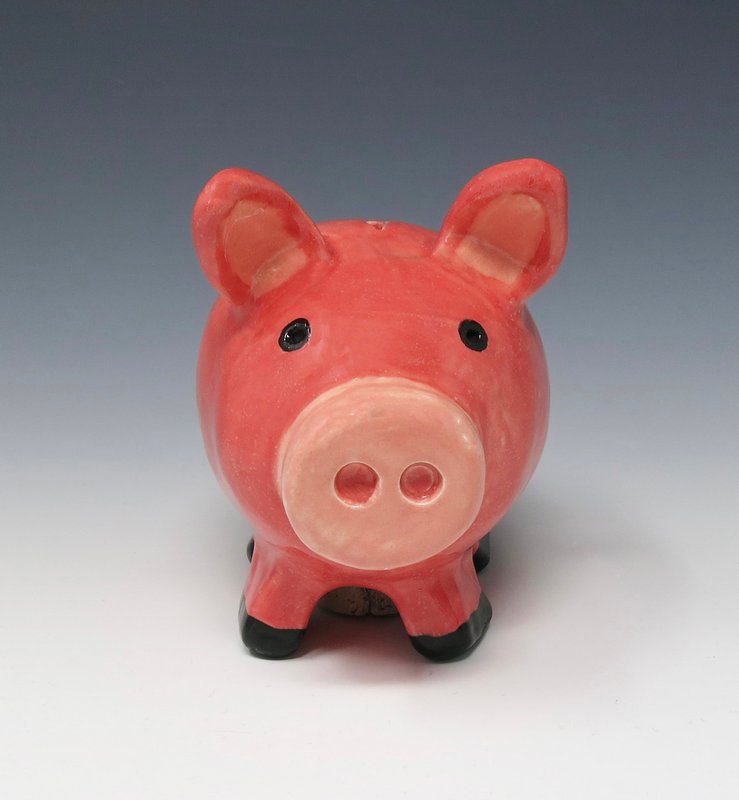
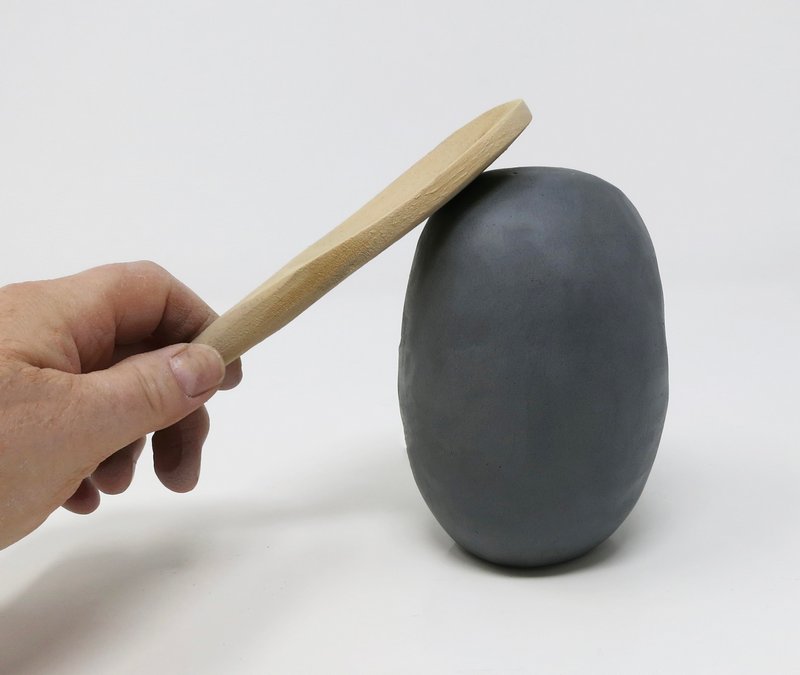
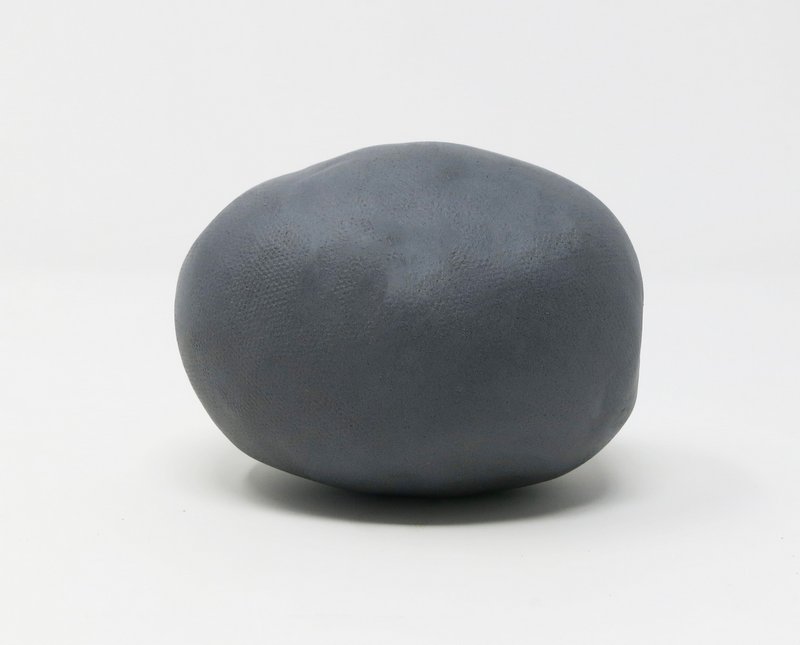
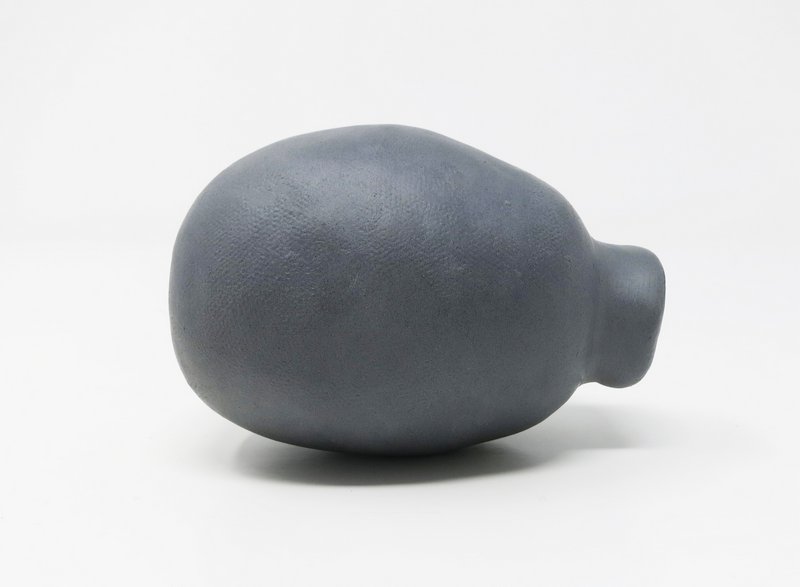
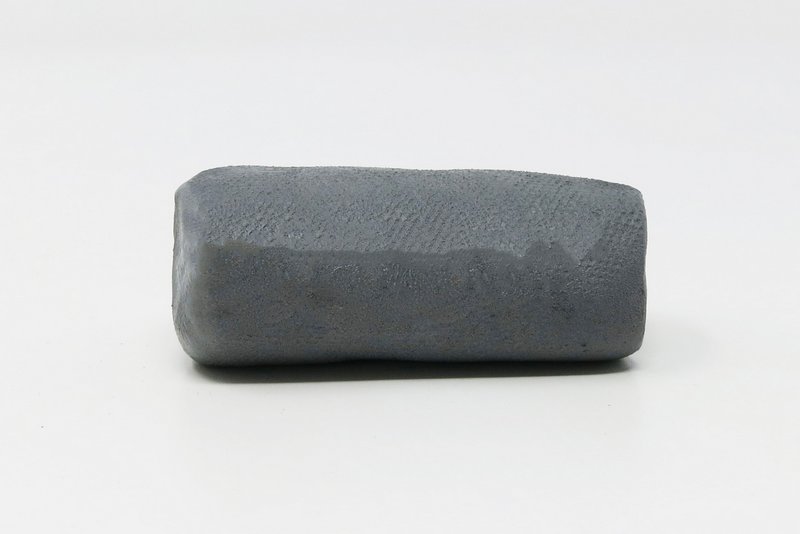
Form the animal’s body by slapping the hollow pinch pot form into the shape of a potato.
Step 4
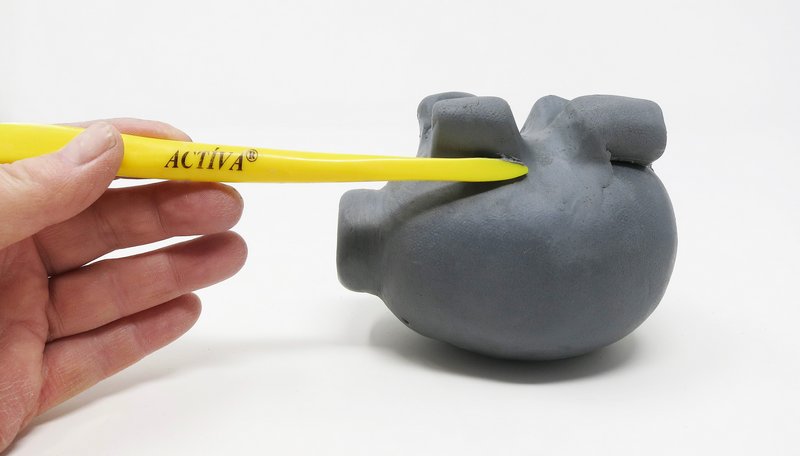
Snout
Roll a small sphere of clay. Flatten the sphere into a thick circle shape.
Score and slip the circle onto one of the ends of the body.
Roll a thin coil of clay and wrap it around the base of the circle shape. Join the two forms together using the clay tool.
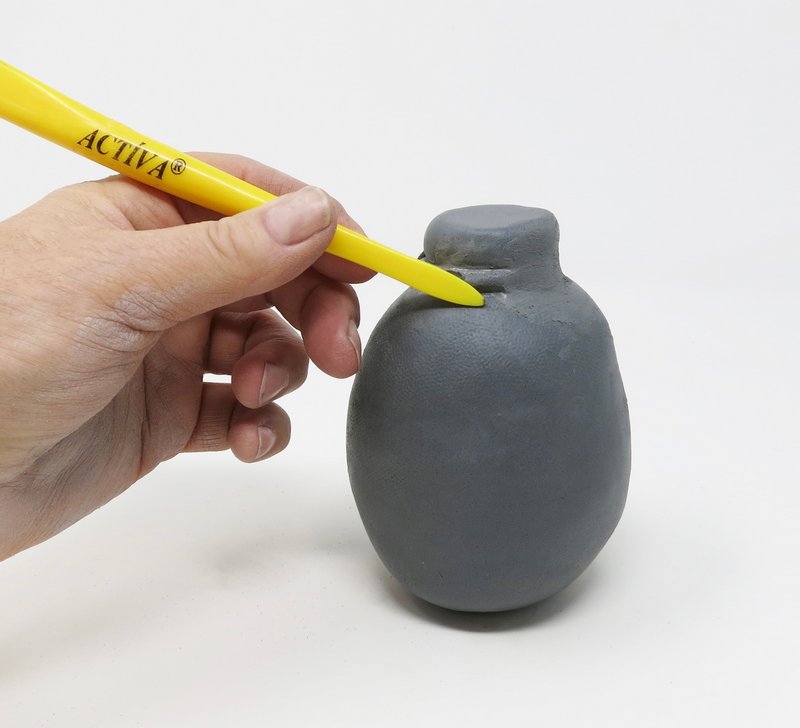
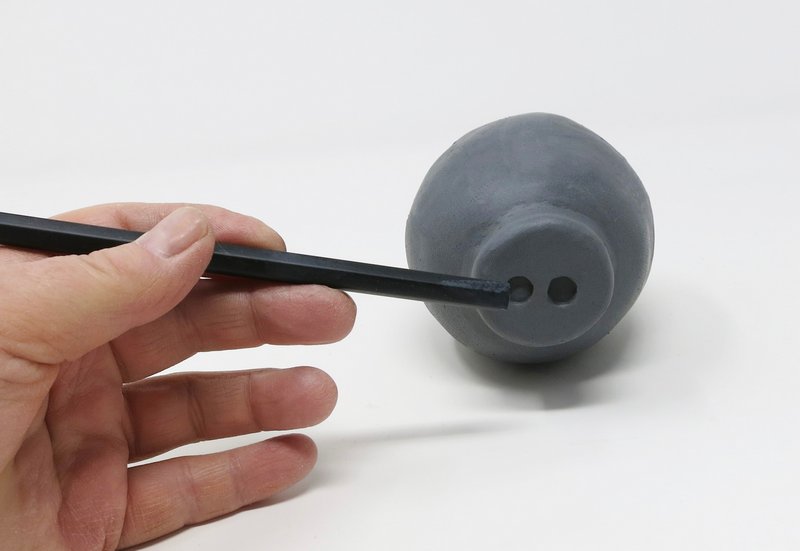
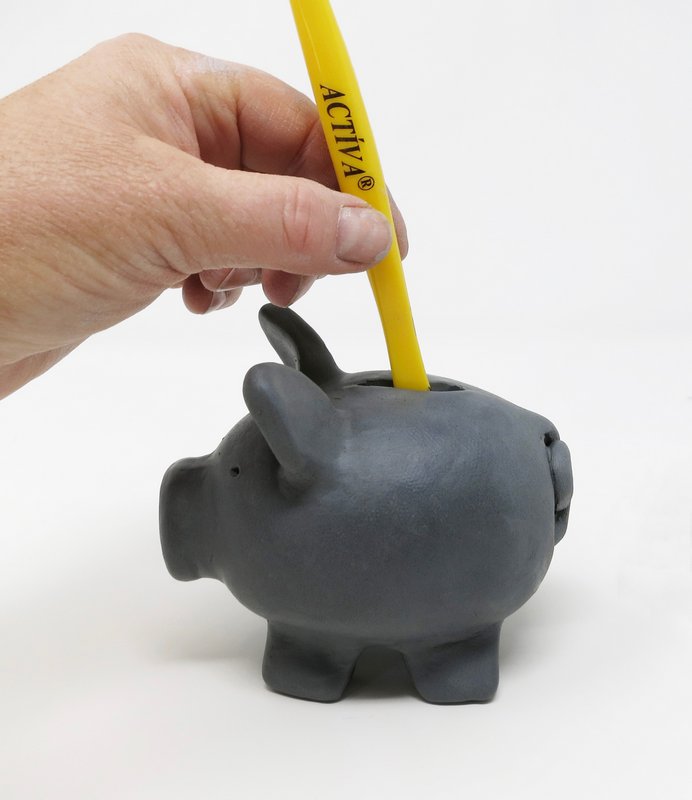
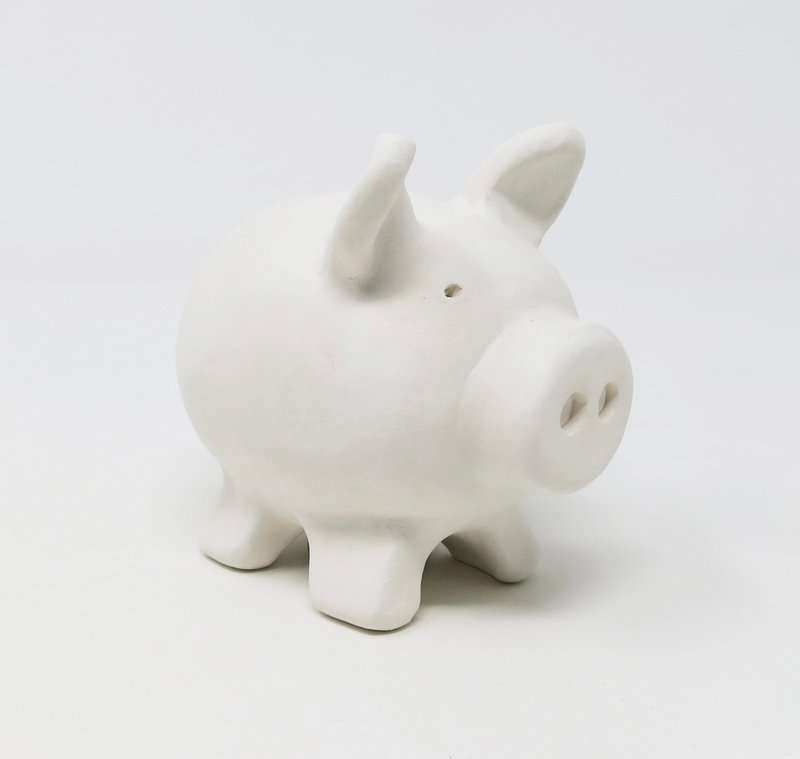
Insert the end of a pencil into the circle shape twice to form the piggy’s nostrils.
Step 5
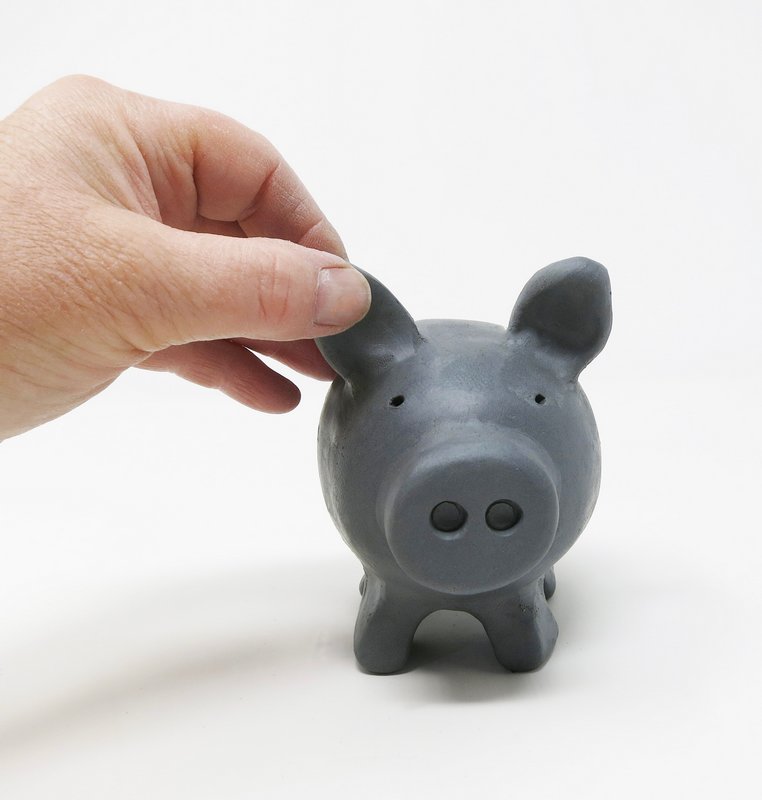
Eyes
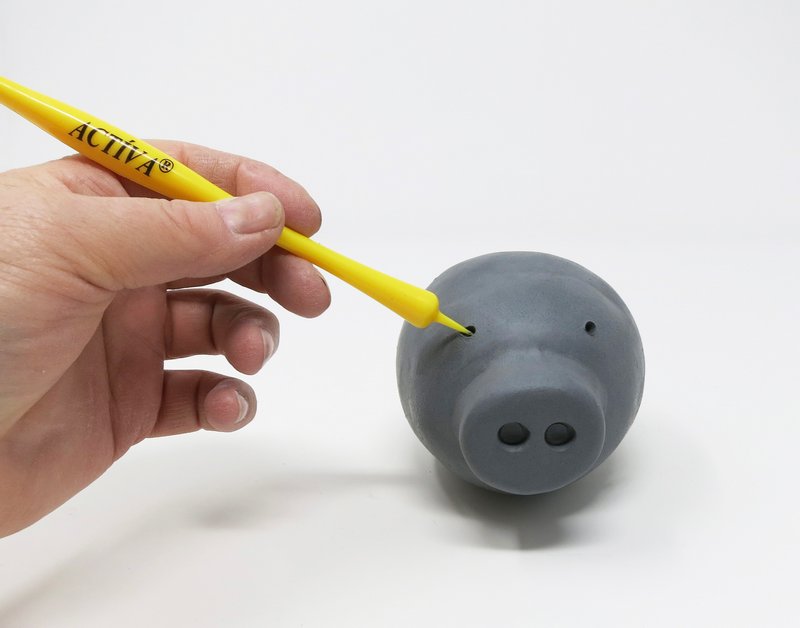
Poke two eyes into the clay above the pig’s snout using the needle tool.
Step 6
Legs
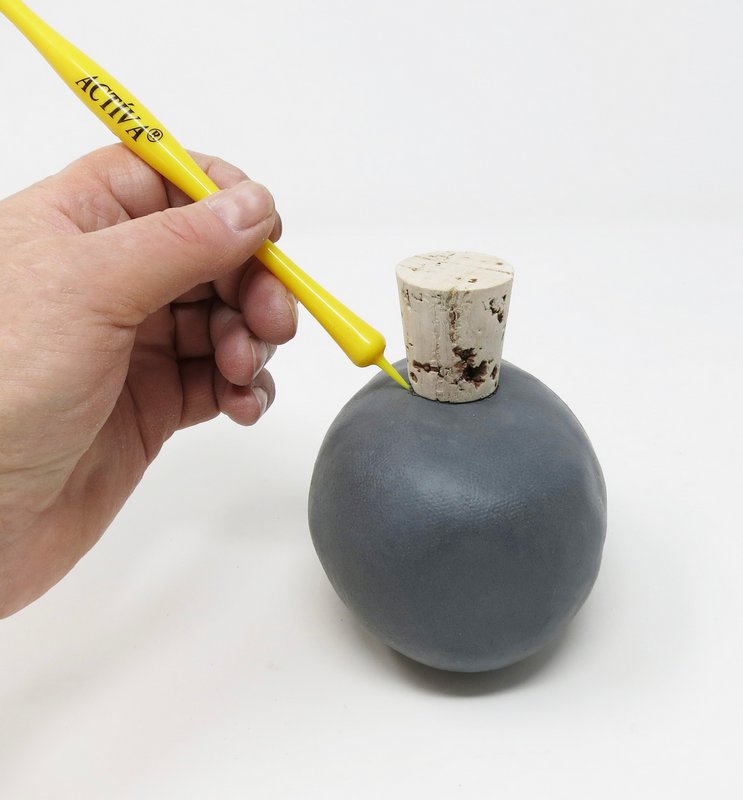
Turn the pig’s body upside down. Place the cork onto the pig’s belly and outline the circle shape onto the body.
Set the cork aside.
Roll a thick cylinder form out of clay.
Score and slip the cylinder onto the pig’s belly. *Keeping in mind where the opening needs to go, as previously marked.
Firmly press the handle of the wooden spoon into the clay to form a plus sign +.
Smooth the two pieces of clay together with the clay tool. Shape and smooth each leg with wet fingertips.
Turn the pig right side up. Firmly press feet onto the work surface to balance the pig.
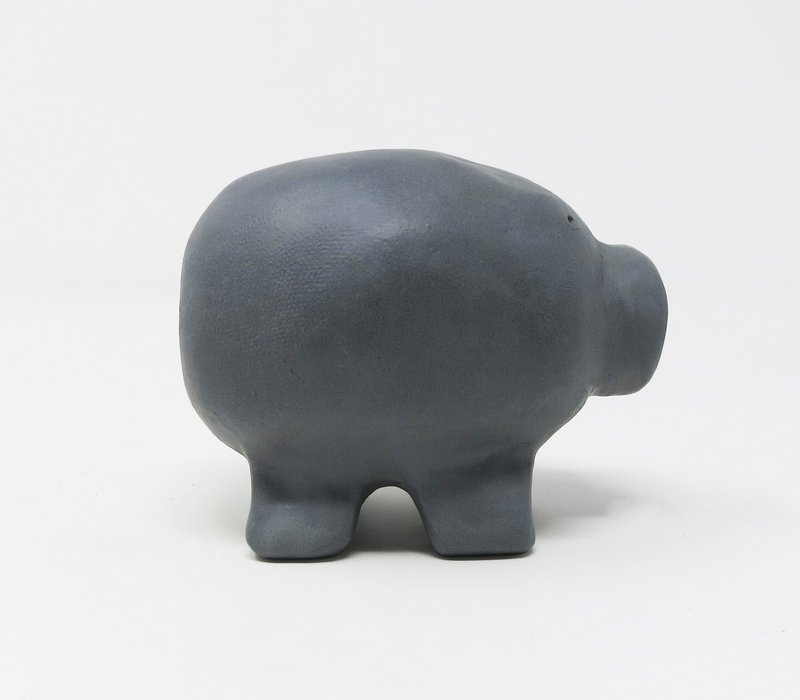
Step 7
Ears
Shape two teardrop shapes out of clay.
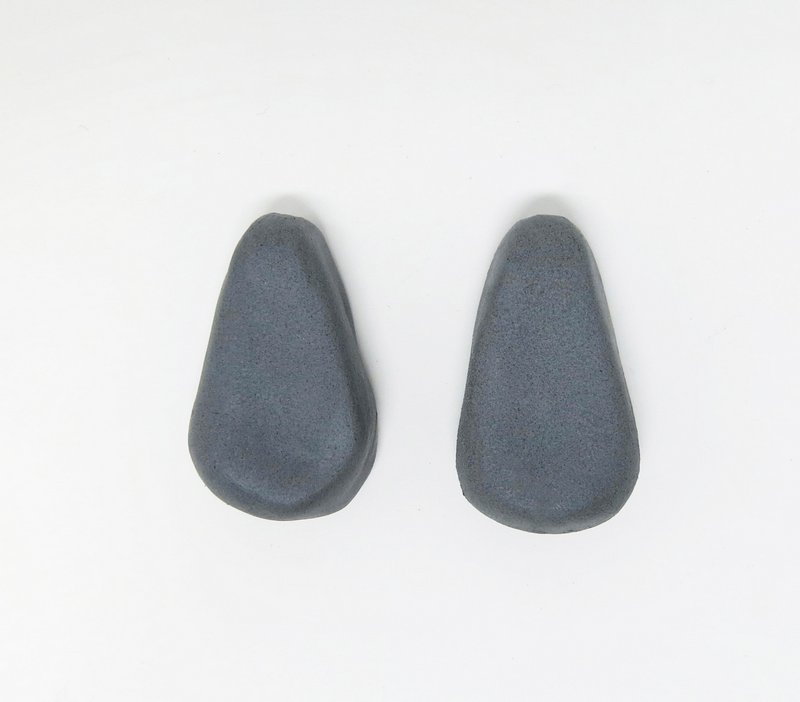
Score and slip the teardrop shapes onto the head to form the pig’s ears.

Gently bend the ears slightly forward with wet fingertips.
Step 8
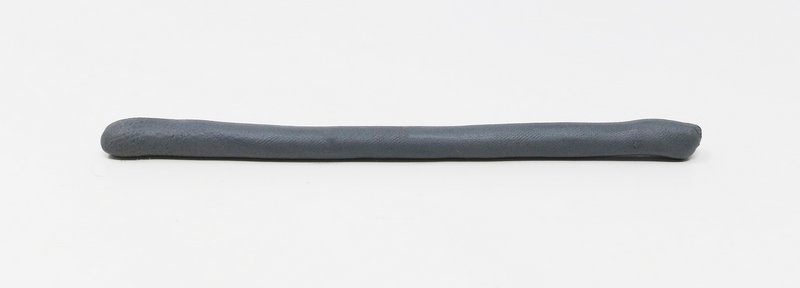
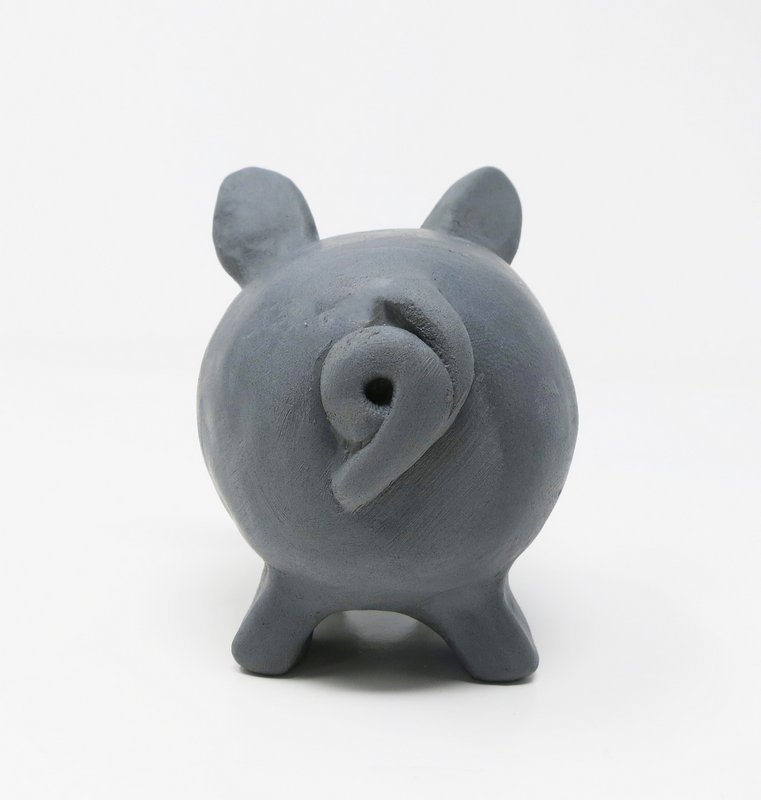
Tail
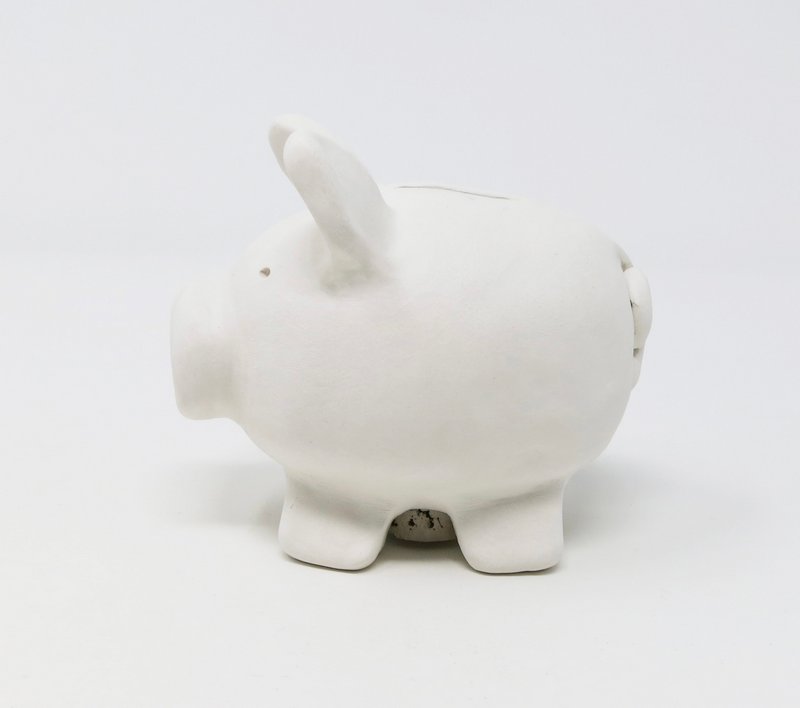
Roll a thin coil of clay. Score and slip one end to the rear of the pig’s body.
Gently loop the tail and finish securely attaching it to the body.
*Do not allow the tail to dangle off the pig. Clay dries at different rates depending on its thickness. Dangling tails tend to dry quickly and break off.
Step 9
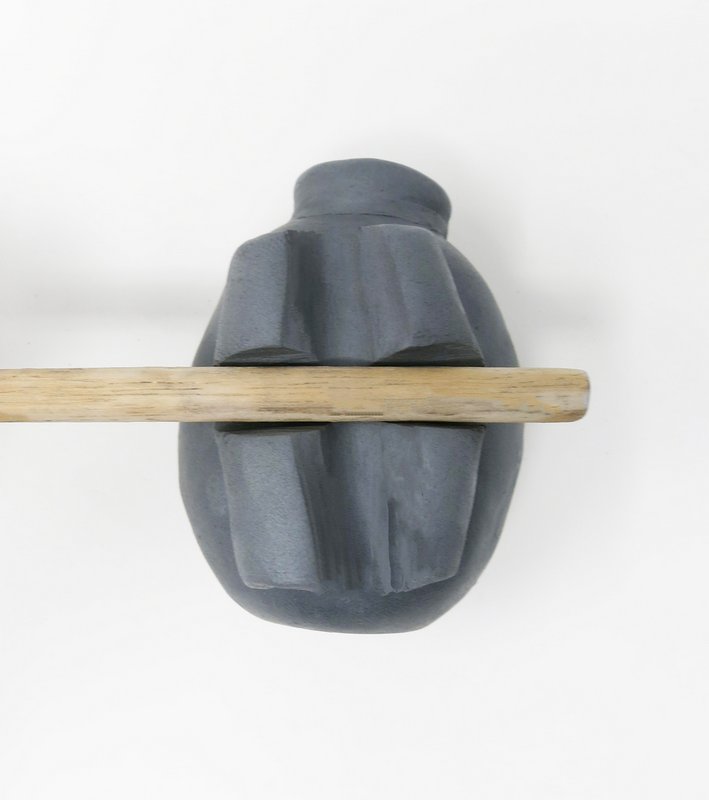
Money Slot
Insert a 1” wide ruler through the top of the pig’s body.
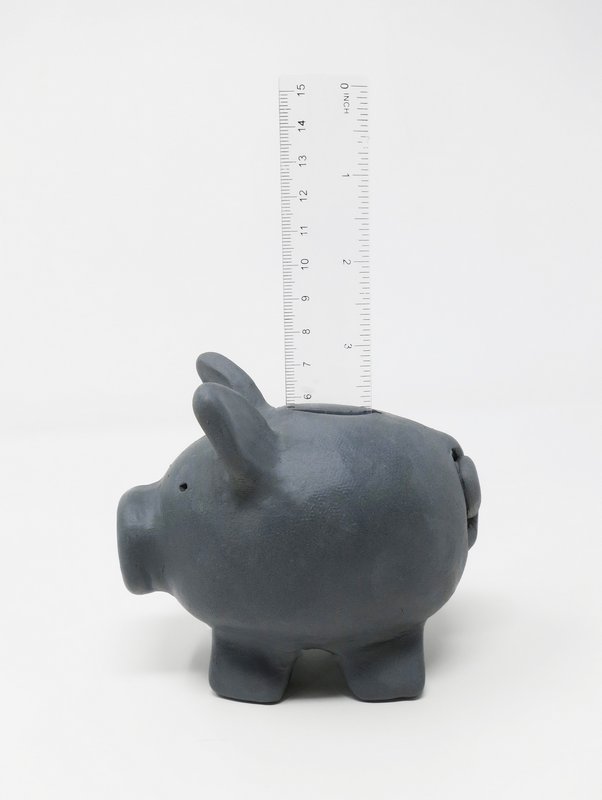
Wiggle the clay tool back and forth in the opening to widen it.
Smooth any rough edges with water and fingertips.
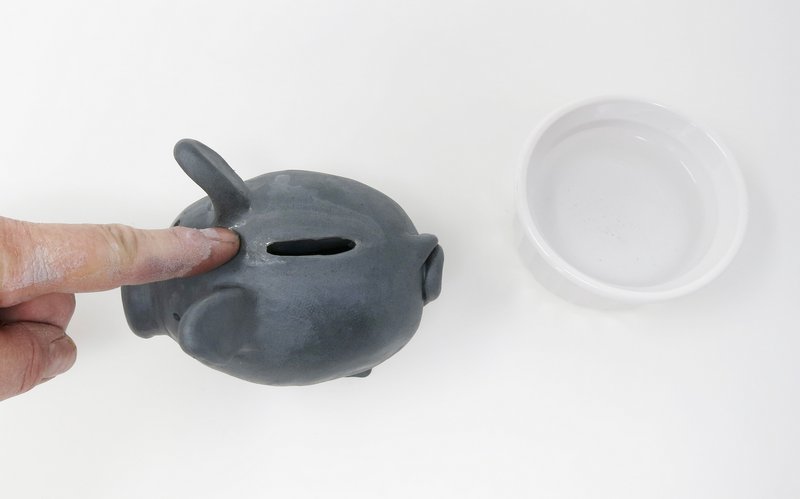
Step 10
Stopper
Turn the pig’s body upside down and cut out a hole that is the same diameter as the cork.
Insert the cork in the hole to see if it fits comfortably.
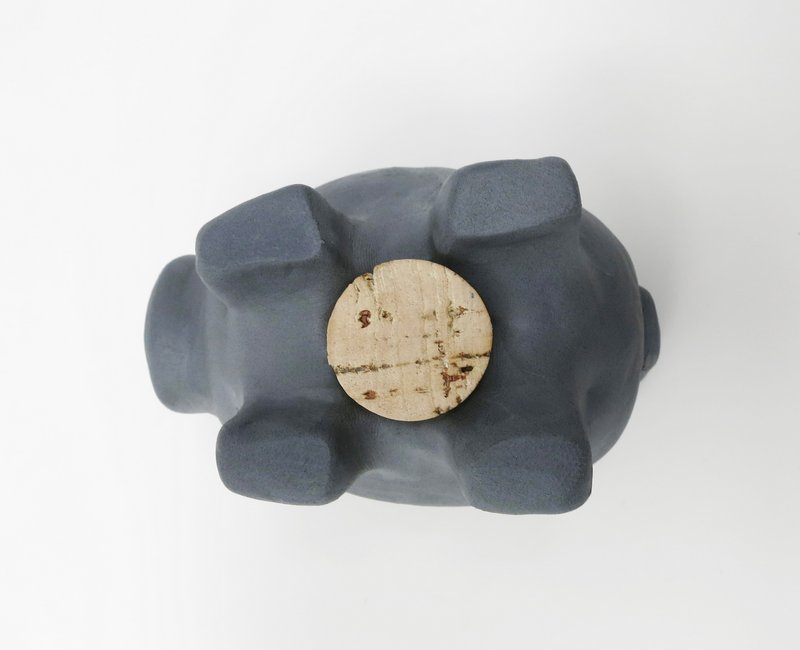
Remove the cork when finished. *Allow the sculpture and cork to dry separately.
The clay will shrink as it drys and the cork will not causing drying problems.
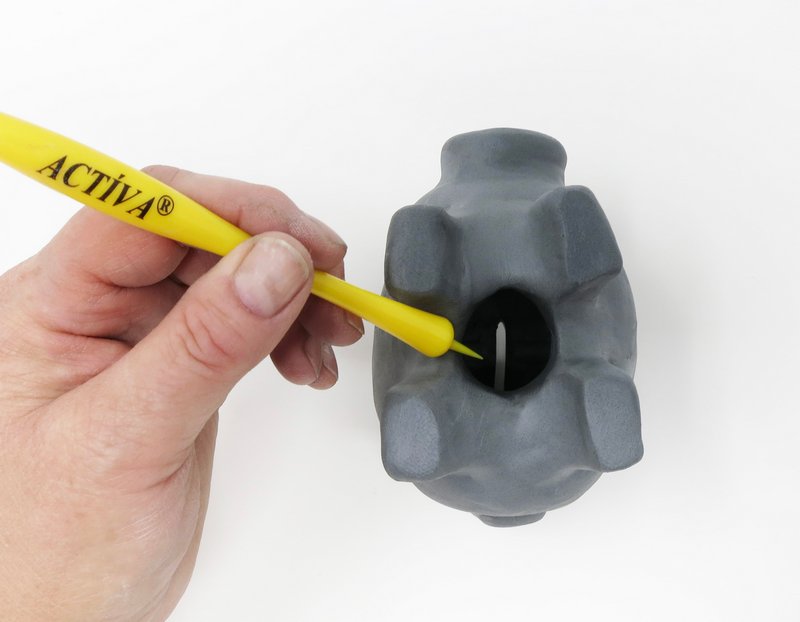
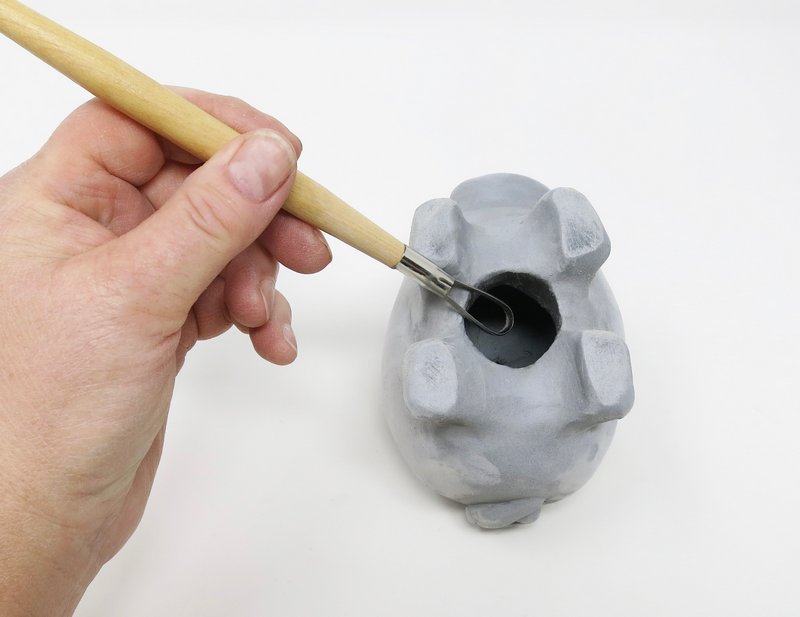
Allow the clay to dry to a leather hard state. Try to re-insert the cork into the hole.
If it does not fit, use a loop tool to trim away some of the clay to enlarge the opening.
Step 11
Dry
Allow clay to fully dry. Drying time will vary depending on temperature and humidity.
Step 12
Bisque Fire
Fire clay in kiln to cone 04.
Step 13
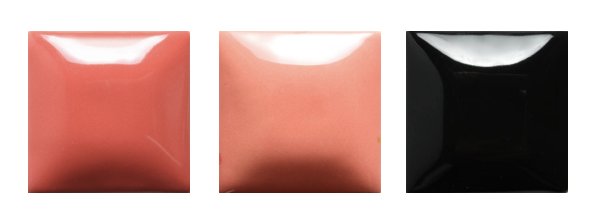
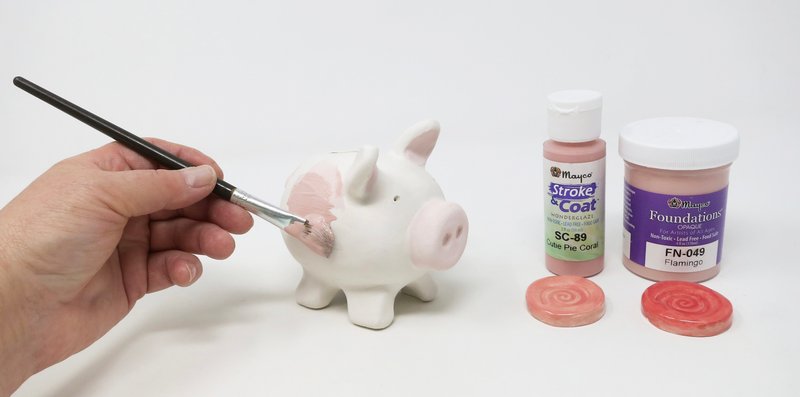
Glaze
Apply glaze according to manufacturer’s directions.
Step 14
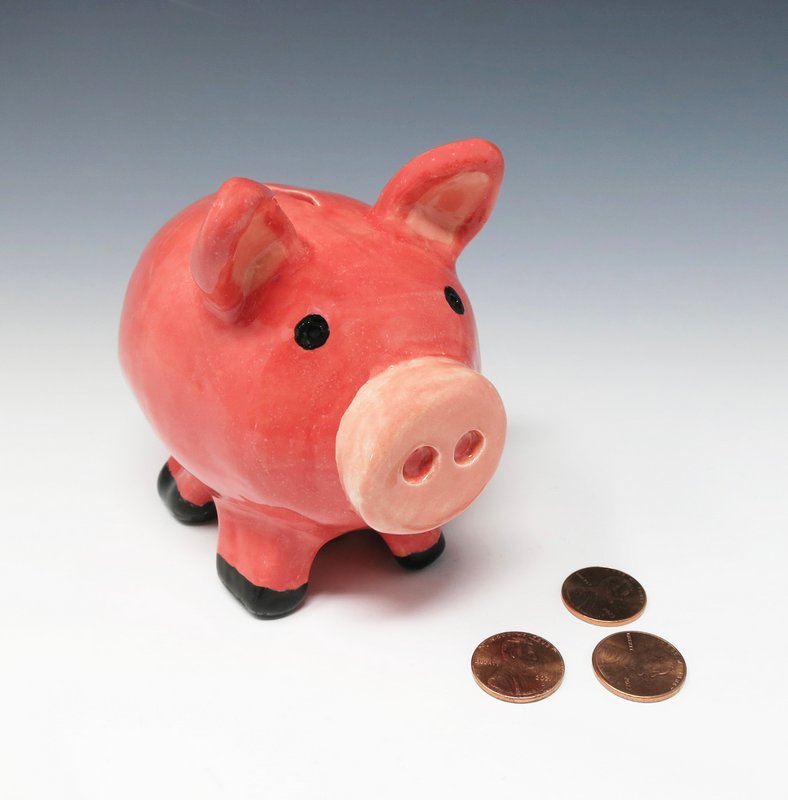
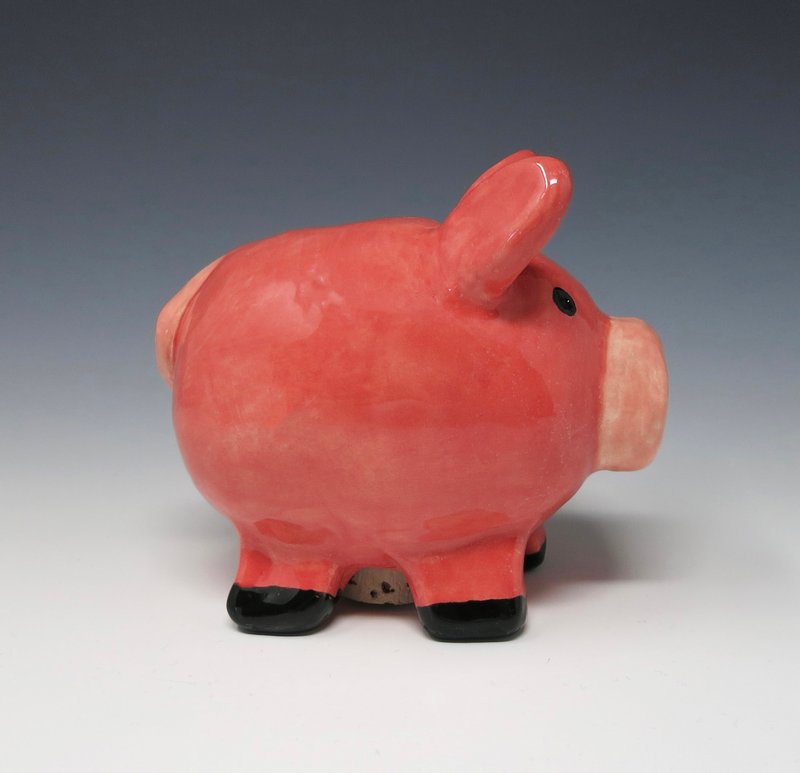
Glaze Fire
Fire the glazed piece in the kiln. Follow manufacturer’s firing guidelines.
*Mayco Foundations Opaque Glaze - FN 049 Flamingo
Stroke & Coat Glaze - SC-89 Cutie Pie Coral and SC-15 Tuxedo