Supplies Needed:
- Activa FastMache
- Water
- Zip Lock Bag
- Balloon
- Plastic Cup
- Water Bowl
- Corks
- Hot Glue Gun
- Cardboard
- Scissors
- Large Button
- Brushes
- Acrylic Paints
- Acrylic Gloss Medium
- Pipe Cleaner
- Tacky Glue
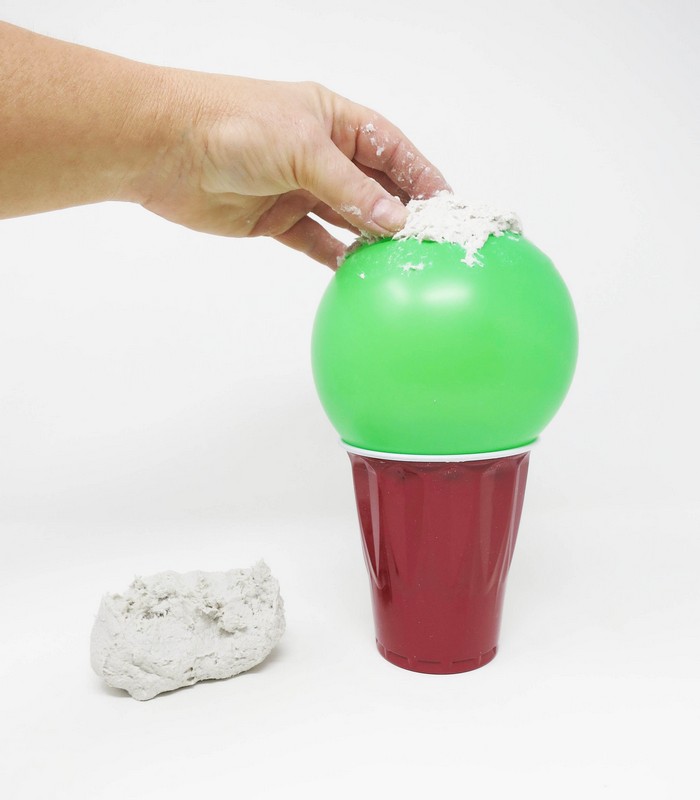
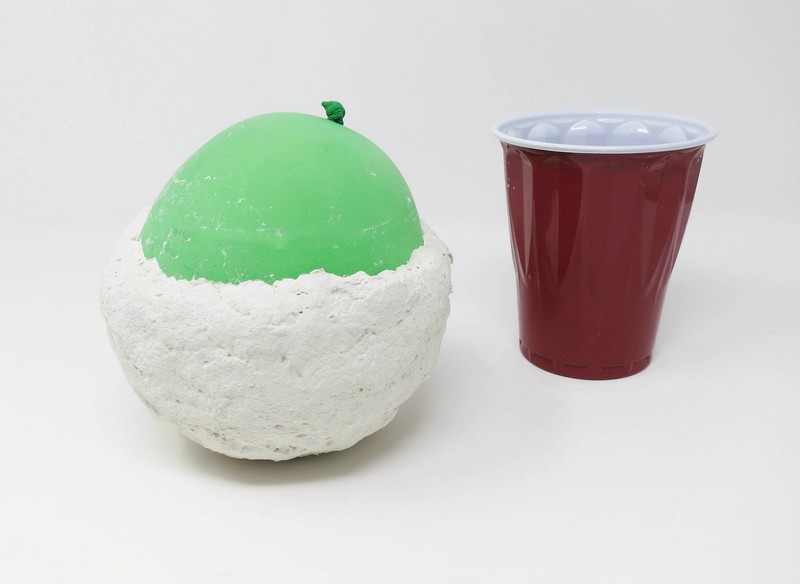
Step 1
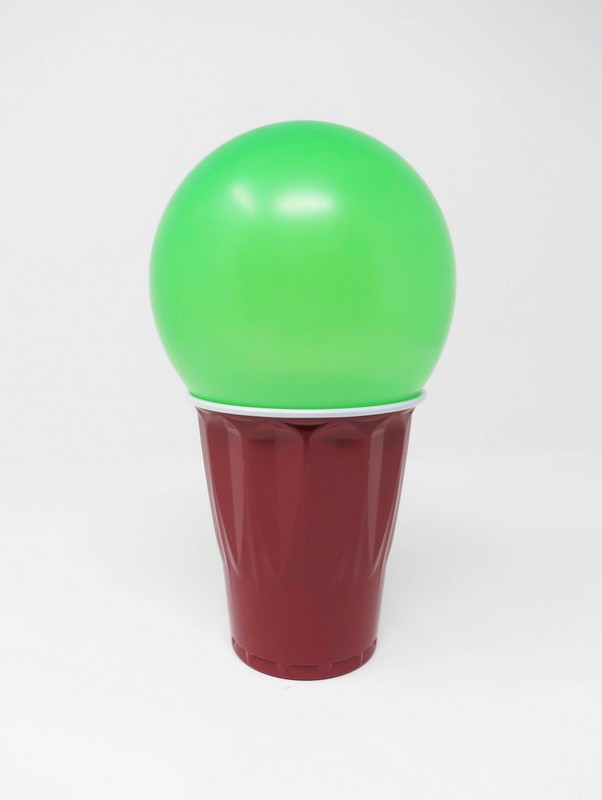
Bowl Shape
Inflate a small balloon and place it upside down into a plastic cup.
Step 2
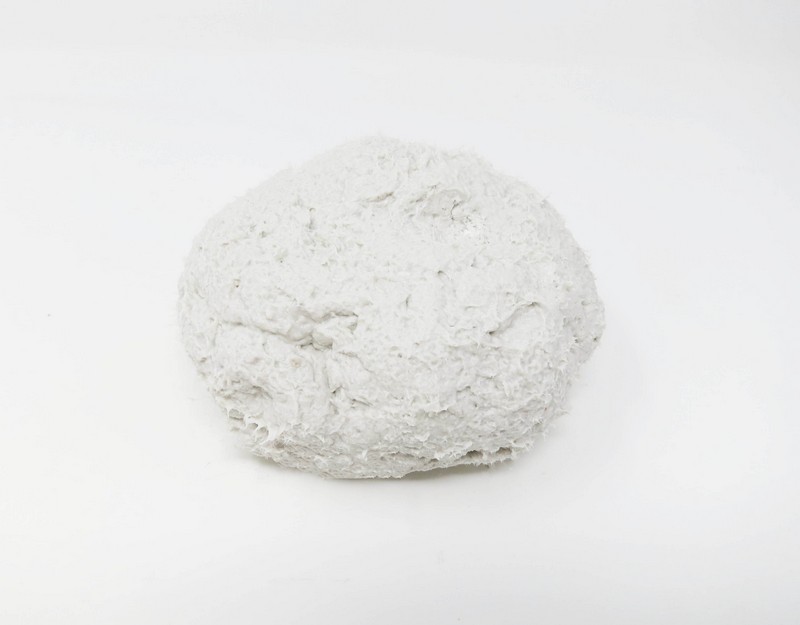
Prepare the FastMache
Mix the FastMache according to package directions. How To Prepare the FastMache
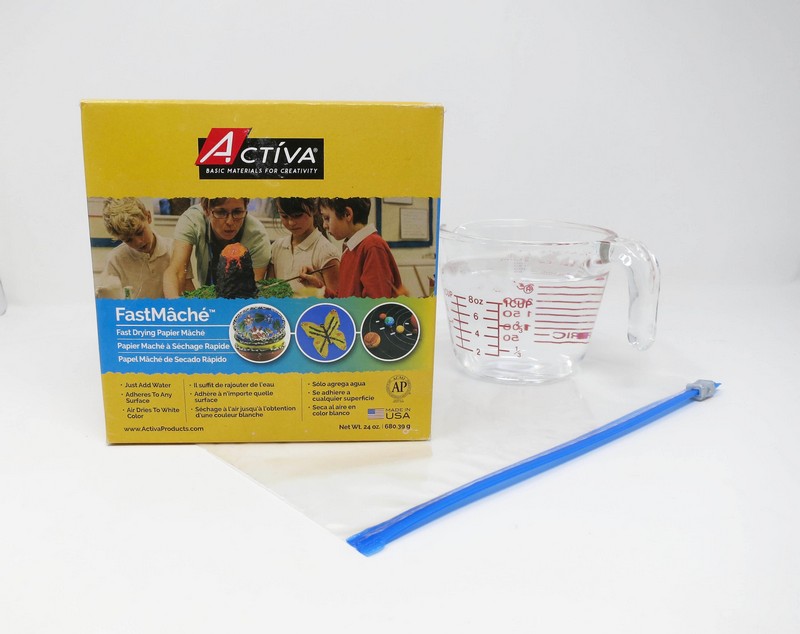
Place desired amount of FastMache into a zip top plastic bag.
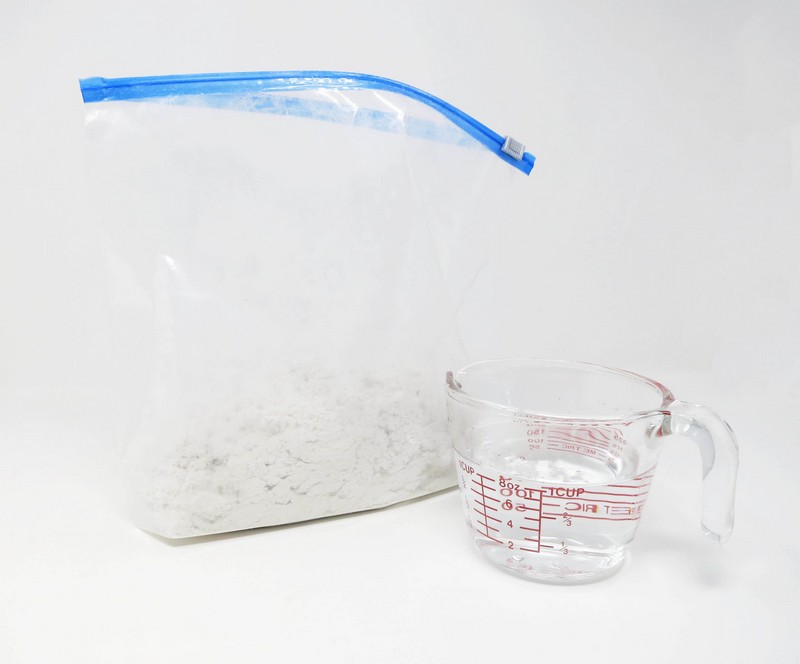
Start the mixing process by adding a small amount of warm water to the FastMache in the bag. Keep adding more water to the bag until the FastMache is fairly moistened.
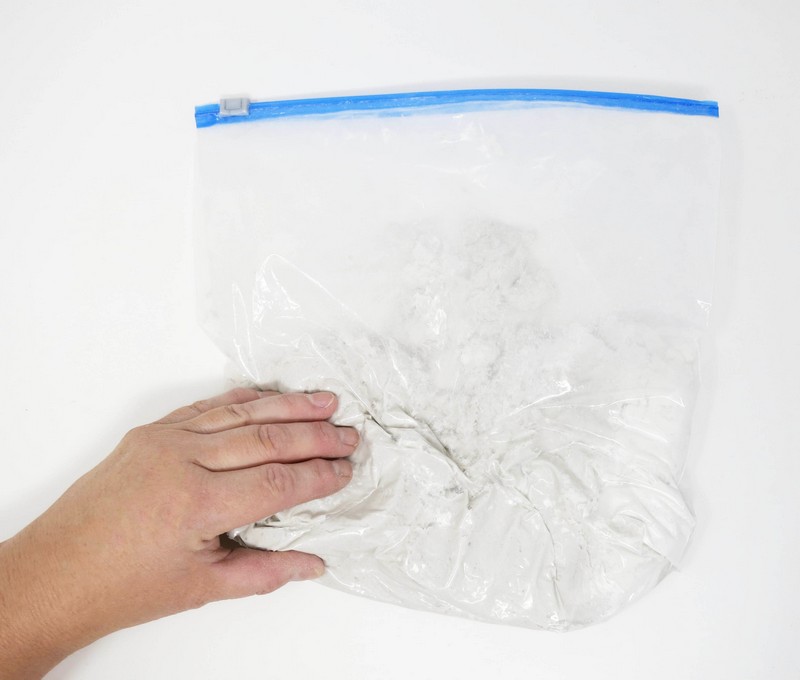
Knead the mixture with fingers until the FastMache’ reaches the consistency of clay or stiff dough.
Add more dry FastMache’ if the mixture is too wet or soft; add more water if FastMache’ is too dry or stiff.
Remove mache’ from bag when ready to use.
Step 3
Coat
Cover the balloon with a coat of FastMache.
Continue adding coats until a thick layer is achieved.
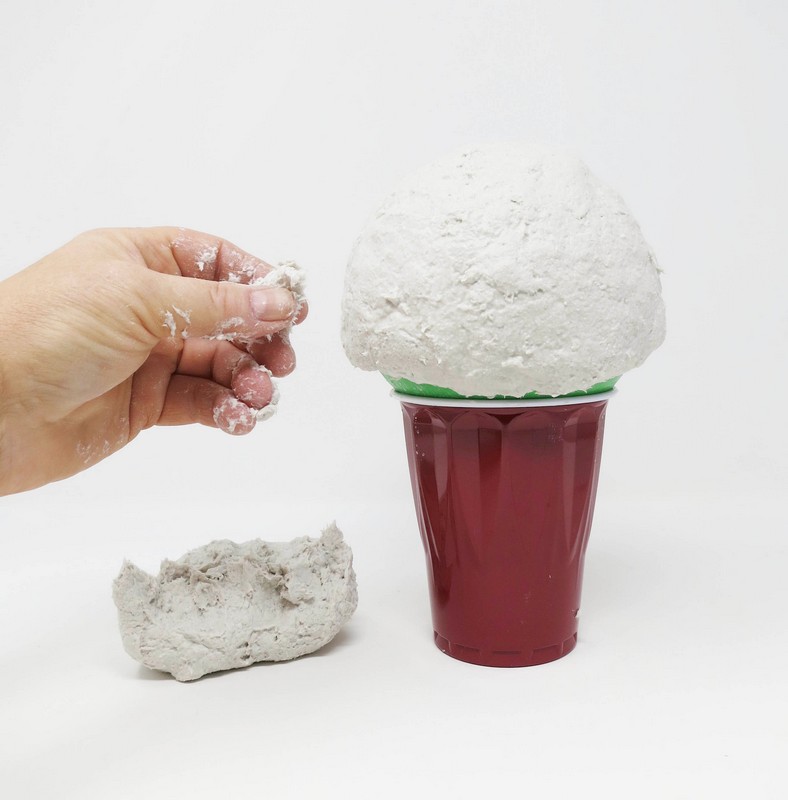
Smooth out any bumps using a small amount of water on finger tips.
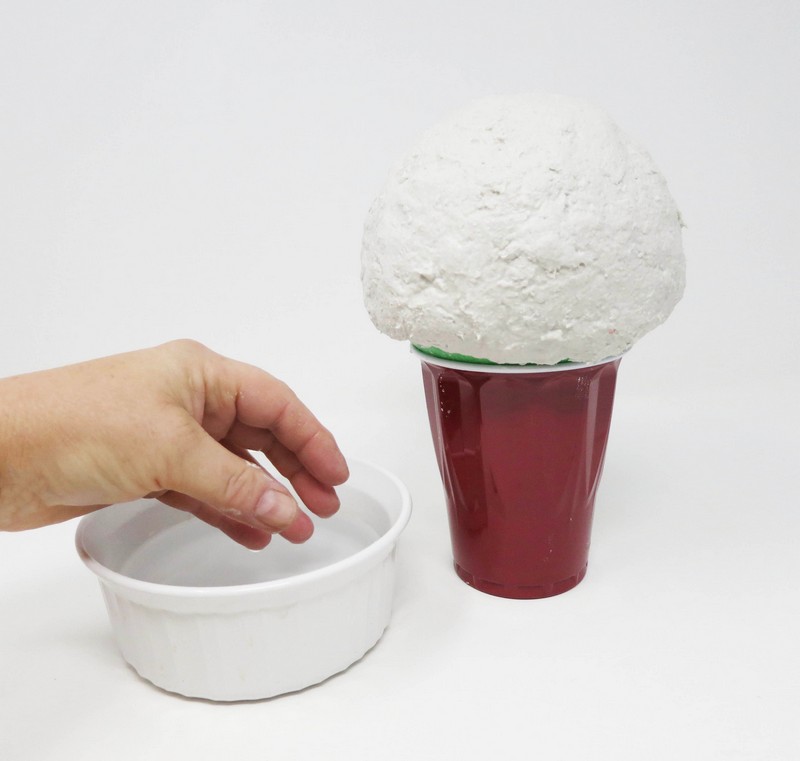
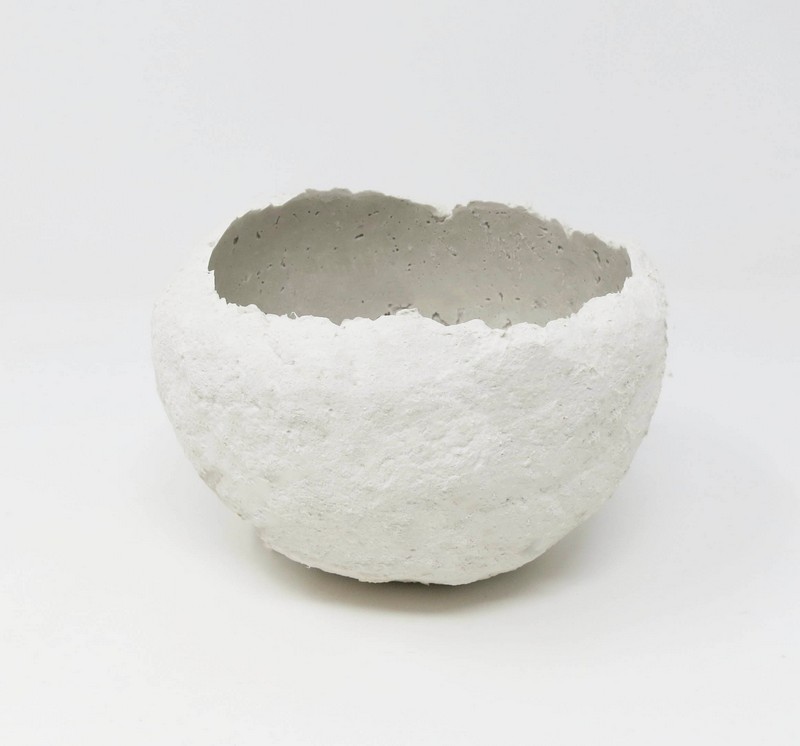
Step 4
Dry
Allow the FastMache’ to completely dry. Drying time is dependent upon the weather (heat and humidity), as well as the initial firmness of the mache’ and the thickness of it.
A piece is considered dry when it no longer feels cold to the touch.
Step 5
Remove
Invert the sculpture from the cup base and remove the balloon. *NOTE: Pop balloon if needed.
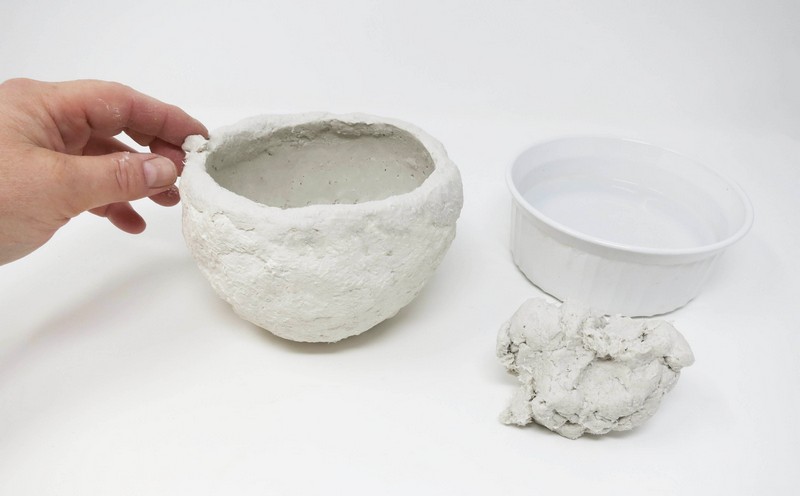
Step 6
Rim
Smooth out any unevenness in the bowl’s rim by adding on additional FastMache and water using fingertips.
Step 7
Inside
Smooth out any crevices inside the bowl by adding additional FastMache and water using fingertips.
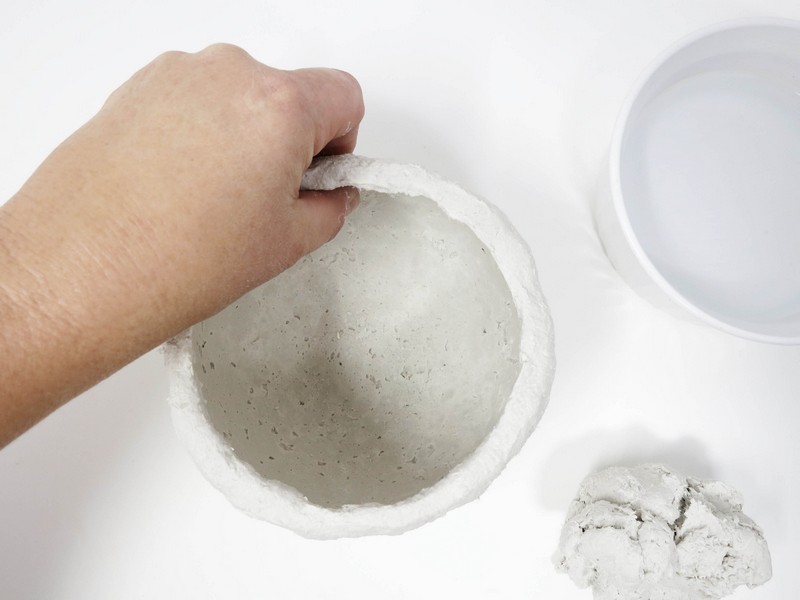
*Allow the additional FastMache to dry out.
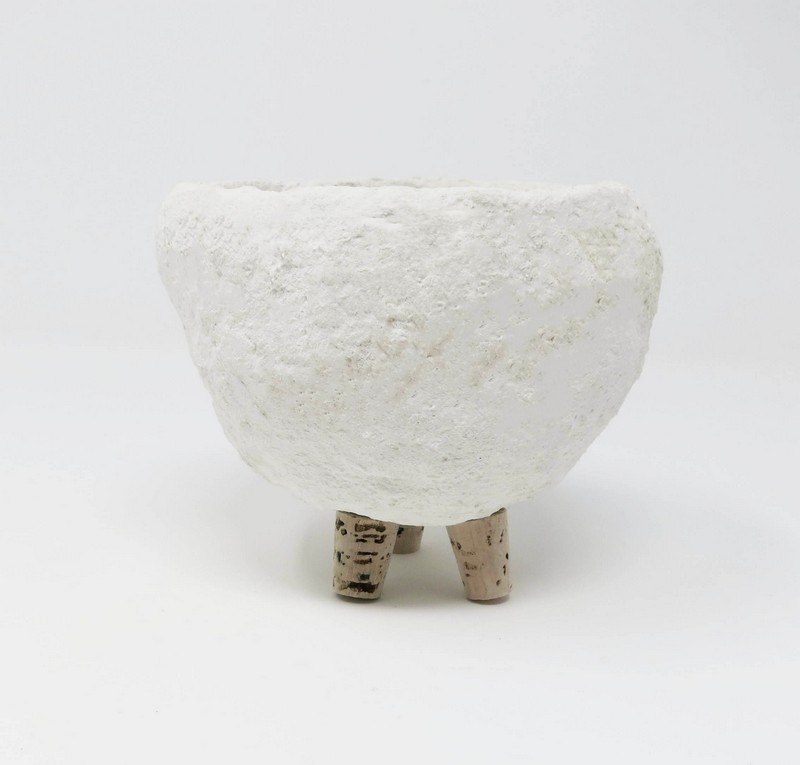
Step 8
Feet
Attach 3 corks in a triangular pattern to the bottom of the bowl using a hot glue gun.
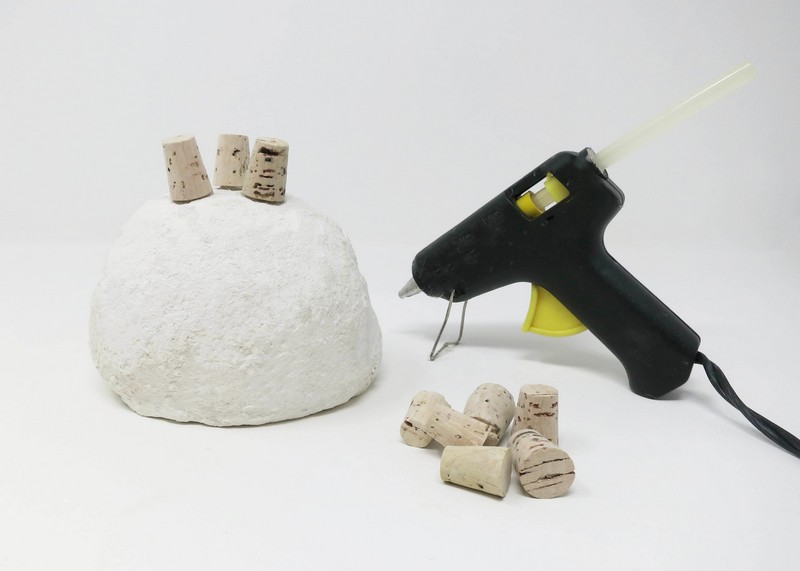
Turn the bowl right side up and balance on a table top. If the bowl does not balance, remove the corks and reposition them.
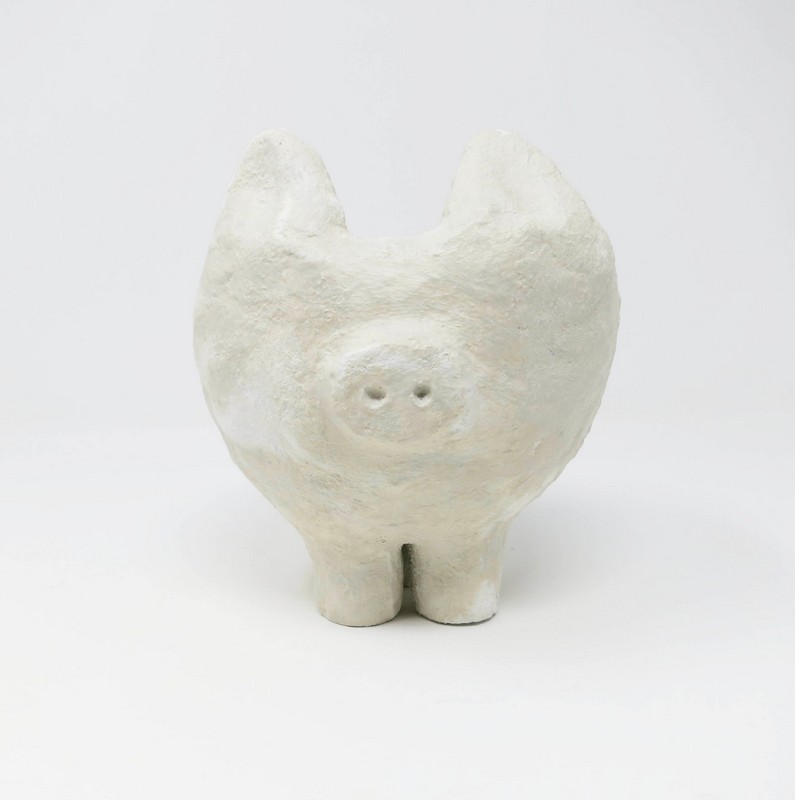
Step 9
Ears & Nose
Draw and cut out 2 ears out of cardboard. Glue cardboard ear shapes onto the pig’s body form. Attach a large button for the pig’s nose.

Step 10
Cover Up
Apply a coat of FastMache over the ears, nose, and leg sculpture pieces.
Step 11
Dry
Allow the FastMache’ sculpture to completely dry. Drying time is dependent upon the weather (heat and humidity), as well as the initial firmness of the mache’ and the thickness of it.
A piece is considered dry when it no longer feels cold to the touch.
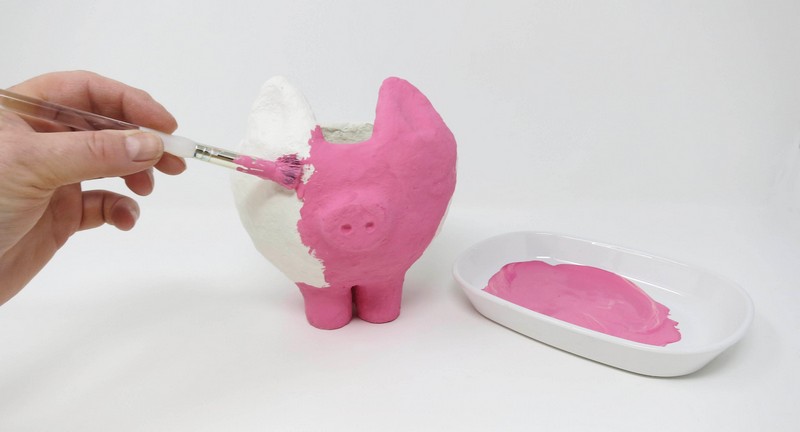
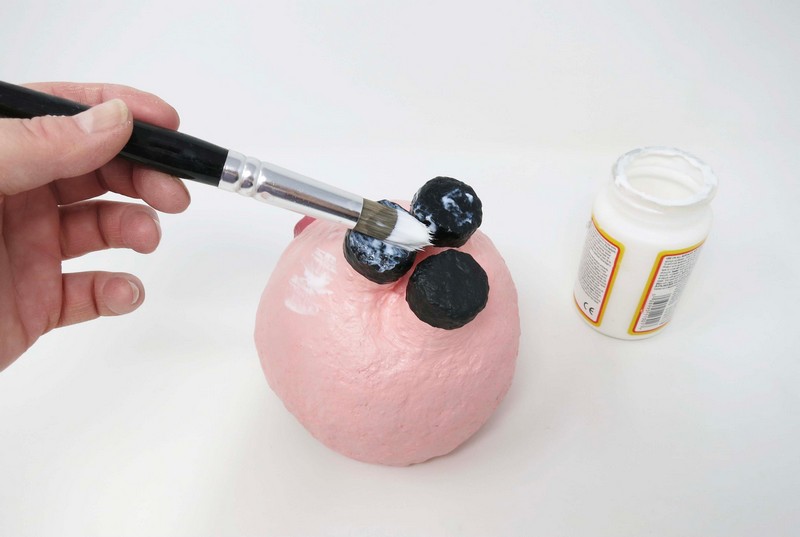
Step 12
Paint
Paint the sculpture using acrylic paints. Cover the sculpture with a broad coat of paint using a large brush. Paint on the pig’s facial features using a smaller brush.
Step 13
Sealant
Apply 2-3 coast of clear acrylic varnish over the paint to seal in the paint.
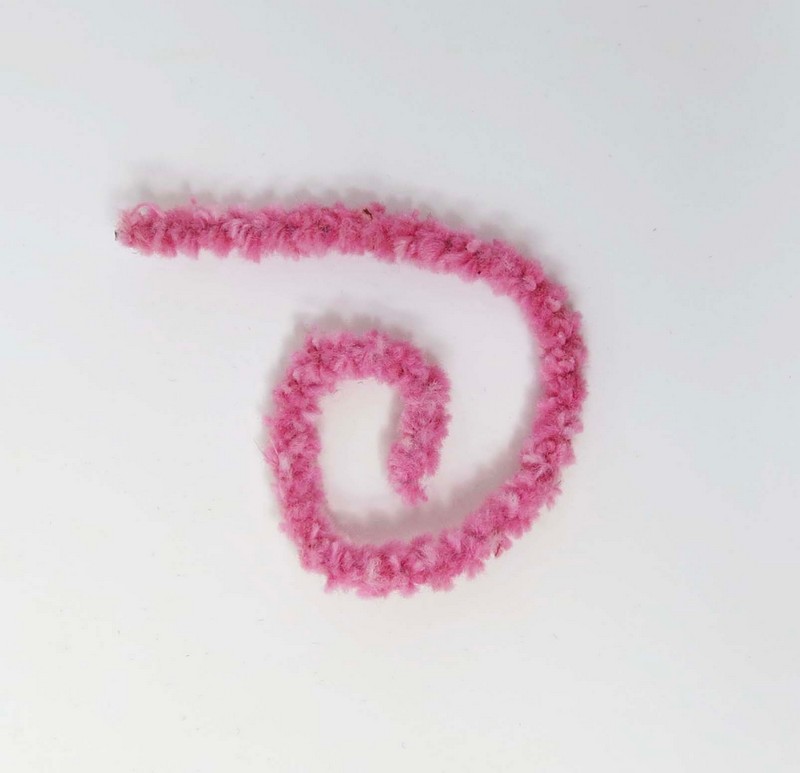
Step 14
Tail
Curve a pipe cleaner into a spiral. Poke a hole into the rear of the pig sculpture using the tip of a sharp pin or nail. Insert the pipe cleaner into the hole and allow the tail to hang from the rear of the animal. Secure the tail into the hole with a little bit of glue.
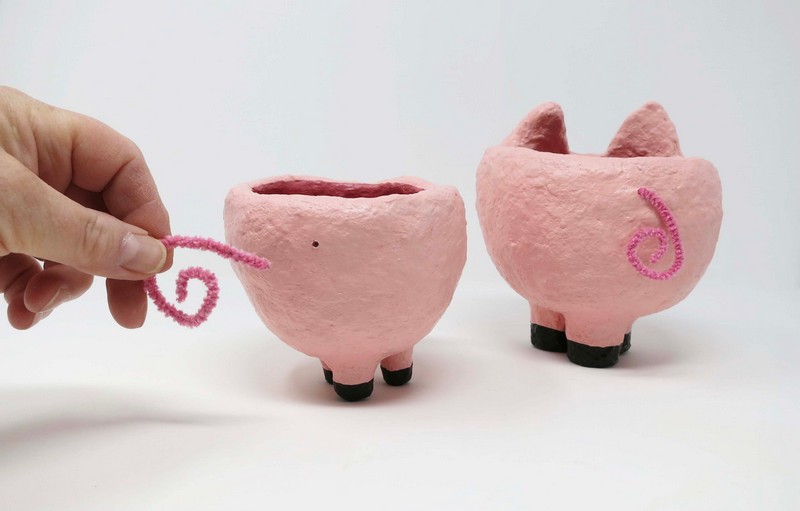
Step 15
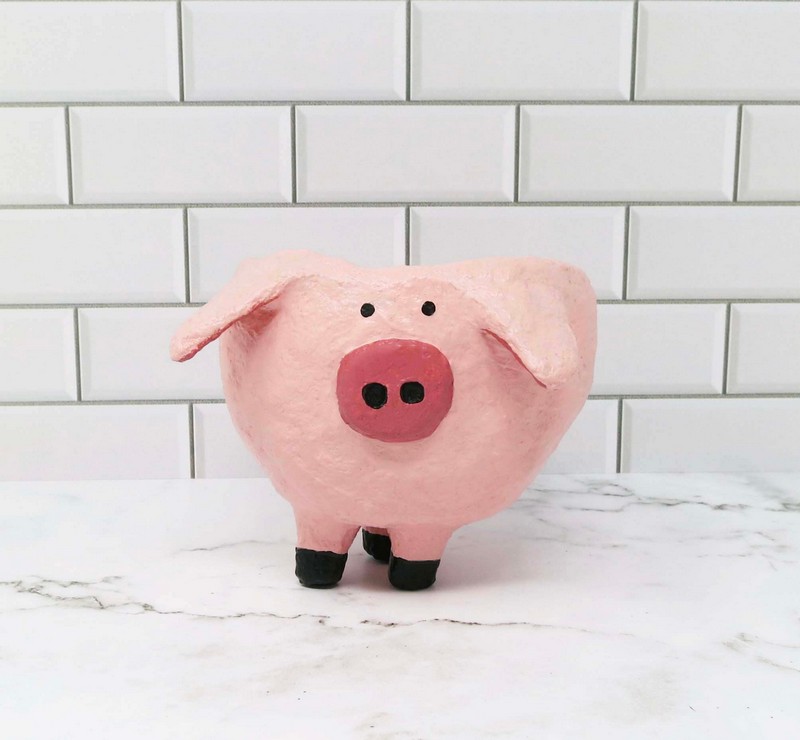
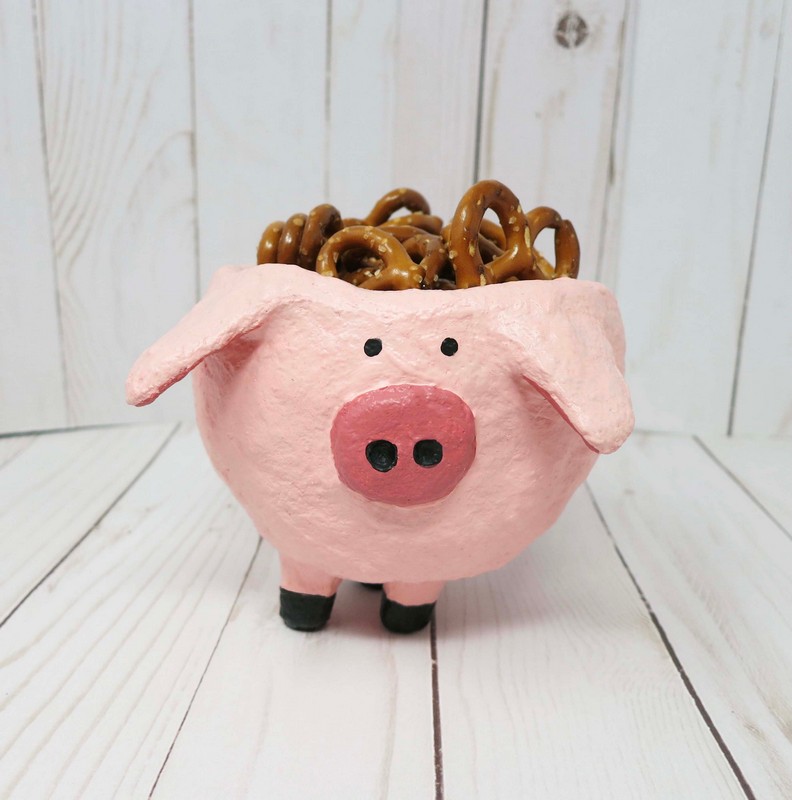
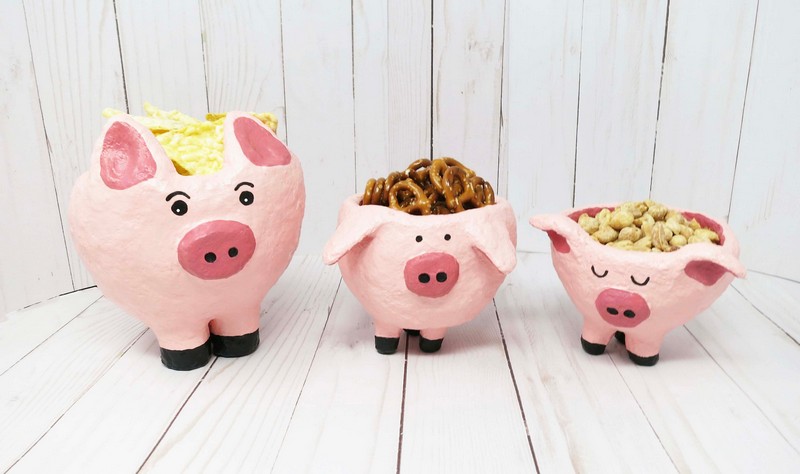
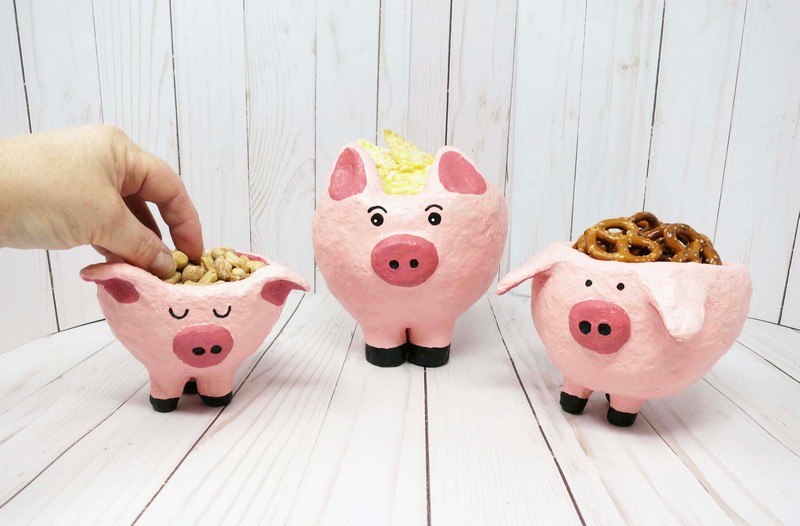
Display
Piggy Pals can be displayed as sculptures or used to store items inside.
*NOTE: Not suitable for liquids. Use dry items only.