Materials Needed:
- Blackjack White Earthenware Clay
- Rolling Pin
- 1/4” Measuring Sticks
- Clay Rib
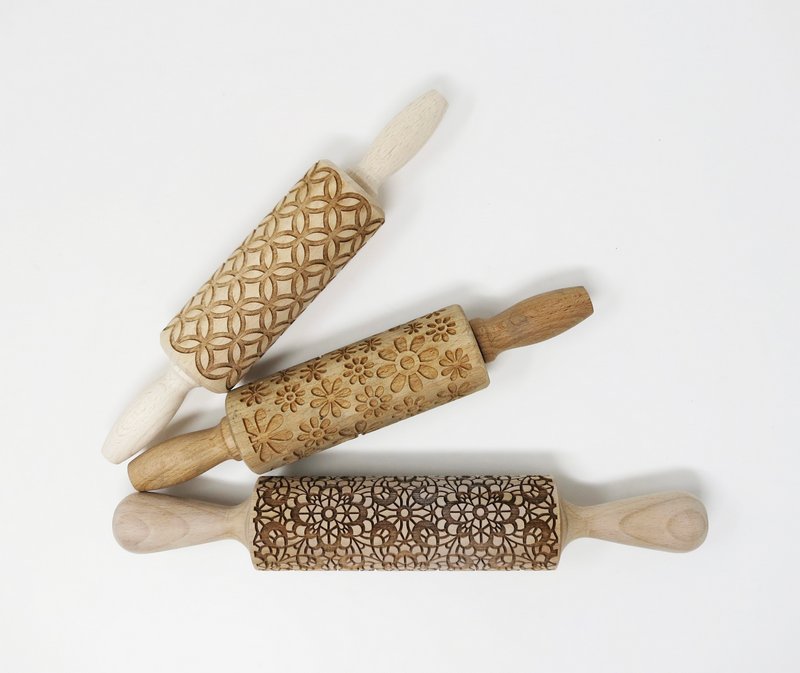
- Textured Roller
- Slab Patterns (The sizes used in this sample are: walls 3” x 13” rectangle, foot ring 3/4” x 11” rectangle, base 4” diameter circle.)
- Needle Tool
- Activ-Tools: Clay Tools Set
- Clay Bevel Cutter Tool
- Paper Towel or Cardboard Tube
- Water Bowl
- Sponge
- Activa Clay Sculpting Wheel
- Glaze (Mayco glazes where use for this project - see below)
- Brush
Step 1
Clay Slabs
Roll three 1/4” slabs of clays using a rolling pin and measuring sticks.
Two long slabs and one wide slab.
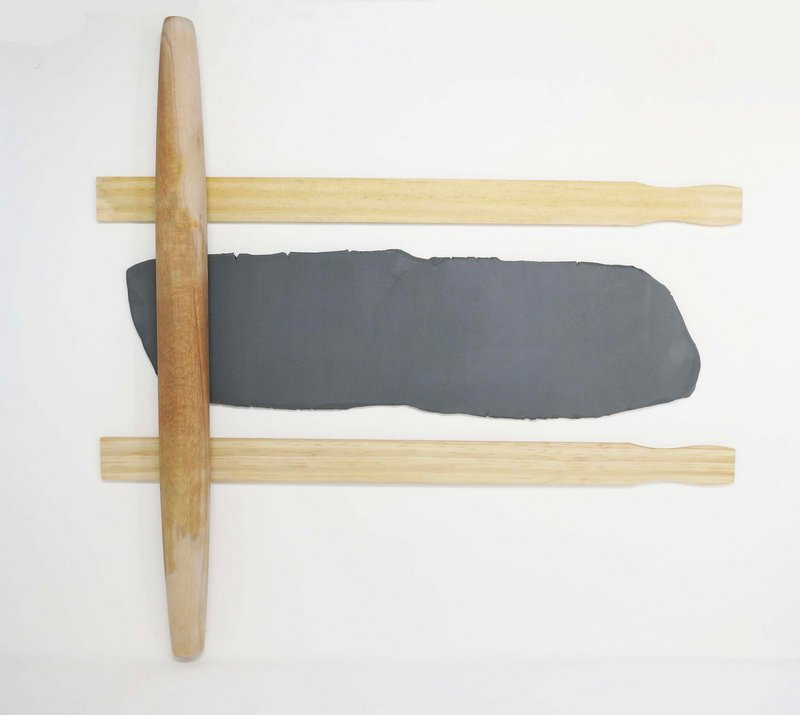
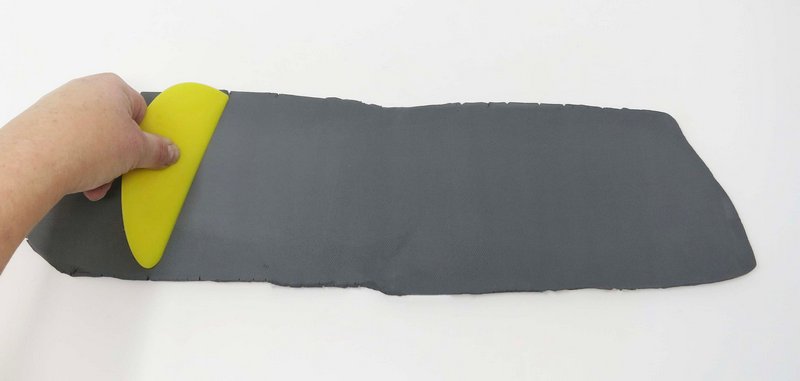
Smooth any imperfections in the clay with a clay rib.
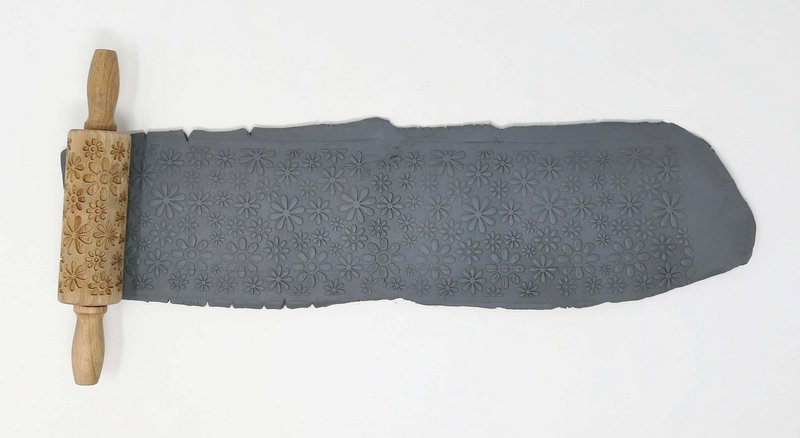
Step 2
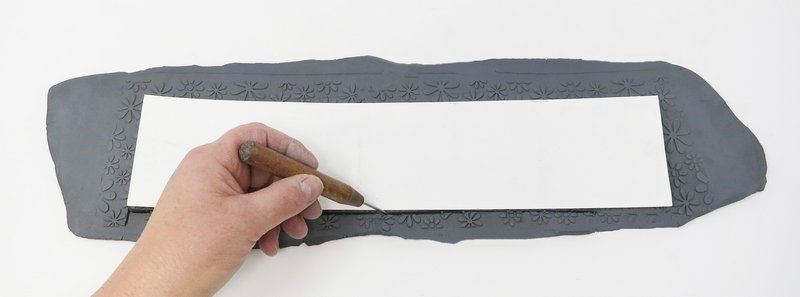
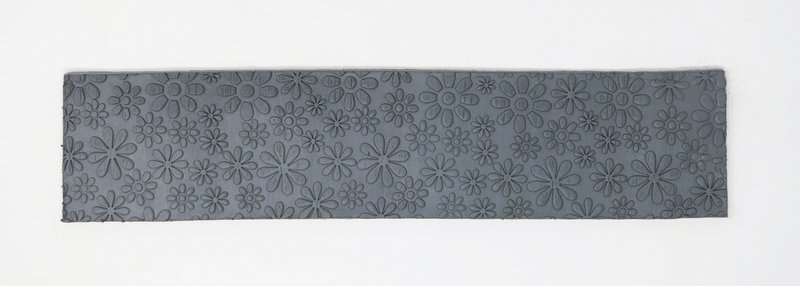
Textured Pattern
Firmly press down and roll the textured roller into one of the long slabs of clay.
Step 3
Planter Parts
Use the patterns as a guide to cut out the planter’s wall, base, and foot ring.
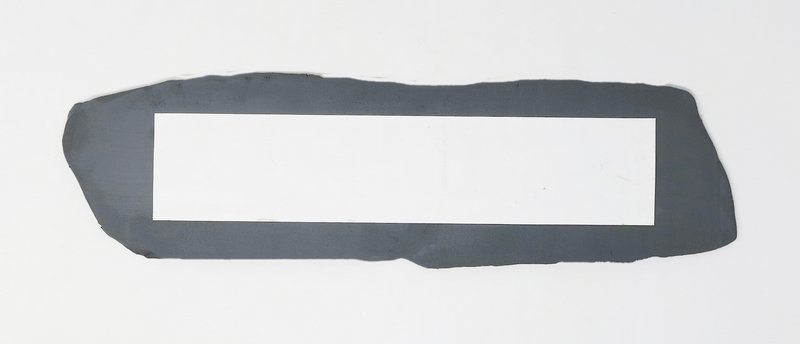
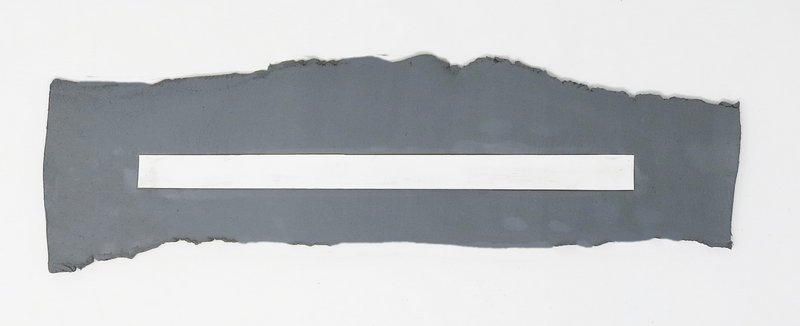
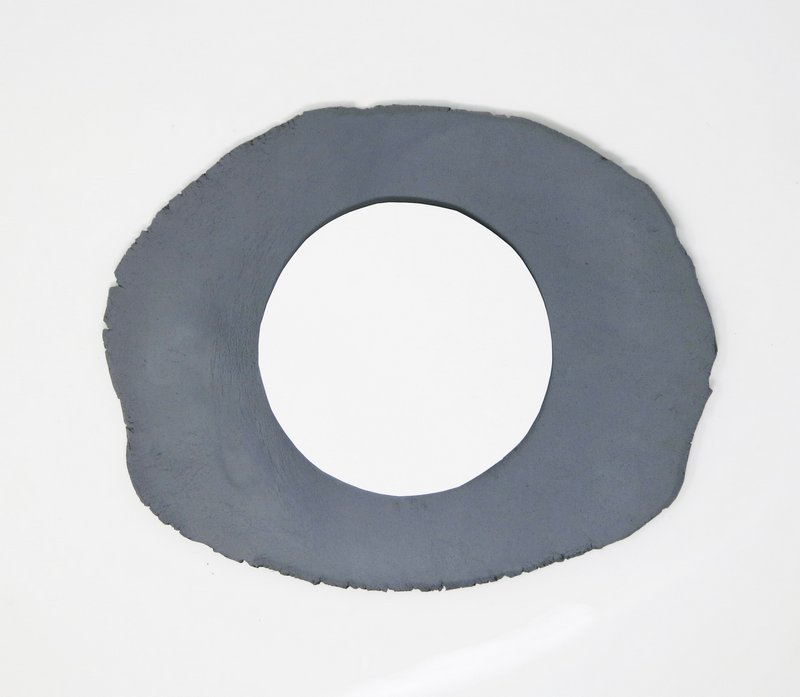
Trace around each pattern using the needle tool to cut out the shapes.
Remove the excess clay from around patterns.
Step 4
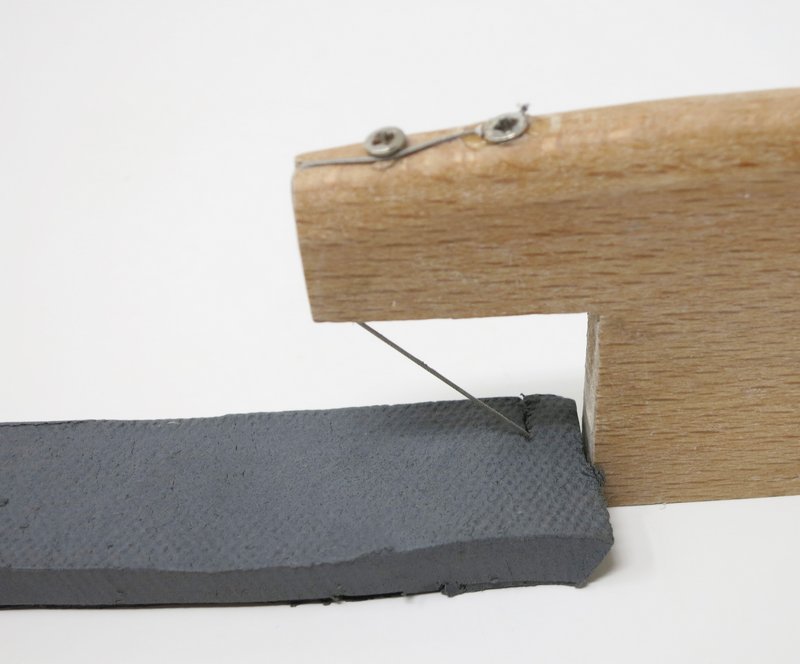
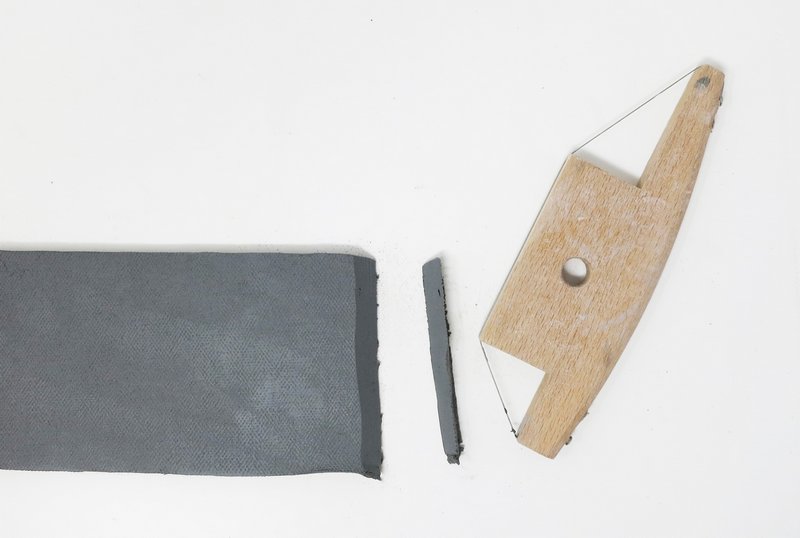
Bevel
Use the clay bevel cutter tool to slice a right angle on both ends of the rectangle clay slabs.
Cutting once on the front of the slab followed by the back.

Step 5
Assembly
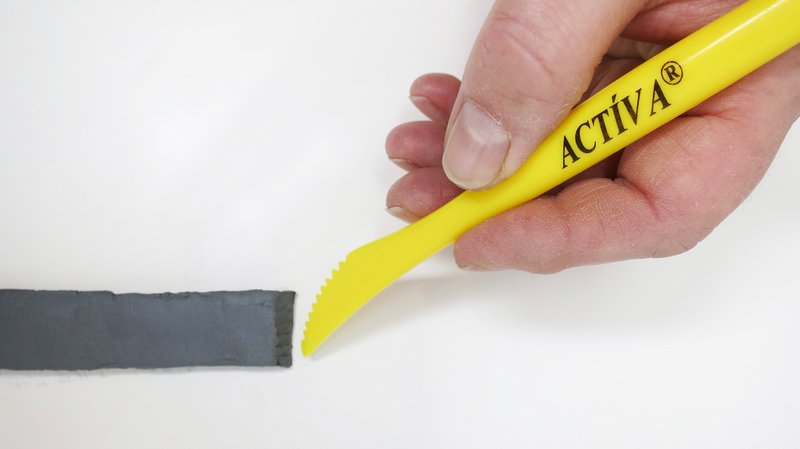
Score the ends of each rectangle clay slab using the rough cut blade tool.
Add clay slip over the score lines and join the ends of the clay slab together.
Smooth over the adjoining seam with the clay tool.
Score the edges of the clay circle.
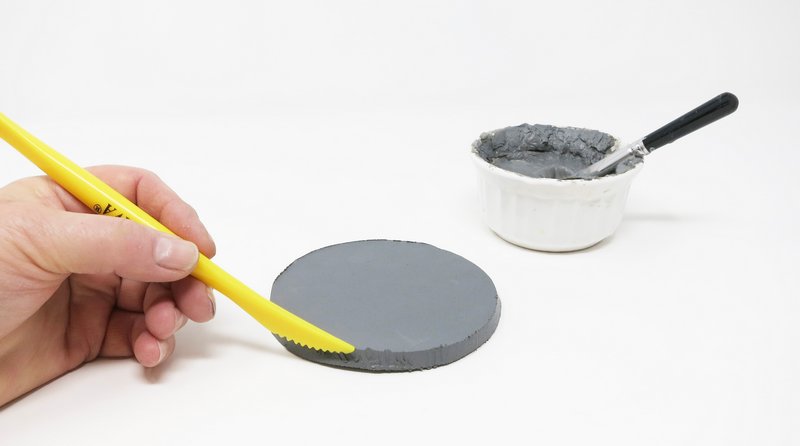
Cover the score lines with clay slip.
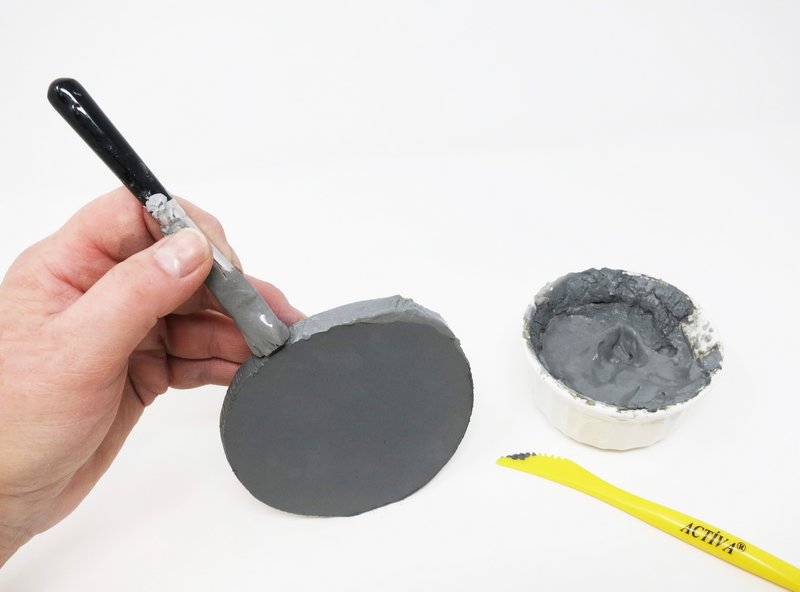
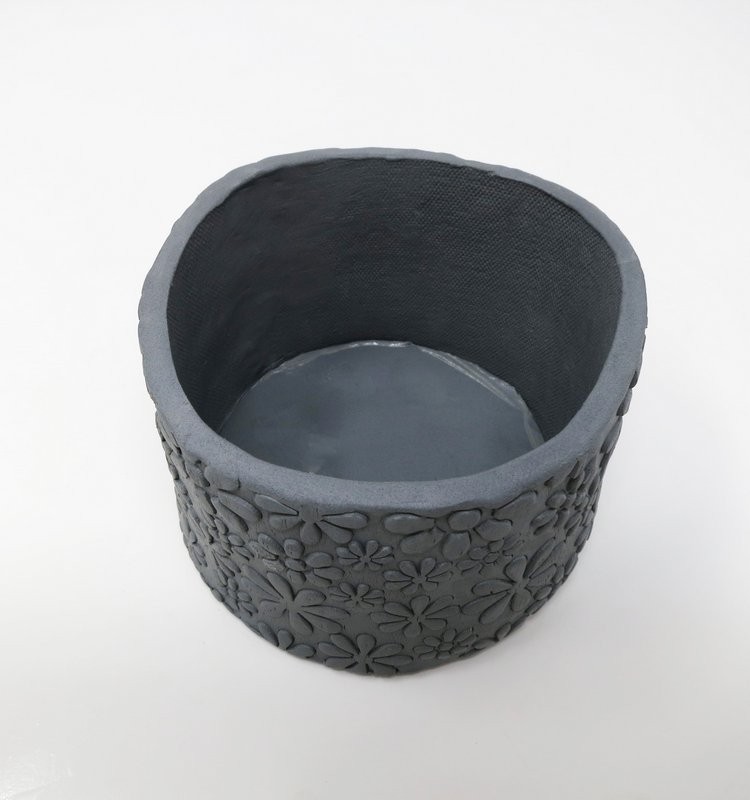
Place the clay circle inside the large textured clay cylinder.
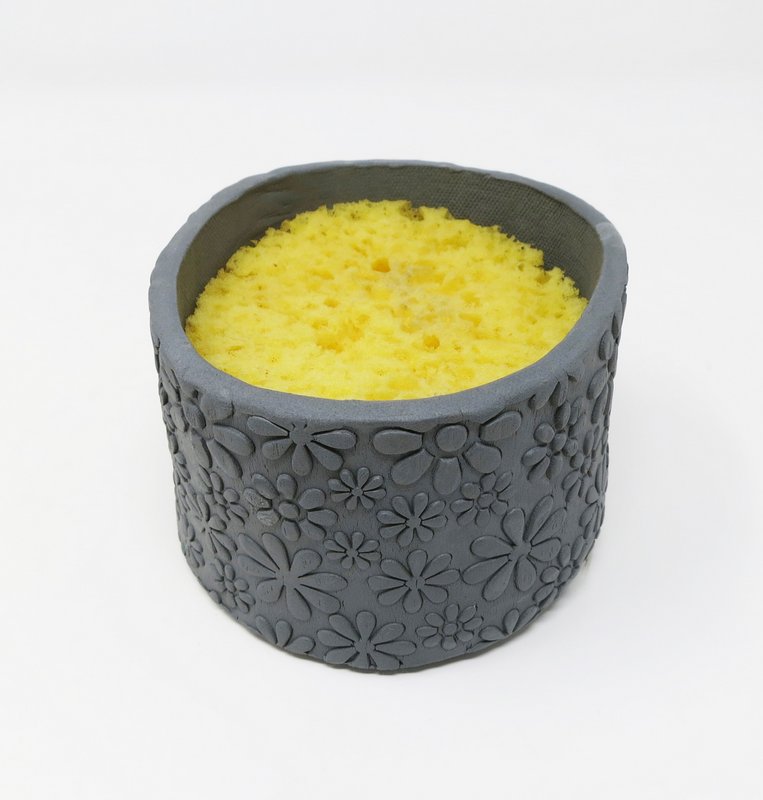
Fill the clay cylinder with a large sponge, crumpled paper towels, or cardboard tube to help hold it’s shape.
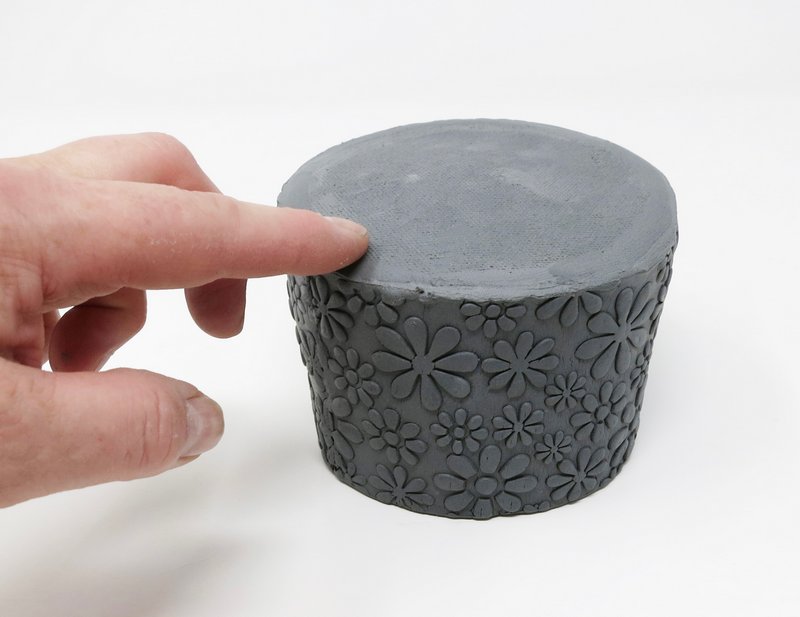
Turn the clay cylinder upside down. Join the two pieces of clay together with the sculpture tool and smooth the seam with fingertip.
Step 6
Foot Ring
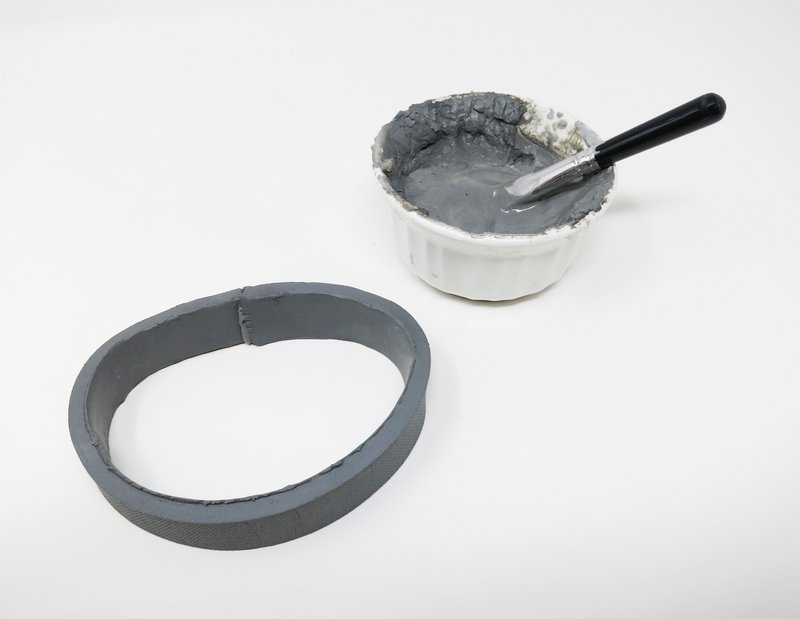
Score one edge of the smaller clay cylinder.
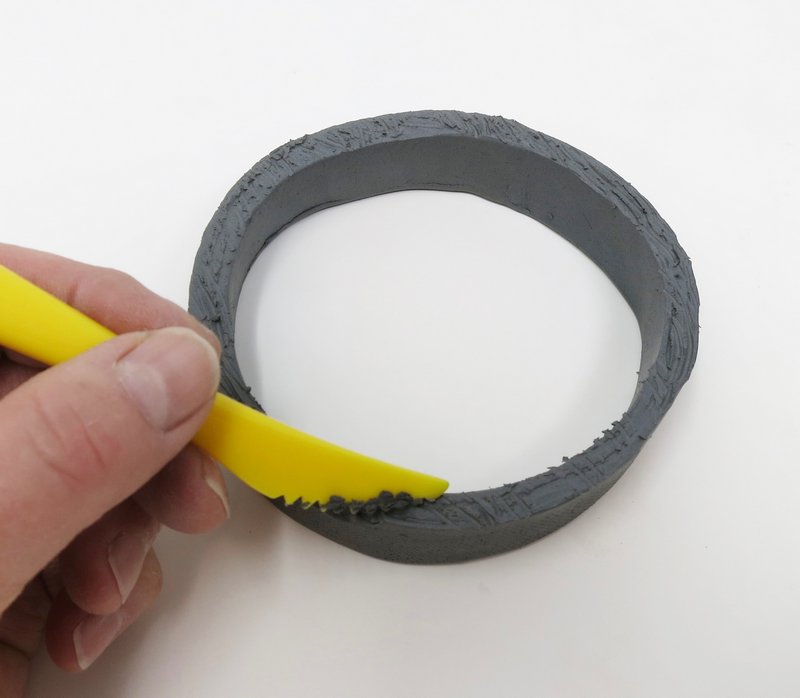
Cover the score lines with clay slip.
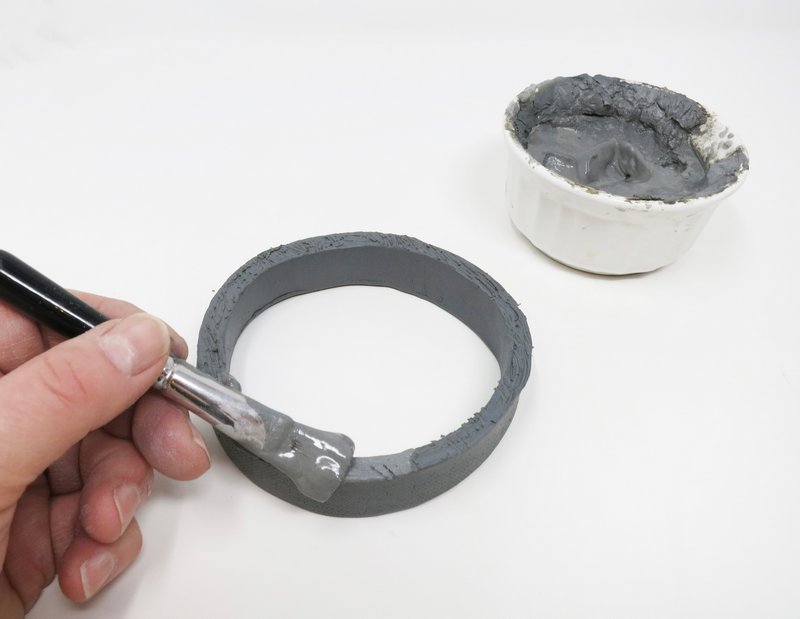
Attach the foot ring to the bottom of the planter form.
Join both pieces of clay together using the clay tool.
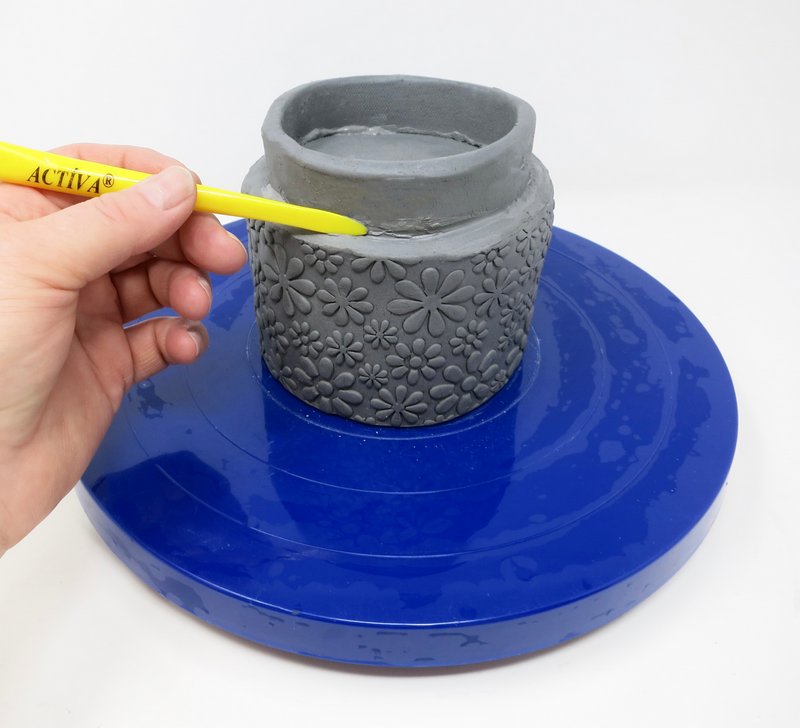
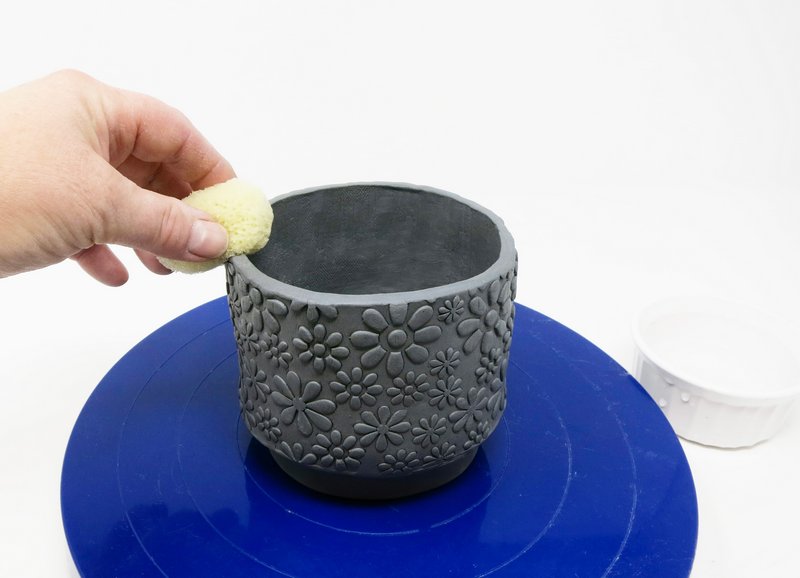
Step 7
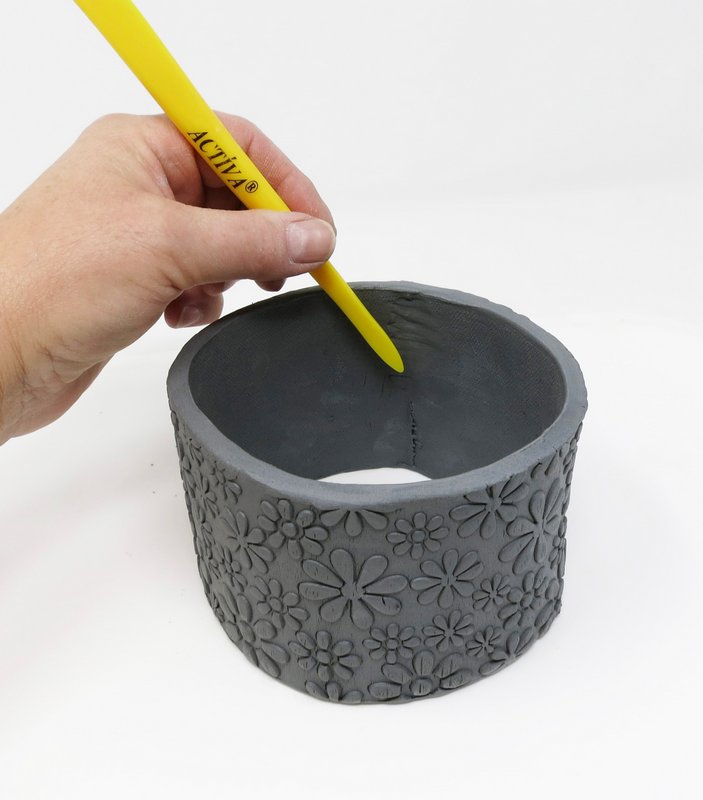
Rim
Turn the planter right side up. Smooth the rim with a damp sponge.
Step 8
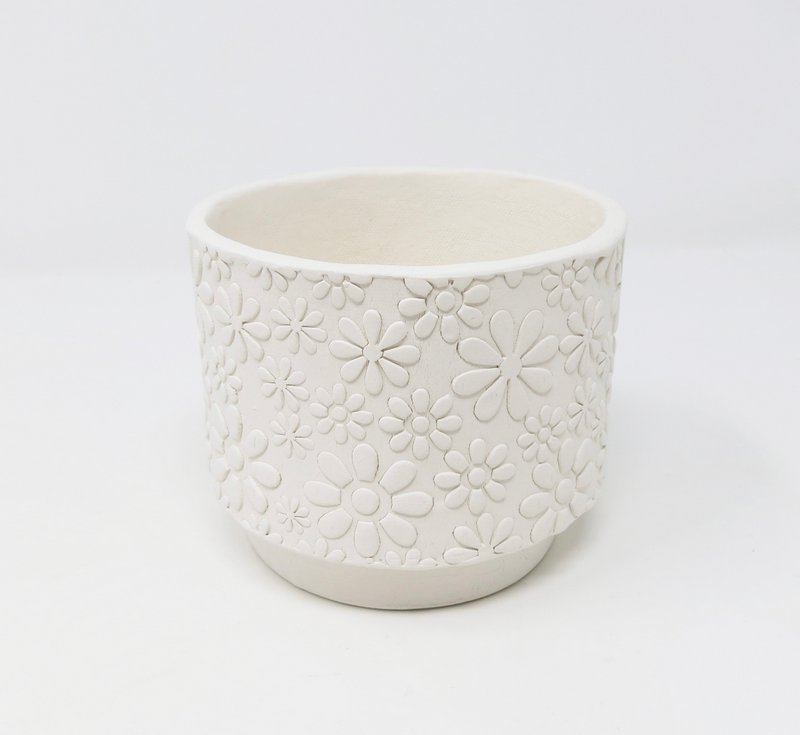
Dry
Allow the clay to dry becoming; Greenware.
Step 9
Bisque Firing
Fire the Greenware planter in the kiln to an 04 bisque fire.
Step 10
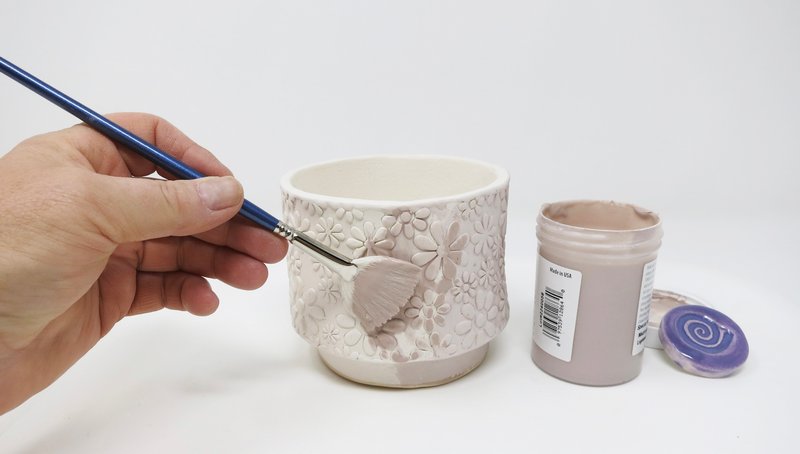
Glaze
Apply glaze to the bisque-ware planter according to the manufacturer’s directions.
Step 11
Glaze Firing
Fire the glazed planter in the kiln.
(Refer to the manufacture’s directions on the glaze bottle for the correct firing temperature.)
Step 12
Plant
Add dirt, rocks, and the plant to the planter.
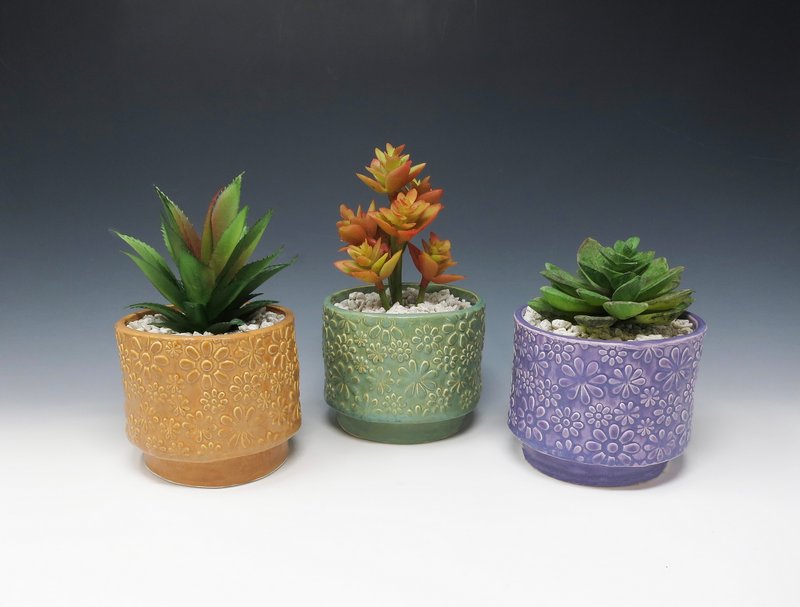
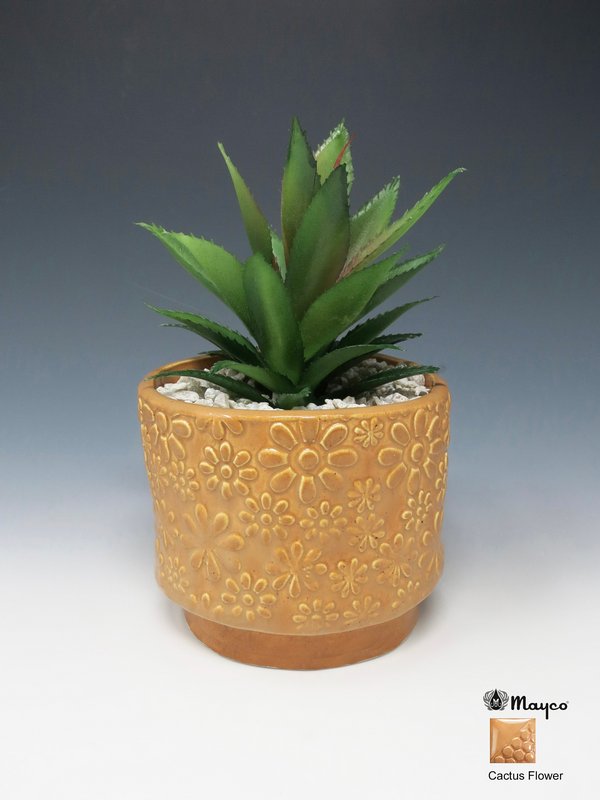
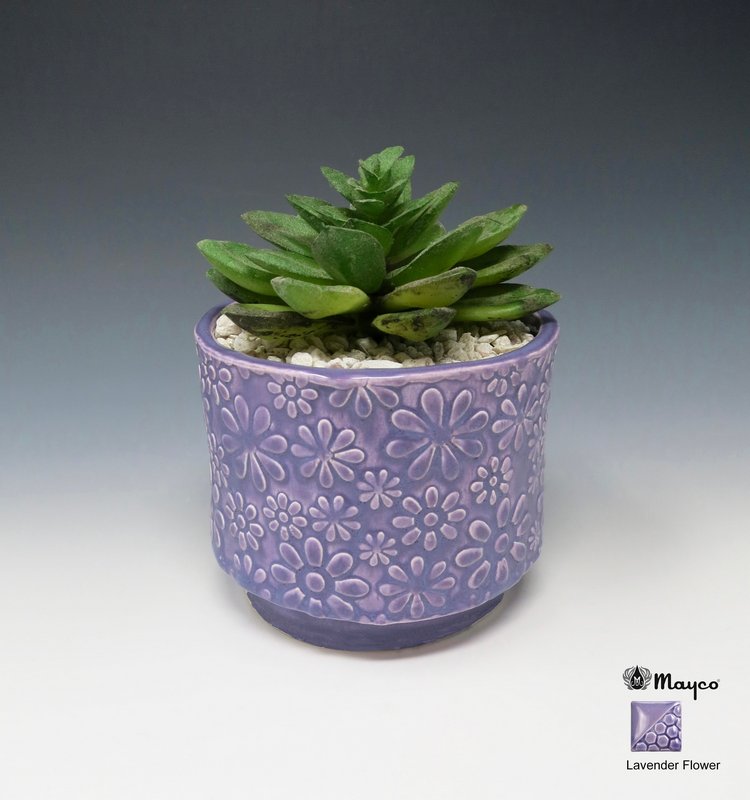
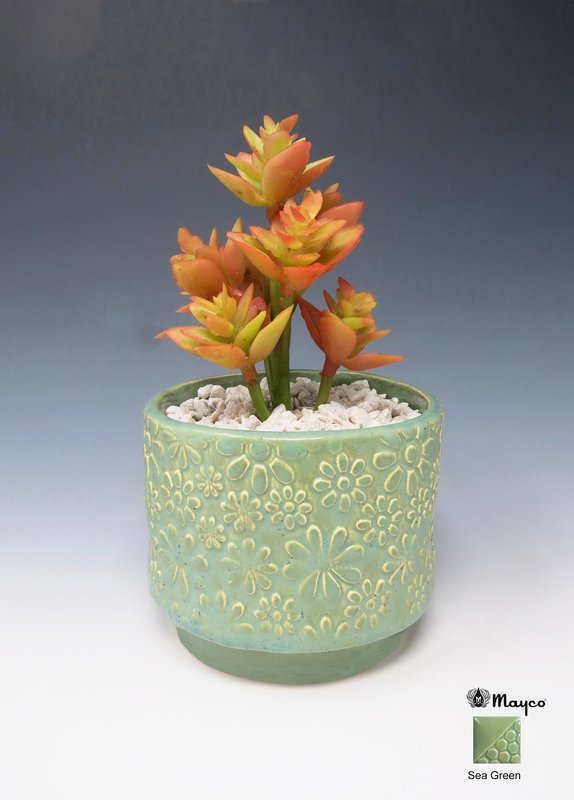
Mayco glazes used in this project: