As part of the ACTÍVA Products Art Teacher Mystery Box contest, art teacher Charlene Lear submitted this Relief Landscape project. Visit Charlene on Instagram.
SUPPLIES NEEDED
- Canvas board
- ACTÍVA CelluClay
- ACTÍVA Activ Clay
- ACTÍVA Scenic Sand
- Acrylic paint
- Paint brushes
- Palette knives
- Mod Podge
- Paper and pencil for sketching ideas
INSTRUCTIONS FOR MAKING A RELIEF LANDSCAPE
1. I first sketched out the plan for my relief landscape. 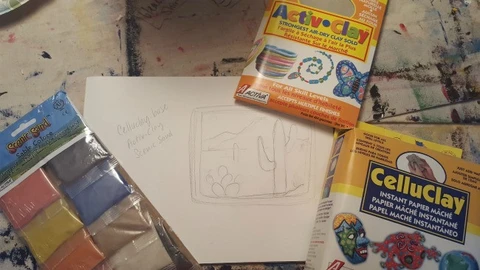
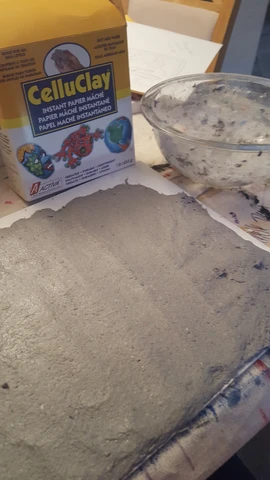
2. I then covered the canvas board with a thin layer of CelluClay.
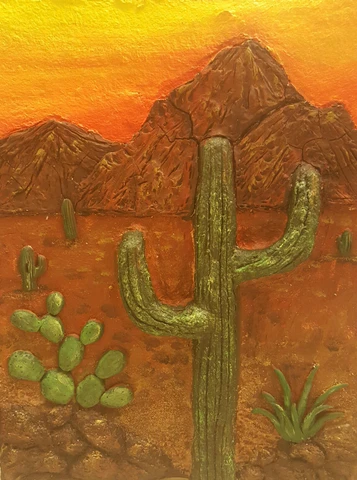
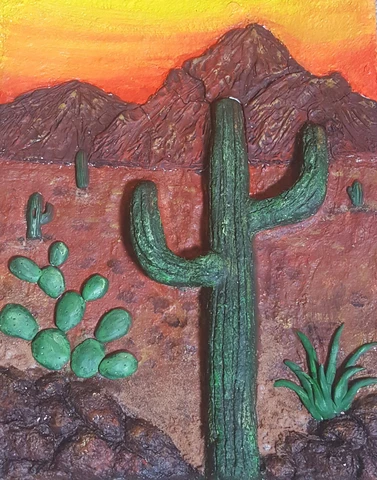
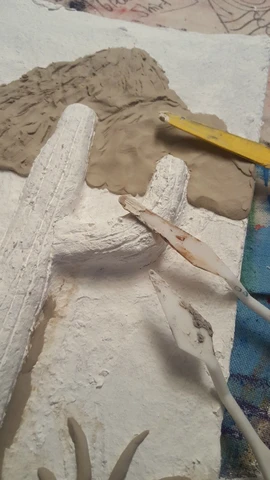
3. Using more CelluClay, I sculpted rocks and a saguaro cactus in the foreground. I let it dry overnight.
4. I coated the entire surface with white acrylic paint and let it dry.
5. Next, I used Activ Clay to form the plants and mountains, which also was dried overnight.
6. I then used acrylic paint to paint everything.

7. Last, I glued down some Scenic Sand with Mod Podge.