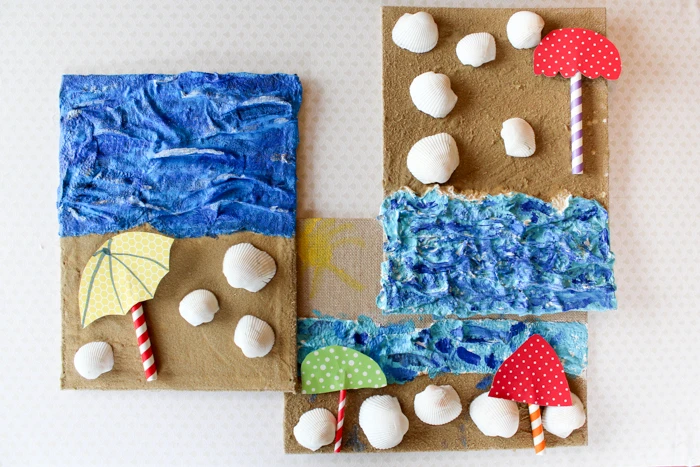
Students of all ages - from as young as kindergarten to as old as high school - can create this sand and sea dimensional art! It's a wonderful project to introduce them to perspective, texture, and dimension. Read through to see the step-by-step instructions, and download a copy of this lesson plan below!
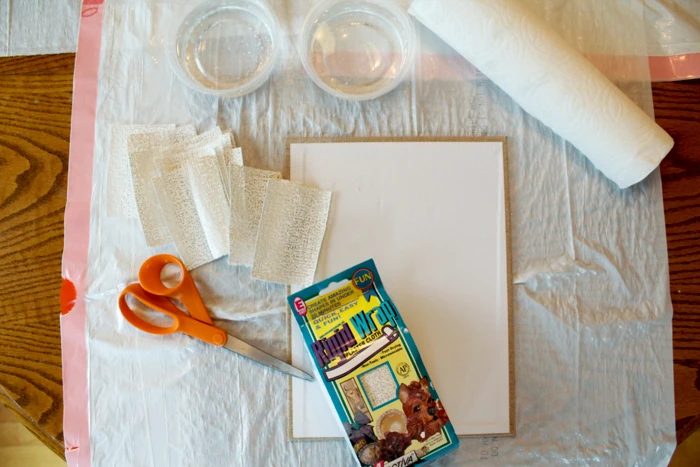
- Blank canvas or cardboard
- Rigid Wrap plaster cloth
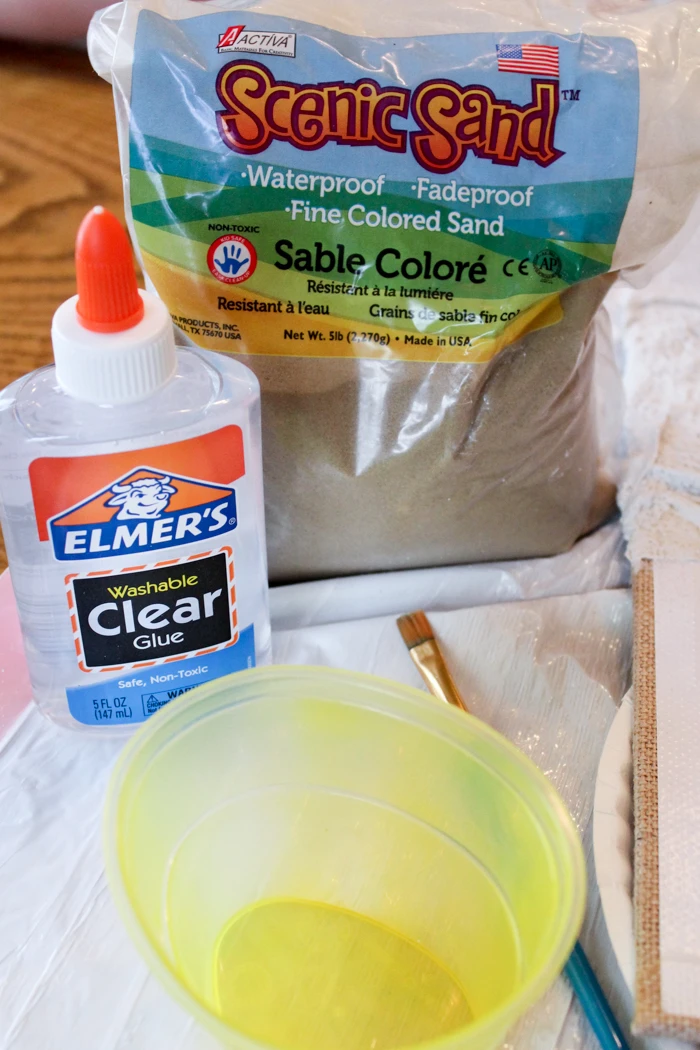
- Scenic Sand in light brown
- School glue or clear glue
- Blue paint in a variety of shades
- Seashells
- Scrapbook paper (patterned paper if you have it)
- Straws, lollipop sticks, or popsicle sticks
- Paint brushes
- Scissors
- Small bowls to hold water
- Warm water
Instructions for Sand and Sea Dimensional Art
Prior to students' arrival, cut strips of Rigid Wrap plaster cloth to small rectangles and fill small bowls with warm water.
Before students begin work, ask them to think about their view of the beach scene that they will be creating. Are they looking at the ocean from the shore, or are they in the water looking at the ocean? Their perspective will determine the layout of their project.
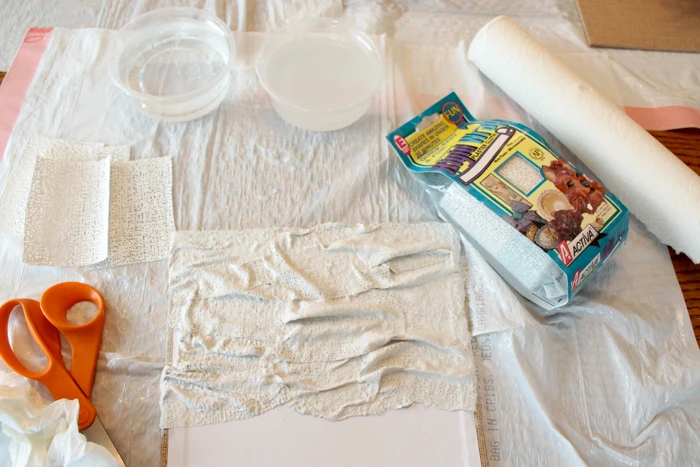
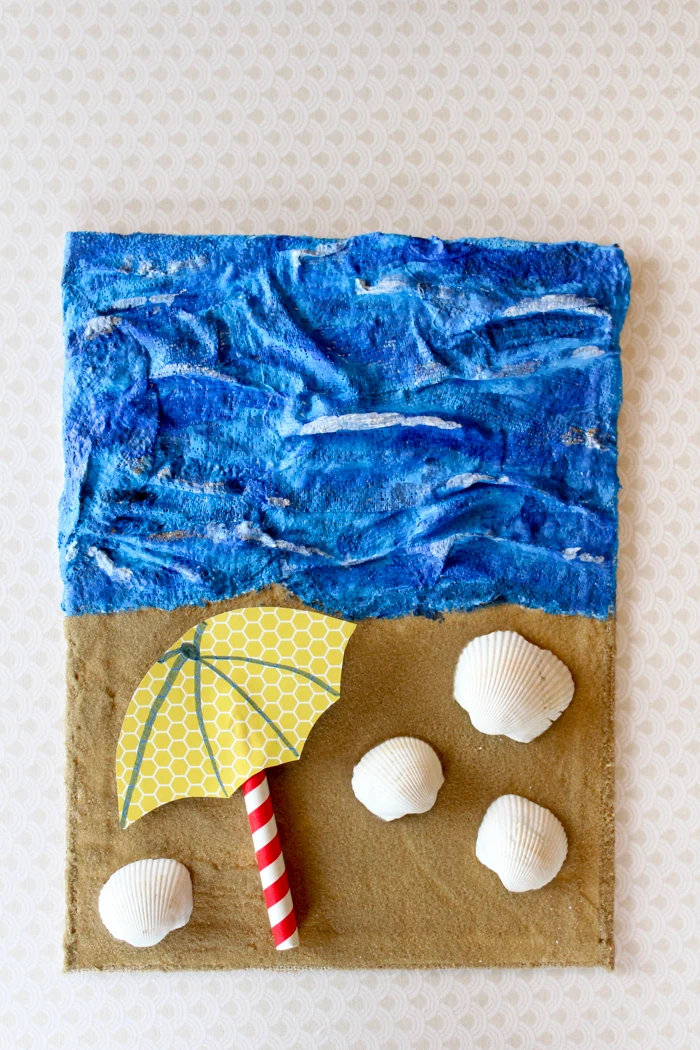
Once students are ready to begin work, let them dip strips of Rigid Wrap into warm water - using their fingers to remove excess water into the bowl. Press the wet Rigid Wrap strips onto the canvas or cardboard to create the ocean. Scrunching and pinching the wet Rigid Wrap will allow students to create 3D waves.
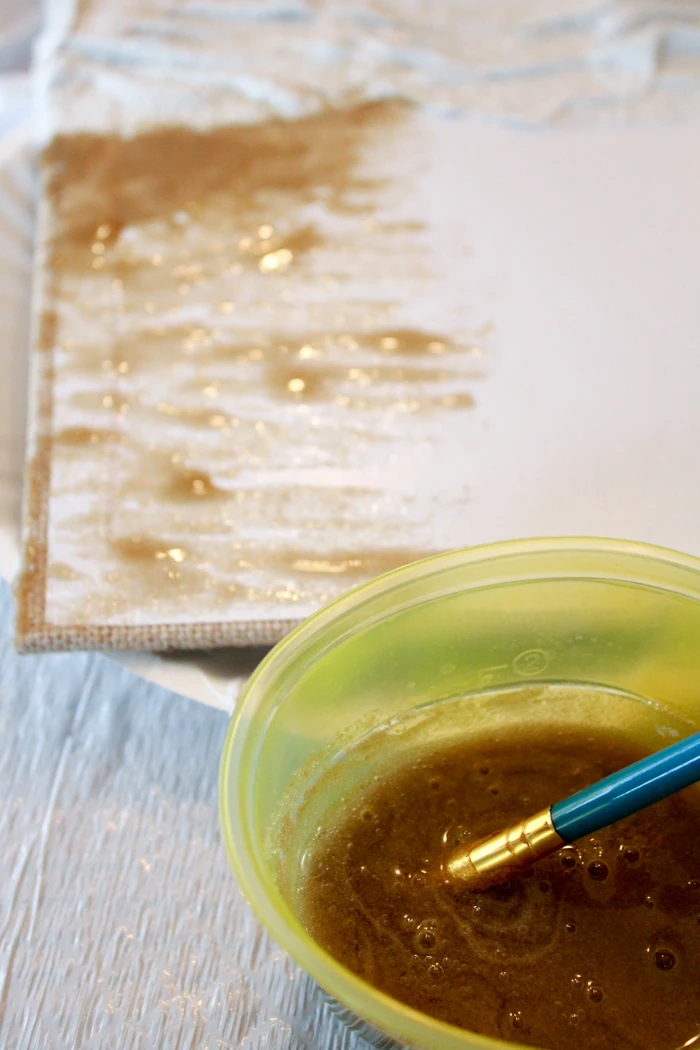
While the Rigid Wrap dries on the canvas, mix clear glue or school glue with Scenic Sand in light brown. Paint the glue and sand mixture onto the remaining part of the canvas, and sprinkle additional Scenic Sand onto any thin or bare spots. This will cover those spots and add natural sand texture to the "beach" portion of the sand and sea art.
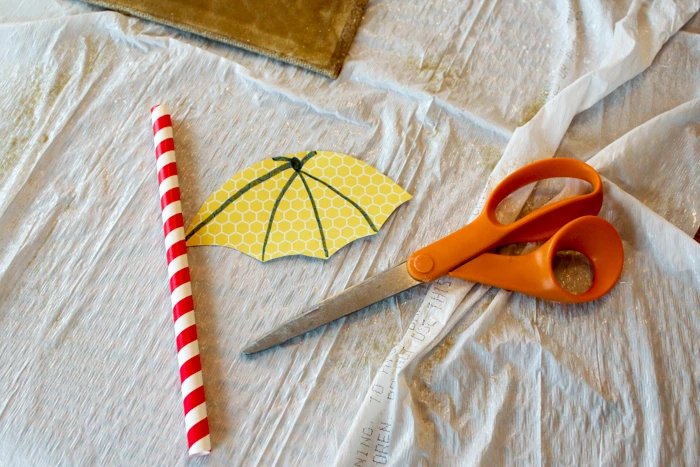
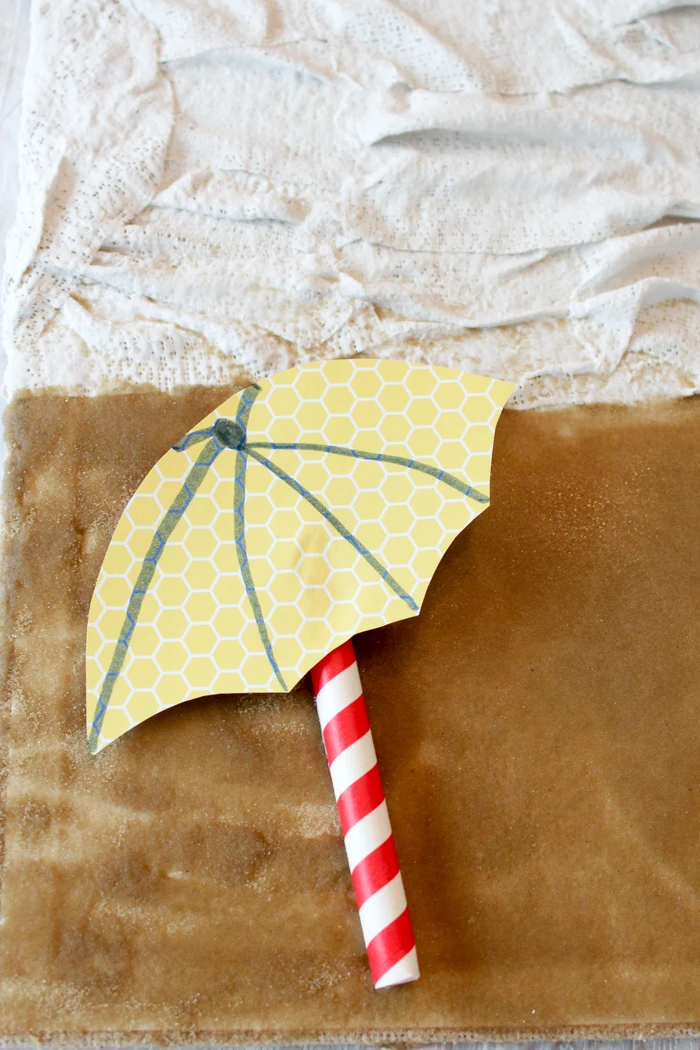
While the sand dries, students should draw a beach umbrella onto patterned scrap paper and cut it out. Attach the paper umbrella to a paper straw or other object that will serve as the beach umbrella's stake, and glue that to the sand portion of the scene.
By this point, the Rigid Wrap ocean should be dry. Allow students to paint their oceans in a variety of blue shades. This will add to the appearance of depth in their projects.
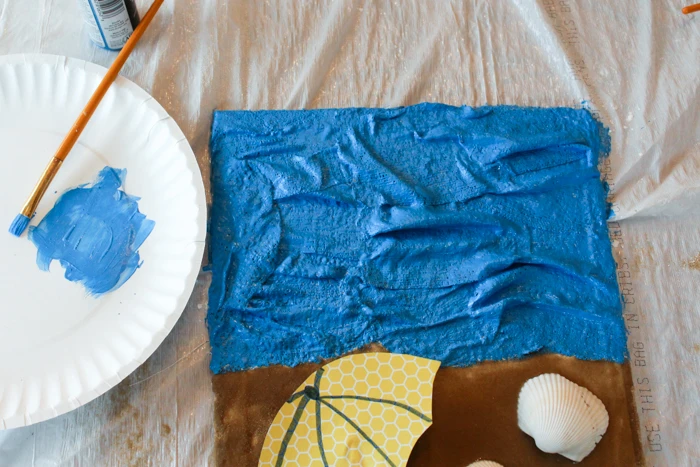

Allow the paint to dry and have students glue seashells onto the sand portion of their artwork.
Students will enjoy taking a "vacation" every time they look at their works of art!
If you enjoyed this project idea, please download the lesson plan and create with your class! Share your version of this lesson with us on Instagram or via our Community Project Gallery!