Materials Needed:
- Activa’ Extra White Plus Clay - Air Dry Clay
- Activ-Tools - Clay Tools Set
- Clay Roller Kit
- Snowflake Shape Cutters
- Plastic Wrap
- Straw
- Sponge
- Water Bowl
- Texture Tools
- Pearlescent Mixing Medium
- Liquid Glue
- Iridescent Glitter
- Iridescent Knotting Cord
Step 1:
Preparing The Clay
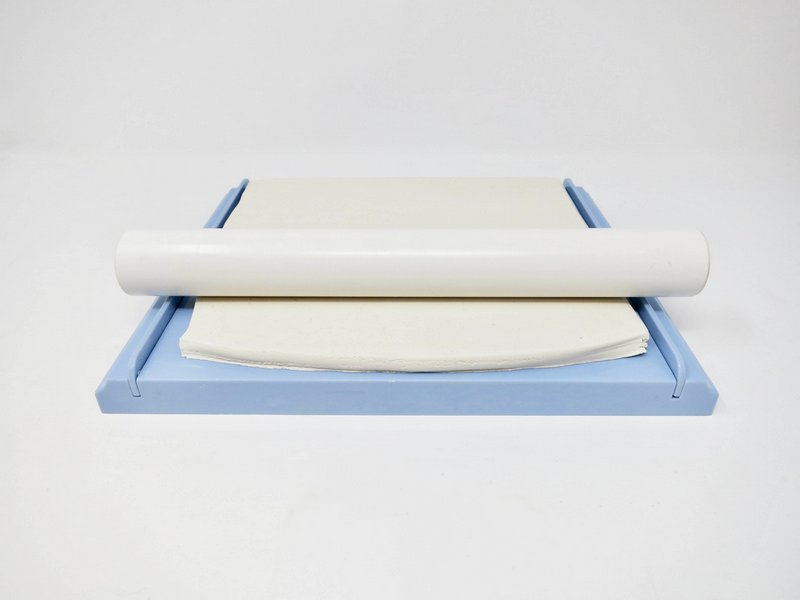
Roll a 1/4” slab of clay.
Step 2:
Snowflake Shape
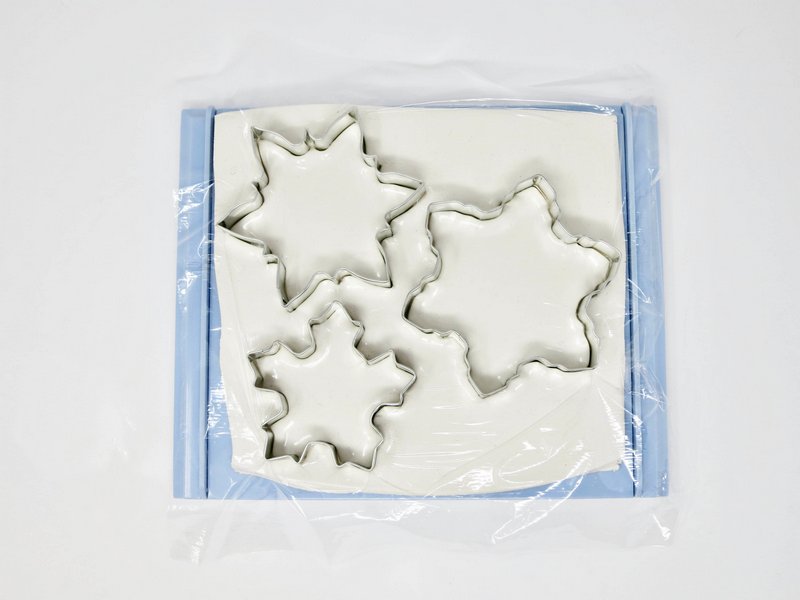
Cover the clay with plastic wrap.
Stamp out a clay shape using the snowflake cutter.
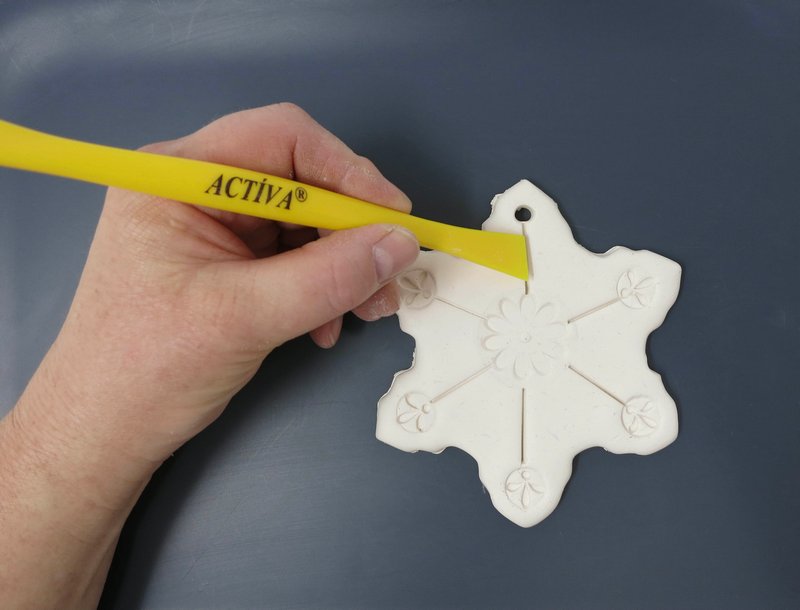
Step 3:
Hole
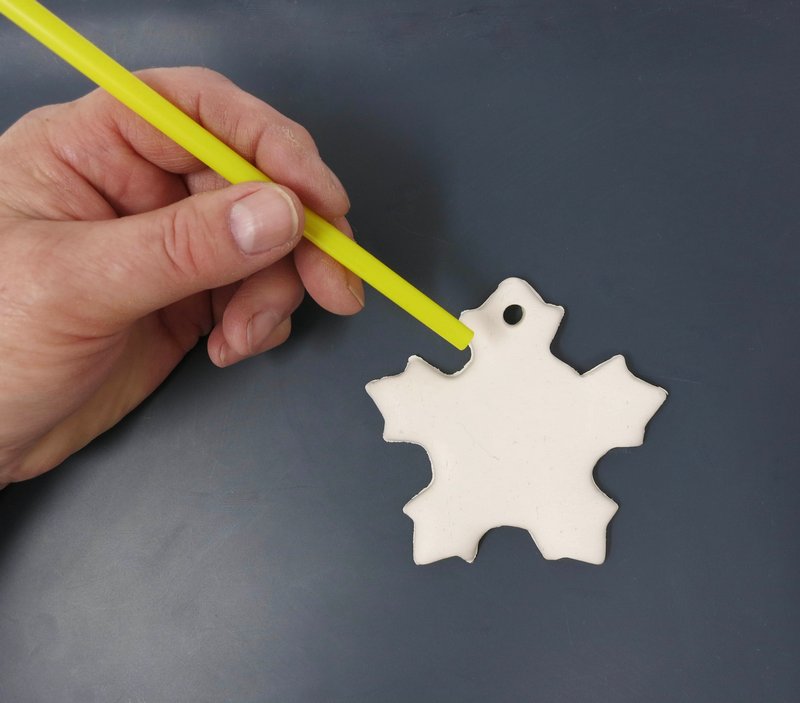
Insert the straw into the top of the snowflake shape to create a hole for hanging.
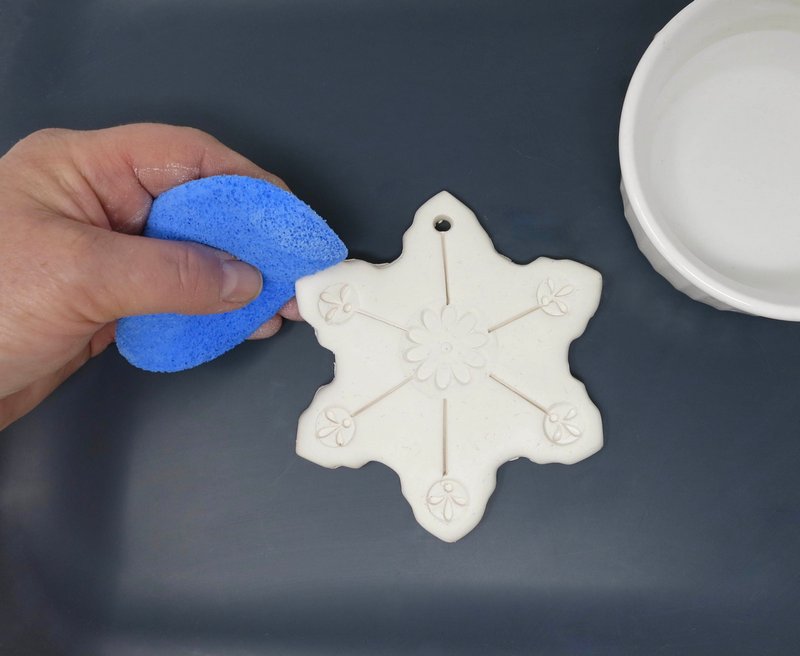
Step 4:
Edges
Use a damp sponge to smooth out the clay edges of the snowflake shape.
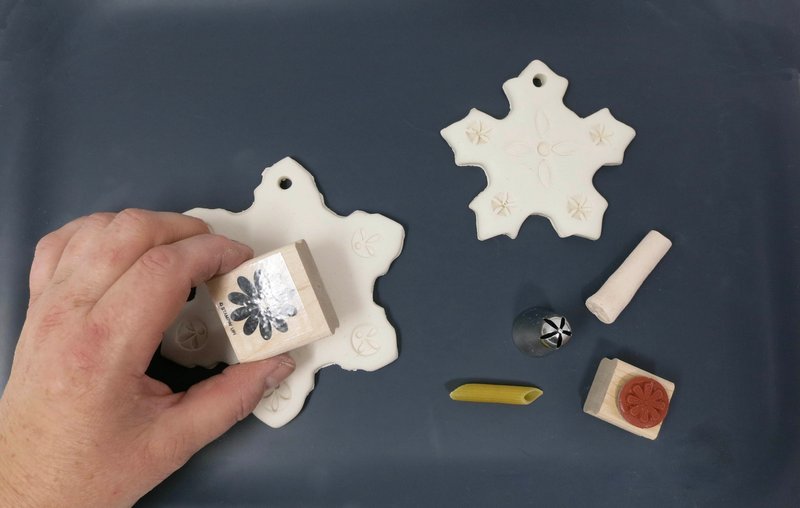
Step 5:
Design
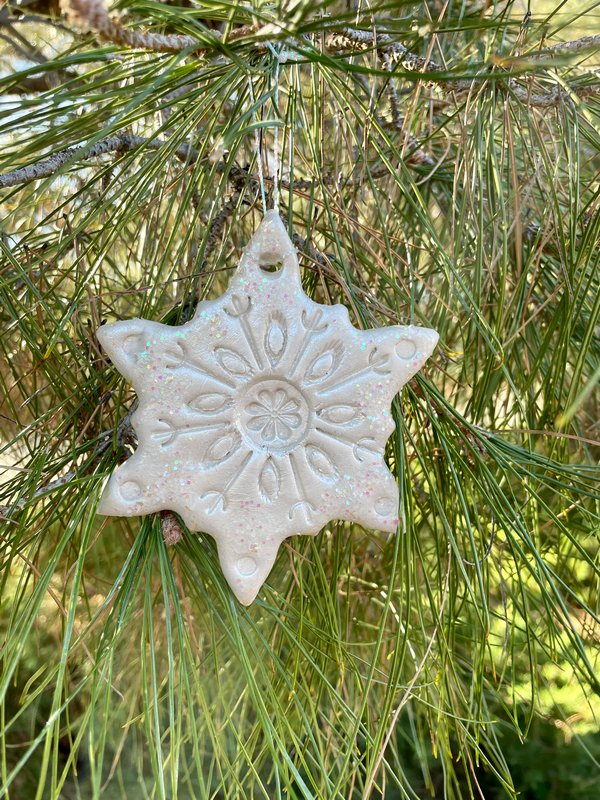
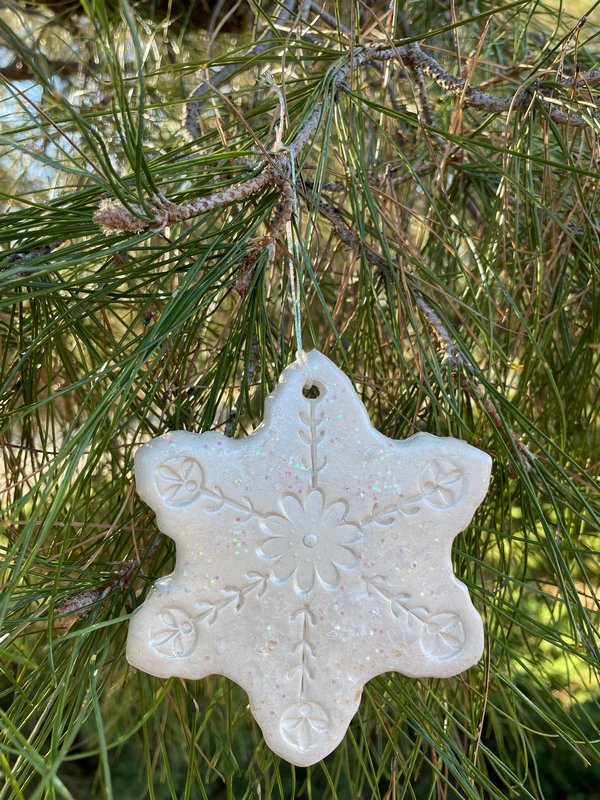
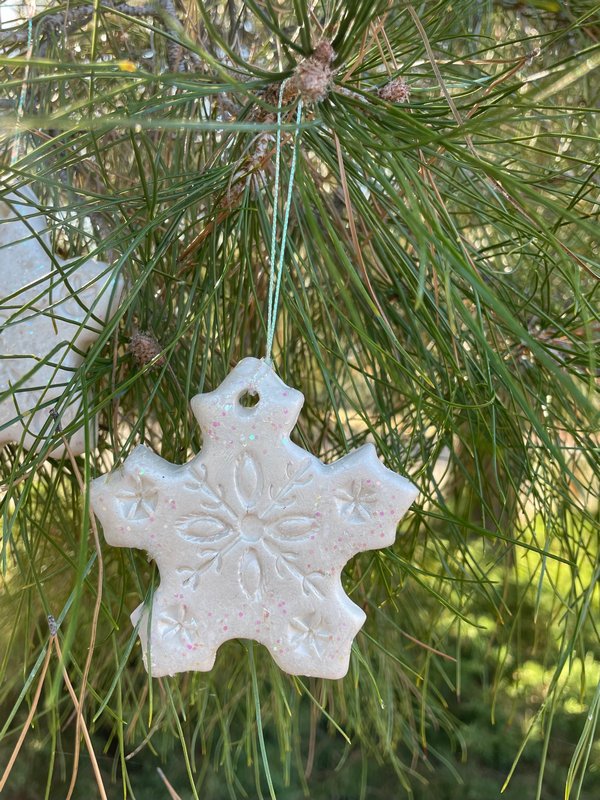
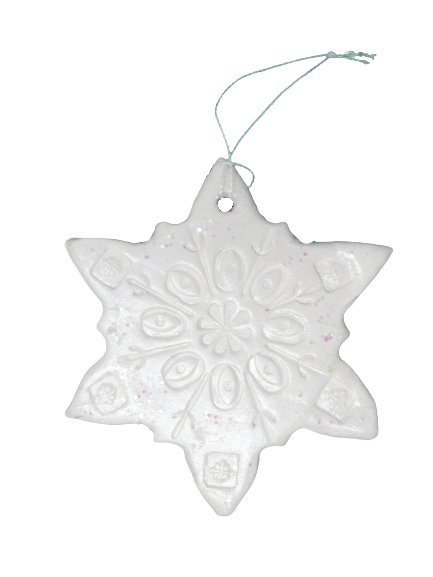
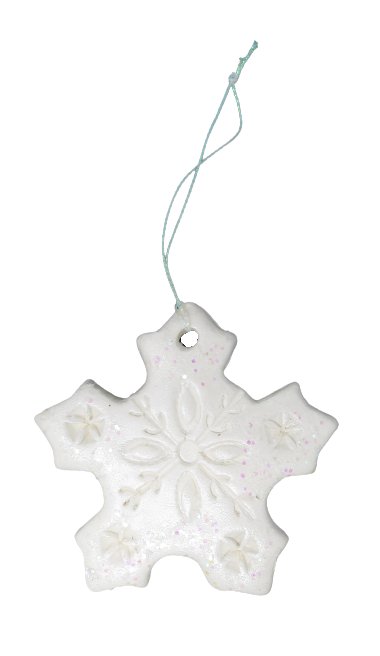
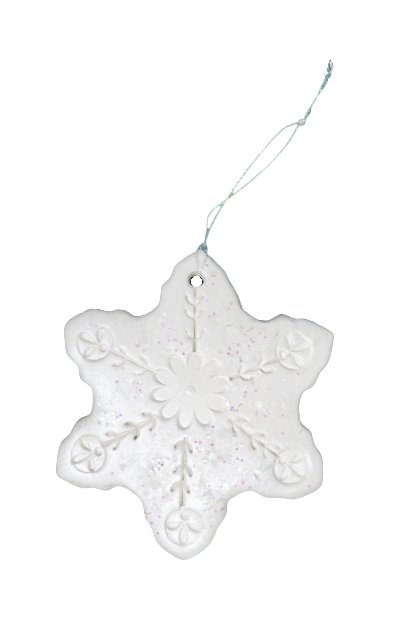
Create an ice crystal design using the texture tools and by adding lines that radiate out from the center.
Step 6:
Dry
Allow the clay to dry for 24 hours.
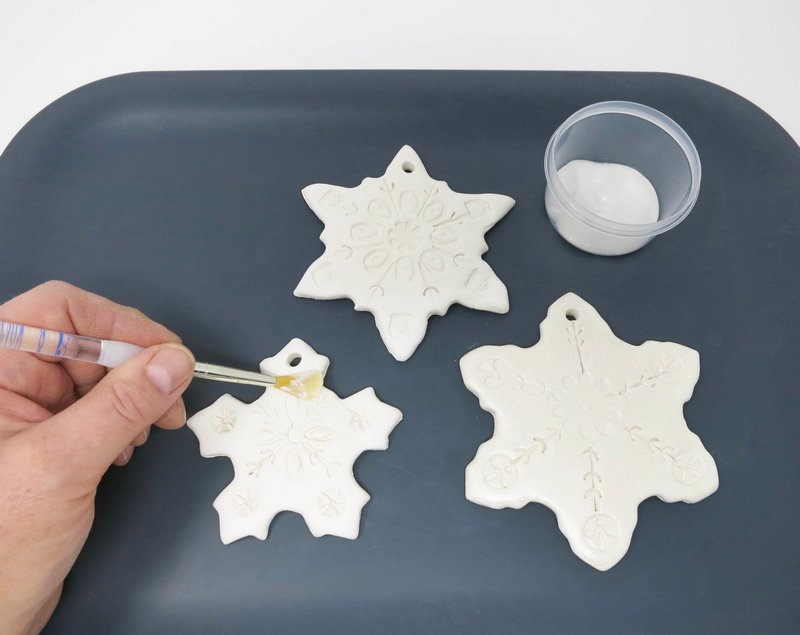
Step 7:
Shine
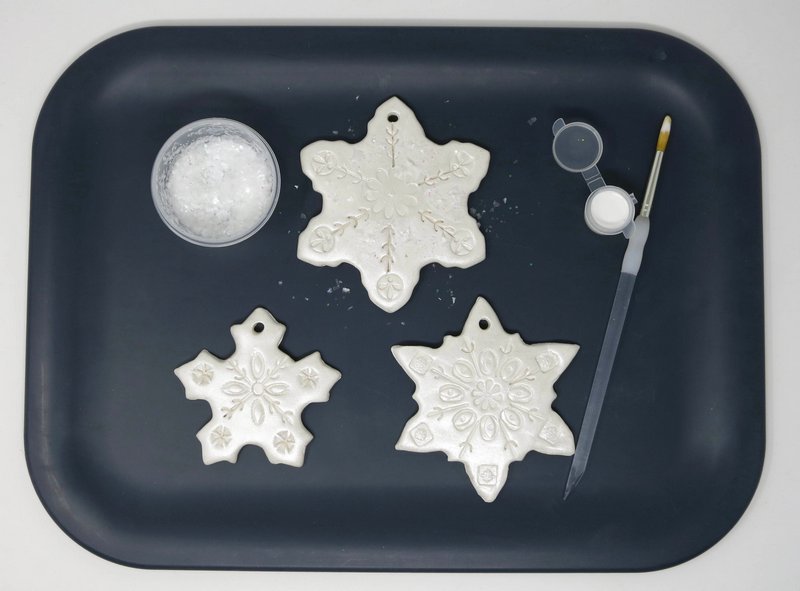
Paint the pearlescent medium over the front and back of the clay shape.
Step 8:
Sparkle
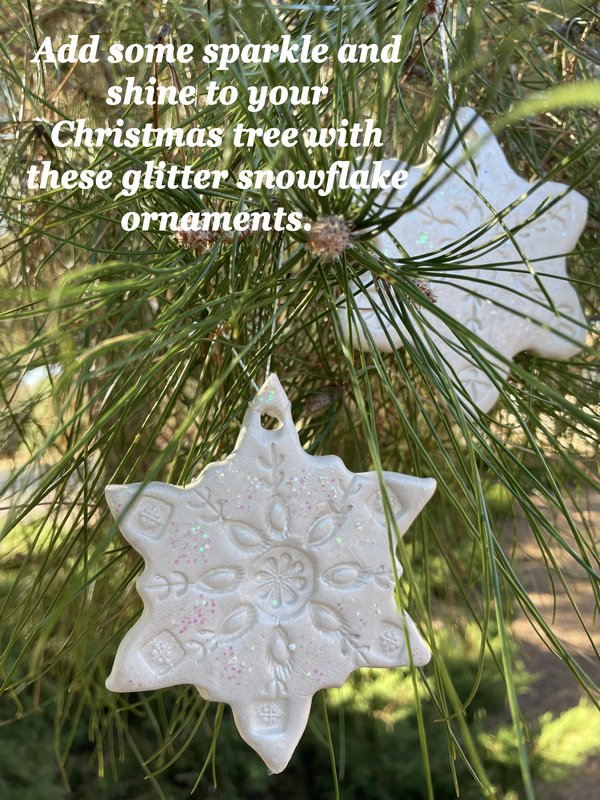
Coat the smooth areas of the clay with liquid glue using a brush. Sprinkle iridescent glitter on top of the glue.
Step 9:
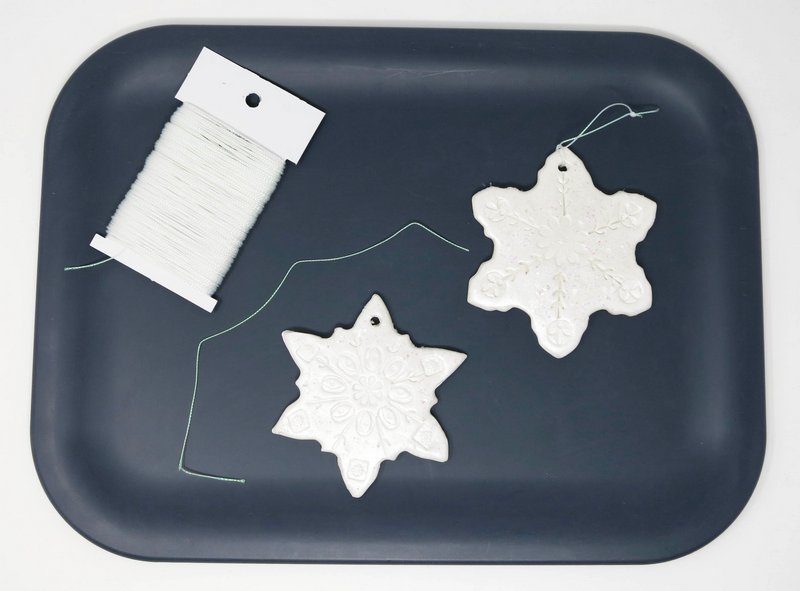
Hanging Cord
Insert a short piece of cord into the shape’s hole and knot the end.
Step 10:
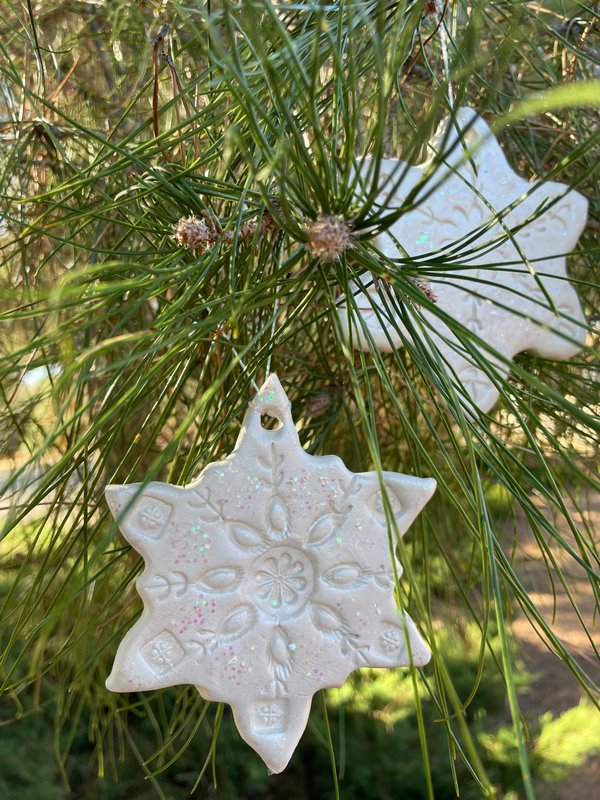
Display
Hang ornaments on the tree.