Materials Needed:
- Activa Li-Qua-Ché
- Plaster vase mold
- Rubber bands
- Squirt bottle
- Distilled water
- Mixing spoon
- Mixing cup
- Cleaning tools
- Sponge
- Brush
- Water Bowl
- Paint
- Acrylic sealer
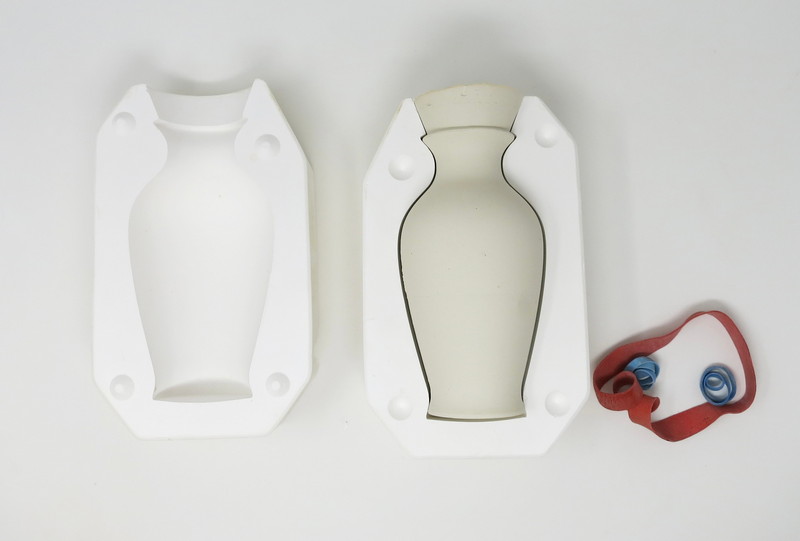
Step 1
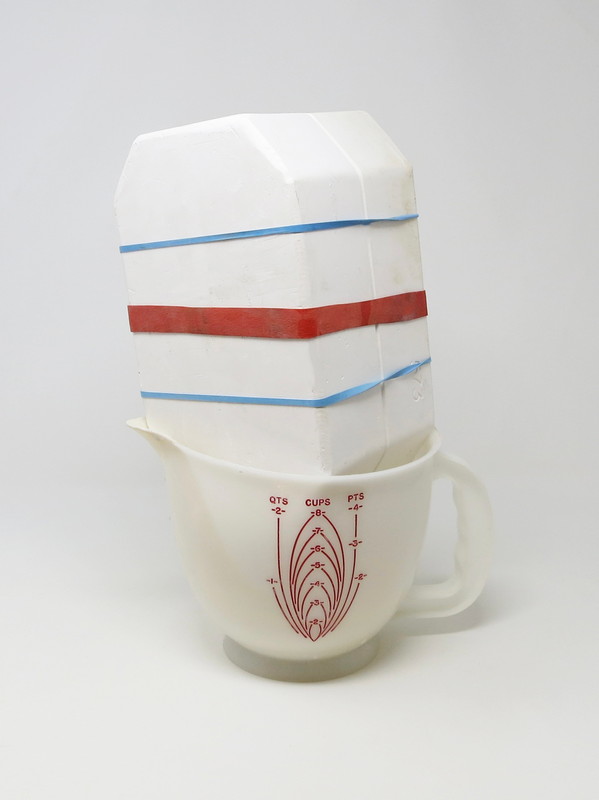
Mold
Set out the mold for casting.
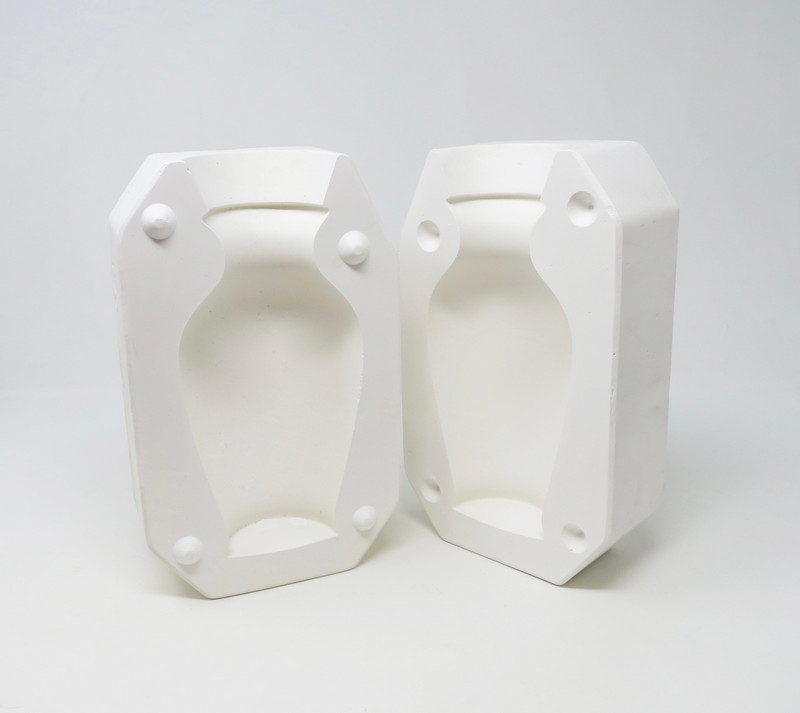
Gather rubber bands for joining the two parts of the plaster mold together.
Mist the mold with water before pouring.
*TIP: Li-Qua-Che pours better if the mold is not completely dry.
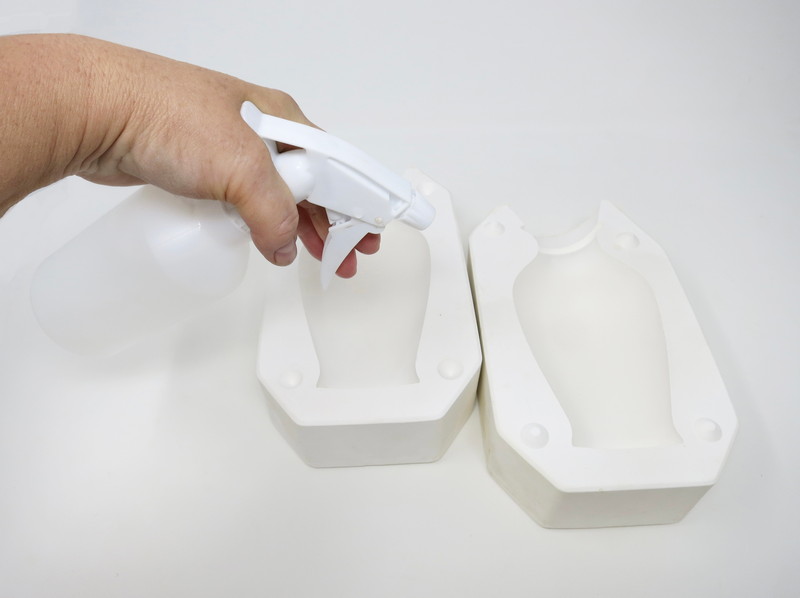
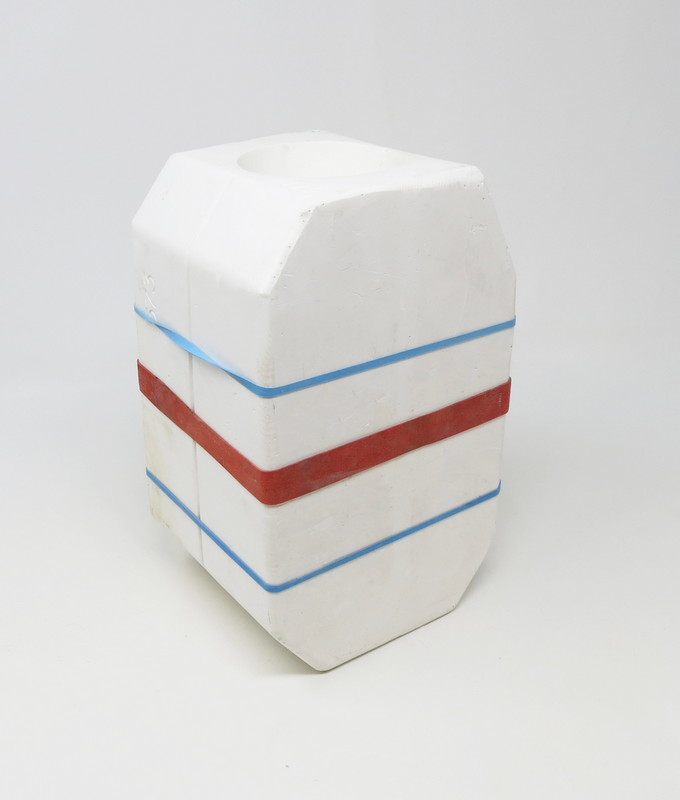
Secure the two parts of the mold together with the rubber bands.
Step 2
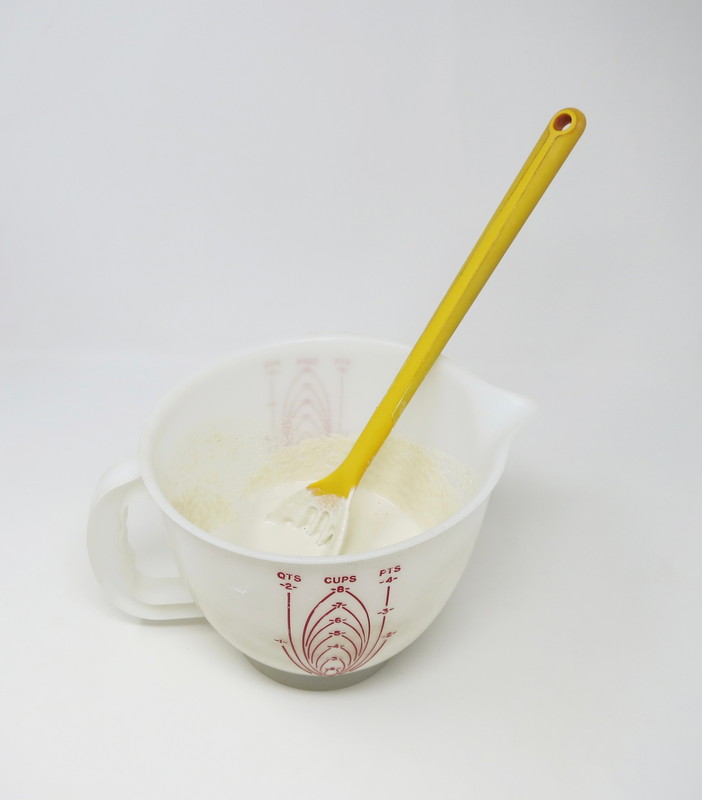
Prepare the Li-Qua-Ché
Thin down the liquid mache’ using 1 part water to 2 parts mache’ in a mixing bowl or cup.
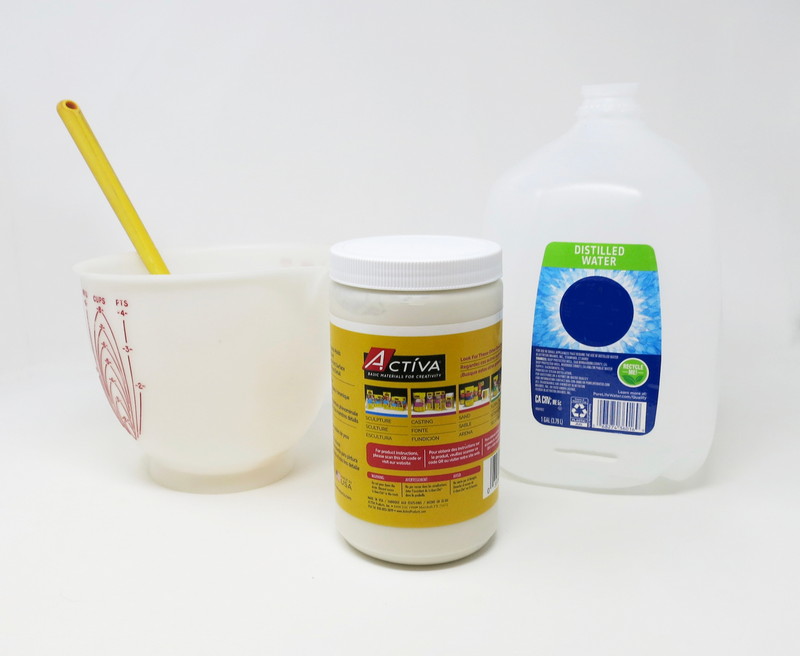
Mix until the Li-Qua-Ché is the consistency of cream.
Step 3
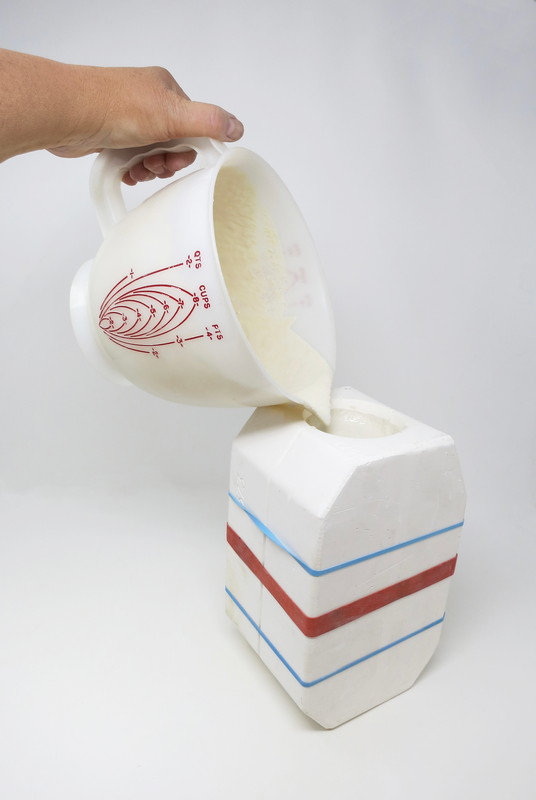
Casting
Pour the liquid mache’ slowly into the plaster mold to avoid bubbles. Fill the mold all the way to the top.
*NOTE: Be sure to fill the mold to the top of the pour hole or edges. As the water is absorbed into the mold, the level will fall.
Gently shake the mold back and forth to release any trapped air bubbles in the liquid.
Allow the liquid mache’ to settle in the mold.
Set the mold aside for 15-30 minutes.
*Additional liquid mache’ may be added if needed.
Step 4
Set Up
Allow the liquid maché to set up. Once a 1/4” wall is formed on the perimeter of the mold pour the excess liquid mache’ back into its original container.
Let the mold stand, to allow the Li-Qua-Ché to drain out of the mold.
Step 5
Dry
Allow the liquid mache’ to dry. Drying time will vary dependent upon the size of the mold and room temperature.
As the liquid mache’ dries it will pull away from the sides of the mold.
Step 6
Casting Removal
Once the mold looks and feels dry, remove the rubber bands from the plaster mold.
Gently separate the two parts of the plaster mold.
Remove the castings from the plaster mold.
Once removed the Li-Qua-Ché will be rigid but fragile, so handle the casting carefully.
Step 7
Cleaning
Cut away the excess maché from the top of the vase casting with a knife tool.
*TIP: Cleaning the casting is easiest when the raw material comes out of the mold.
The casting will get progressively more difficult to clean over the next few hours as the product is hardening.
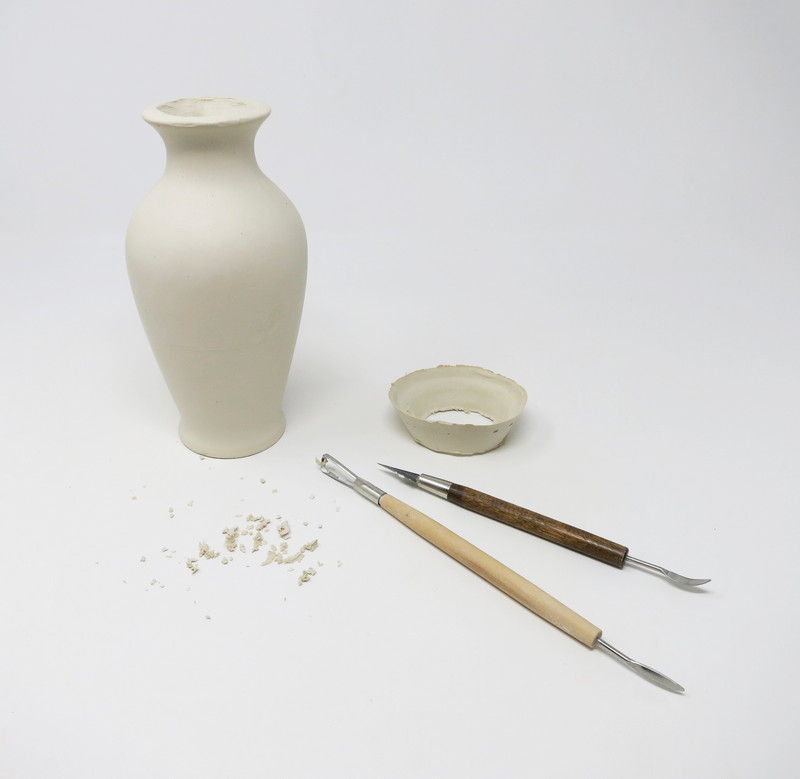
Scrape away the casting seam using a cleaning tool.
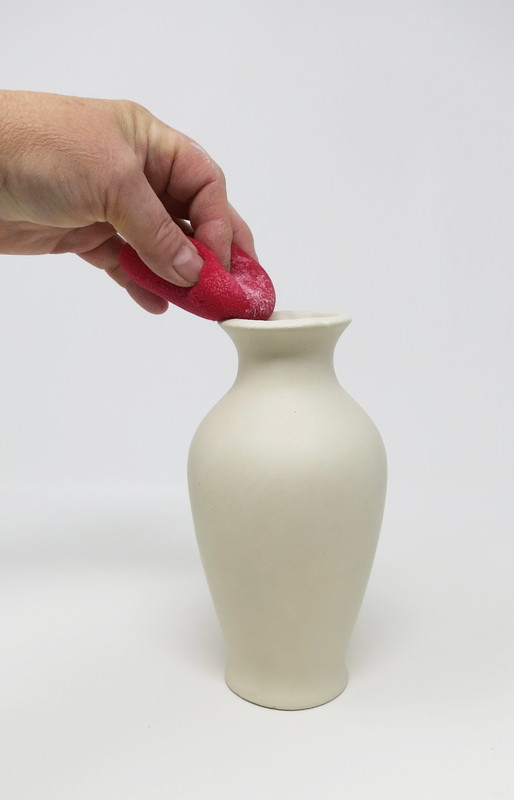
Smooth the rim of the vase with a damp sponge.
*TIP: When the casting is totally hardened, it may still be cleaned by softening the seams with a small amount of water.
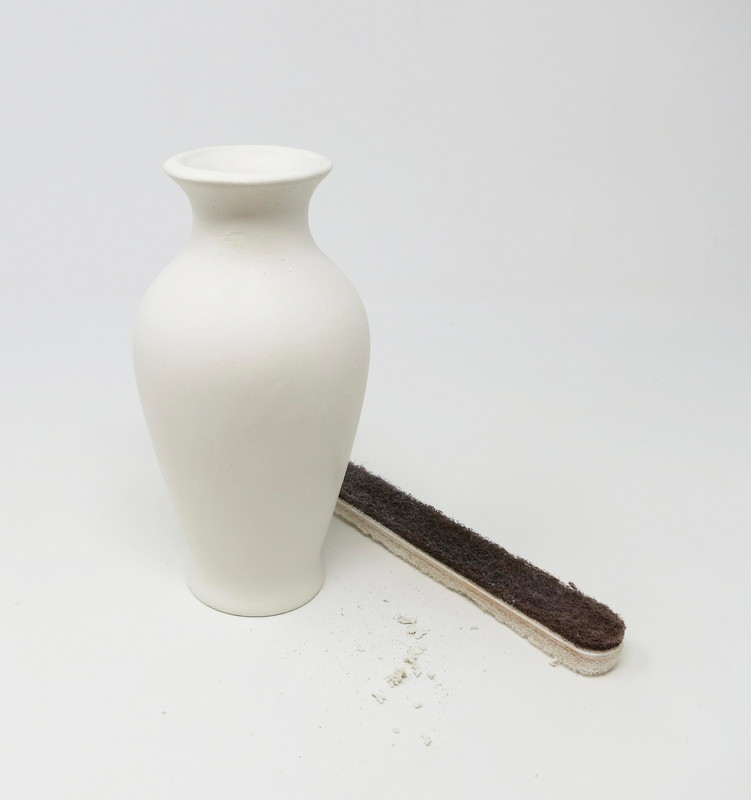
Parts of the casting can be sanded using sandpaper or a rasp.
Step 8
Curing Process
After the casting is removed from the mold, it takes up to 24 hours at room temperature for the Li-Qua-Ché product to fully cure.
When the casting is totally cured it is water resistant, but not totally water proof.
It can be left in its natural state, decorated with paints or an acrylic sealant can be applied.