Supplies Needed:
- Blackjack Clay Natural Kiln Fire Stoneware
- Potter’s Wheel
- Bat
- Water Bucket
- Sponge
- Wooden Rib Tool
- Wooden Knife Tool
- Fettling Knife
- Trimming Tool
- Shammy
- Wire Tool
- Circle Cutter
- Giffin Grip Bat
- Kiln
- Cone 10 High Fire glaze
Preparing The Clay
Wedge
Weigh out desired amount of clay. (1 pound of clay was used for this sample cup.)
Prepare the clay by wedging it.
*Wedging is the process of pushing and pressing on clay to expel all air bubbles trapped in it and to bring the clay to a uniform, consistent moisture level.
Step 1
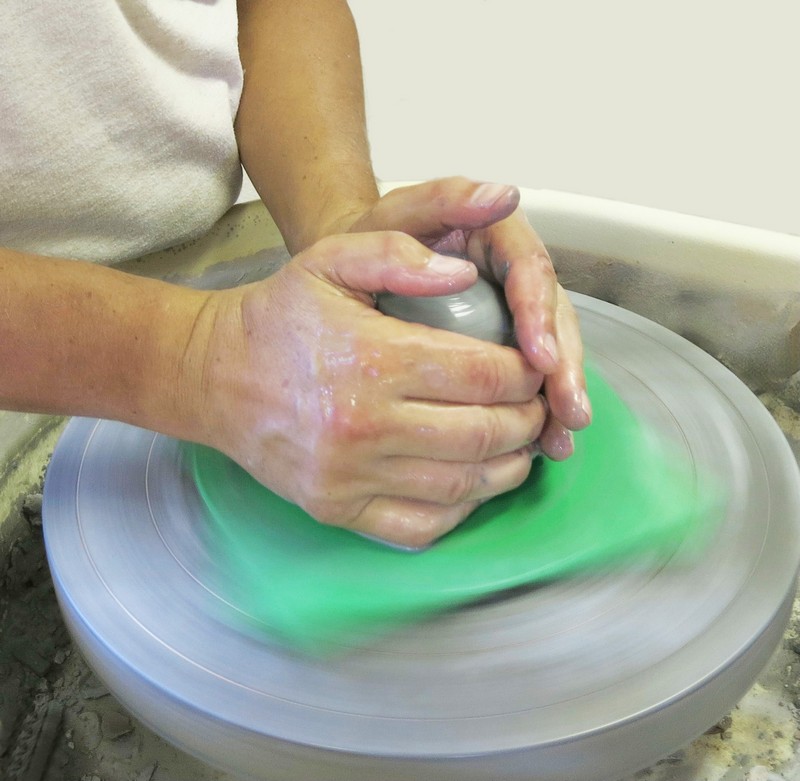
Centering
Form clay into a sphere and slam it onto the center of the bat attached to the potter’s wheel.
Wet hands and clay.
Turn the potter’s wheel on and center the clay.
Step 2
Open The Form
Insert one finger to start into the center of the clay. Using fingers firmly pull the clay back towards the body creating an opening in the clay.
Repeat several times until the clay is the desired width.
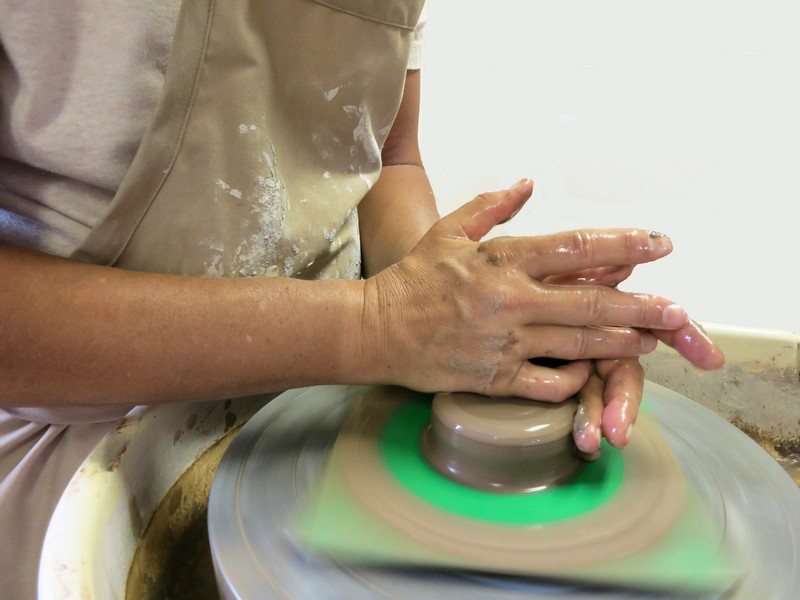
Step 3
Compress The Floor
Use the wooden rib to compress the floor of the form. Insert the wooden rib tool into the opening and pull the tool back towards the body.
Step 4
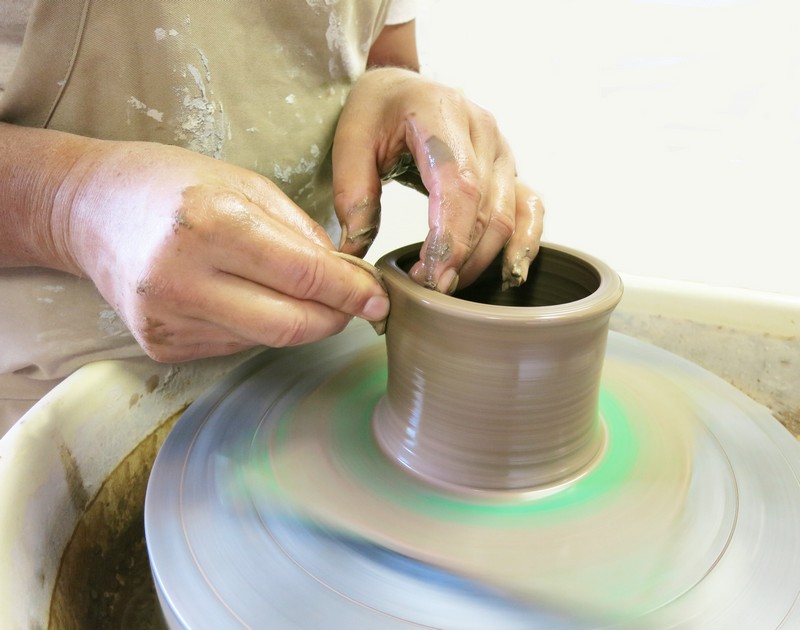
Walls
Pull the clay up from the bottom in-between fingertips to create the walls of the form.
Repeat until walls are the desired thickness and height.
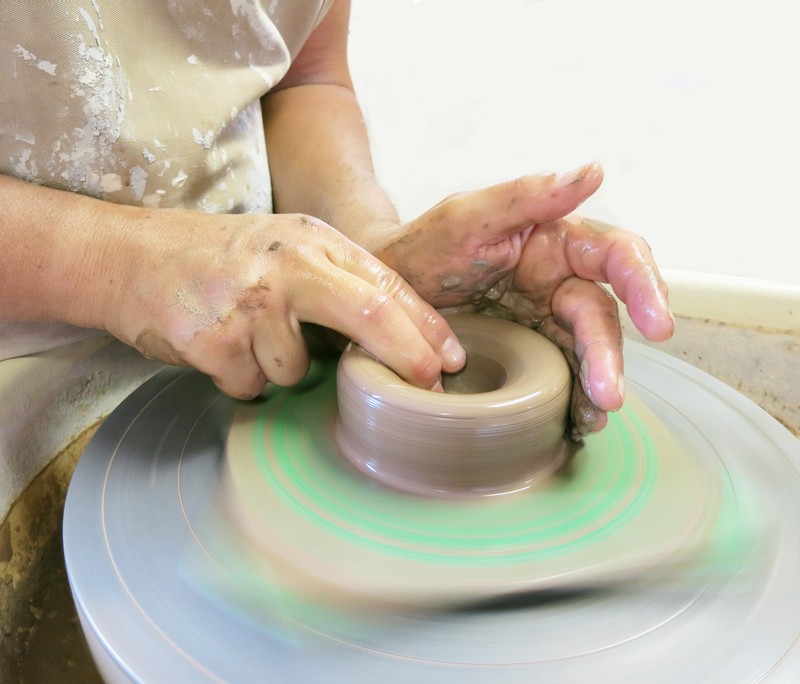
Step 5
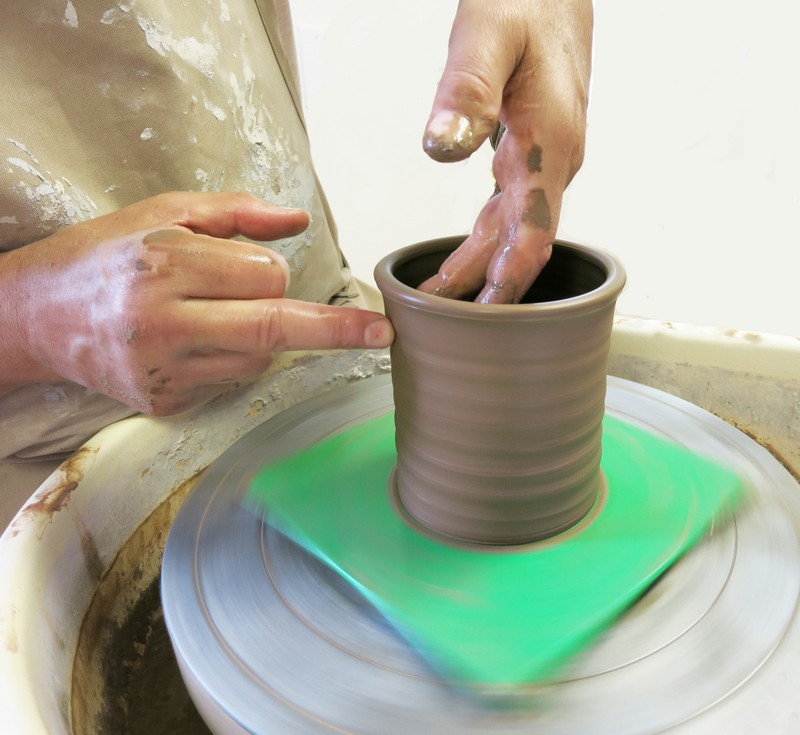
Base
Use the wooden knife tool to trim away excess clay from the bottom of the form to shape the base of the cup.
Remove the excess clay with a felting knife.
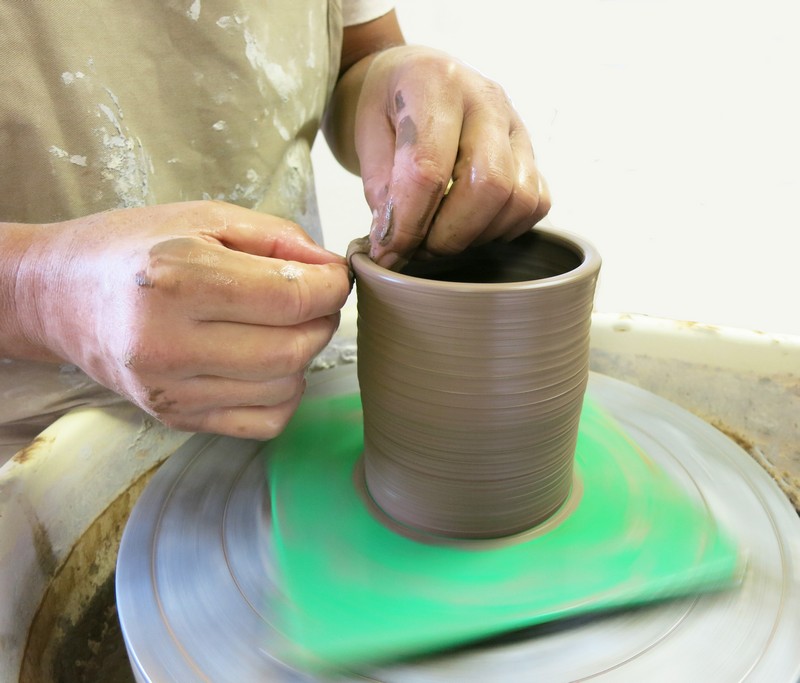
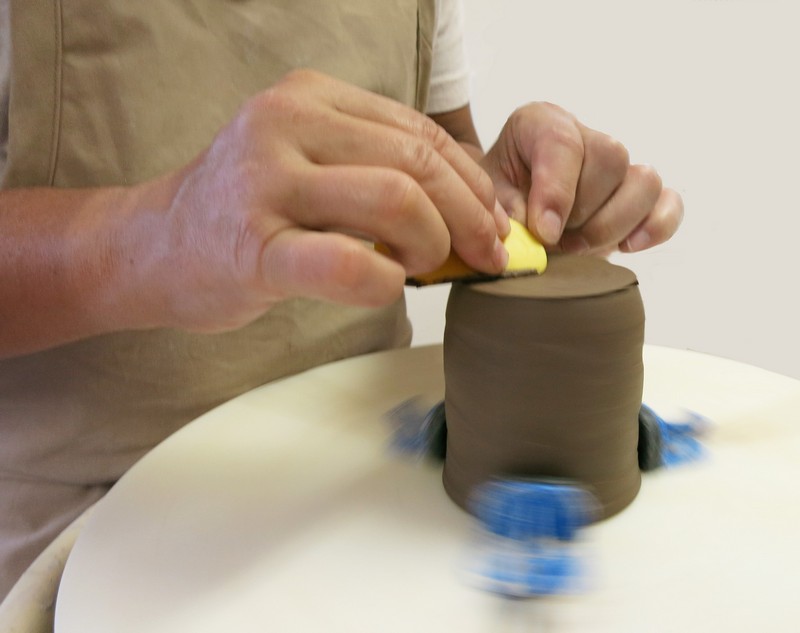
Step 6
Rim
Smooth the rim of the mug with a wet shammy.
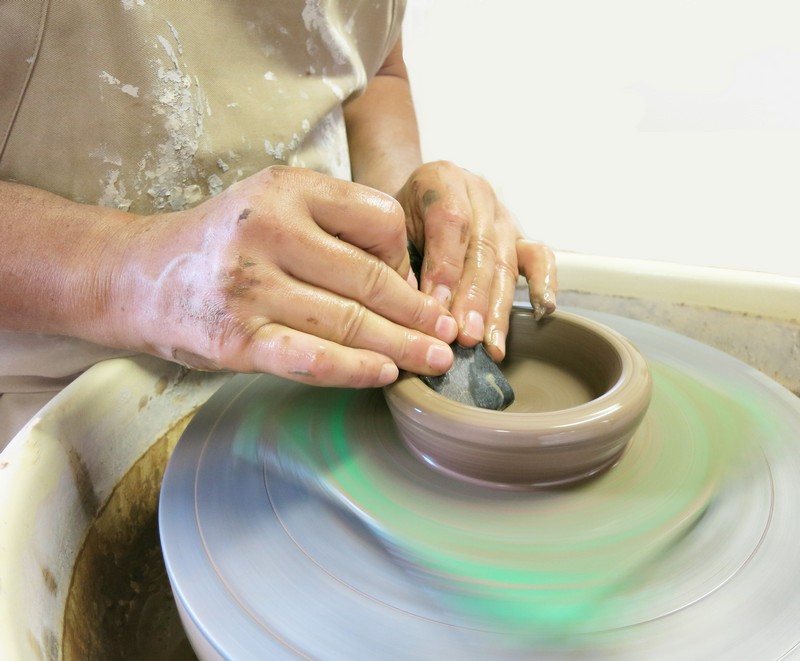
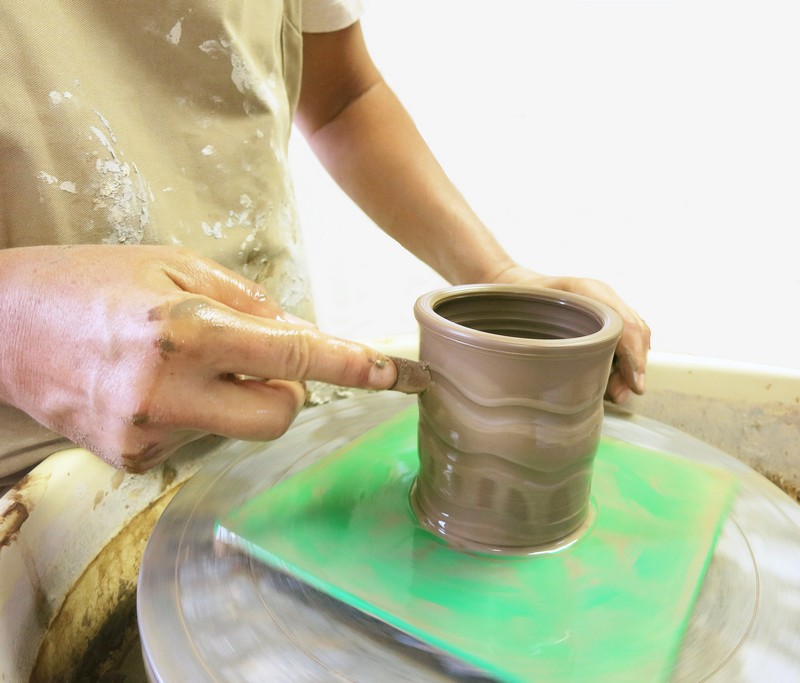
Step 7
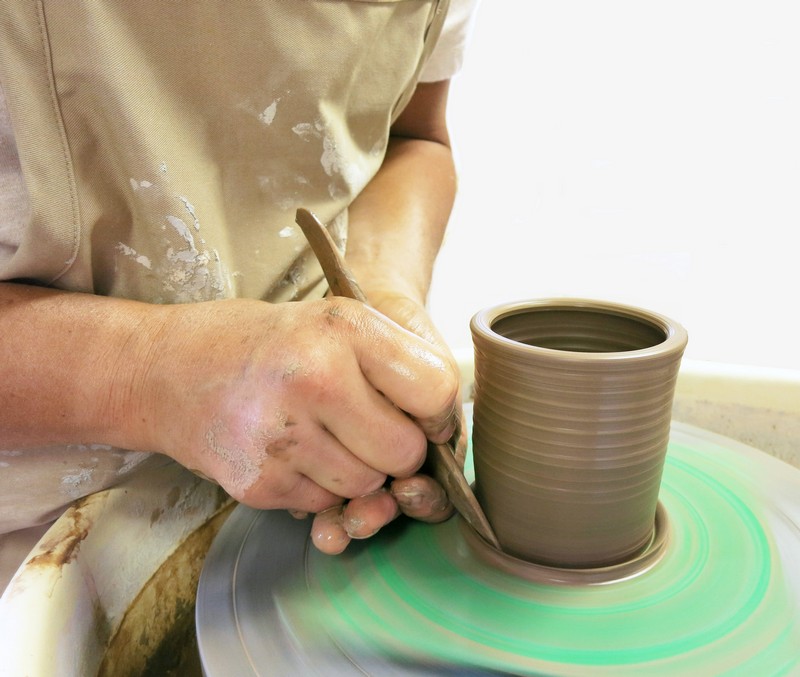
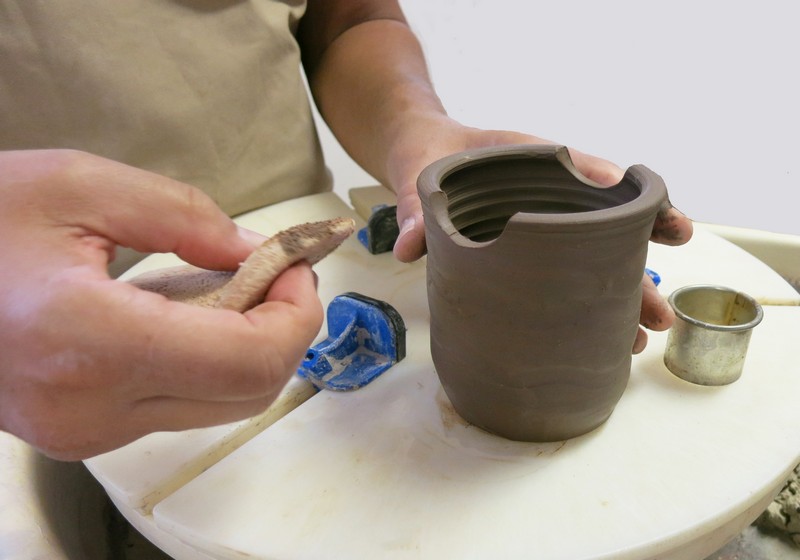
Ridges
Run the wooden knife tool up the side of the cup to create organic ridges.
Step 8
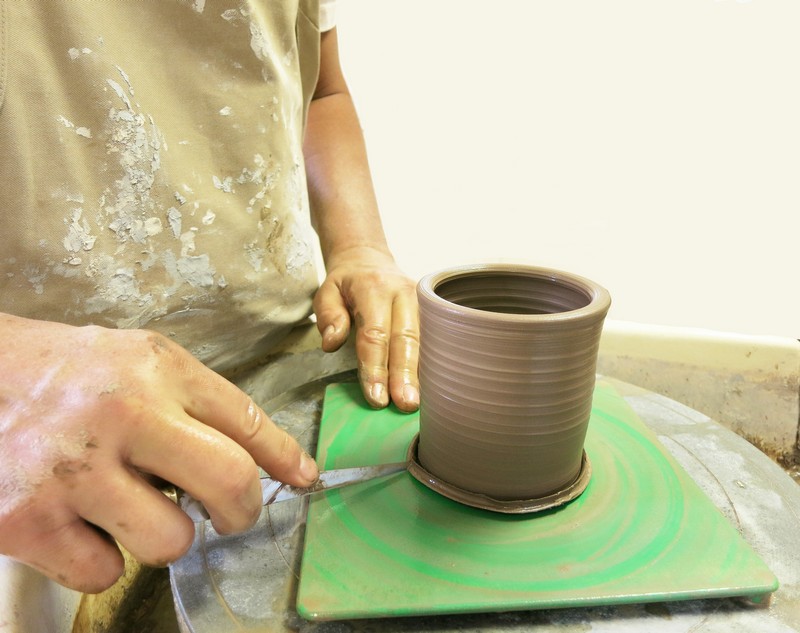
Removal
Slip a wire tool under the base of the cup and cut the cup off of the pottery wheel bat.

Step 9
Dry
Allow the clay to dry to a leather hard state.
*Leather hard clay is clay that has started to dry but has some flexibility; it can still be carved, cut, and joined together, but it is hard like a block of cheese.
Step 10
Trim
Position the leather hard cup into the Griffin Grip bat. Remove excess clay from the base of the cup form using the trimming tool.
Smooth the foot of the cup with a damp sponge.
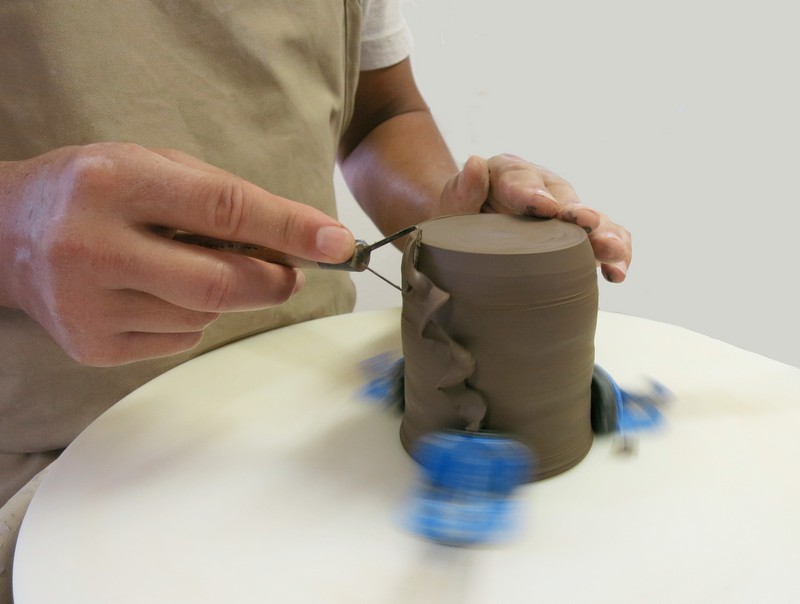
Step 11
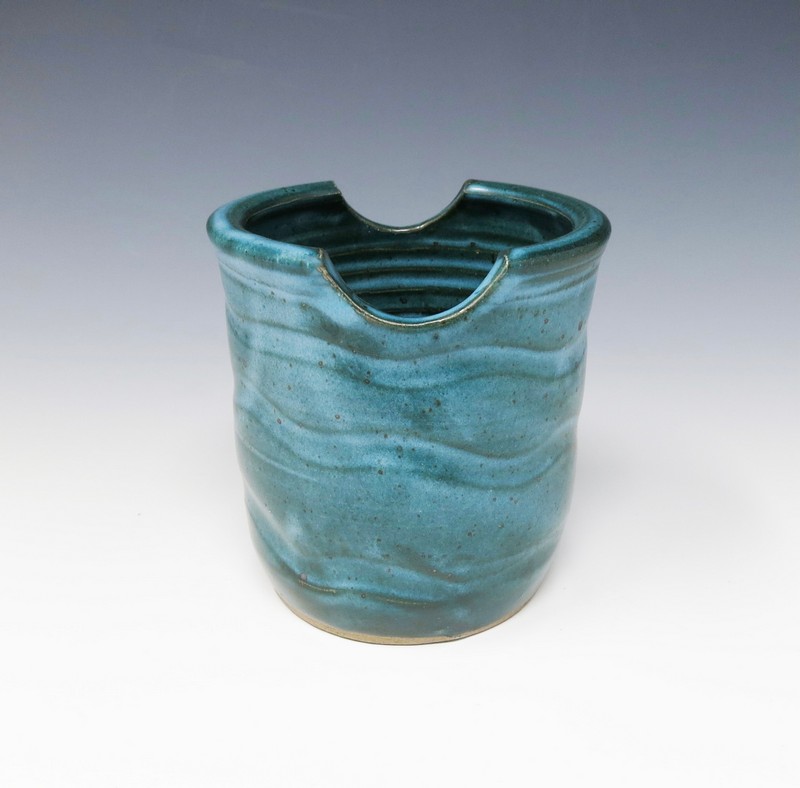
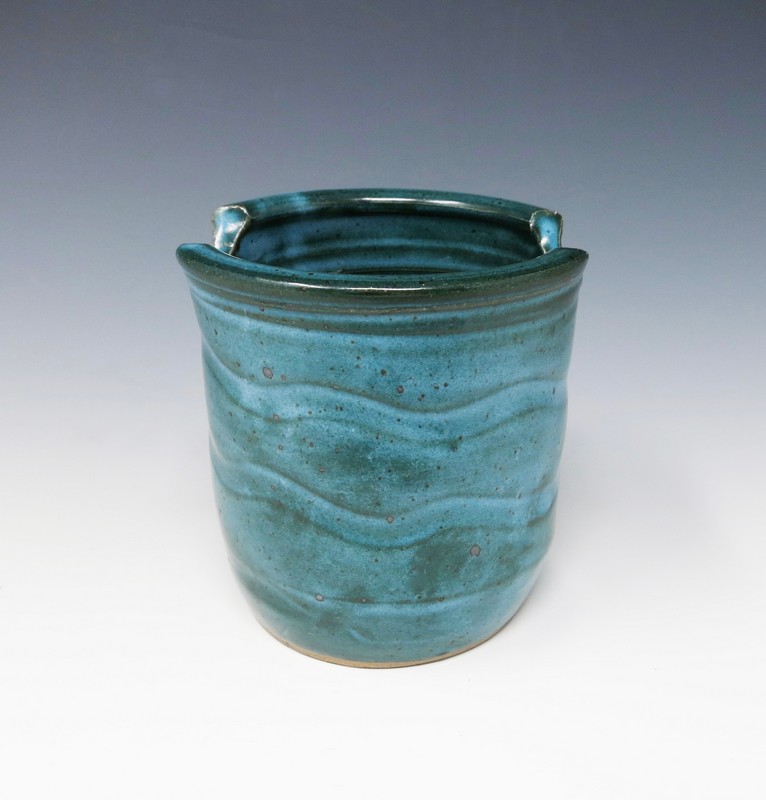
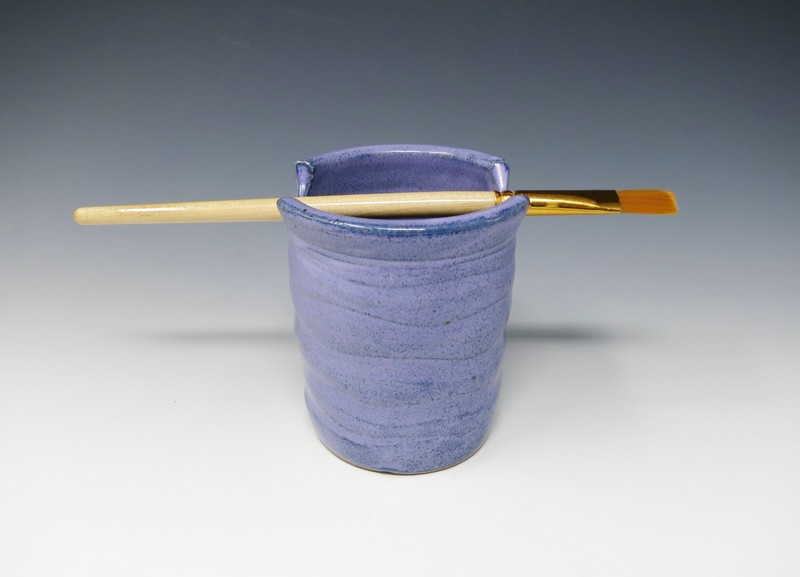
Cut Outs
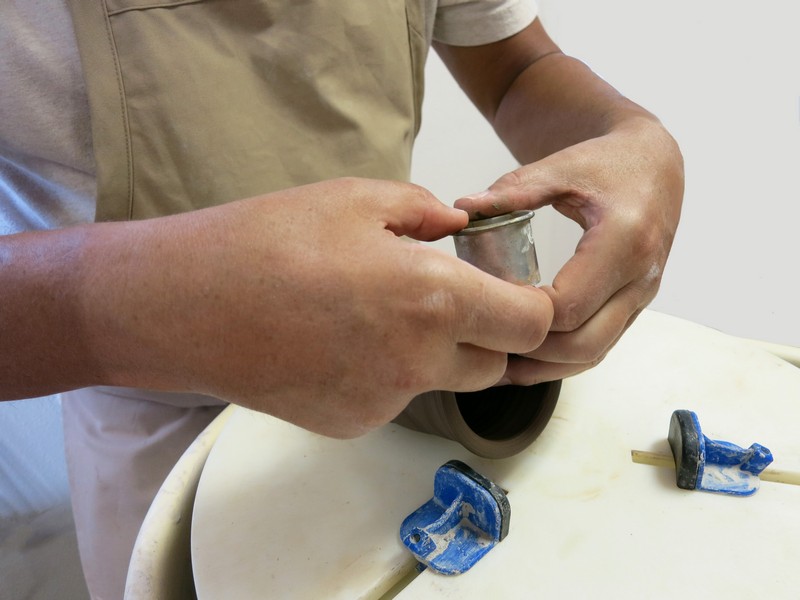
Insert the circle cutter at the half way point into the side of the cup’s rim and push out the semicircle of clay. Repeat the process on the opposite side of the cup.

Step 12
Dry
Allow the clay to bone dry.
**Bone Dry is clay from which as much water as possible has evaporated from the piece; if you hold it to your cheek, it will seem dry instead of cold and damp. This clay looks and feels chalky and is very fragile; it is at this stage that clay pieces are fired in the kiln.
Step 13
Bisque Fire
Fire the clay cup in the kiln to bisque fire temperature.
*Bisqueware is an unglazed clay piece that has been fired in the kiln once at a low temperature and is ready to be glazed.
Step 14
Glaze
Apply a high fire glaze to the bisque cup.
Step 15
Glaze Fire
Fire the glazed cup in the kiln.
*Glazeware is a clay piece that has been fired twice - once in a bisque firing and a second time in a glaze firing; it has a glossy or matte glasslike finish and a smooth texture.