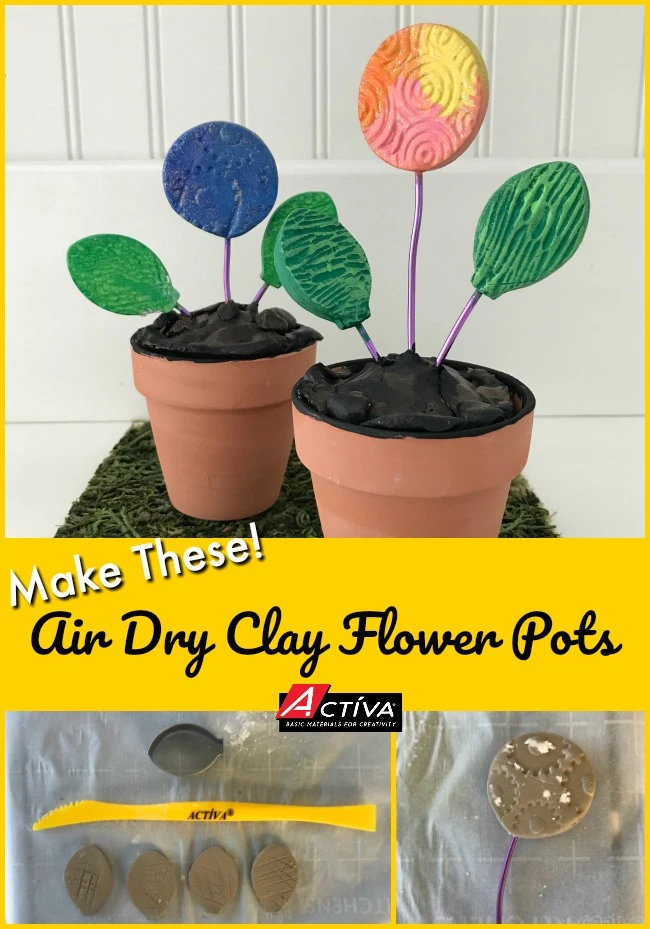
You know what they say - "April showers bring May flowers." Well here at ACTÍVA, we say don't wait for May - make your own flowers! This air dry clay flower pots craft is the perfect way to do that, and it's a great clay craft project for all ages!
Supplies Needed for This Air Dry Clay Flower Pots Craft
- Activ-Clay air dry clay (we used white Activ-Clay, but you could use terracotta Activ-Clay)
- Activ-Tools: Clay Tools Set
- Activ-Tools: Designer Texture Sheets
- Activ-Tools: Geometric Cutters Set
- Activ-Tools: Designer Cutters Set
- Clay Roller Kit
- Colored floral wire
- Scissors
- Acrylic paints in colors of your choice
- Paint brush
- Water bowl
- Small terracotta flower pots
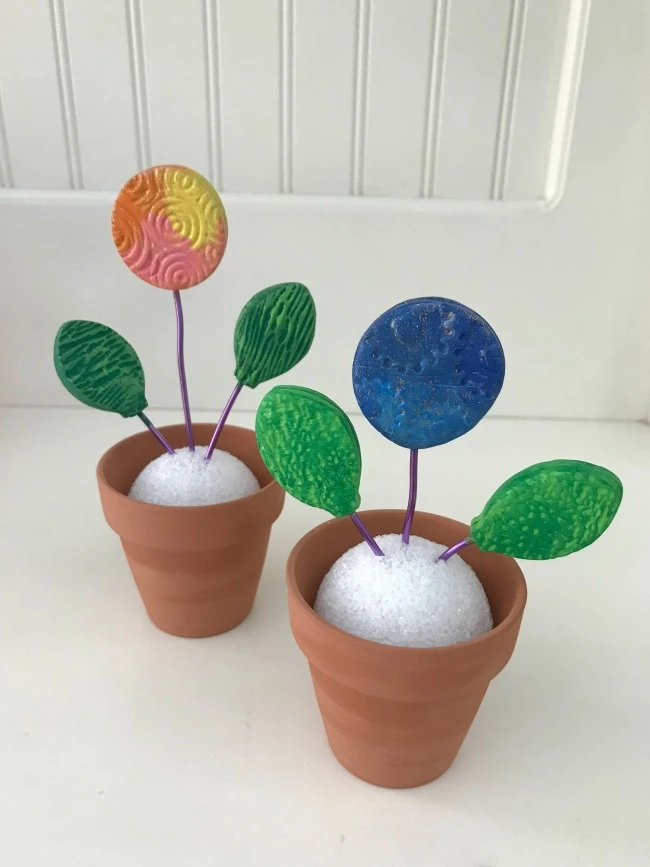
- Floral foam
- Optional: glitter topcoat, cornstarch, and parchment paper
How to Make Air Dry Clay Flower Pots
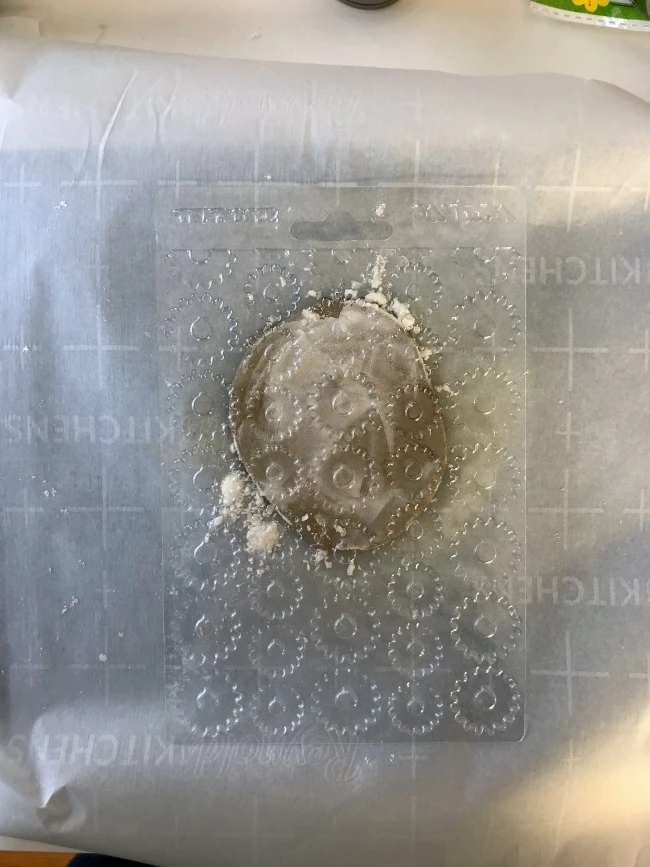
This air dry clay craft is so fun and easy! To create the flowers, begin by rolling a small chunk of Activ-Clay on the Clay Roller Kit table. Sprinkle a small amount of cornstarch onto the clay, and gently press one of the Activ-Tools: Designer Texture Sheets onto the clay. We used the sprockets pattern. Roll the Clay Roller Kit roller over the Designer Texture Sheet.
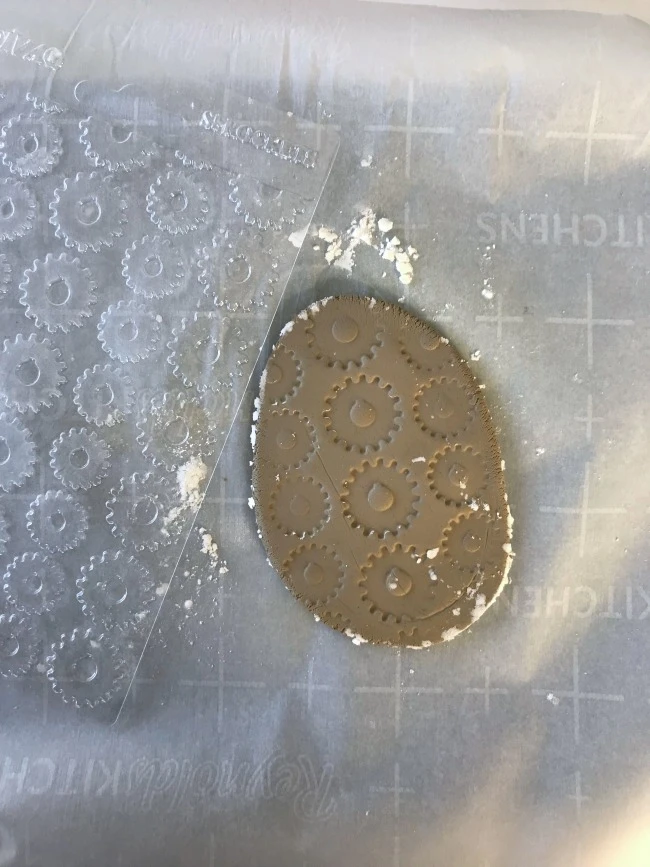
Carefully lift the Designer Texture Sheet from the clay to reveal the beautiful pattern.
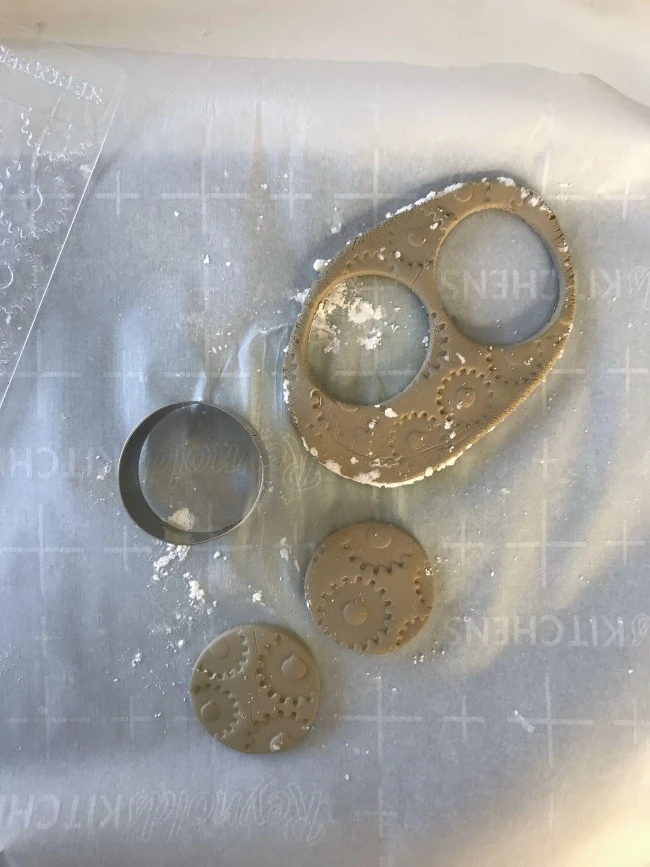
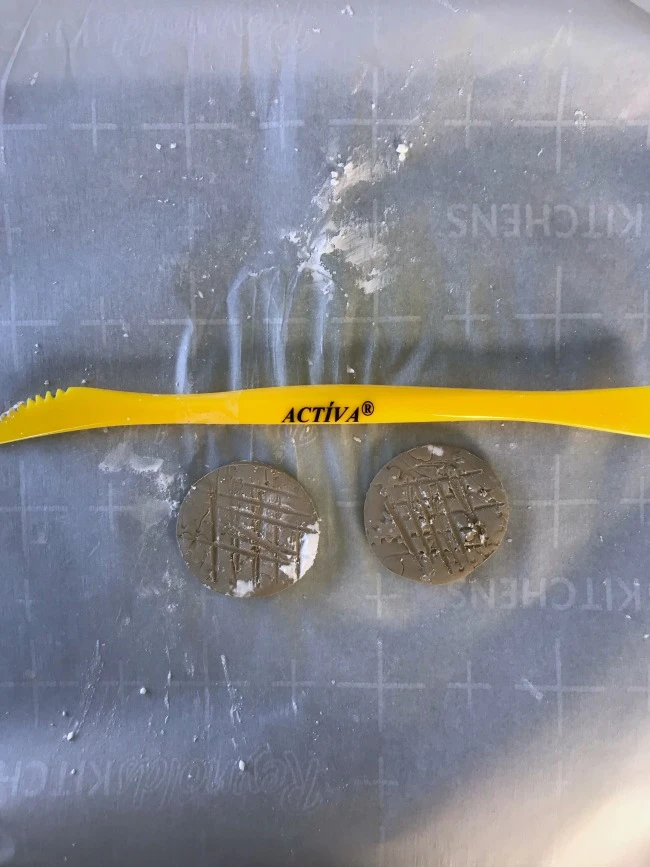
Next, use the circle clay cutter in the Activ-Tools: Geometric Cutters Set to cut out four circles. You will use two circles for each flower.
Carefully flip over the circles, and gently etch hash marks into the backs of the circles, using the rough cut blade in the Activ-Tools: Clay Tools Set. Doing this will allow the clay pieces to stick together nicely when you attach them later on in the project.
Cut two pieces of craft floral wire to the desired length, and gently press one piece into the back of a circle, and the other piece into the back of the other circle.
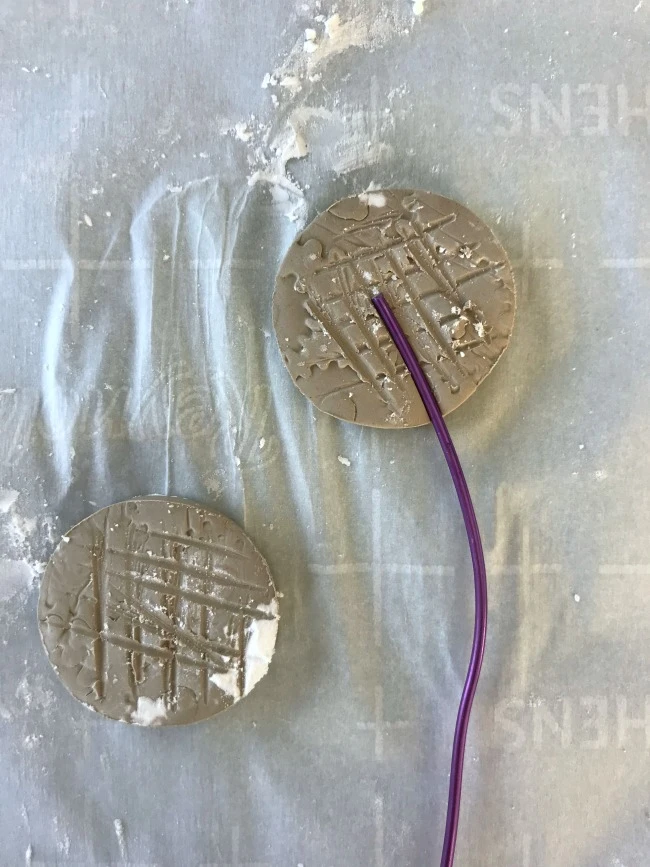
Gently press the air dry clay circles without wire onto the air dry clay circles with wire. Use a little bit of water on your fingertip to smooth the edges of the circles together.

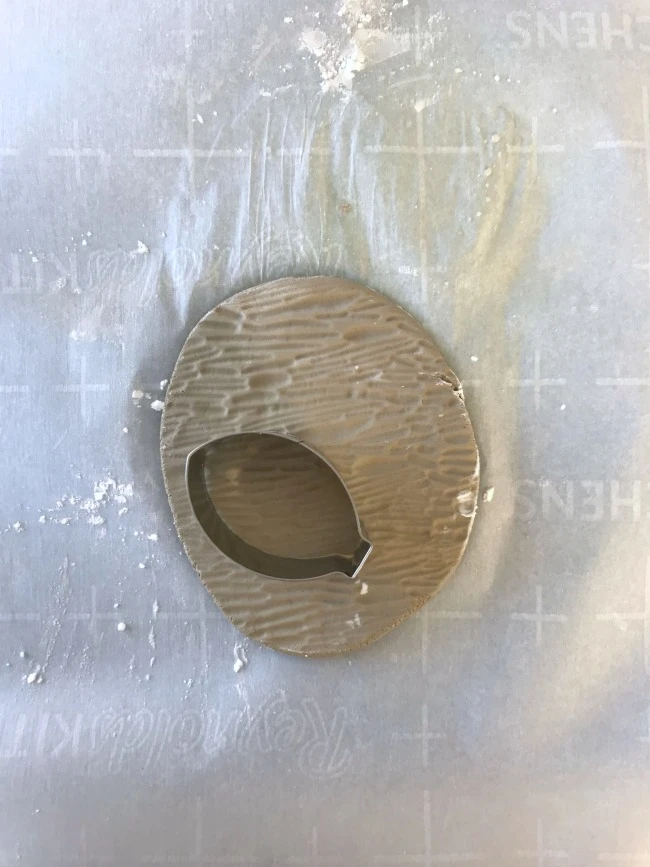
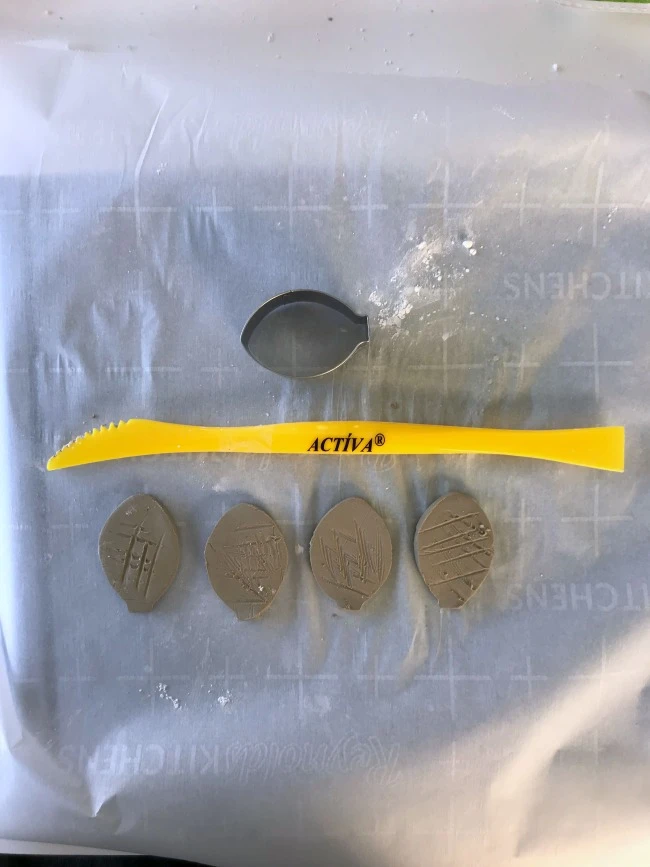
Next, repeat the clay texturizing process by using the woodgrain pattern from the Activ-Tools: Designer Texture Sheets set, and then cut out four leaves, using the leaf-shaped cutter in the Activ-Tools: Designer Cutters set.
Repeat the hash marking process on the back sides of the leaves, the floral wire process, and the joining of leaf pieces process, just as you did for the flowers.
Wipe off excess cornstarch, and allow the clay pieces to dry for at least 24 hours. Once the pieces are dry, they will be hard and a lighter color than when wet. At this time, paint the clay pieces in whatever colors you like! We blended acrylic paints to help the texture on the pieces stand out, and we finished with a glitter topcoat for a sparkly touch.
After the paint dries, put a piece of floral foam into a flower pot, and press the wire pieces into the floral foam.
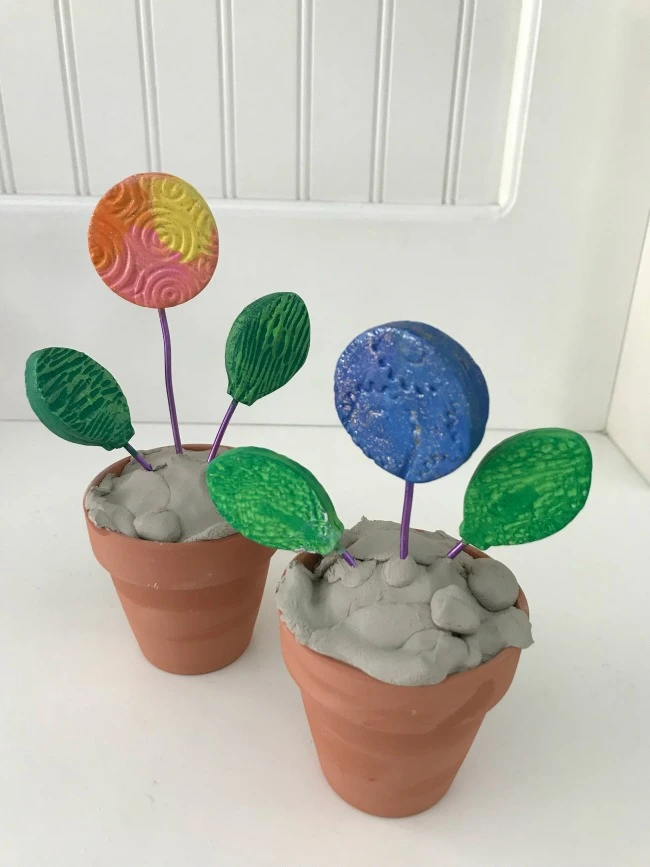
Cover the floral foam with more Activ-Clay air dry clay so that it looks like dirt or soil. (NOTE: if you don't want to paint this part of the project, you could use PLUS Clay air dry clay in black to get the same look with less work!).
Once the air dry clay soil has dried, paint it black and brown. Let it dry and enjoy your air dry clay flower pots!
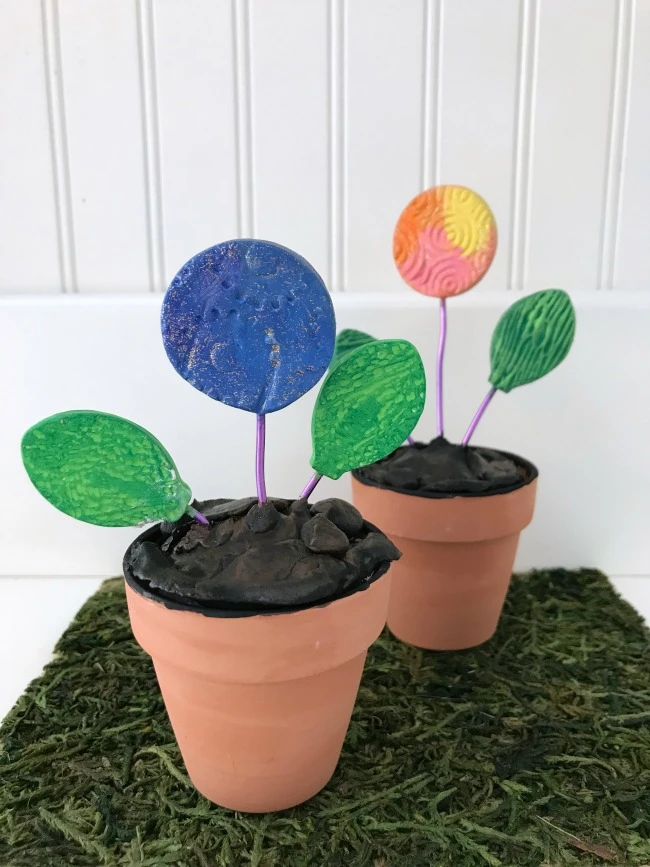
The possibilities for this air dry clay craft are endless. Customize the colors, shapes of the flowers, textures, and more to get the perfect air dry clay floral arrangement for you or someone you love!