Materials Needed:
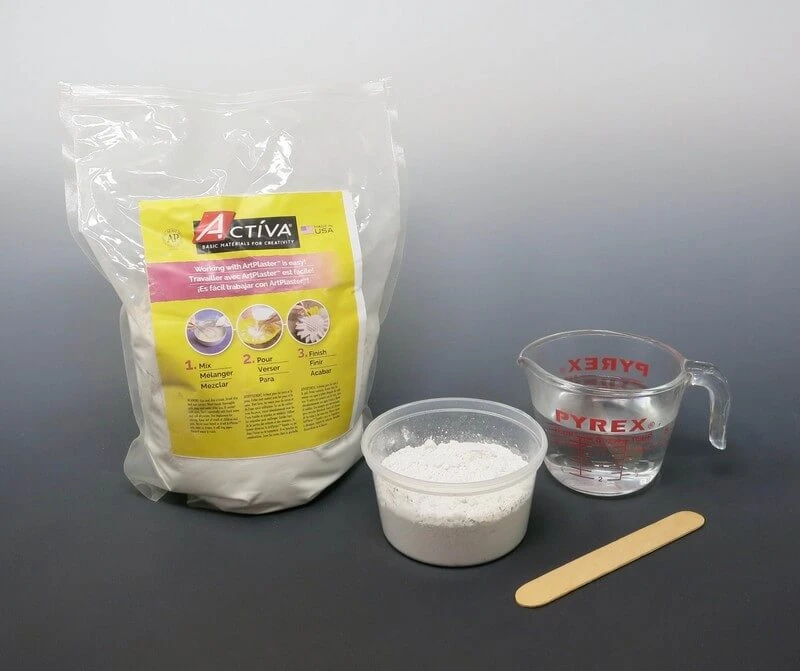
- ACTÍVA® ArtPlaster™ Professional Casting Plaster
- Plastic Easter egg mold
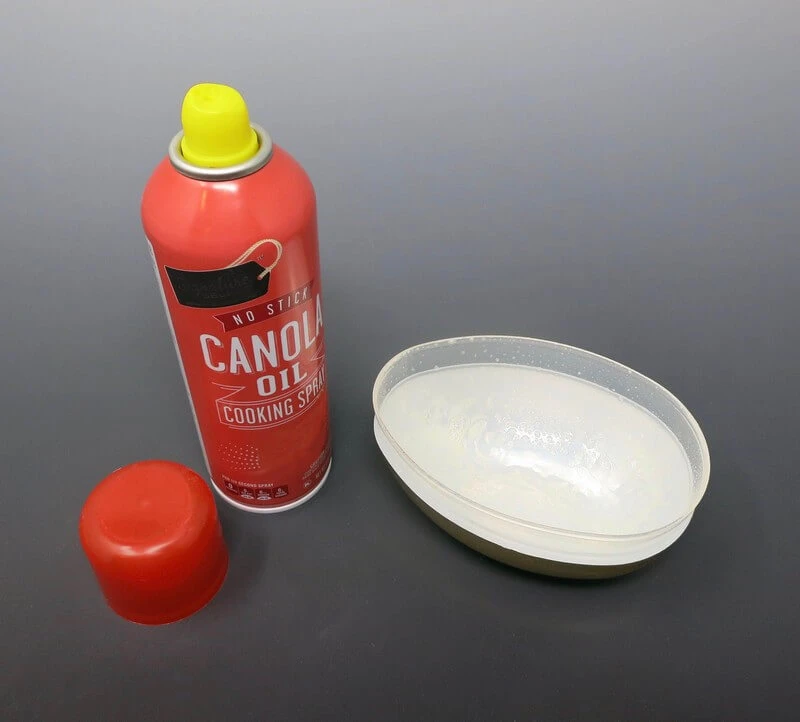
- Vegetable oil cooking spray
- Measuring cup
- Mixing container (preferably a disposable)
- Craft stick
- Water
- Paper clip
- Carving tools
- Sponge
- Paint brushes
- Acrylic paint in different colors
- Glitter / Gemstones optional
Step 1:
Mold
Use a plastic Easter egg as a mold form.

Step 2:
Release
Separate the parts of the egg form. Place the top into the bottom section to hold it. Spray a thin coat of vegetable oil inside the top of the egg form.
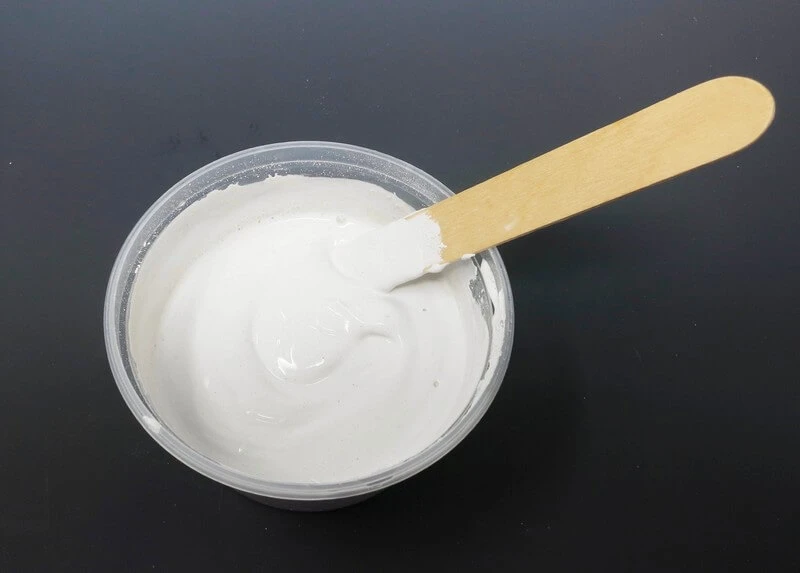
Step 3:
Plaster
Measure out an amount of plaster based on the size of your egg form. The ideal ratio for an ArtPlaster™-towater mixture: 2 parts dry ArtPlaster™ powder to 1 part water.
Step 4:
Mix
With a craft stick, mix ArtPlaster with water in the mixing container. Slowly stir the ArtPlaster mixture until it reaches a uniform and smooth consistency. Stir it gently to avoid creating air bubbles in the plaster.
Step 5:
Fill
Slowly pour the smooth ArtPlaster into the egg form mold.
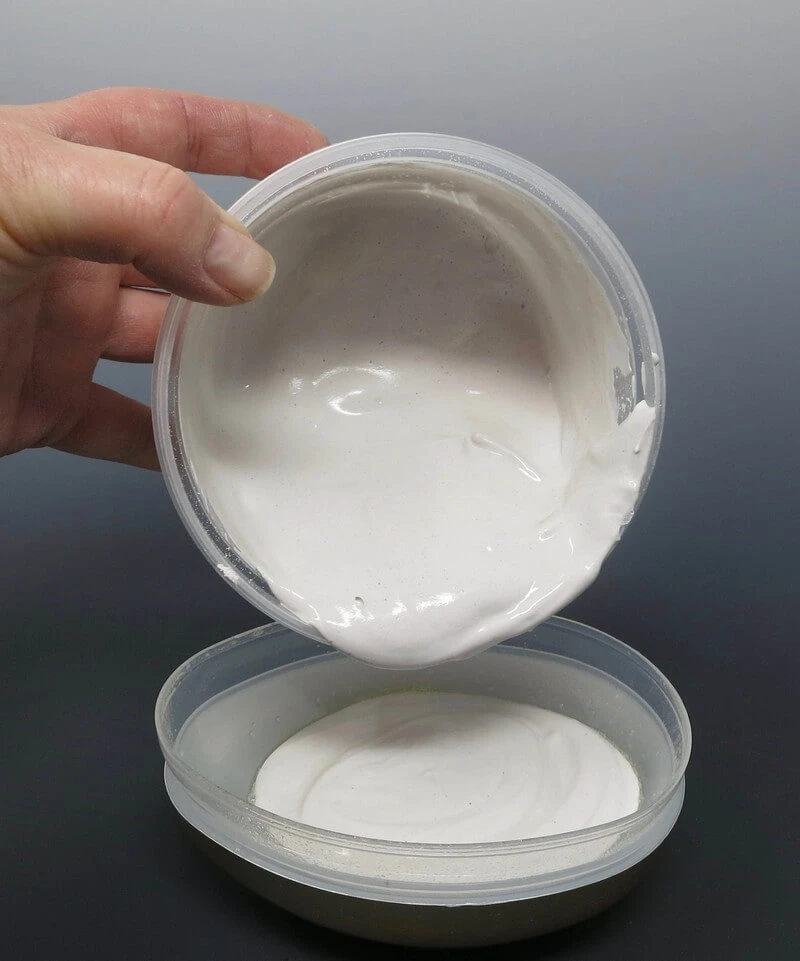
NOTE: Do not throw any leftover mixture into the drain, it will clog the pipes. Instead, let the mixture harden in the mixing container, then throw it into a trash can.
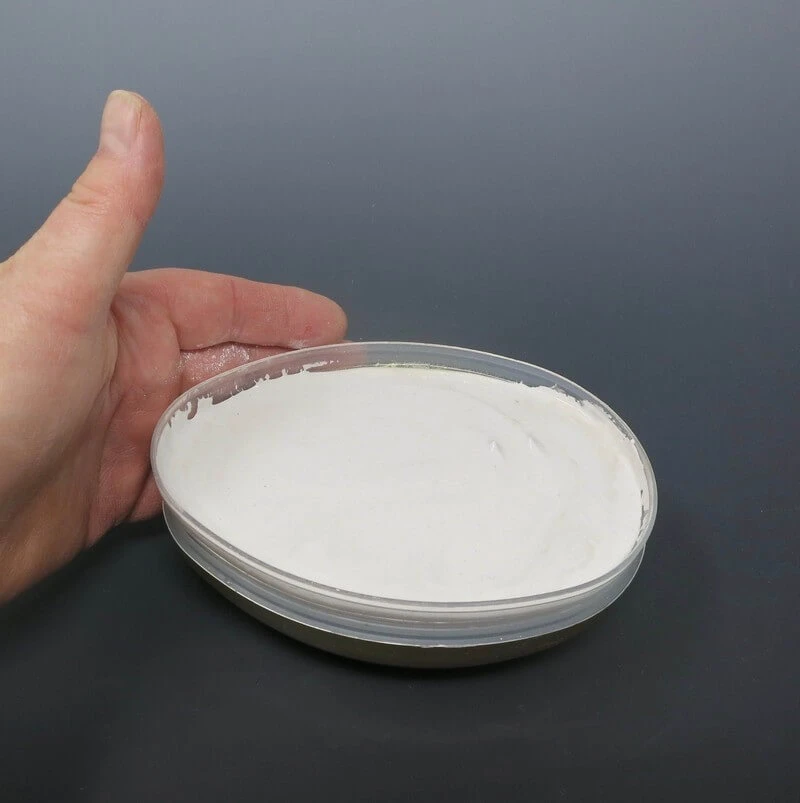
Step 6:
Air Bubbles
Gently tap the sides of the mold to release any air bubbles from the ArtPlaster.
Step 7:
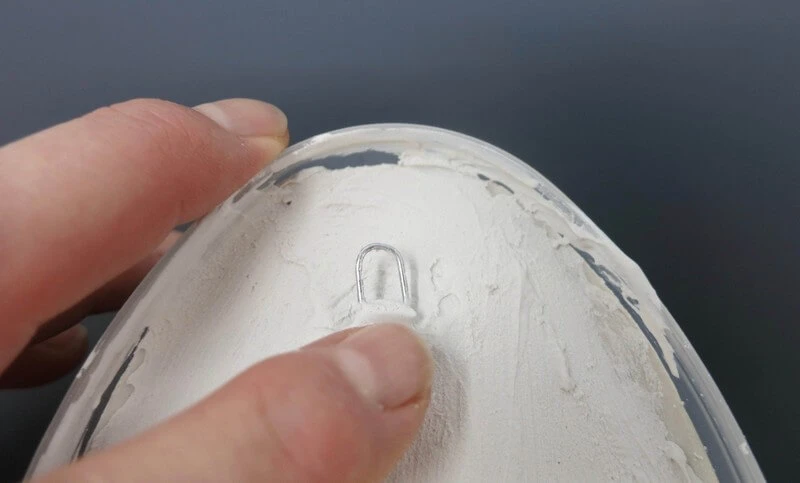
Hook
Allow the ArtPlaster to set up. It typically takes 20 to 30 minutes for ArtPlaster to set. Some heat is given off from the plaster while it sets up.
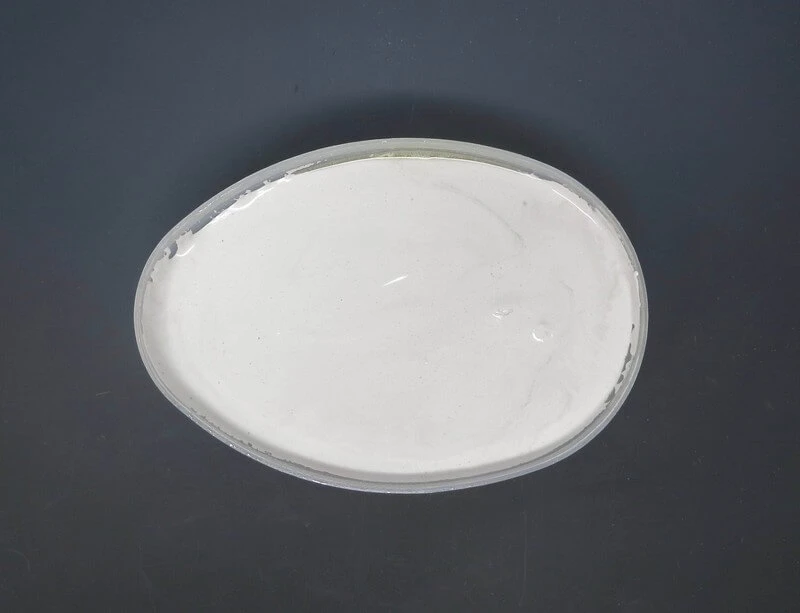
When the ArtPlaster is still moist, but not fully set up, insert a paper clip into the top of the form to act as a hook for hanging on a wall.
Step 8:
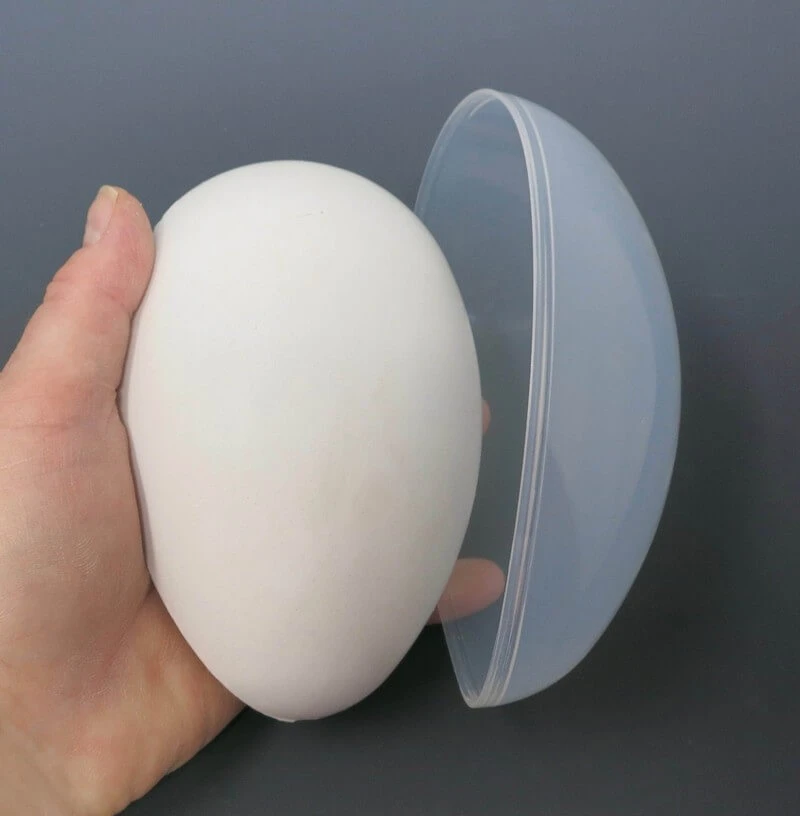
Remove
Remove from the egg mold. You'll know when the ArtPlaster has set when it's rock solid and cool to the touch. Carefully remove from the mold.
Step 9:
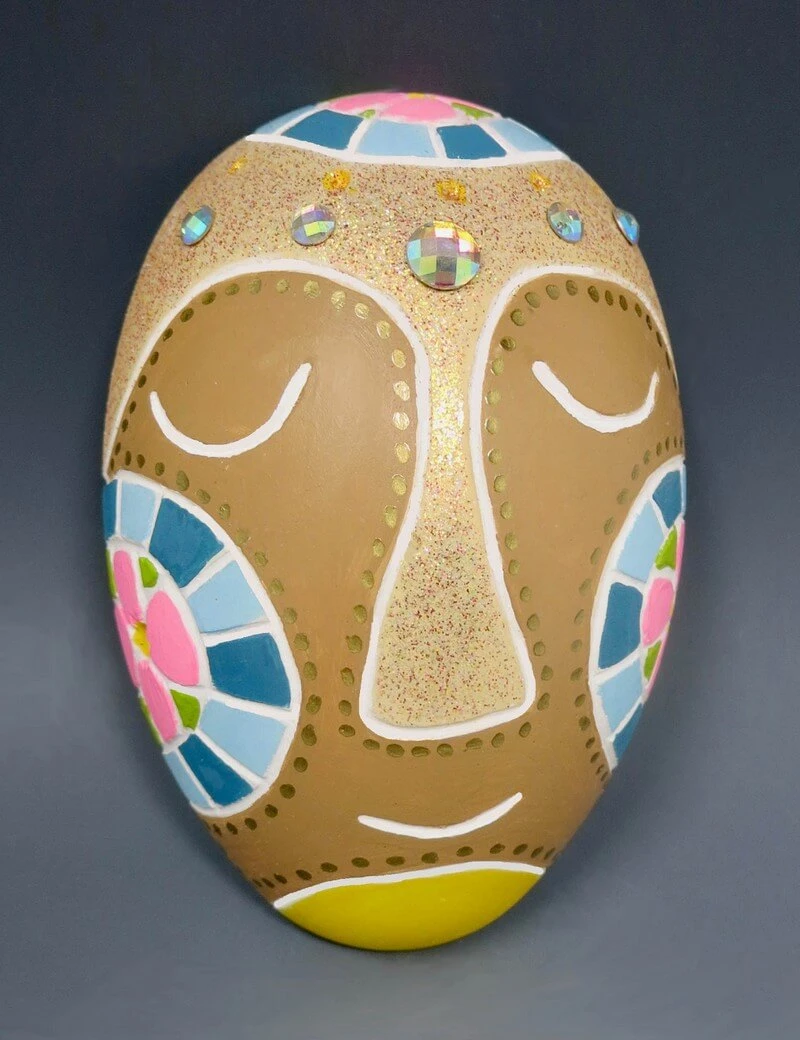
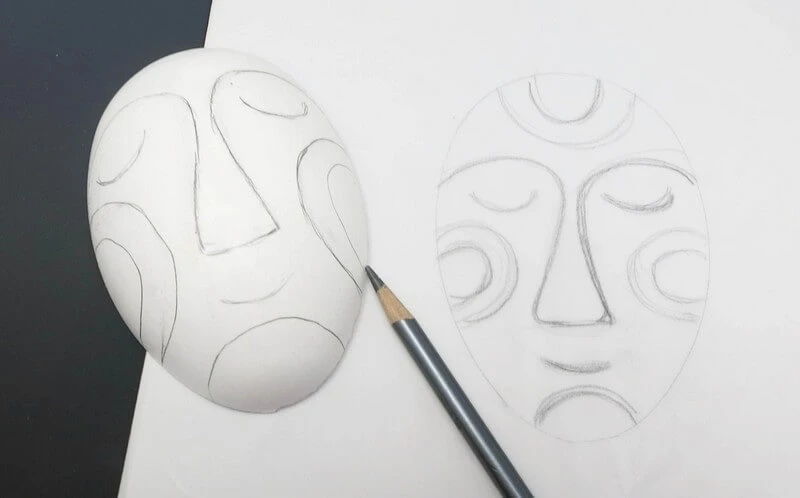
Design
Sketch out a face design onto the plaster egg in pencil.
Step 10:
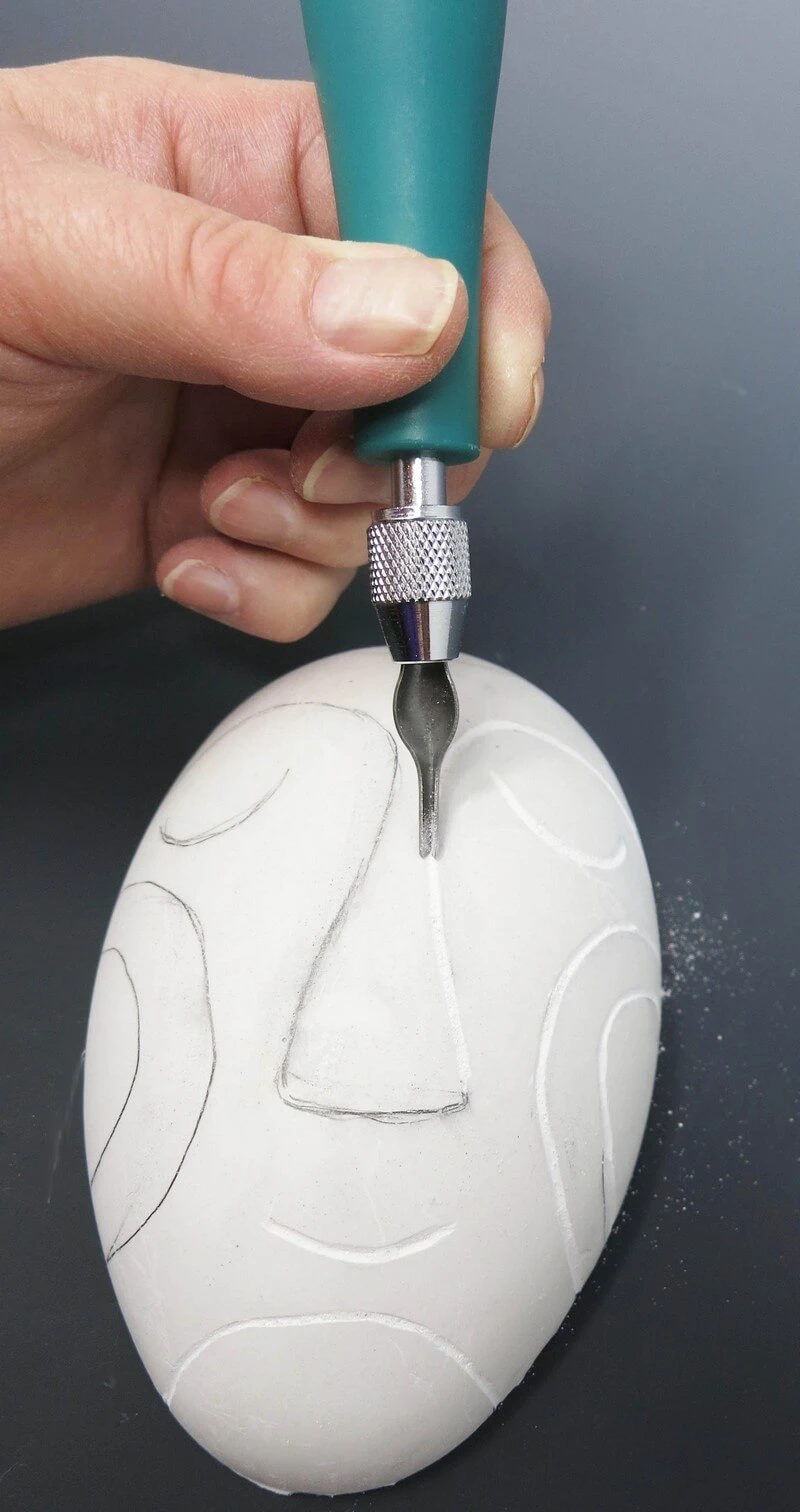
Carve
Use a sharp carving tool to carve into the draw lines on the plaster surface.
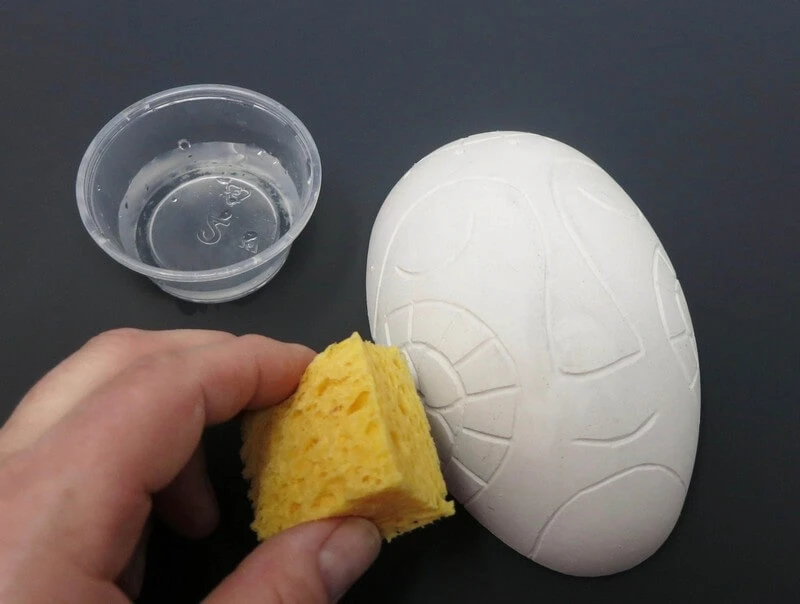
Step 11:
Rinse
Use a damp sponge to remove loose plaster from the egg form after carving.
Step 12:
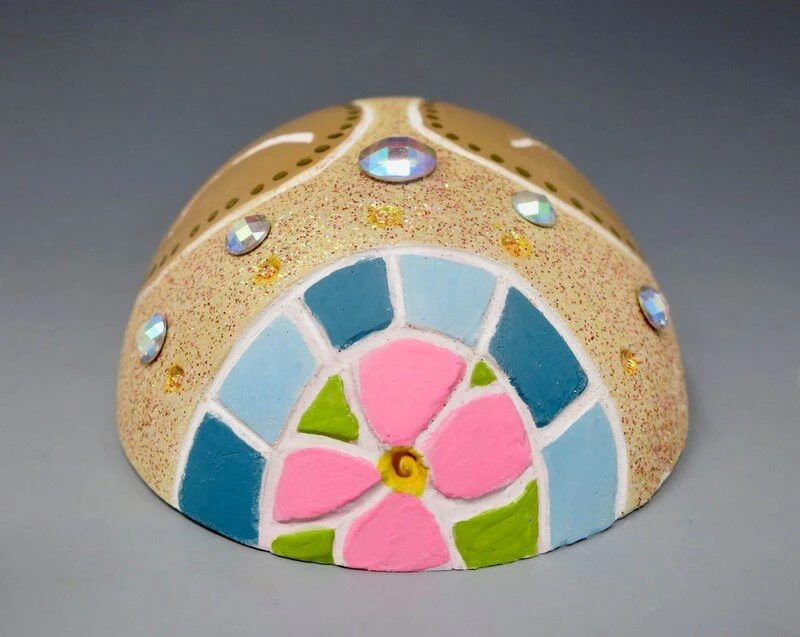
Paint
Add desired colors to the face designs.

Step 13:
Embellishment
Add glitter or gemstones if desired.