Materials Needed:
- Activa Blackjack White Earthenware Clay
- Activa-Tools
- Loop tool
- Serrated rib tool
- Water bowl
- Paint brush
- Glaze
Step 1
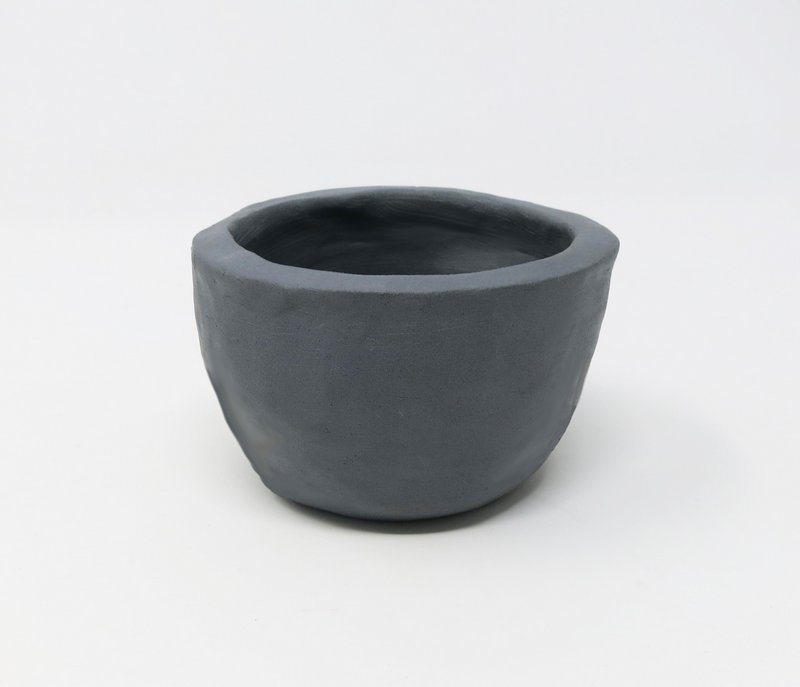
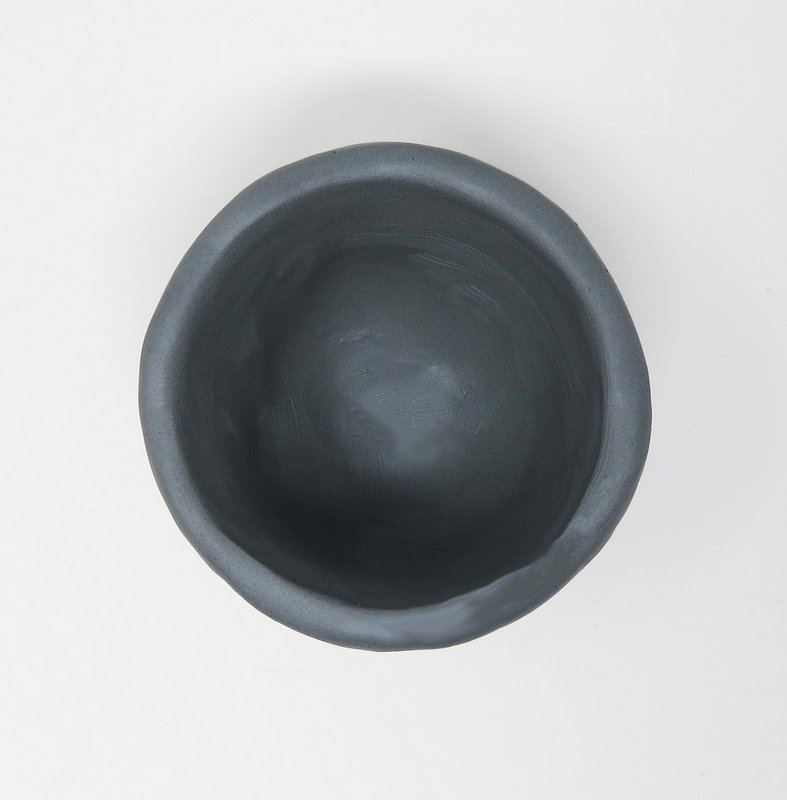
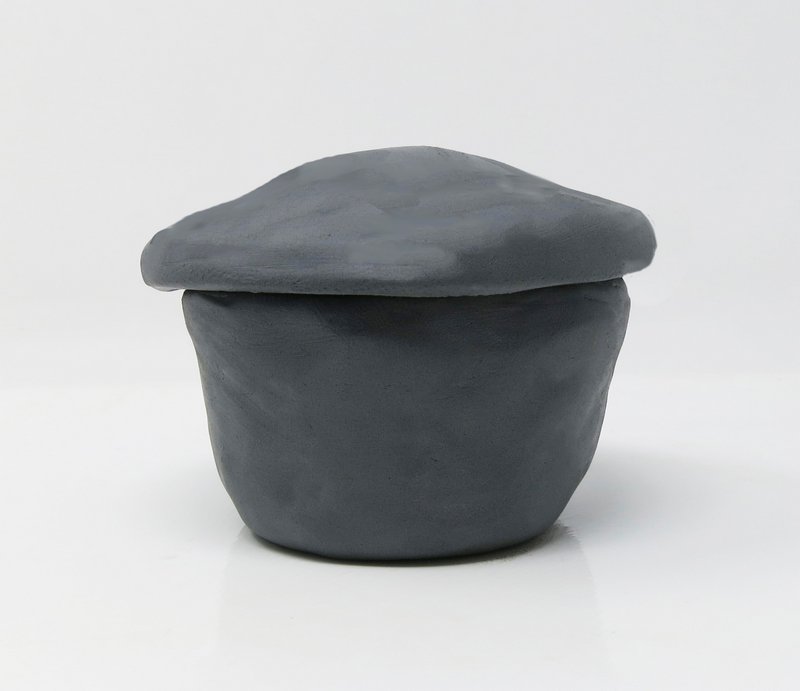
Pinch Pot
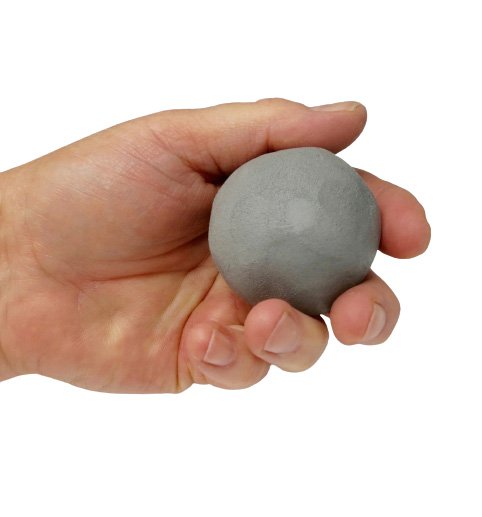
Roll 1 large sphere of clay.

Turn the clay sphere into a pinch pot.
Push thumb into the center of the clay sphere.
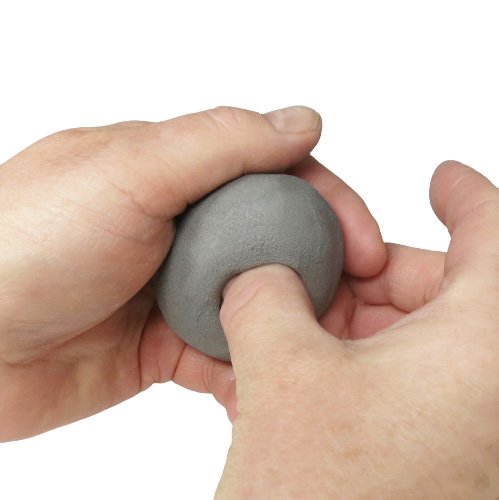
Pinch the clay with thumb and forefinger starting at the bottom and turning as you go.
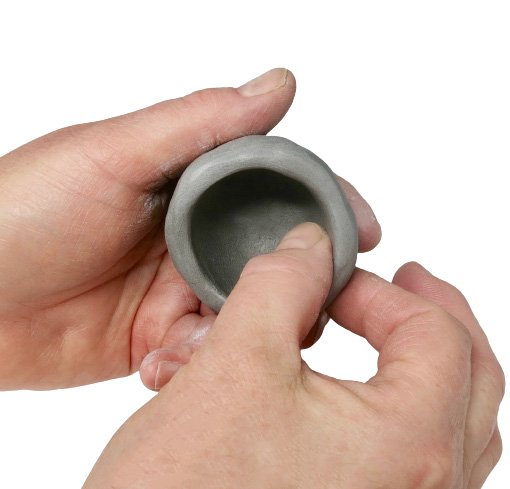
Stop pinching when the pot is wide enough.
Step 2
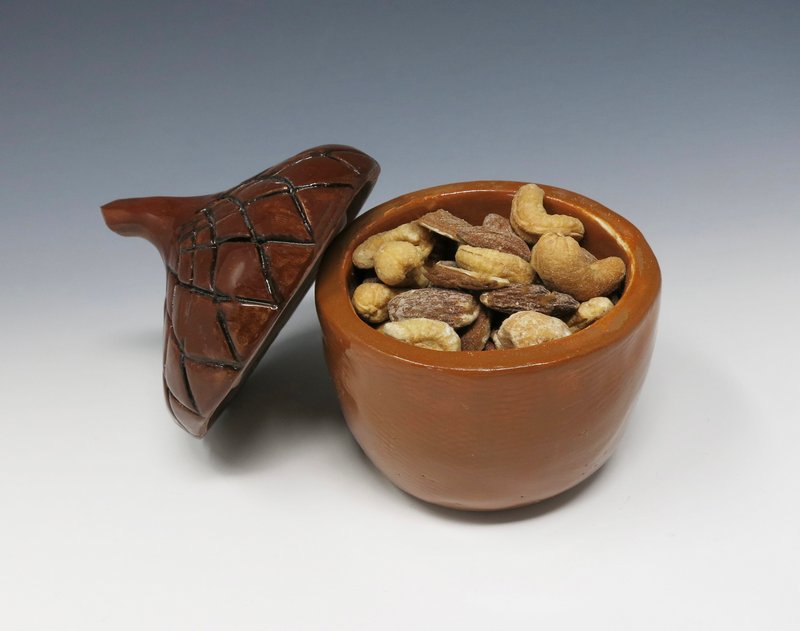
Lid
Roll another large sphere of clay.
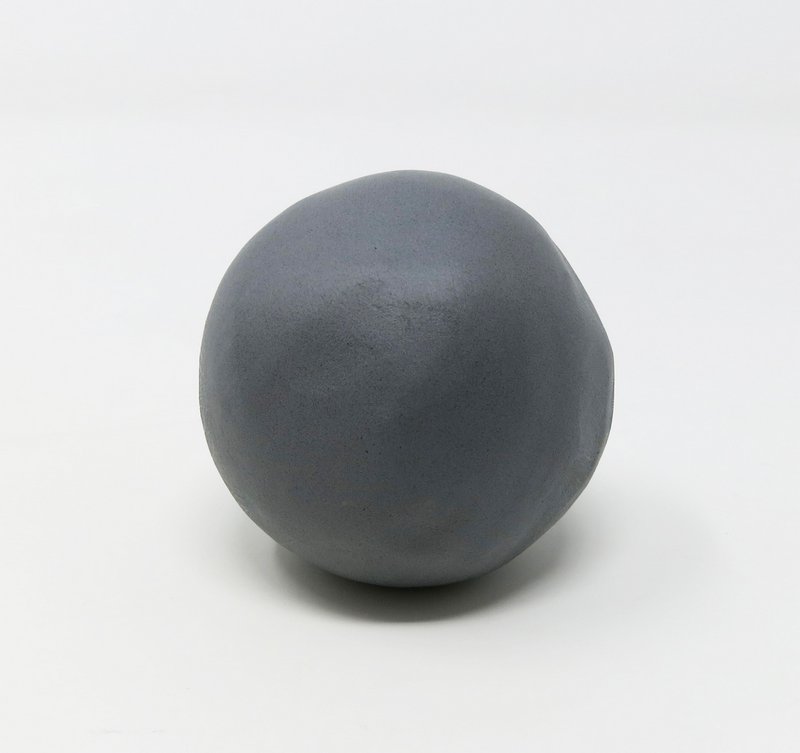
Slam the clay sphere down onto a flat surface several times to create mound form.
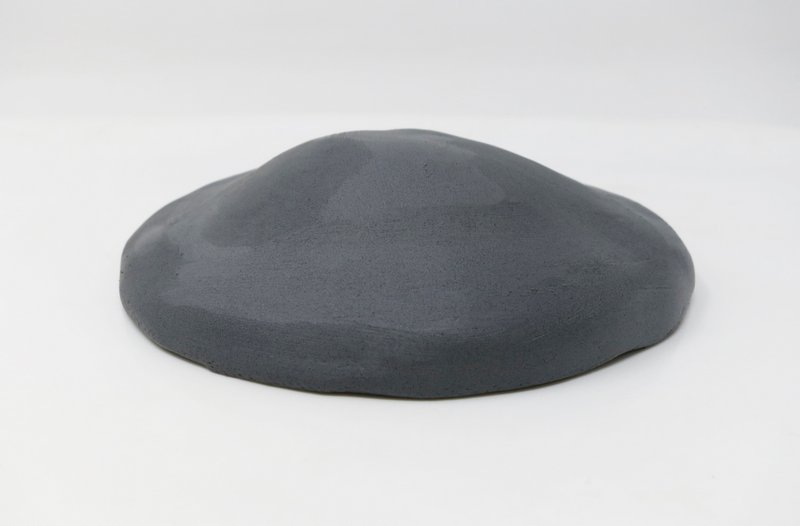
The mound form should be slightly larger than the lip of the pinch pot.
Add additional clay onto the mound form to shape the stem of the acorn nut.
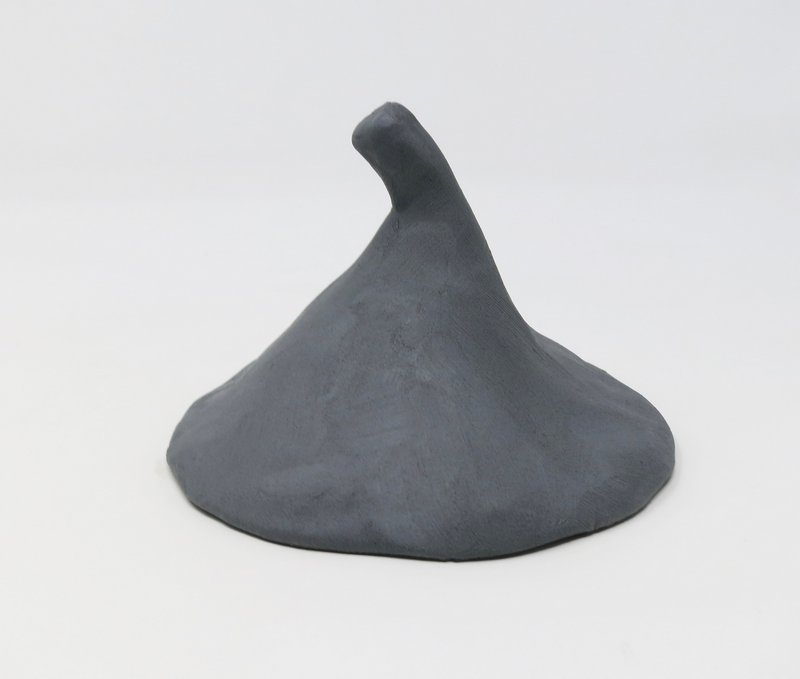
Turn the mound form upside down and carve around the diameter of the circle using a loop tool.
Smooth any rough edges with wet fingertips.
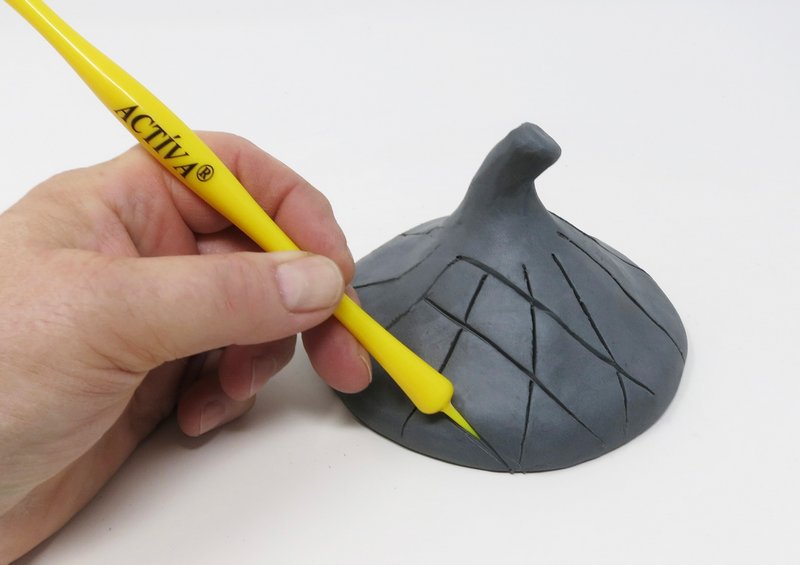
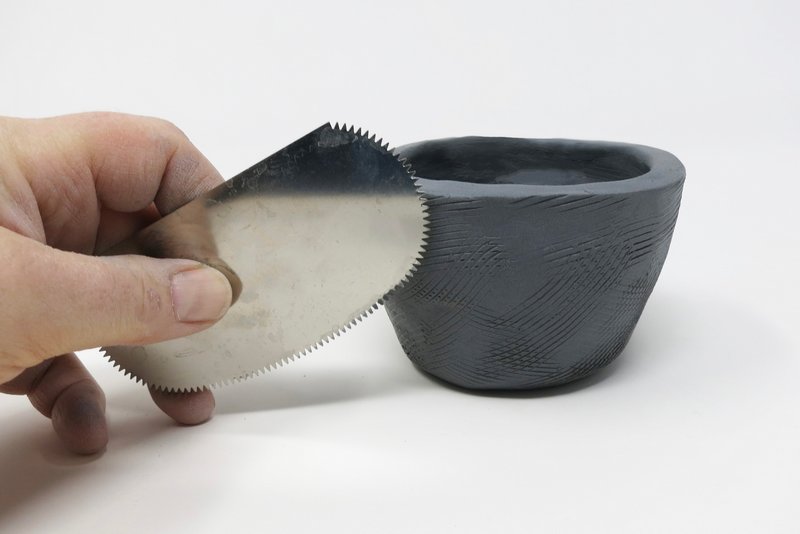
Step 3
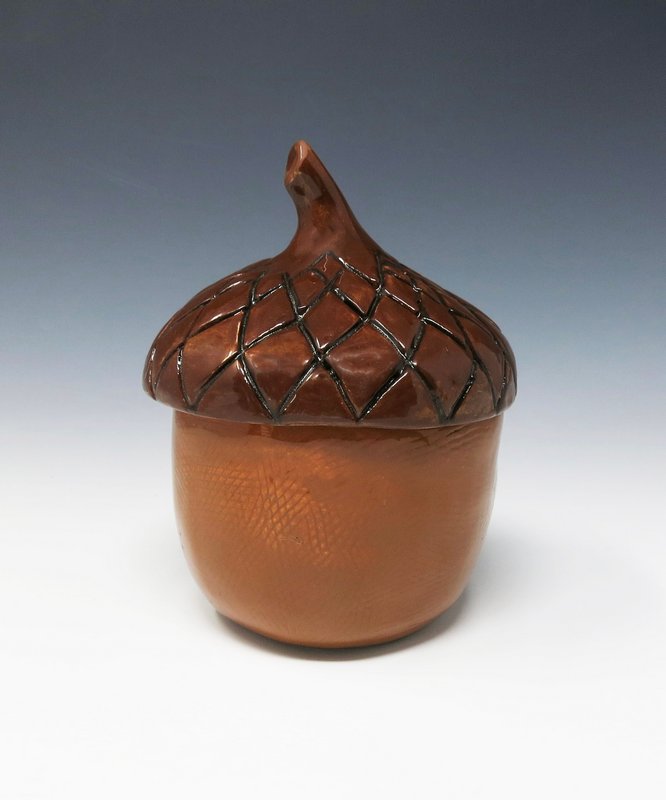
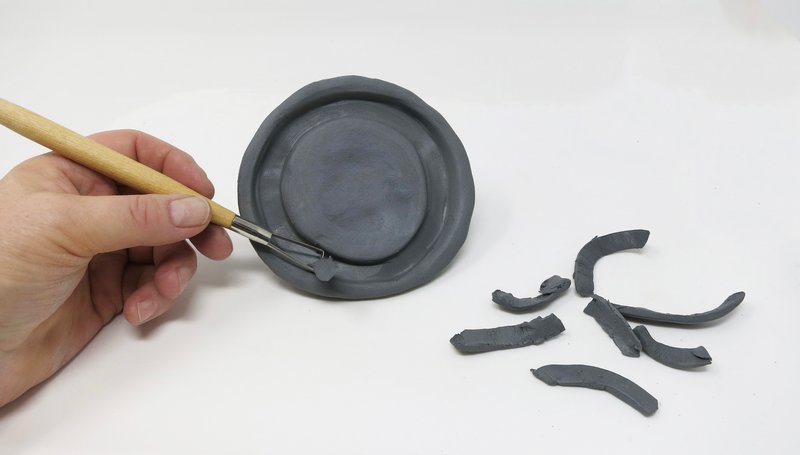
Texture
Draw criss cross lines onto the lid of the nut container using the pointed tool.
Scratch cross hatching lines onto the bottom of the nut container using the serrated rib tool.
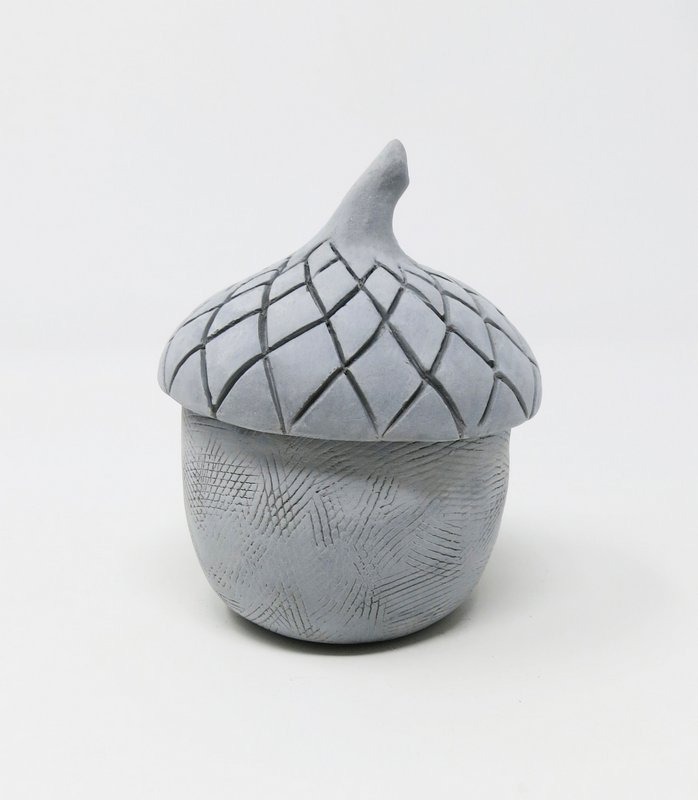
Step 4
Dry
Allow the clay to fully dry.
Drying time will vary depending on temperature and humidity.
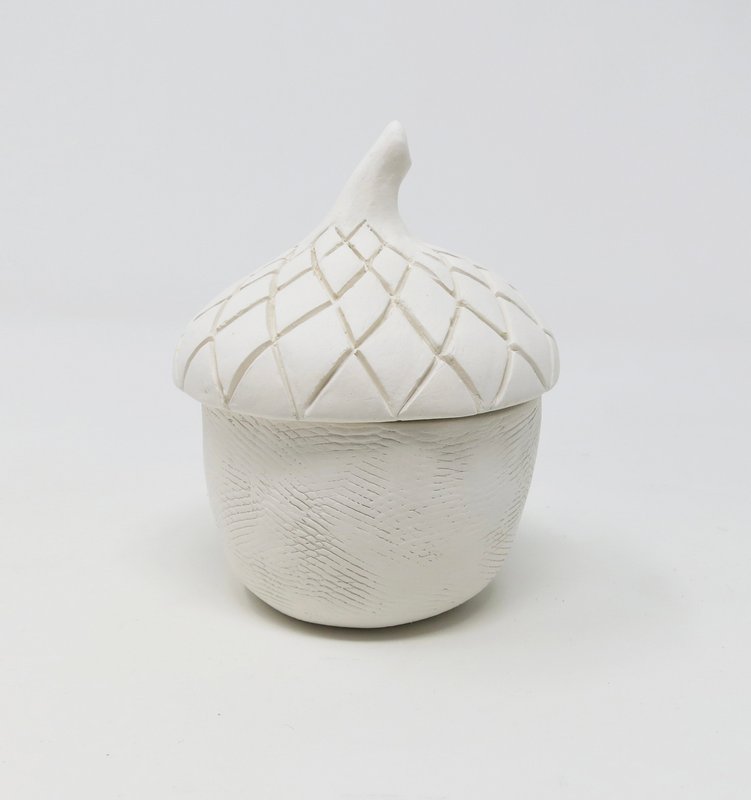
Step 5
Bisque Fire
Fire the clay in a kiln to cone 04.
Step 6
Glaze
Apply glaze according to manufacturer’s directions.

Step 7
Glaze Fire
Fire the glazed piece in the kiln. Follow manufacturer’s firing guidelines.