Materials Needed:
- Activa White Plus Clay
- Activ-Tools: Clay Tool Set
- Canvas mat
- Water bowl
- Acrylic or ceramic paint
- Brush
- Material scrap
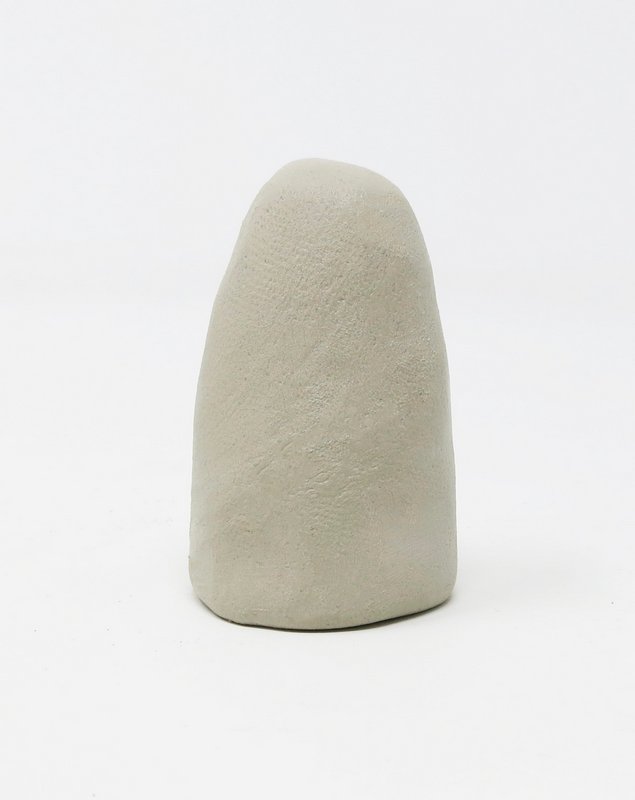
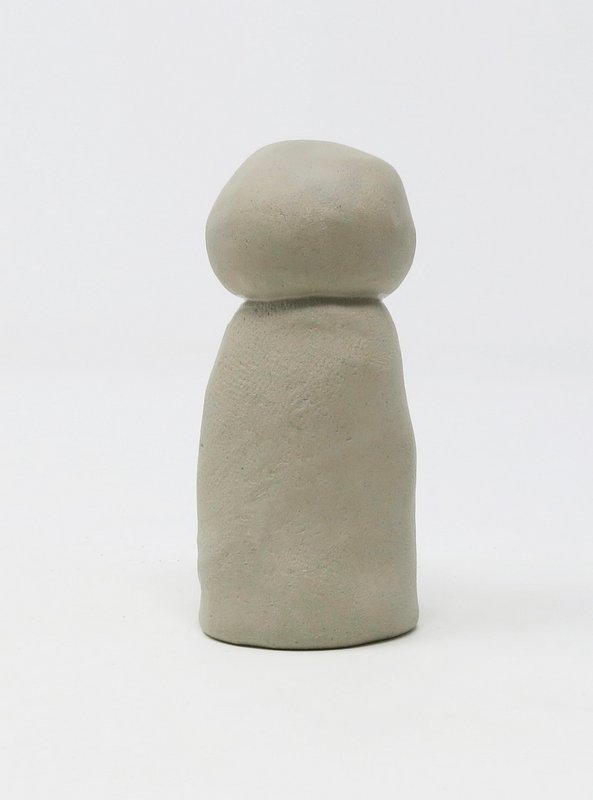
Step 1
Body
Roll a large cone form out of clay.
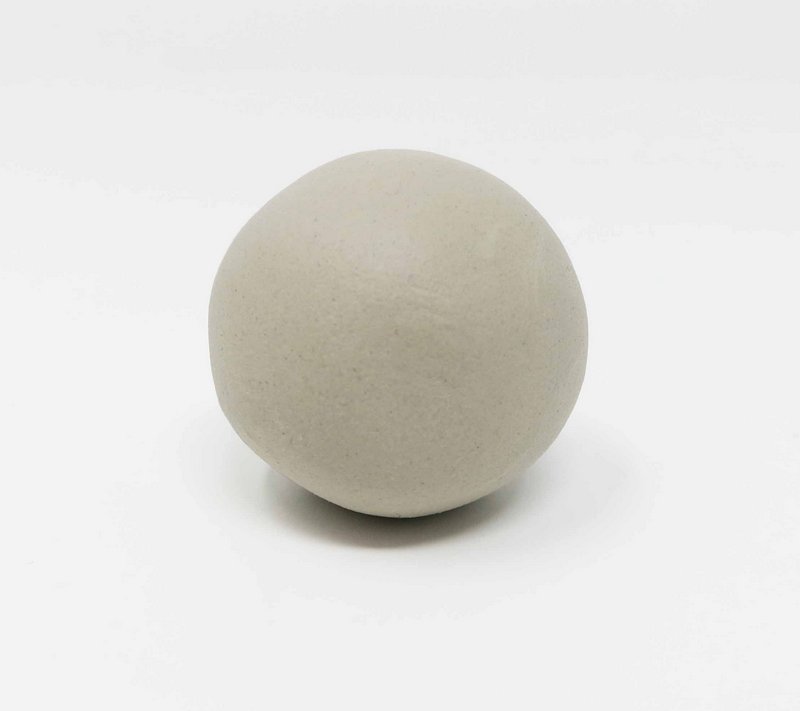
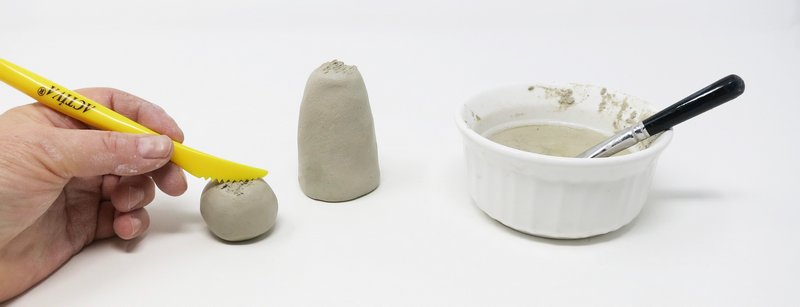
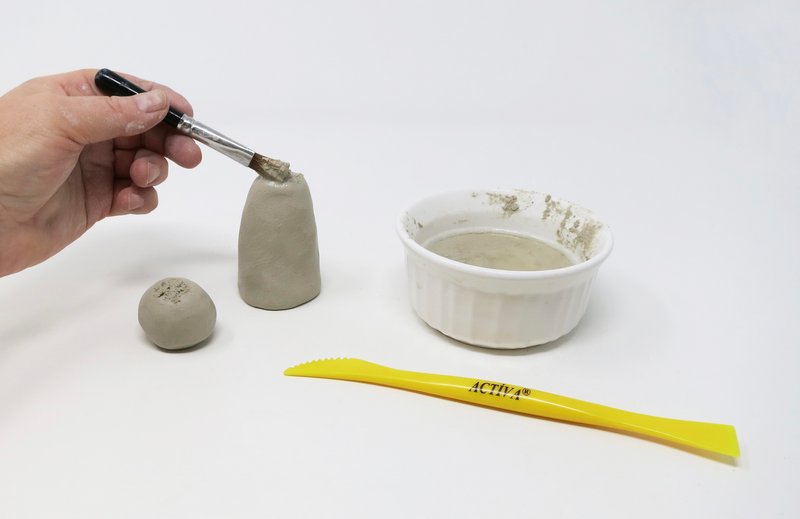
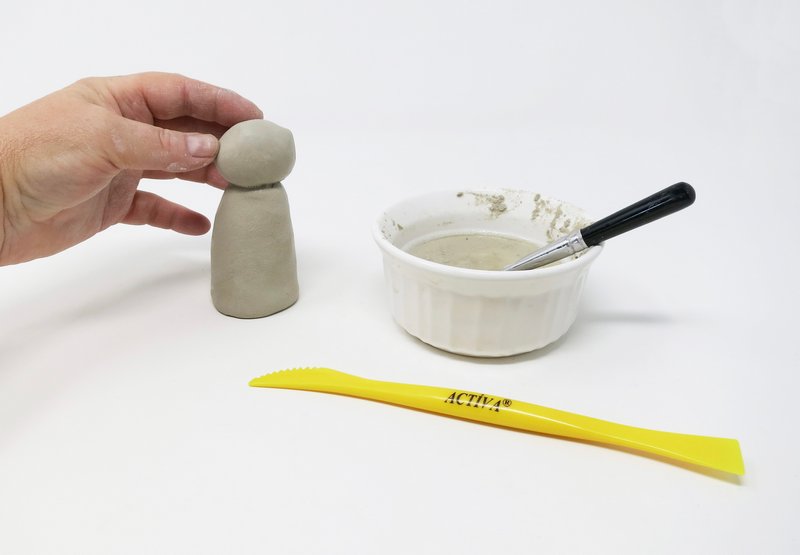
Step 2
Head
Roll a sphere form out of clay.
Score and slip the sphere onto the body form.
*Scoring is scratching the edges of clay before joining them together.
*Slip is liquid clay used to join pieces of clay together like glue.
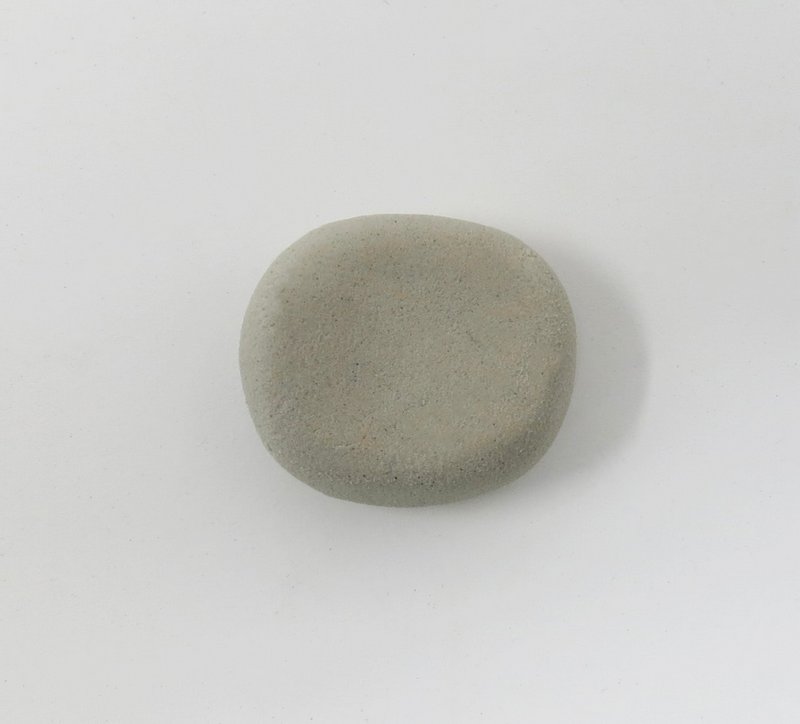
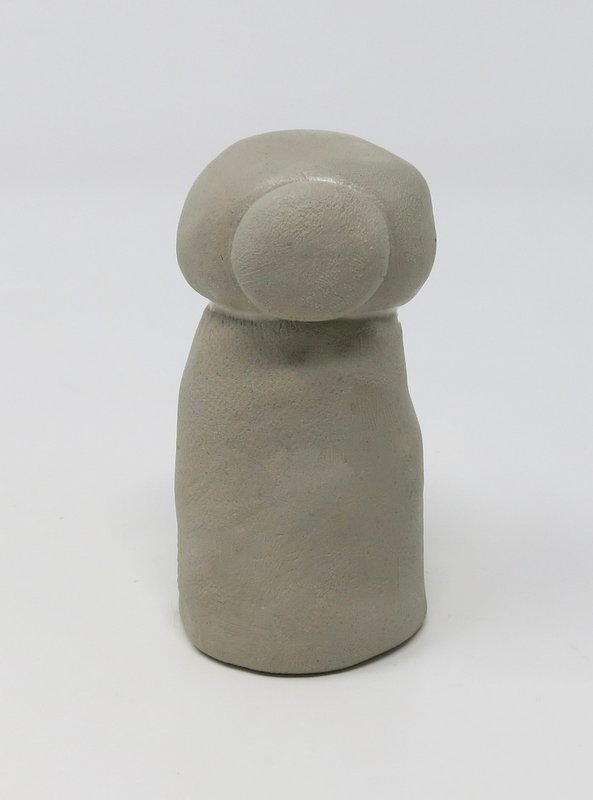
Step 3
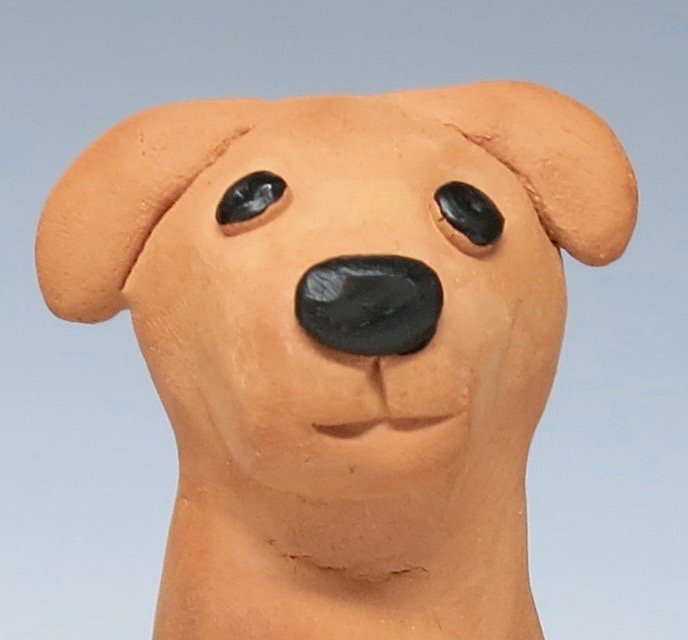
Snout
Roll a small sphere out of clay and flatten it into a circle shape.
Score and slip it onto the head form.
Step 4
Legs
Roll two cylinders out of clay.

Score and slip the cylinders onto the front of the body form.
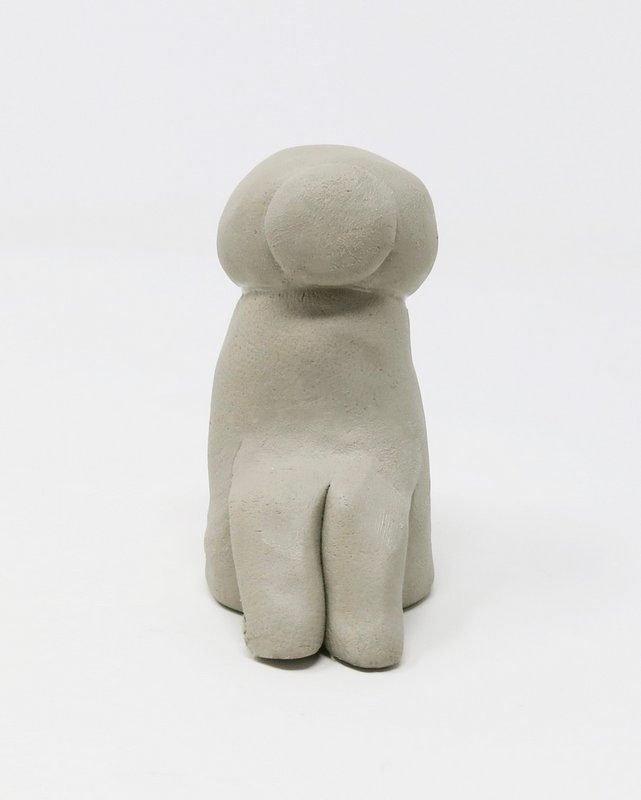
Smooth the top of the cylinders down onto the body form.
Allow the bottom of the cylinders to slightly hang off the body form.
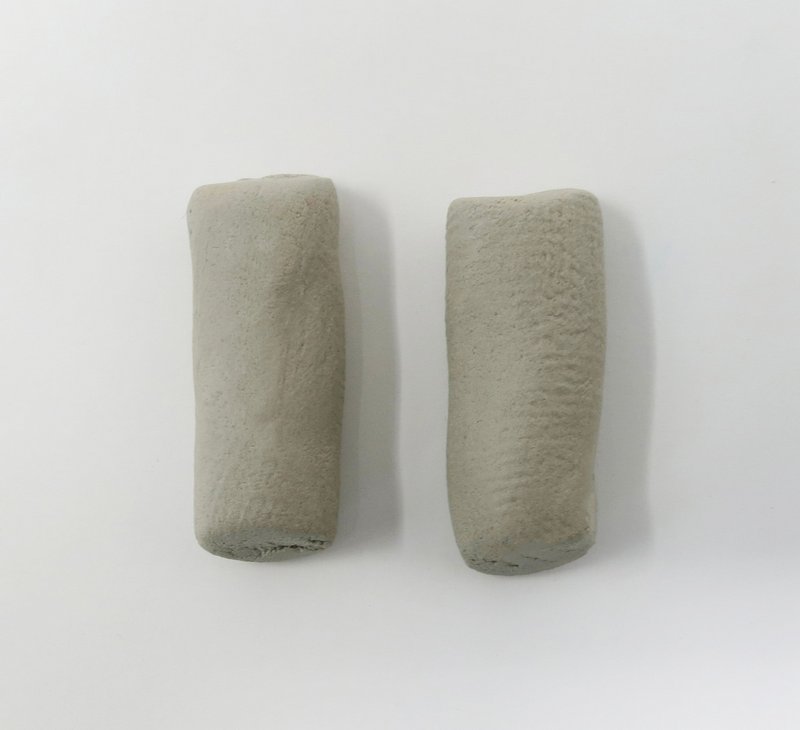
Roll two additional cylinders out of clay and attach them to the side of the body form.
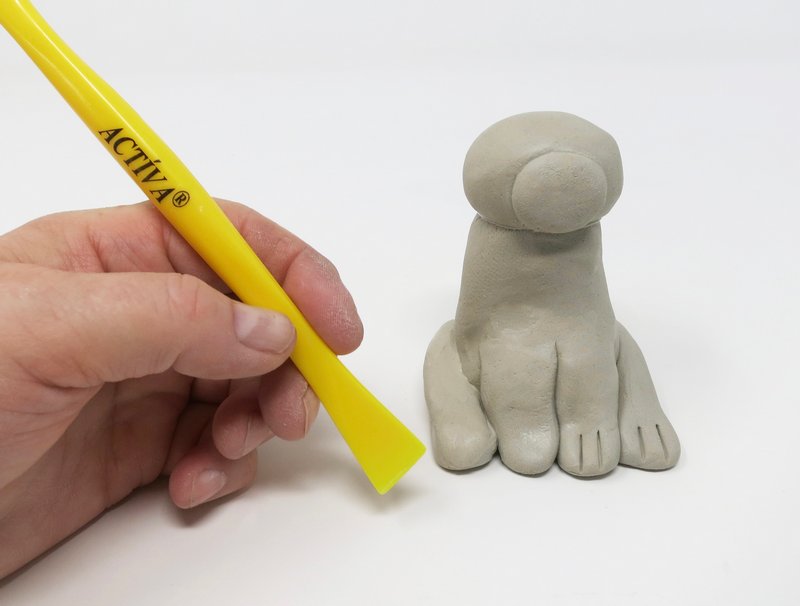
Step 5
Feet
Round off the ends of each cylinder leg.
Gently press down the end of each leg to form a foot. Indent lines into each dog paw.
Step 6
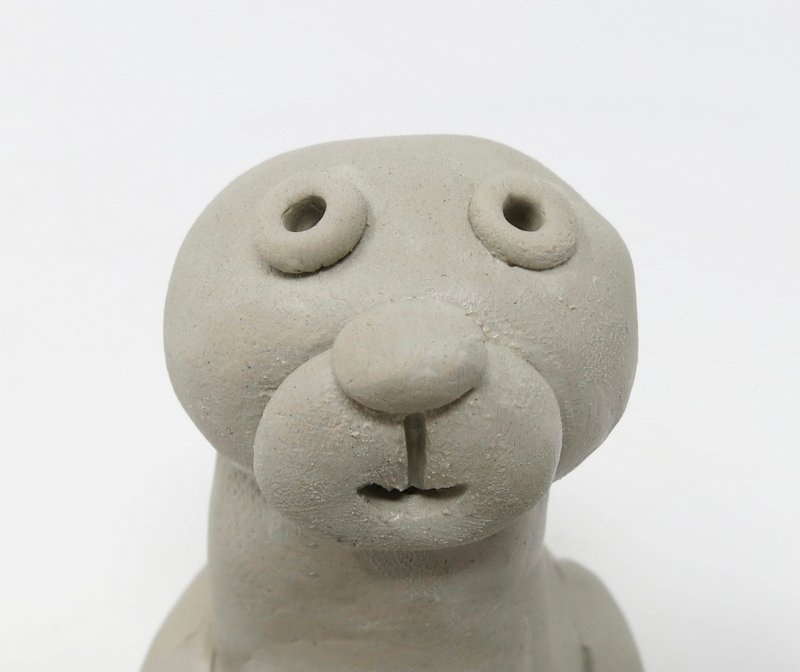
Eyes, Nose & Mouth
Attach two tiny spheres onto the face to make the eyes.
Add a small sphere onto the snout for the dog’s nose.
Use the pointed tool to indent in the mouth.
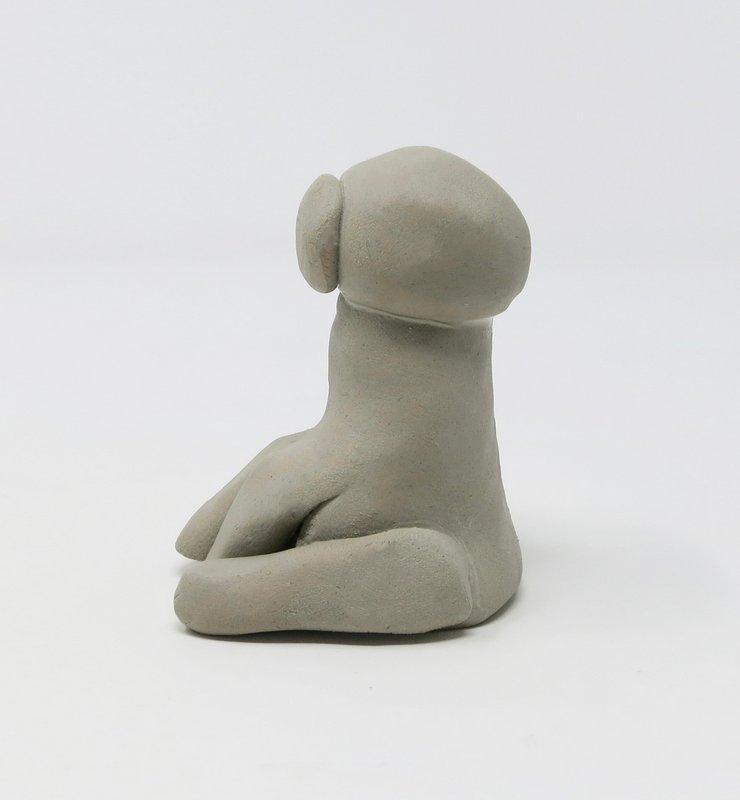
Step 7
Ears
Make the ears long or short, big or small, go up or go down.
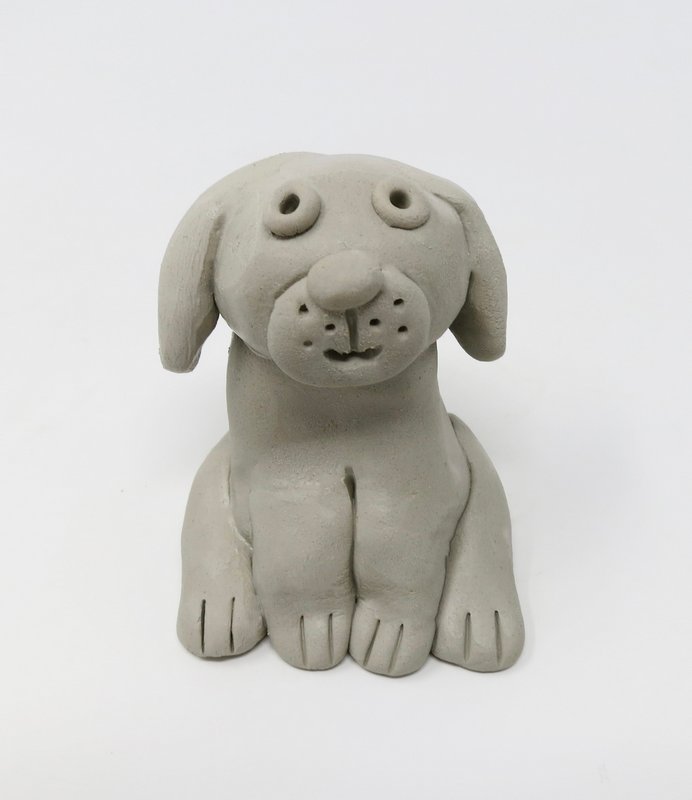
Step 8
Tail
Roll a thin cylinder out of clay for the dog’s tail.
Score and slip it onto the rear of the dog’s body.
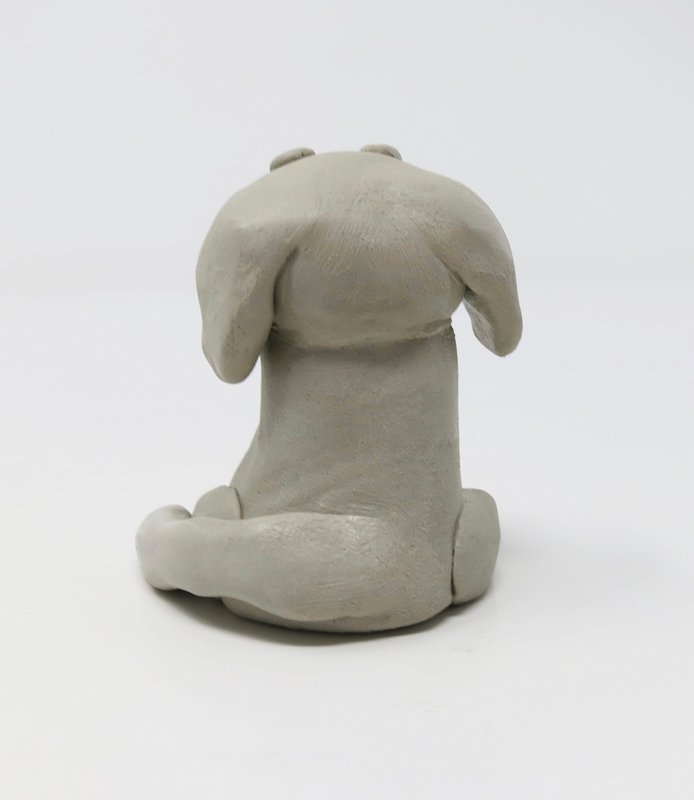
Step 9
Fur
The dog’s body can be left smooth or texture can be added using the pointed tool to suggest fur.
Step 10
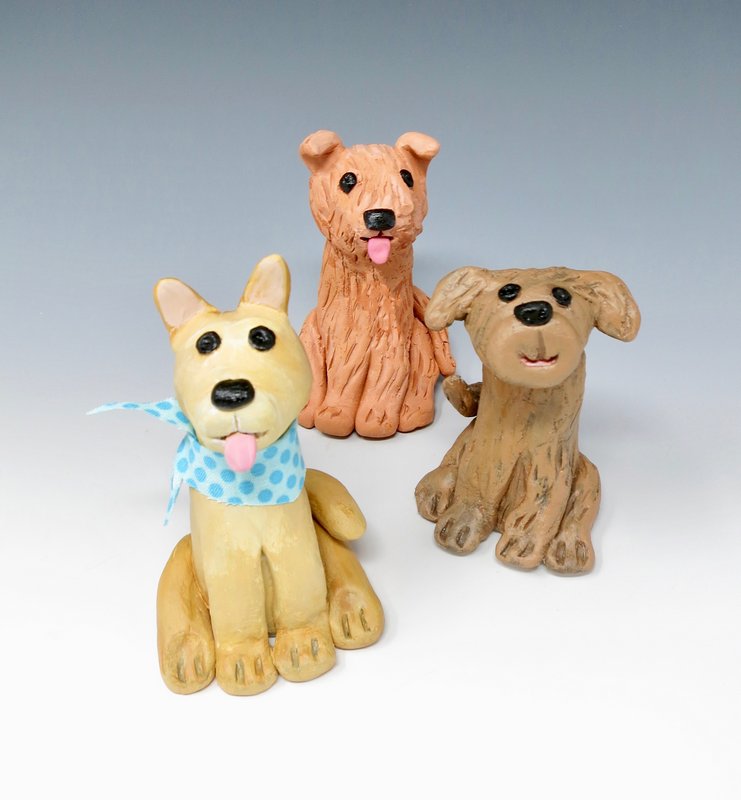
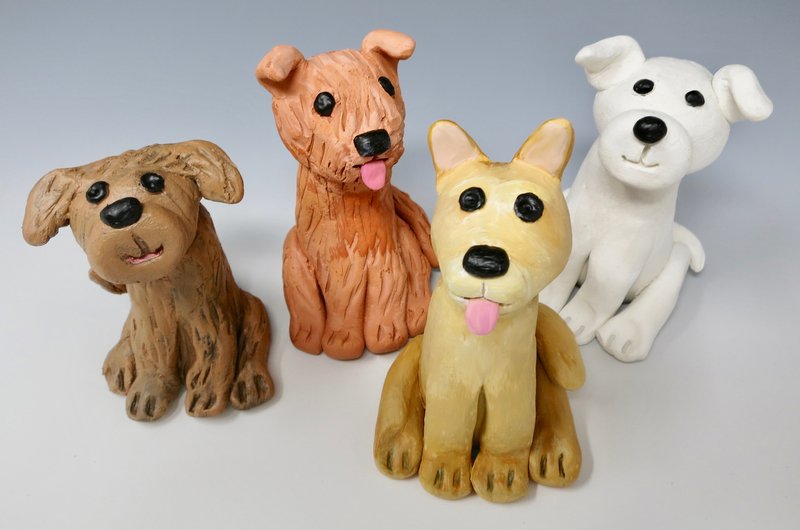
Dry
Allow the clay sculpture to dry.
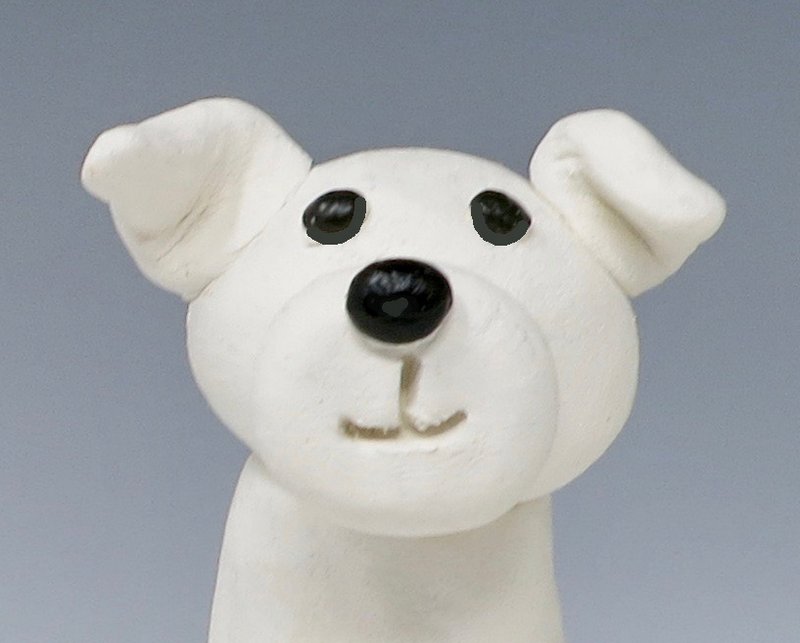
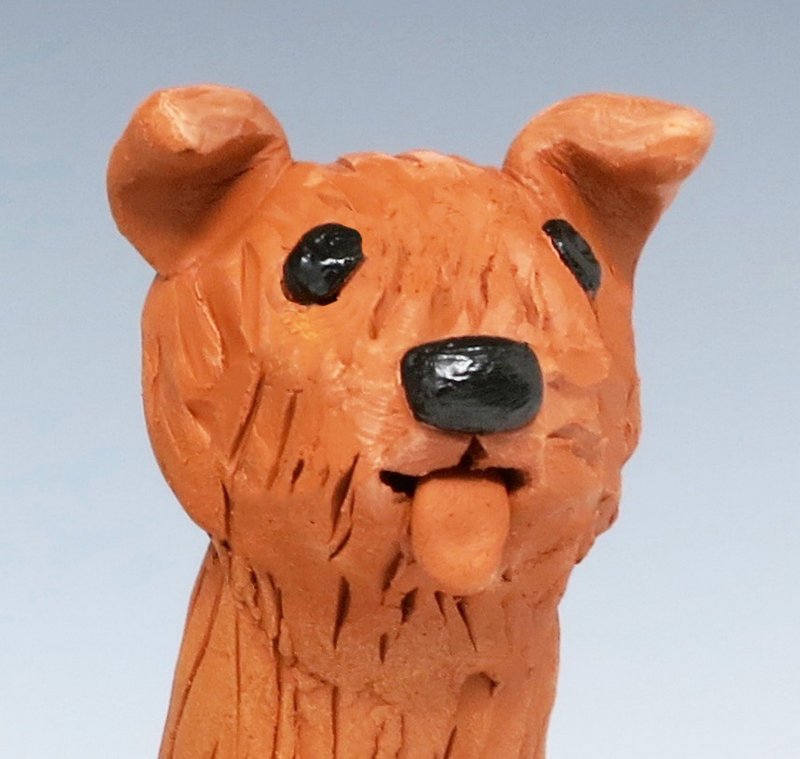
Step 11
Paint
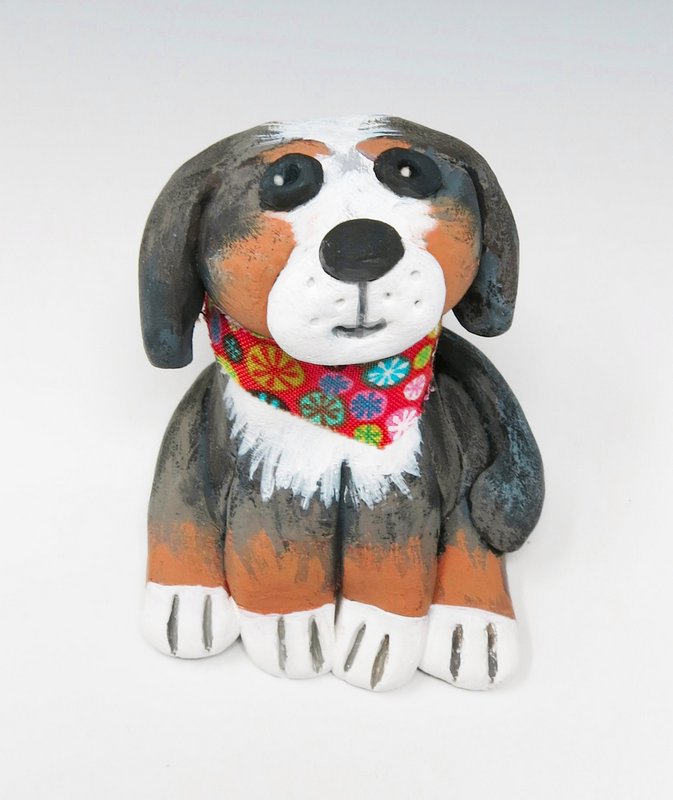
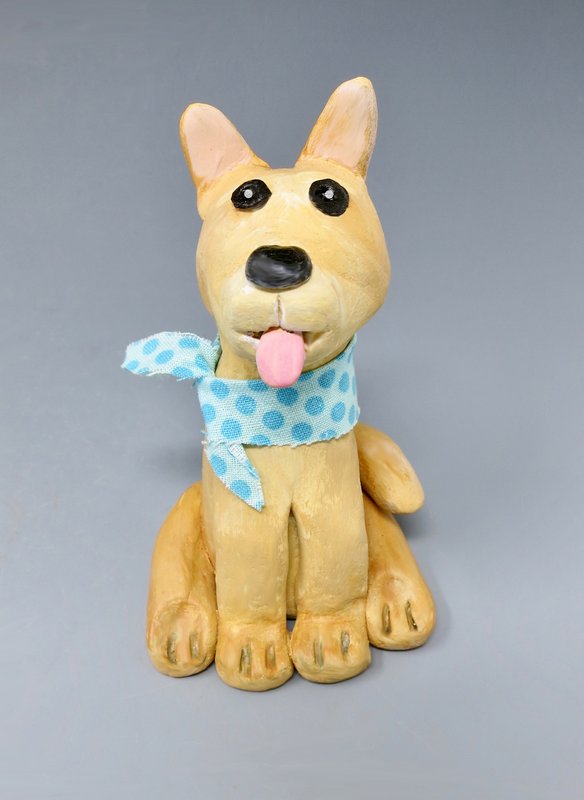
Use the neutral colored acrylic or ceramic paints to color the sculpture.
The neutral colors are white, black, brown, and gray.

Step 12
Bandana
Cut a triangle shape of fabric and tie it around the dog’s neck to create a bandana.