Materials Needed:
- ACTIVA’ Activ-Clay Natural White Air Drying Clay
- Clay Roller Kit
- Plastic Wrap
- Activ-Tools: Designer Clay Cutters Set
- Activ-Tools: Clay Tool Set
- Activ-Tools Designer Texture Sheets
- Rubber Stamps or Found Objects
- Water Bowl
- Acrylic Paint
- Brush
- Glue
- Pipe Cleaners or Wire
- Magnet
- Adhesive
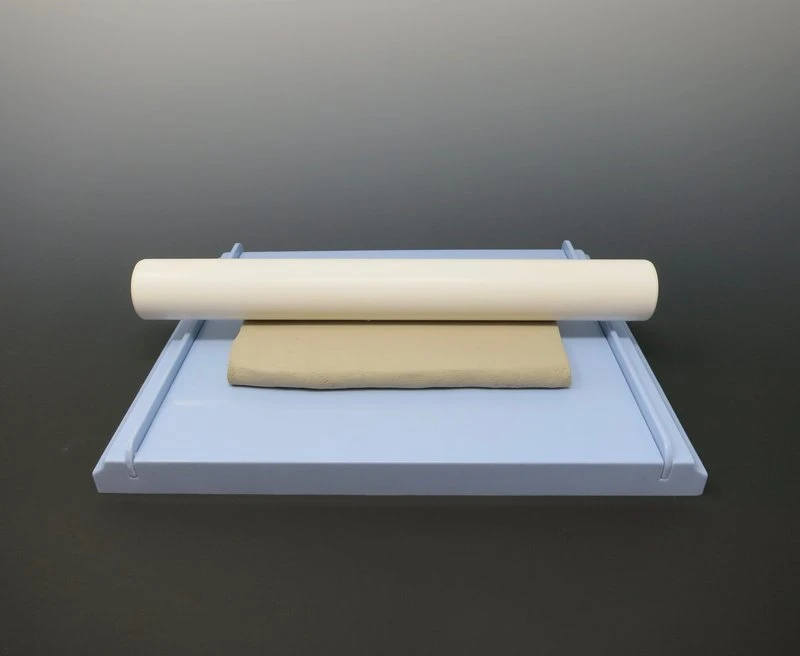
Step 1:
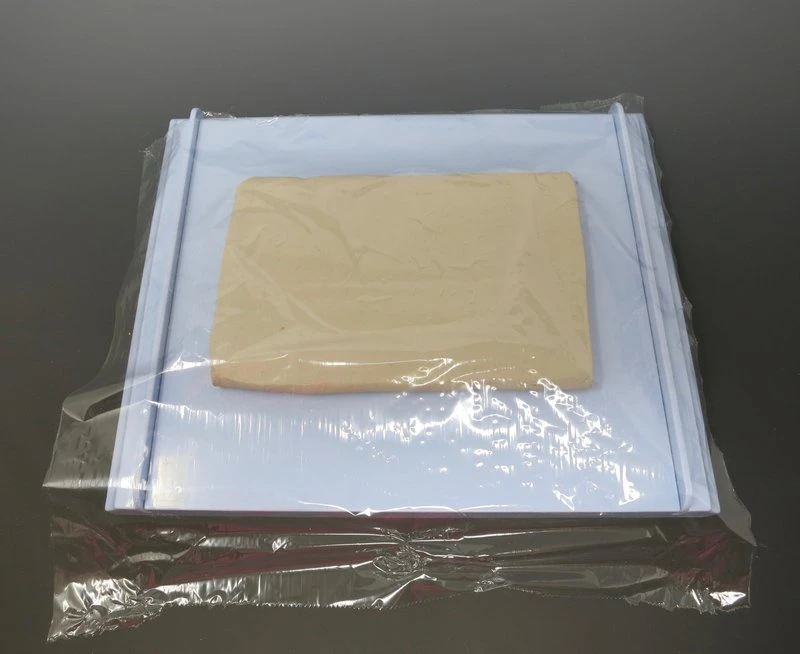
Slab
Use the Clay Roller Kit to roll out a 1/4” thick slab of clay. Cover the clay with plastic wrap.
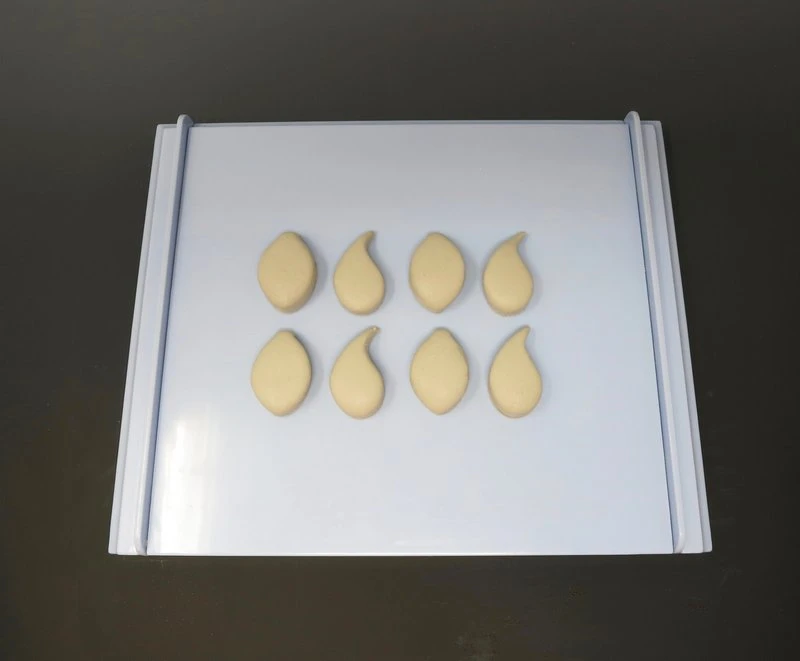
Step 2:
Shapes
Use the Activ-Tools Designer Clay Cutters to cut out the butterfly’s wing shapes.
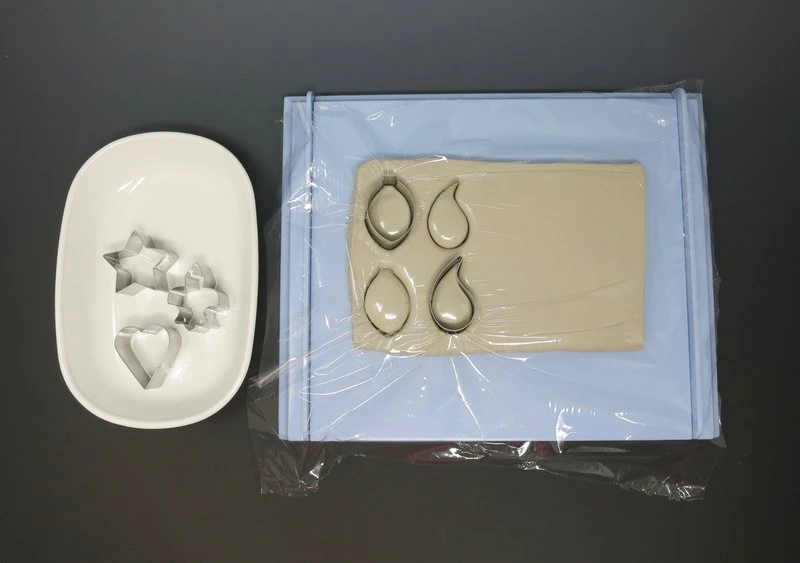
Remove the access clay around the shapes.
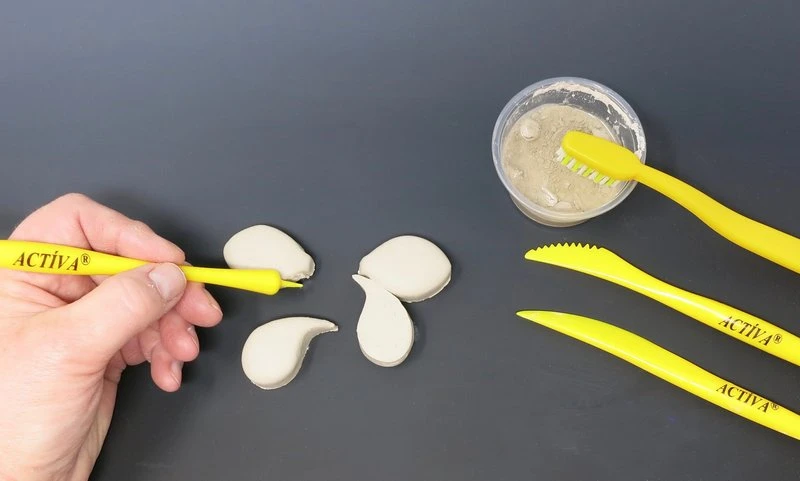
Step 3:
Wings
Score and slip the wing shapes together.
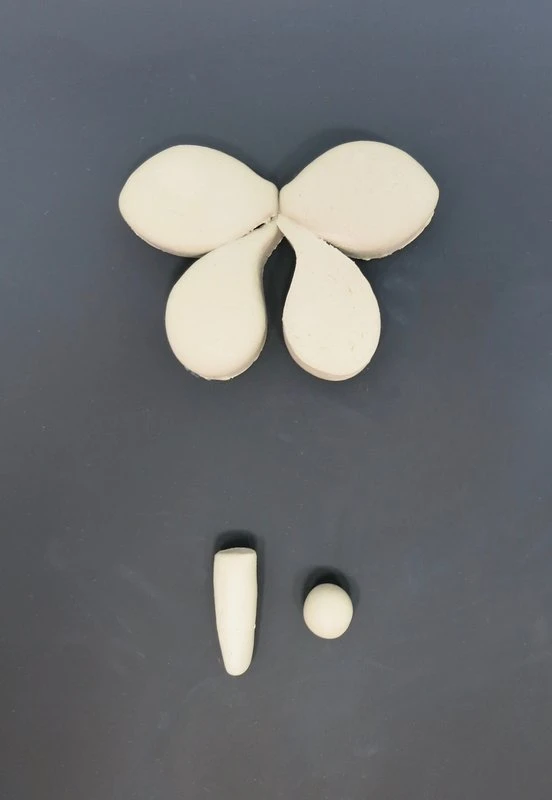
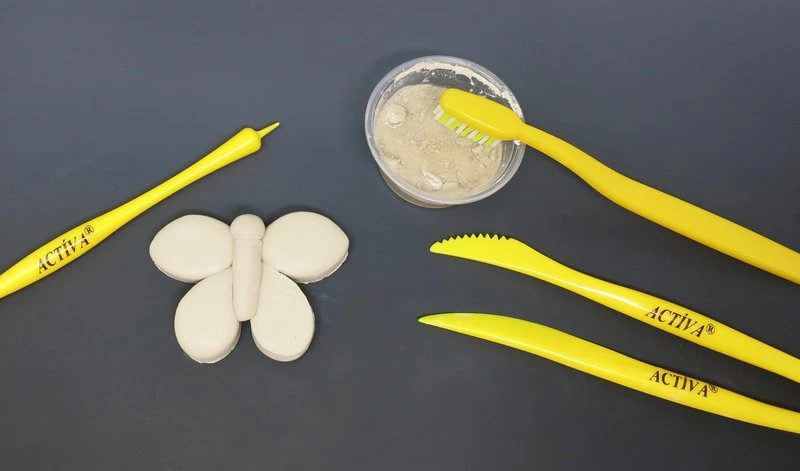
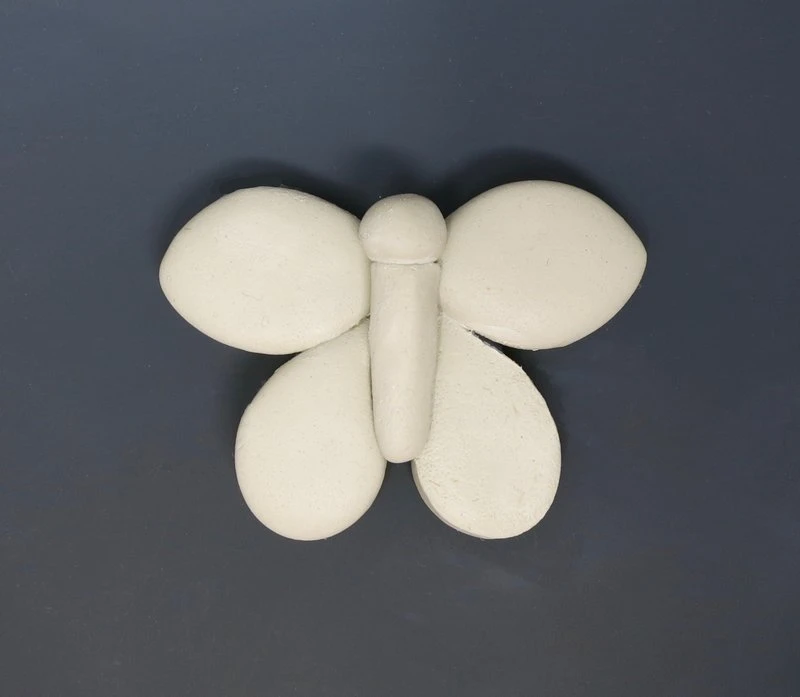
Step 4:
Body
Roll a small cylinder and sphere out of clay. Attach the forms to the center of the wings to form the butterfly’s body.
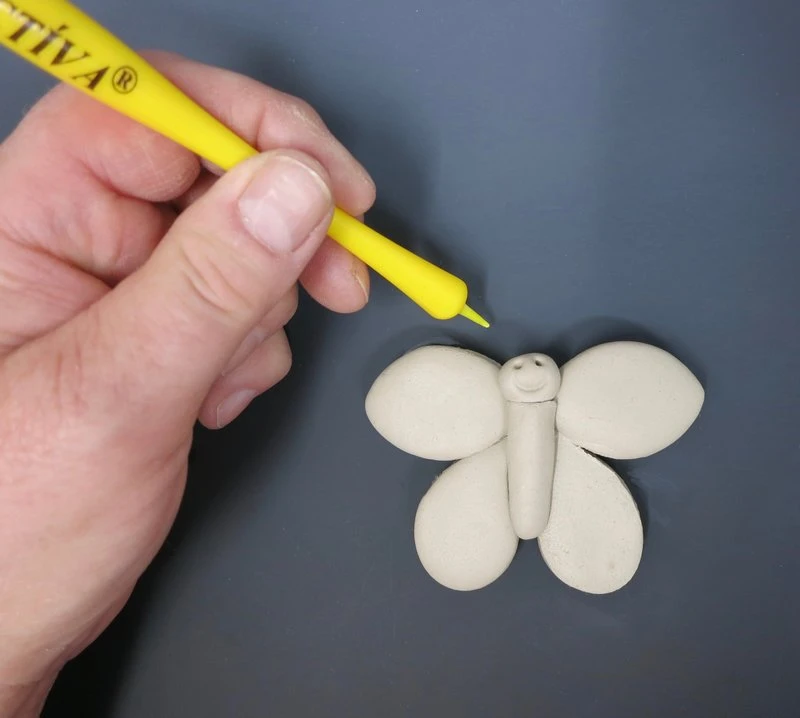
Step 5:
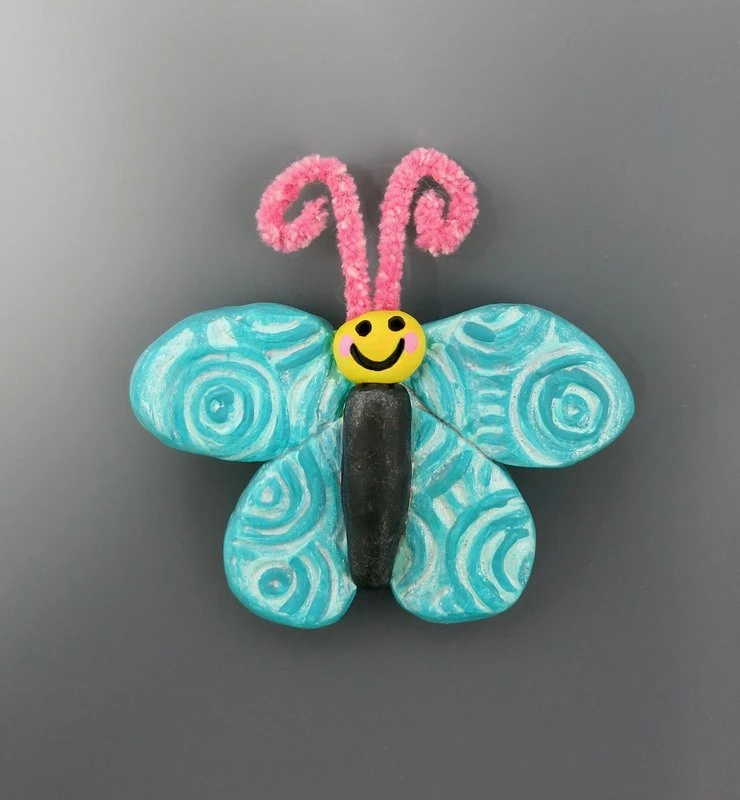
Face
Use the pointed tool to make the eyes, mouth and holes for the wire antennas.
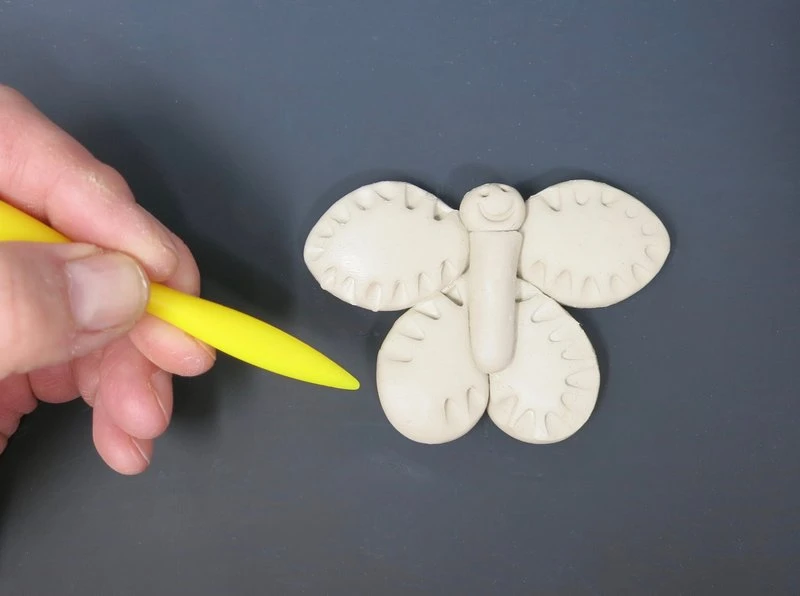
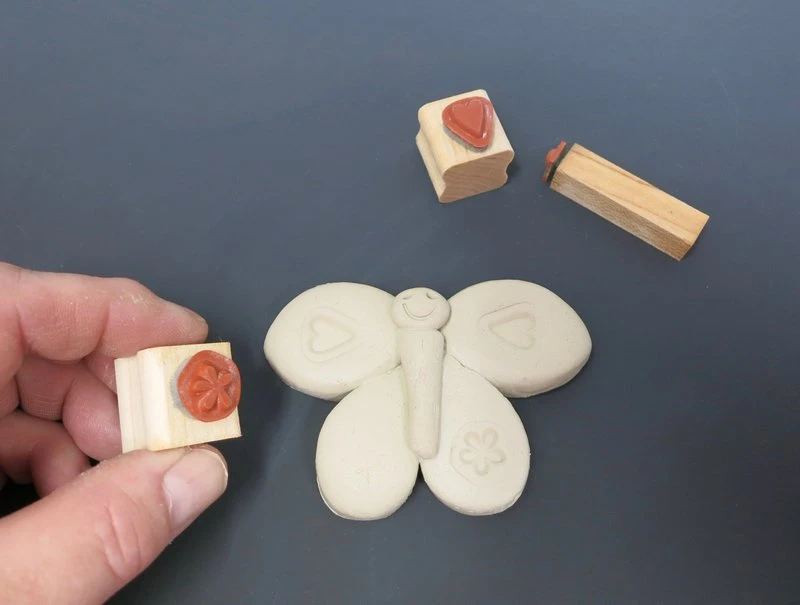
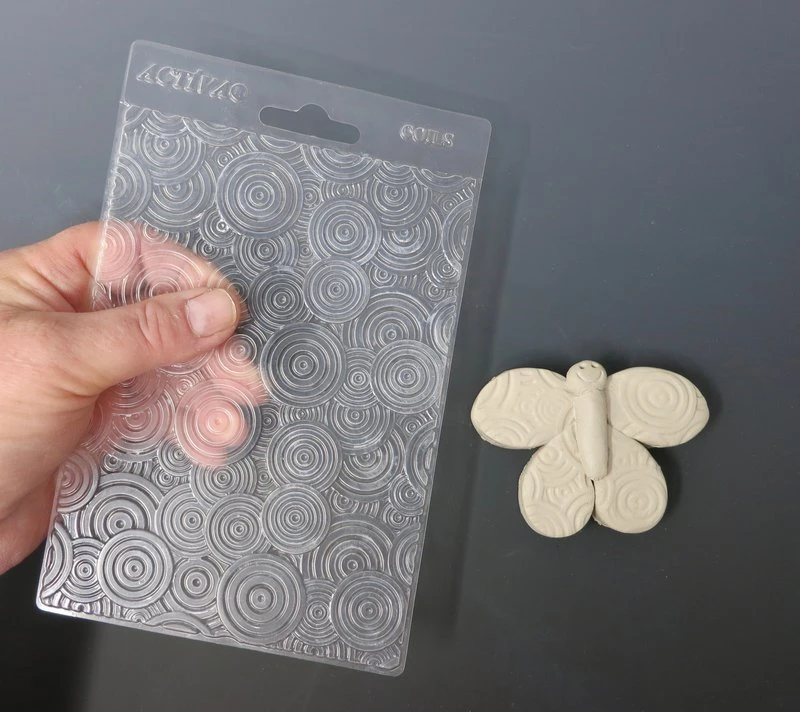
Step 6:
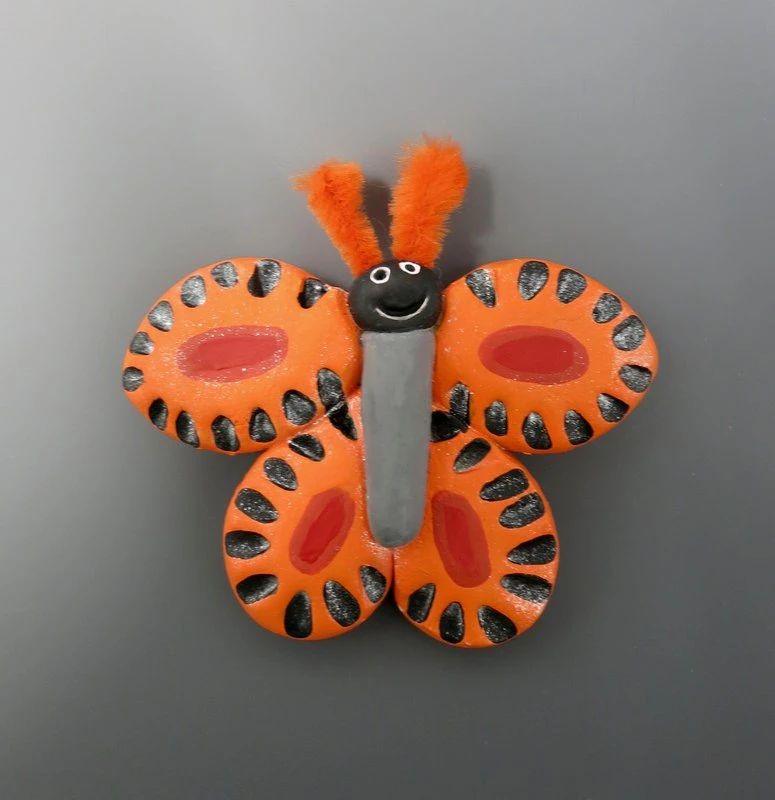
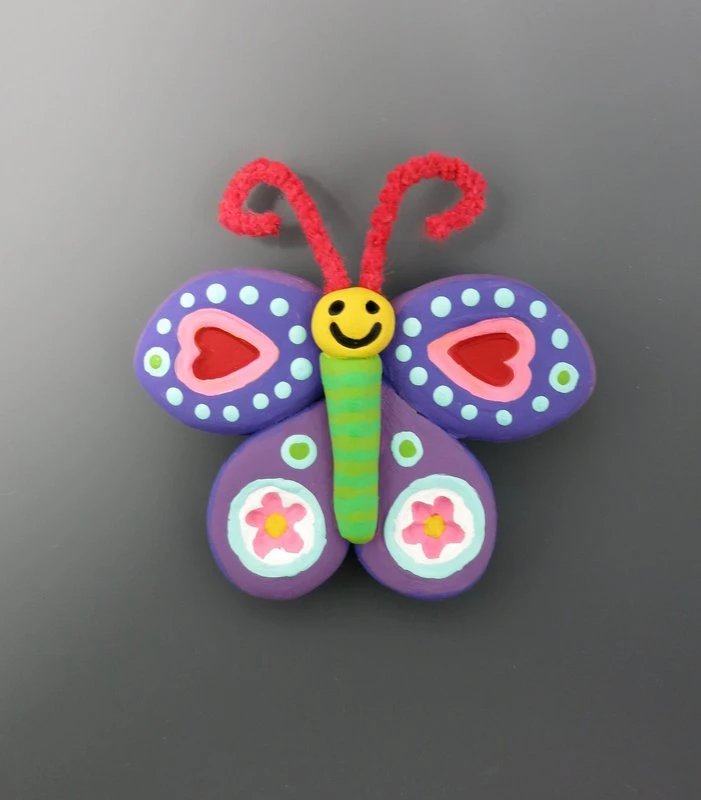
Wing Design
Create symmetrical patterns on the wings by indenting the tools, rubber stamps, texture sheets or found objects into the clay.
Step 7:
Dry
Allow the clay to dry for 24 hours before painting.
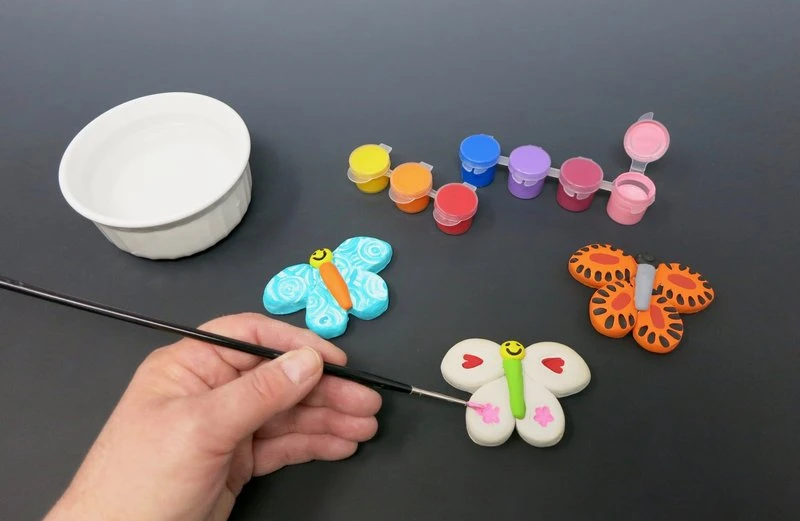
Step 8:
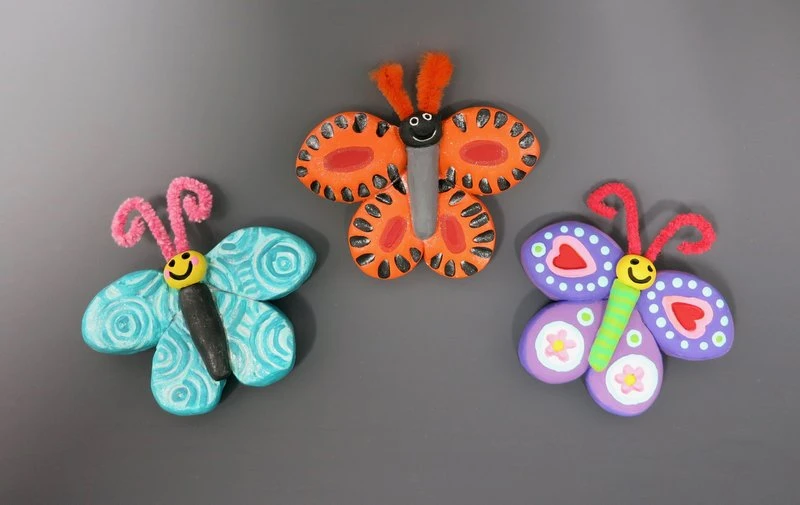
Paint
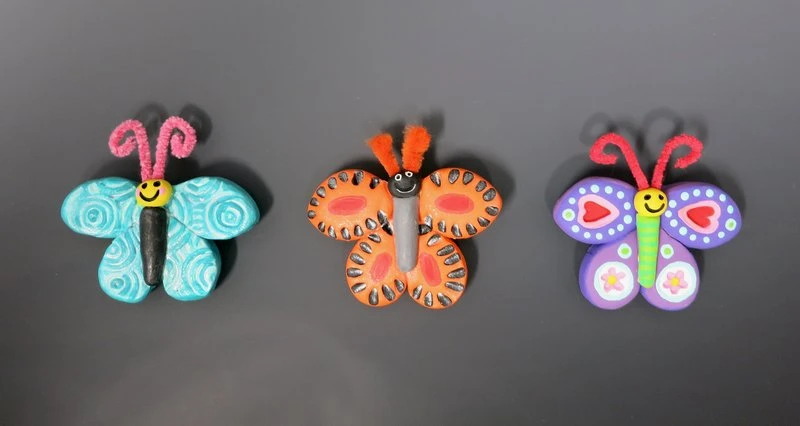
Use a variety of colors to paint the butterfly sculpture.
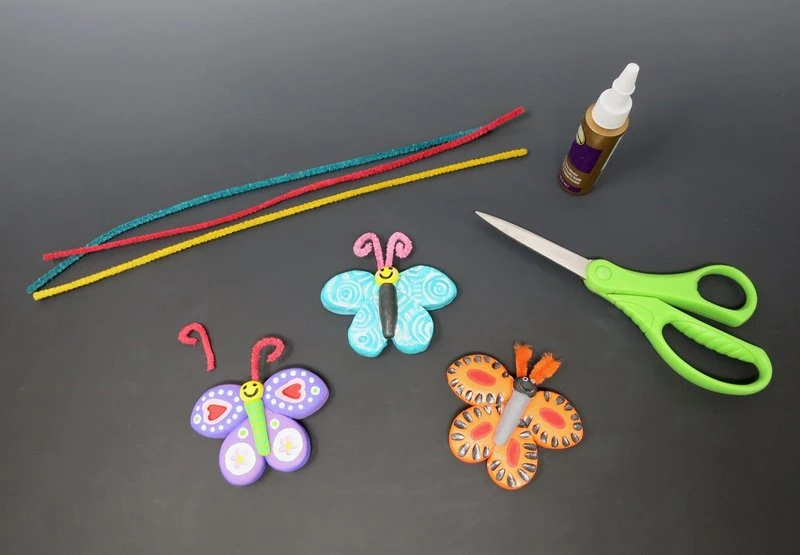
Step 9:
Antennas
Glue small pieces of pipe cleaners or wire into the holes created for the antennas.
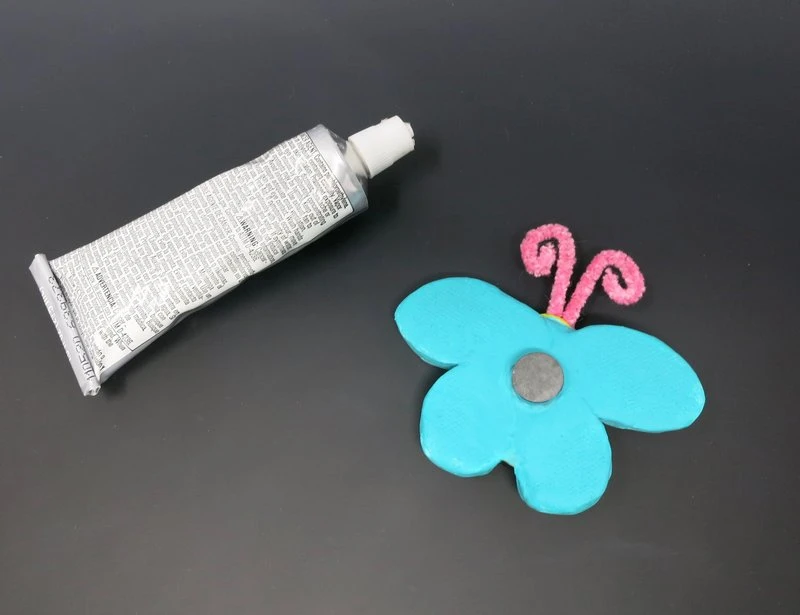
Step 10:
Magnet
Use the adhesive to attach a small magnet to the back side of the butterfly sculpture.
Step 11:
Display
Attach the butterfly to a magnetic surface to display it.

 />
/>
 />
/>